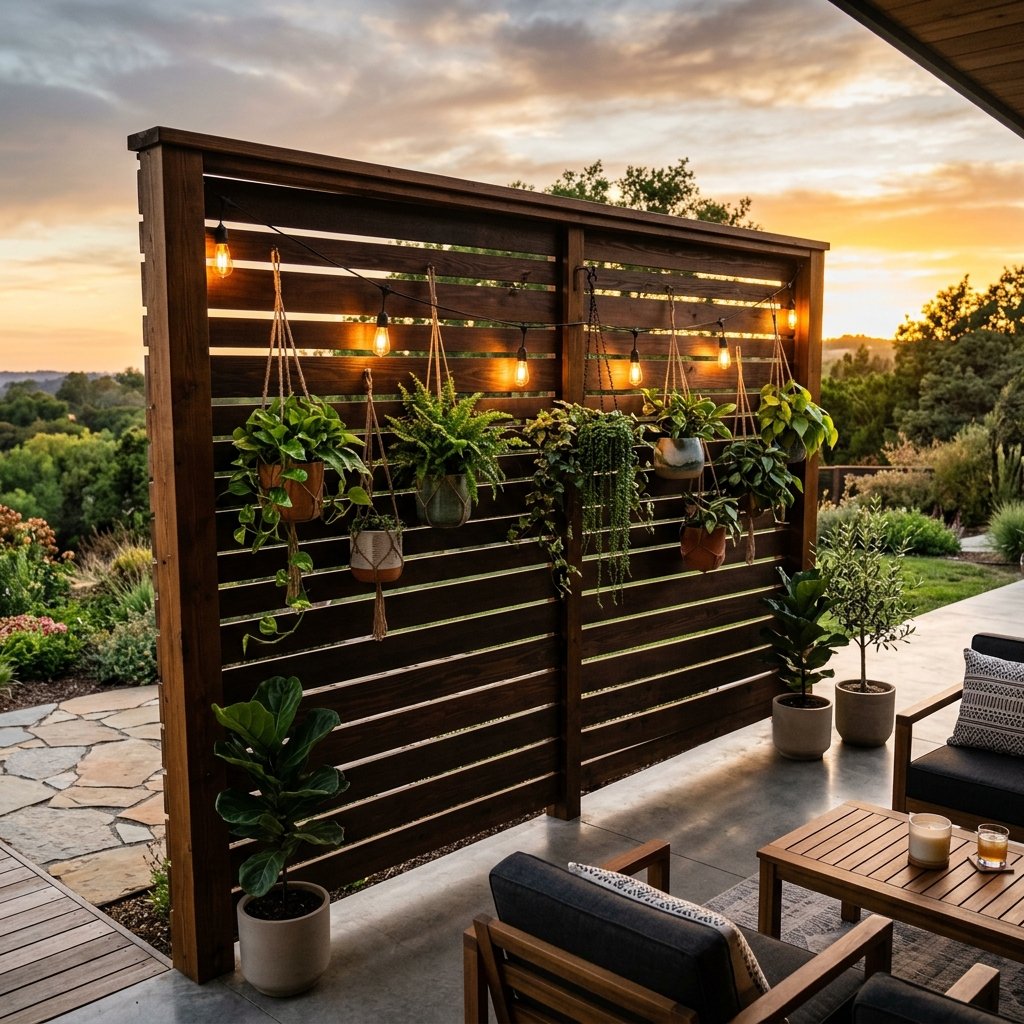

We all crave that secluded sanctuary—a place to sip coffee in our pajamas or enjoy a quiet evening beverage without the prying eyes of the neighbors. But if you have priced out professional privacy screens or high-end outdoor dividers lately, you know they can easily run $300 to $800 per panel. That is not just expensive; it is an insult to the resourceful spirit. As a fellow frugal DIYer, I am here to tell you that with a little grit, some scavenged wood, and a few clever finishing tricks, you can build a high-end porch privacy screen for almost nothing.
In this guide, we are going to channel our inner master carpenter and upcycling guru. We are not just slapping old wood together; we are creating a piece that looks like it was plucked straight from an architectural digest. Whether you are a handy parent looking to improve the backyard or a budget-savvy crafter ready for a weekend challenge, this project is for you. Let’s roll up our sleeves and turn some trash into a functional masterpiece.
Sourcing Your Materials: The Art of the Scavenge

The secret to keeping costs near $0 is all in the sourcing. We are looking for high-quality wood that others have deemed ‘waste.’ Your primary target? Heat-treated pallets and construction site off-cuts. When you source wood, always look for the HT (Heat Treated) stamp on pallets to ensure they are safe for home use and not treated with harmful chemicals.
The Resourceful Material Hunt
- Facebook Marketplace & Craigslist: Search for ‘free wood’ or ‘free pallets.’ You would be surprised how many businesses pay to have these hauled away.
- New Home Construction Sites: Always ask the foreman first, but many crews have a ‘burn pile’ of 2×4 and 2×6 scraps that are perfect for framing your screen.
- Dollar Store Accents: We will use Dollar Tree zip ties and outdoor solar lights to add that high-end glow for just $1.25.
| Material Item | Retail Cost | Our DIY Cost |
|---|---|---|
| Pressure Treated Posts (2) | $45.00 | $0.00 (Scavenged) |
| Horizontal Slats (15-20) | $120.00 | $0.00 (Pallet Wood) |
| Exterior Grade Screws | $15.00 | $5.00 (Bulk Box) |
| Weatherproof Stain/Sealant | $35.00 | $8.00 (Mistint Section) |
| Total | $215.00 | $13.00 |
The frugal man’s secret weapon is the ‘Mistint’ shelf at the hardware store. You can often find high-quality exterior stains for 75% off just because the color wasn’t a perfect match for someone else.
The Rugged Blueprint: Designing for Strength and Style
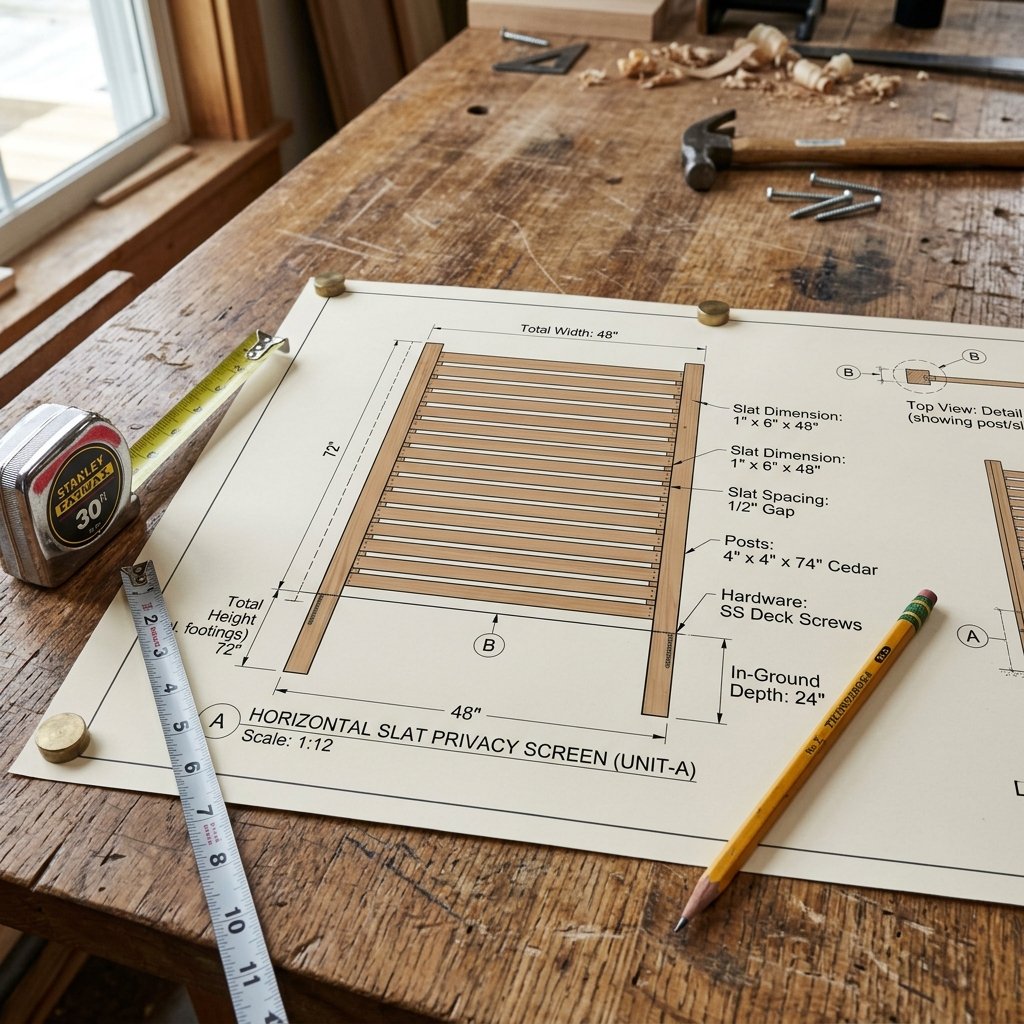
To achieve a ‘high-end’ look, we want to avoid the cluttered look of vertical fencing. Instead, we are going for horizontal slats with small gaps. This mimics the look of modern Scandinavian or Mid-Century Modern architecture. It provides privacy while allowing the breeze to flow through, preventing your screen from becoming a sail during high winds.
Essential Tools for the Job
- Circular Saw or Miter Saw (for clean, square cuts)
- Power Drill and Driver
- Level (non-negotiable for a professional finish)
- Sandpaper (60, 80, and 120 grit)
- Measuring Tape and Carpenter’s Pencil
Before you drive a single screw, measure your porch height. Most standard screens should stand between 5 and 6 feet tall. This is high enough to block sightlines but low enough to remain structurally sound without deep footings. If you are attaching this to a deck, you will need to secure it to the existing railing posts for maximum stability.
Step-by-Step Construction: Building the Frame
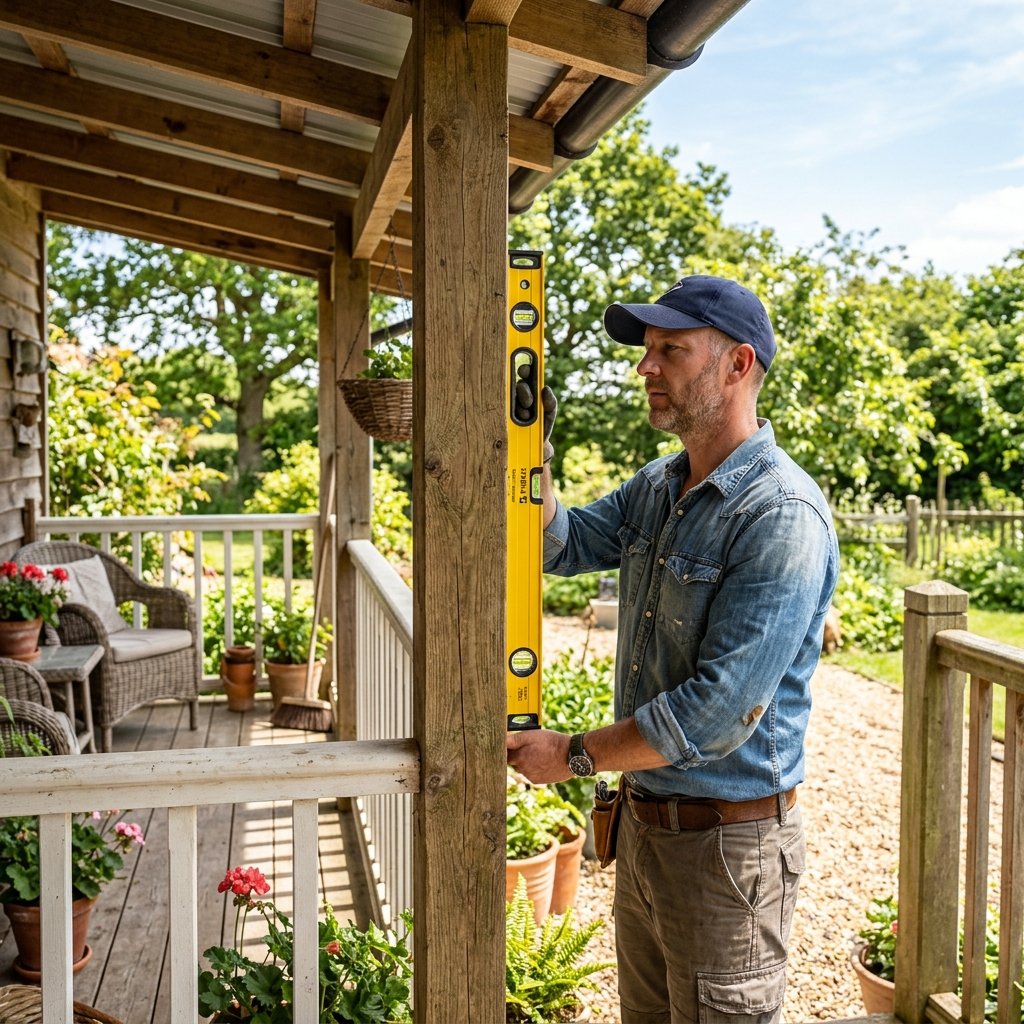
Now we get into the heavy lifting. A sturdy frame is the skeleton of your project. If the frame is crooked, the whole screen will look ‘homemade’ rather than ‘handcrafted.’
- Cut the Vertical Posts: Cut your two main 4×4 or doubled 2×4 posts to your desired height (e.g., 72 inches).
- Prepare the Base: If this is a free-standing unit, create a ‘T’ or ‘H’ shaped base using heavy 2×4 scraps to prevent tipping. If mounting to a porch, pre-drill holes to lag-bolt it to the structure.
- Level and Brace: Stand your posts up and use a level to ensure they are perfectly vertical. Use temporary scrap wood braces to hold them in place while you work.
- Install the Top Rail: Connect the two posts at the very top with a single horizontal board. This locks the width (usually 36 to 48 inches) and provides a square frame to work within.
Safety First: When cutting pallet wood, always wear eye protection and a dust mask. Old wood can be brittle and prone to splintering, and you never know what kind of dust you are kicking up.
Installing the Slats: The ‘High-End’ Secret
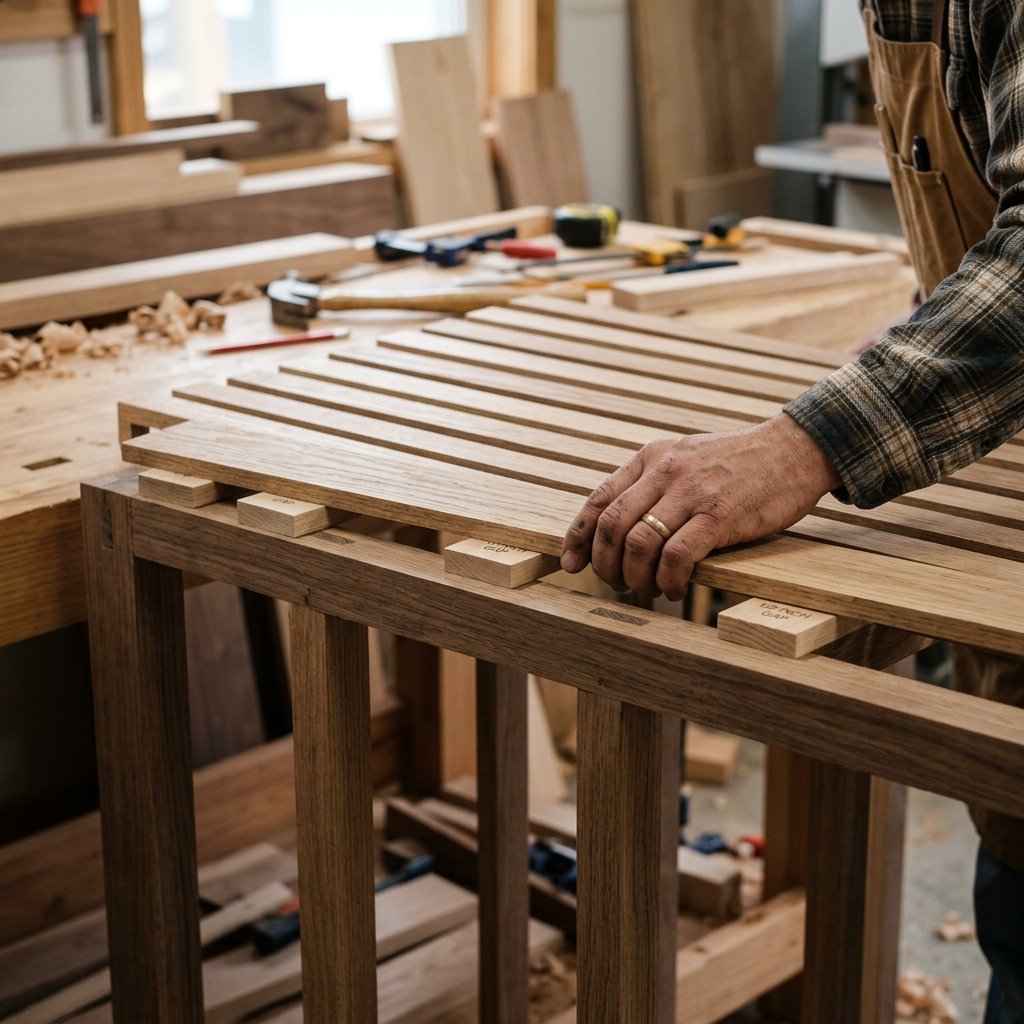
This is where the magic happens. By using consistent spacing, you create a visual rhythm that looks expensive. The secret? Use a spacer block.
The Slat Installation Process
- Prep the Pallet Wood: Pry the slats off the pallets carefully. Use a crowbar and hammer. Once removed, sand the faces of the boards. You don’t need them perfectly smooth—a bit of texture adds a masculine-elegant, rugged charm.
- Start from the Top: It is easier to keep things level if you work from the top down. Align your first board with the top rail and secure it with two screws on each side.
- The Spacer Trick: Take two small scraps of wood (about 1/2 inch thick). Place them on top of the board you just installed. Rest your next board on these spacers. This ensures every gap is identical.
- Check for Level: Every 3 or 4 boards, use your level to make sure you aren’t drifting. It is easy to get a ‘lean’ if you aren’t careful.
| Slat Gap Size | Privacy Level | Visual Style |
|---|---|---|
| 1/4 Inch | Maximum | Solid Wall / Modern |
| 1/2 Inch | High | Contemporary / Standard |
| 1 Inch | Medium | Airy / Coastal |
Finishing Touches: Staining and Styling on a Dime
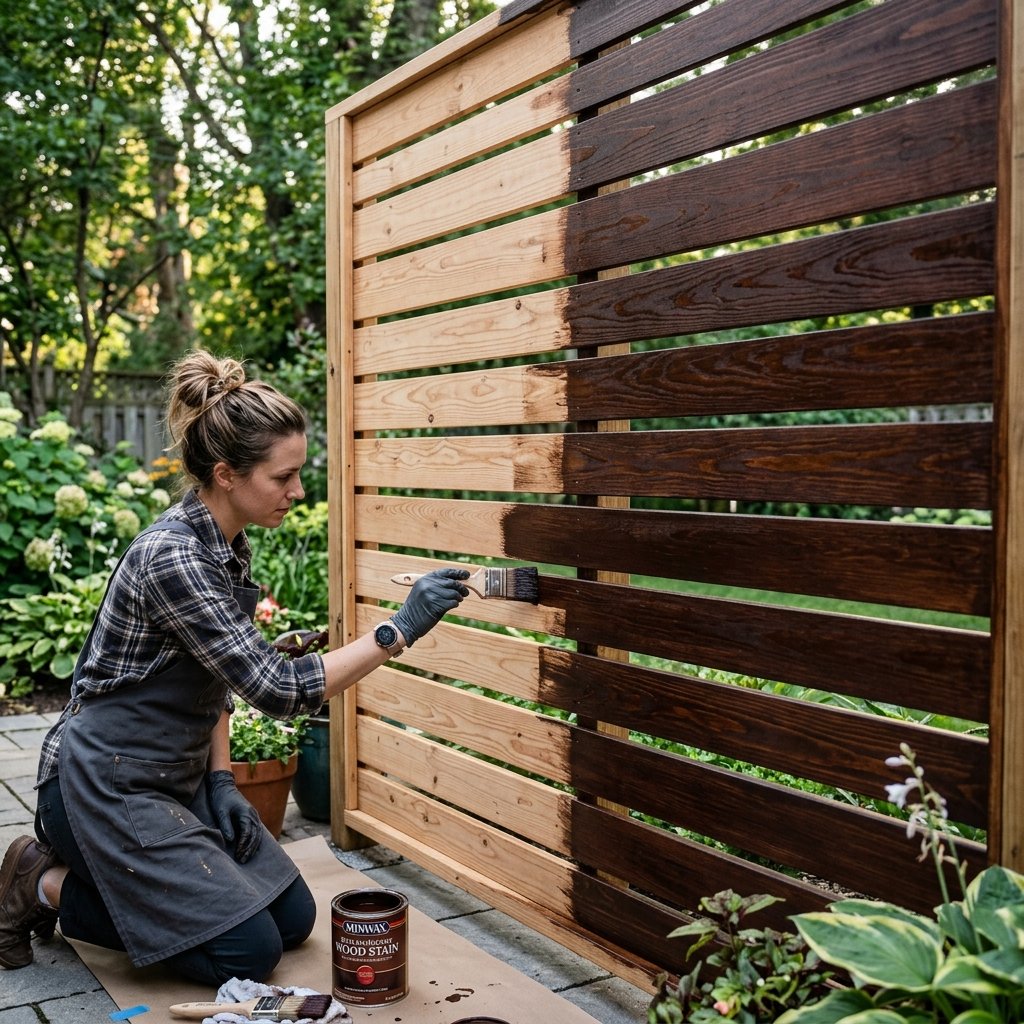
Raw pallet wood looks like trash. Stained pallet wood looks like reclaimed teak. This is the most important step for the ‘High-End’ aesthetic. I recommend a dark walnut or a sophisticated charcoal gray stain.
The Finishing Routine
- The ‘Baking Soda’ Trick: If you want an aged, driftwood look for $0, mix baking soda and water and brush it onto the wood. It reacts with the tannins to gray the wood naturally.
- Sealing: Since this is outdoors, you must use a clear coat or a stain/sealer combo. This prevents the wood from warping and rotting in the rain.
- Dollar Store Styling: Head to the Dollar Tree and grab some $1.25 black metal S-hooks. Hang small terra cotta pots (also $1.25) filled with herbs or ivy. The greenery against the dark wood is the hallmark of professional patio design.
Budget Mantra: ‘Don’t paint it if you can stain it.’ Stain allows the natural grain and ‘history’ of the upcycled wood to show through, which always looks more expensive than a flat coat of paint.
Final Assembly and Security
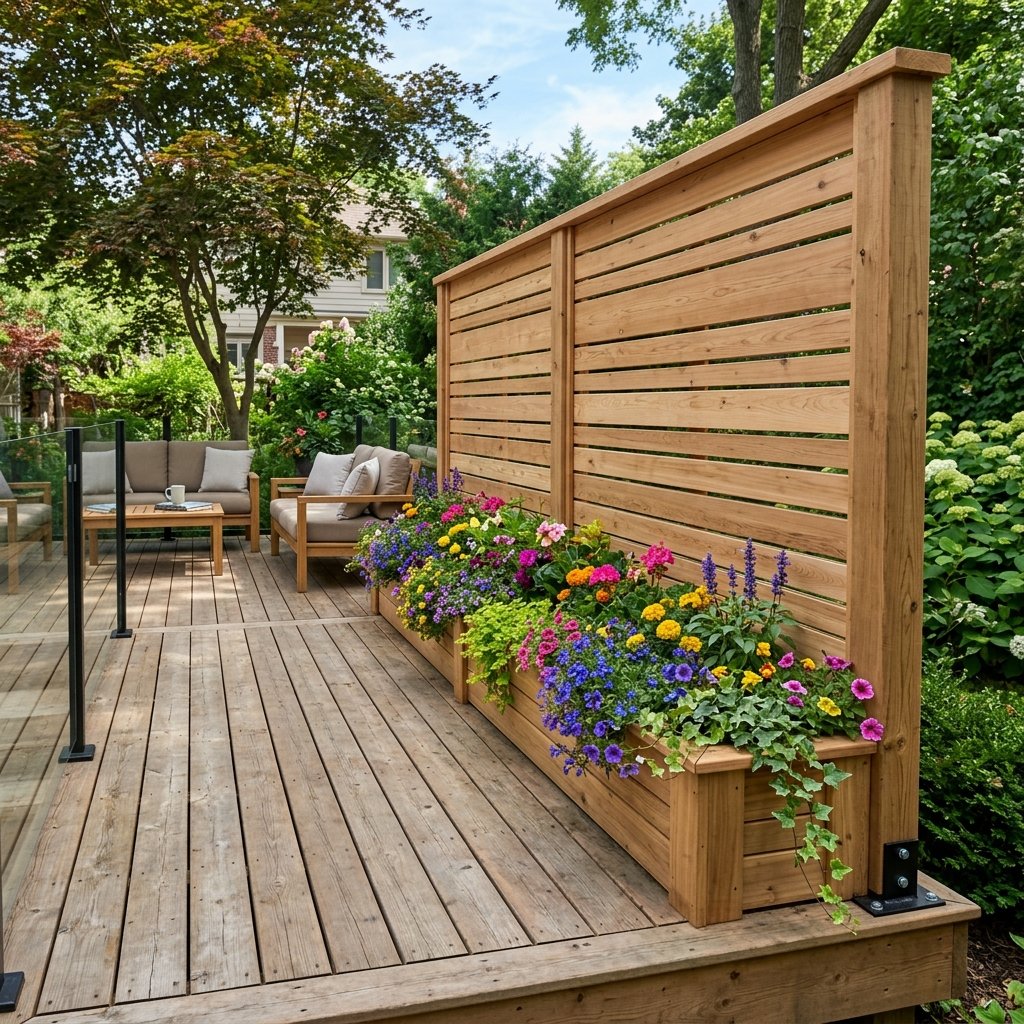
A privacy screen is only as good as its stability. If you are in a high-wind area, you need to ensure this doesn’t become a projectile. For a truly professional, ‘rugged’ installation, use heavy-duty hardware.
Securing Your Screen
- Concrete Anchors: If your porch is concrete, use a masonry bit to drill and install Tapcon screws through your base.
- Deck Joist Attachment: If on a wooden deck, don’t just screw into the floorboards. Reach underneath and bolt through the joists for a rock-solid connection.
- Adding Weight: If you cannot bolt it down (e.g., in a rental), build a planter box at the base of the screen and fill it with 50 lbs of gravel and soil. The weight will keep the screen upright and give you a place to grow climbing vines.
Conclusion
There you have it—a high-end DIY porch privacy screen that costs less than a fast-food meal but looks like a million bucks. By being resourceful with pallet wood, diligent with your leveling, and clever with your finishing, you have created a functional piece of art that adds value and comfort to your home. This project isn’t just about saving money; it’s about the pride of looking at a beautiful structure and knowing you built it from things others threw away. Now, grab a chair, sit behind your new screen, and enjoy the peace and quiet you’ve earned. Happy building!

Makenzie is the founder and lead writer at MoneyHackTips.com — a personal finance blog dedicated to delivering street-smart financial wisdom for real people on real budgets. With 300+ published articles covering everything from debt management to investing fundamentals, Makenzie’s mission is to make every dollar work harder. When not writing about money hacks, Makenzie is testing frugal living strategies, optimizing side hustles, and helping readers build financial freedom from scratch.