
The Art of the High-End Hustle
There is a specific kind of satisfaction that comes from looking at a $50 boutique porch sign and knowing you can build it for the price of a fast-food lunch. In the world of frugal DIY, we don’t just shop; we scavenge with intent. This project is about more than just glue and glitter; it’s about taking raw, often flimsy materials from the Dollar Tree and applying rugged, professional techniques to create something that looks like it was plucked from a high-end interior design catalog. Whether you are a budget-savvy bride looking to spruce up your first home or a handy dad wanting to add some curb appeal without tapping into the tool budget, this guide is your blueprint. We are going to master the ‘Baking Soda Paint Trick,’ explore the ‘Carbon Paper Lettering Hack,’ and finish with a weatherproofing strategy that ensures your $10 masterpiece survives the elements.
Budget Mantra: It’s not about what it costs; it’s about how much soul you can craft into it using nothing but your hands and a bit of resourcefulness.
The Tactical Supply List: Scouting Your Materials
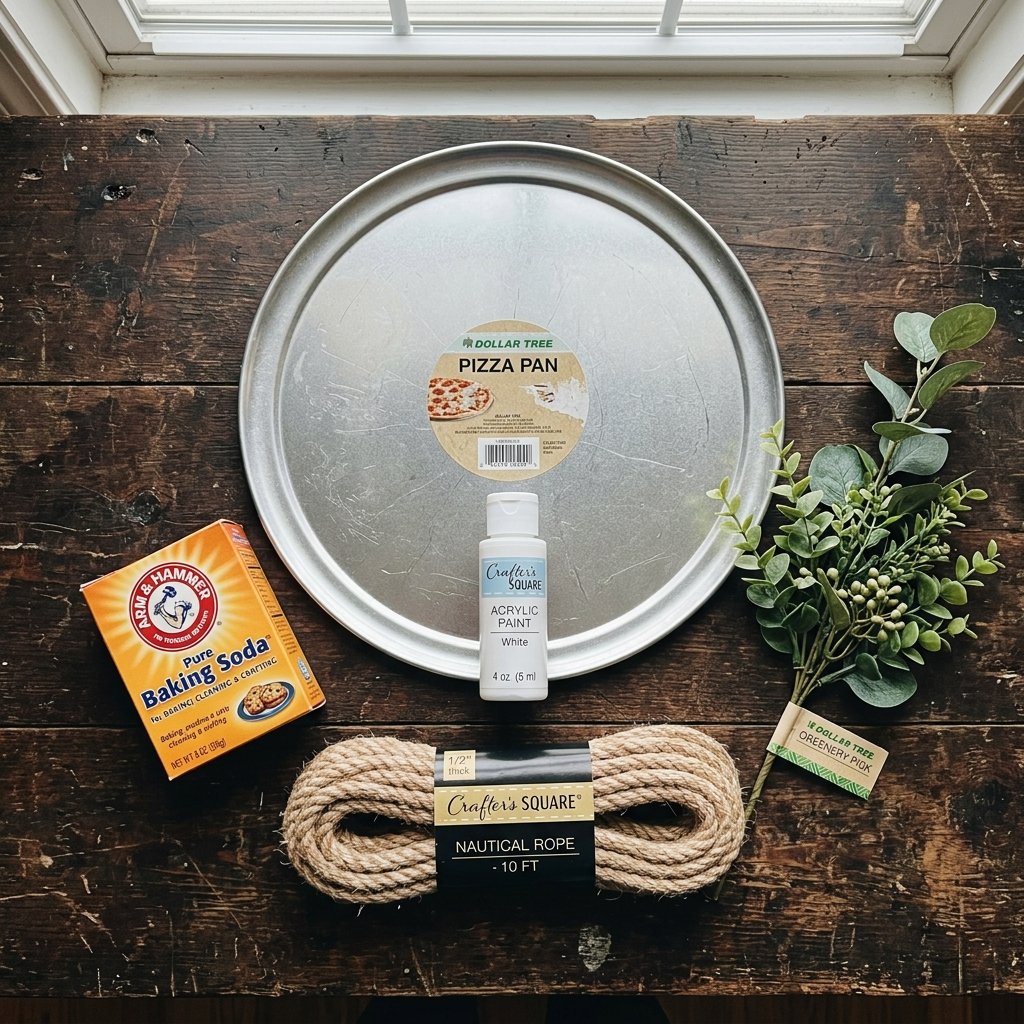
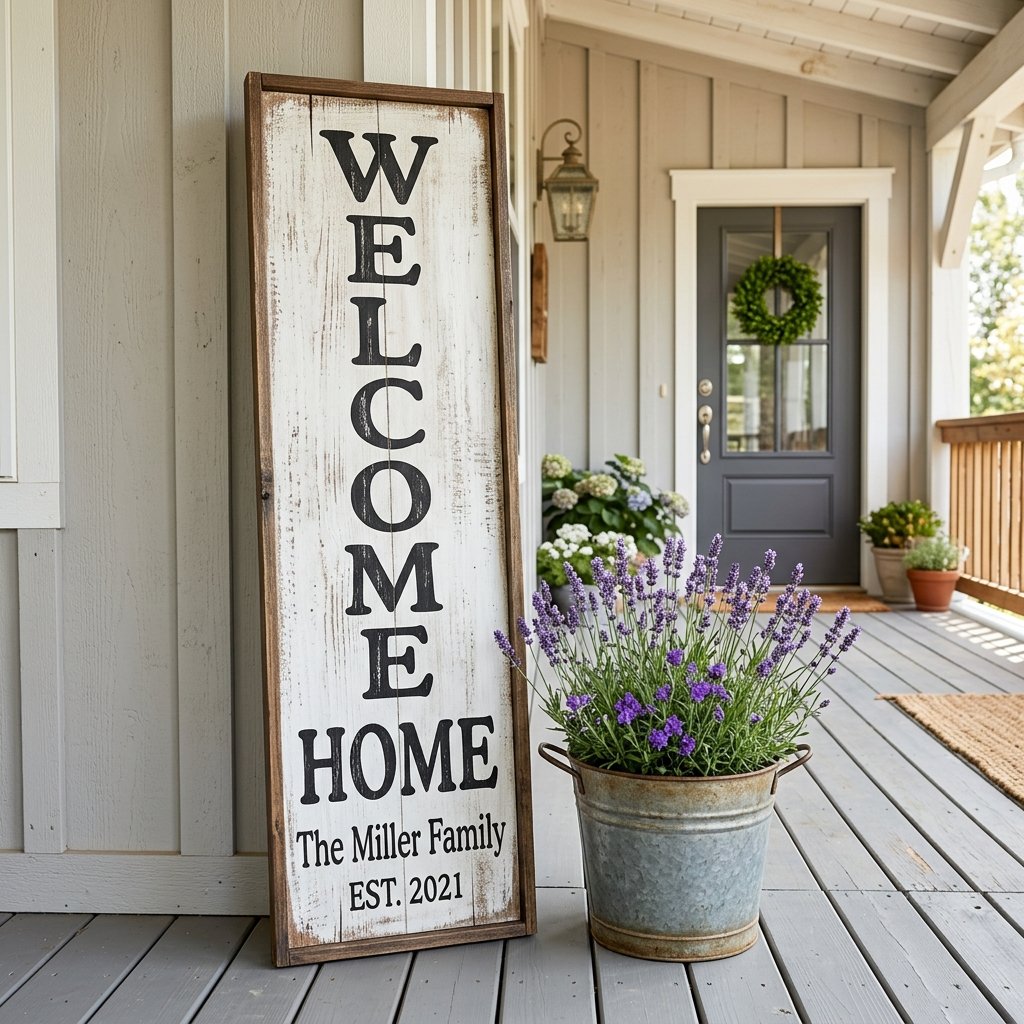
To achieve a truly ‘masculine-elegant’ farmhouse look, we need to look past the bright plastic and seasonal tinsel at the Dollar Tree. We are looking for ‘blanks’—items with good bones that can be stripped, painted, and rebuilt. For this project, we are aiming for a vertical porch leaner or a large round hanging sign. Here is how we break down our $10 budget with surgical precision.
The Material Breakdown
| Item Name | Purpose | Estimated Cost |
|---|---|---|
| Large Wood Slat Sign or Pizza Pan | The Base/Canvas | $1.25 |
| Matte Black Acrylic Paint | Lettering & Accents | $1.25 |
| White Chalk Paint or Flat Latex | Main Background | $1.25 |
| Nautical Cotton Rope | Hanger or Border | $1.25 |
| Baking Soda (Pantry Item) | Texture Additive | $0.00 |
| Faux Eucalyptus or Lavender | Greenery Accent | $1.25 |
| Super Glue/Hot Glue | Assembly | $1.25 |
| Sandpaper (Fine Grit) | Distressing | $1.25 |
| TOTAL | High-End Result | $8.75 |
By keeping our costs under $10, we leave room for a few ‘upcycled’ additions from around the house, like scrap ribbon or an old leather belt for a rugged hanging strap.
The Foundation: Mastering the Faux-Stone & Aged Wood Texture
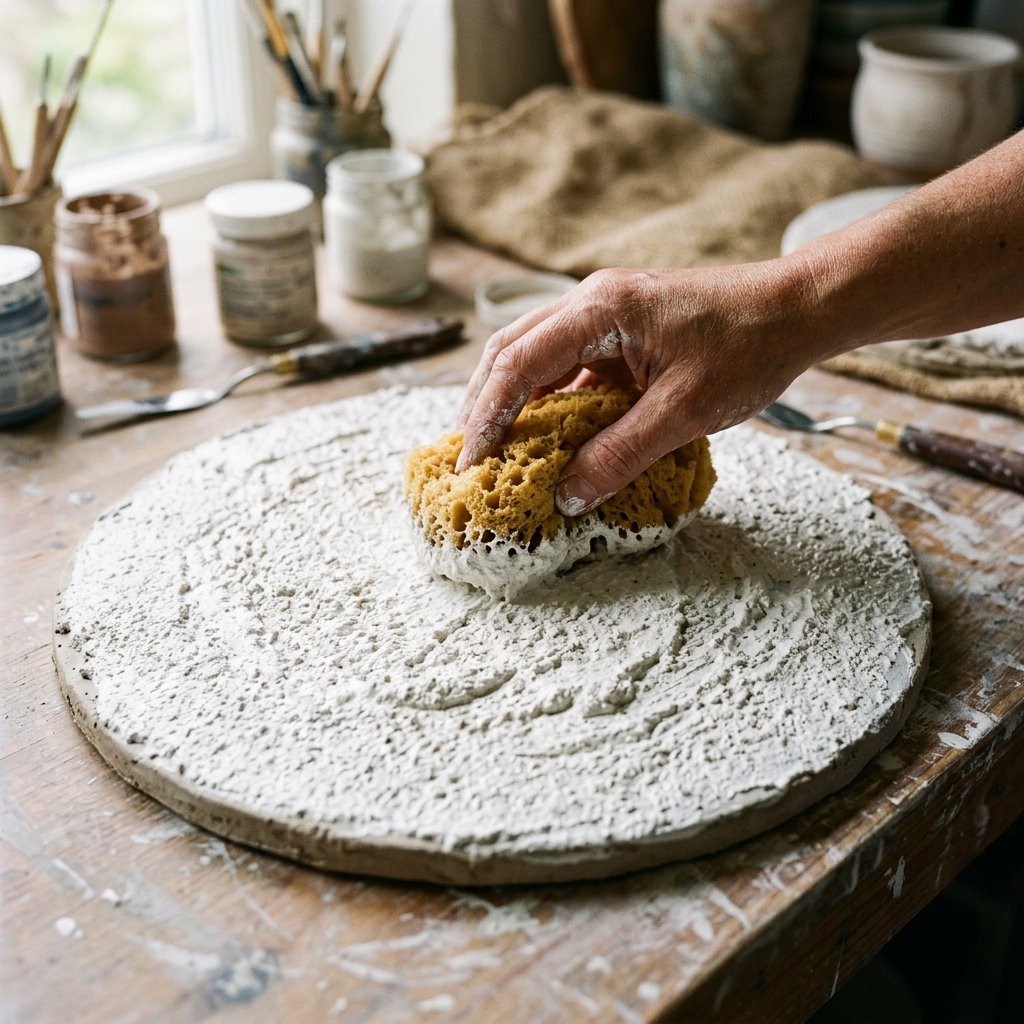
The biggest giveaway of a cheap DIY project is a ‘plastic-y’ or ‘thin’ finish. To give our sign weight and a rugged, high-end feel, we use the Baking Soda Paint Trick. This creates a matte, ceramic-like texture that mimics aged wood or heavy stone. If you are using a metal pizza pan base, this is essential for hiding the metallic sheen.
Step-by-Step Texturing
- Clean the Surface: Wipe down your base with rubbing alcohol to remove any oils or factory residue. This ensures 100% adhesion.
- The Formula: Mix 1 cup of white paint with 1/4 cup of baking soda. The mixture should be thick, like a heavy batter.
- Application: Do not brush in long, smooth strokes. Instead, use a ‘stippling’ motion (dabbing) to create tiny peaks and valleys. This mimics the grain of weathered timber or the grit of concrete.
- The Dry Time: Let the first coat dry for at least 45 minutes. If you are impatient, a hair dryer on low heat can speed this up.
Pro Tip: For a ‘Rugged Masculine’ look, add a drop of grey paint to your white mixture to create a ‘concrete’ aesthetic that looks incredible against black hardware.
The Lettering Masterclass: No Expensive Machines Required

You don’t need a $300 vinyl cutter to get perfect, professional-grade lettering. We are going to use the ‘Pencil Rub Transfer’ method. It is a classic, crafty expert technique that allows for total customization of your ‘Welcome’ sign.
The Transfer Process
- Design: Type out ‘WELCOME’ or your family name on a computer using a bold, serif font (like ‘Playfair Display’ or ‘Cinzel’). Print it out to the size of your sign.
- The Lead Trick: Flip the paper over. Use a soft lead pencil to heavily shade the back of the letters. You want a thick layer of graphite behind every part of the printed text.
- The Trace: Tape the paper (graphite side down) onto your painted sign. Trace the outline of the letters with a ballpoint pen, pressing firmly.
- The Reveal: Lift the paper to find a perfect, faint graphite outline of your letters on the sign.
- The Fill: Use a small detail brush and matte black paint to fill in the lines. Take your time; 15 minutes of focused painting here saves the entire project.
This method ensures your sign looks ‘hand-painted’ rather than ‘sticker-applied,’ which is the hallmark of expensive boutique decor.
Rugged Accents: Adding Masculine-Elegant Details
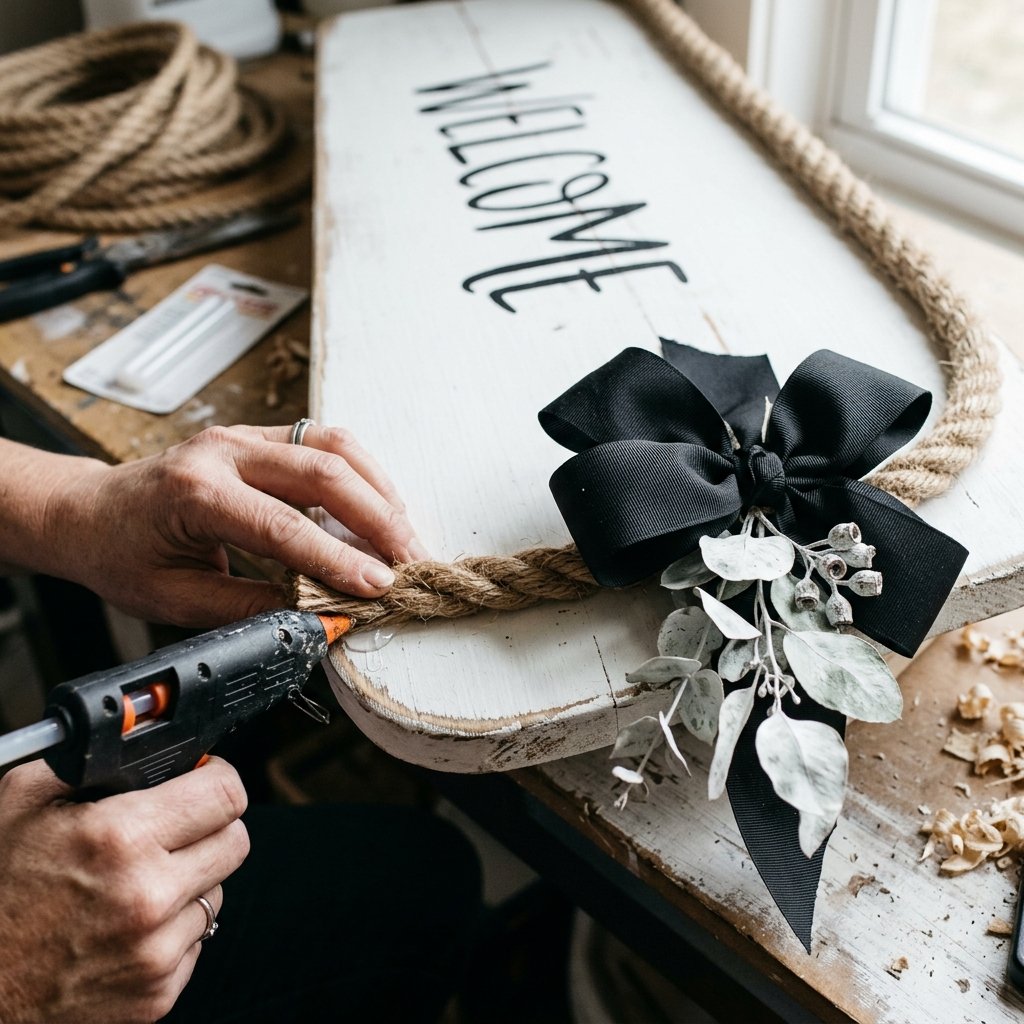
Now that the base and lettering are set, we need to add the ‘heft.’ Farmhouse style thrives on the contrast between soft greenery and hard, rugged materials like rope or leather.
Adding the Nautical Rope Border
Take your Dollar Tree nautical rope. Instead of just gluing it to the back for a hanger, wrap it around the entire circumference of your round sign, or create two heavy ‘bollards’ at the top and bottom of a vertical sign. Use generous amounts of hot glue, holding each section for 30 seconds to ensure a permanent bond.
The ‘Bespoke’ Greenery Hack
Standard Dollar Tree greenery can look a bit bright and fake. To fix this, lightly ‘dry brush’ some of your leftover white paint onto the leaves. This gives them a ‘frosted’ or ‘dusty’ look, which mimics the high-end eucalyptus found in expensive floral shops. Secure the greenery at the top of the sign with a piece of twine or a scrap of black ribbon for a sophisticated finish.
Weatherproofing for the Long Haul
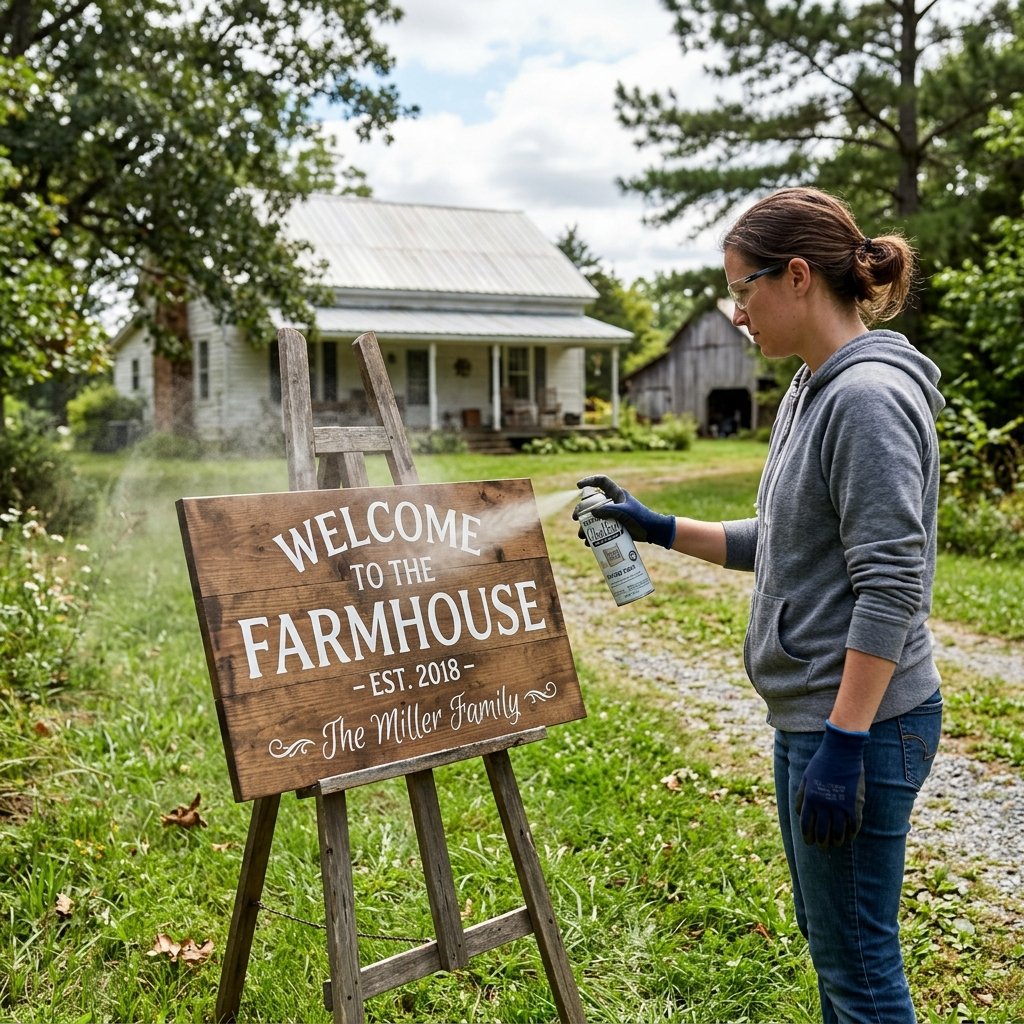
Your front porch is a battlefield of humidity, UV rays, and rain. A $10 sign won’t stay beautiful if the paint peels after the first storm. We need to seal our work without ruining the matte farmhouse finish.
| Sealant Type | Pros | Cons |
|---|---|---|
| Matte Clear Spray | Preserves the ‘chalky’ look; fast application. | Requires 2-3 coats for full protection. |
| Outdoor Mod Podge | Extremely durable; water-resistant. | Can leave brush strokes if not applied carefully. |
| Clear Wax | Provides a high-end, hand-rubbed feel. | Needs to be reapplied every 6 months. |
Safety Note: When using spray sealants, always work in a well-ventilated area (preferably outdoors) and wear a mask to avoid inhaling fumes. Allow 24 hours for a full cure before hanging your sign.
Conclusion
The $10 Transformation Complete
You have successfully navigated the aisles of the Dollar Tree and emerged with a piece of decor that looks like it belongs in a glossy magazine. By utilizing the baking soda texture trick and the pencil transfer method, you’ve elevated basic materials into a rugged, elegant statement piece. This project proves that you don’t need a massive budget to have a welcoming home; you just need a bit of resourcefulness and the willingness to get your hands dirty. Your front porch is now the envy of the neighborhood, and you still have $40 in your pocket compared to those who bought theirs retail. Now, go forth and upcycle—the trash-to-treasure journey has only just begun!

Makenzie is the founder and lead writer at MoneyHackTips.com — a personal finance blog dedicated to delivering street-smart financial wisdom for real people on real budgets. With 300+ published articles covering everything from debt management to investing fundamentals, Makenzie’s mission is to make every dollar work harder. When not writing about money hacks, Makenzie is testing frugal living strategies, optimizing side hustles, and helping readers build financial freedom from scratch.