
The Power of the First Impression
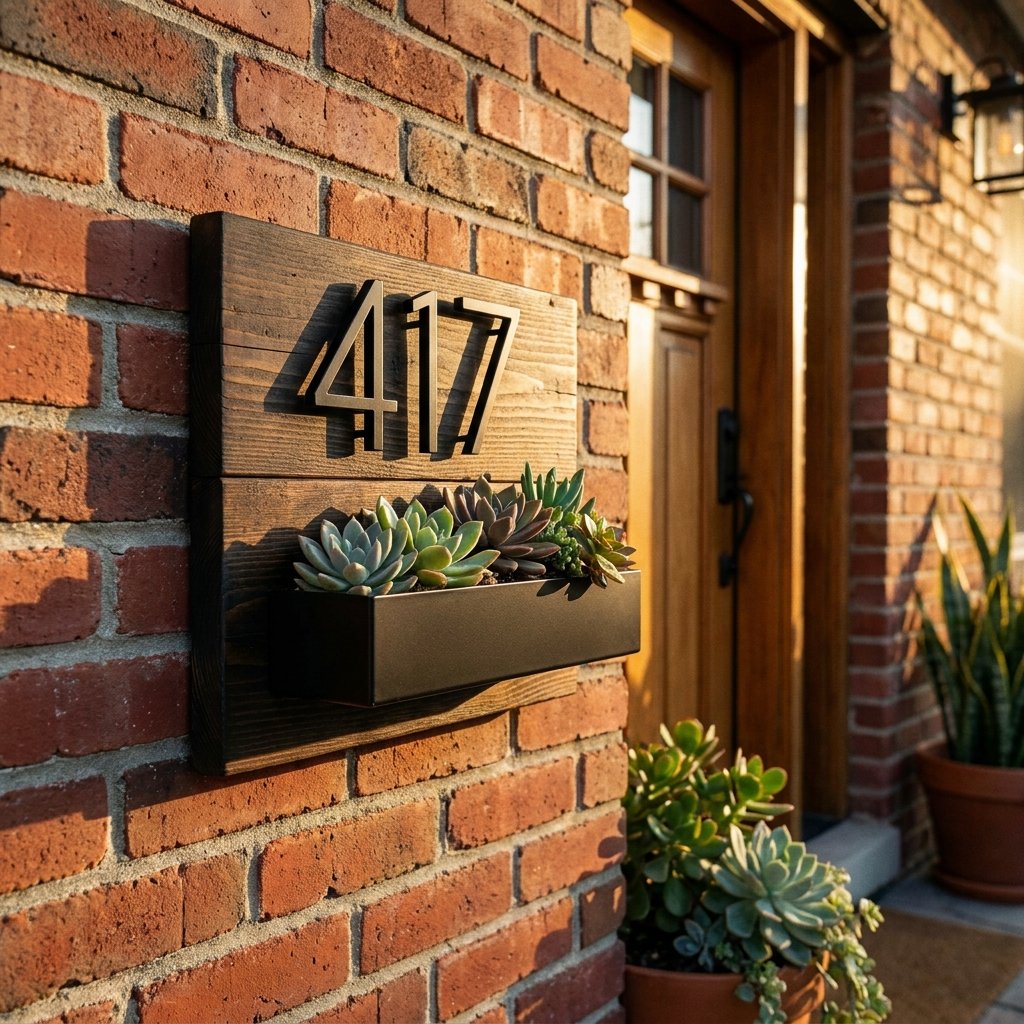
Let’s talk about the ‘face’ of your home. Before a guest even steps through your door, before they see your curated living room or smell the fresh coffee, they see your house numbers. Most builder-grade address markers are, frankly, uninspired—plastic, fading, and utilitarian. But as a resourceful DIYer, you know that curb appeal isn’t about how much you spend; it’s about the clever application of style.
You don’t need a $150 custom plaque from a high-end boutique to make your home stand out. With a few scraps of wood, some Dollar Tree finds, and a bit of ‘rugged elegance,’ we are going to craft a custom address plaque that looks like it cost a fortune but stays strictly under a $10 budget. This project is about more than just numbers; it’s about claiming your space with a touch of masculine-elegant craftsmanship.
The Budget Blueprint: Materials and Cost Breakdown
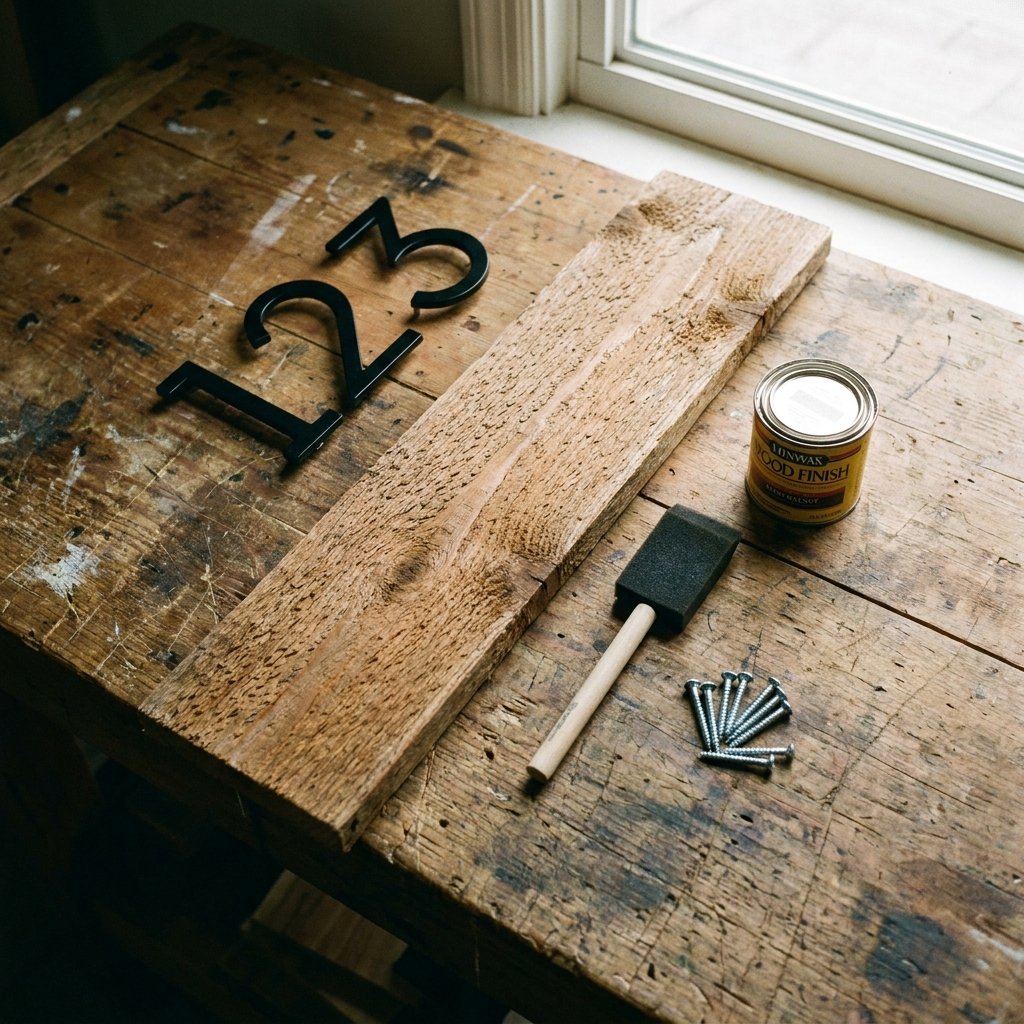
To keep this project under the $10 mark, we have to be smart about our sourcing. This is where your inner trash-to-treasure guru shines. We will be looking for a base (wood or slate), the numbers themselves, and the finishing touches like stain or paint. If you have a scrap pile in your garage, your cost might even drop to $0.
Sourcing Your Supplies
Check your local Dollar Tree or discount hardware store for individual house numbers. Often, you can find 4-inch or 5-inch numbers for just $1.25 each. For the base, a simple cedar fence picket from a big-box hardware store costs roughly $3.00 and provides enough wood for two or three plaques.
| Item | Source | Estimated Cost |
|---|---|---|
| Cedar Fence Picket (5/8″ x 5.5″ x 6′) | Hardware Store | $2.98 |
| House Numbers (3-4 digits) | Dollar Tree / Discount Store | $3.75 – $5.00 |
| Exterior Wood Stain (Sample Size) | Paint Dept. Mistints | $1.00 |
| Weatherproof Clear Coat | Existing Workshop Supply | $0.00 |
| Total Estimated Cost | – | $7.73 – $8.98 |
Budget Mantra: “The beauty of a project isn’t found in the price tag of the materials, but in the precision of the execution.”
Design Archetypes: Choosing Your Aesthetic
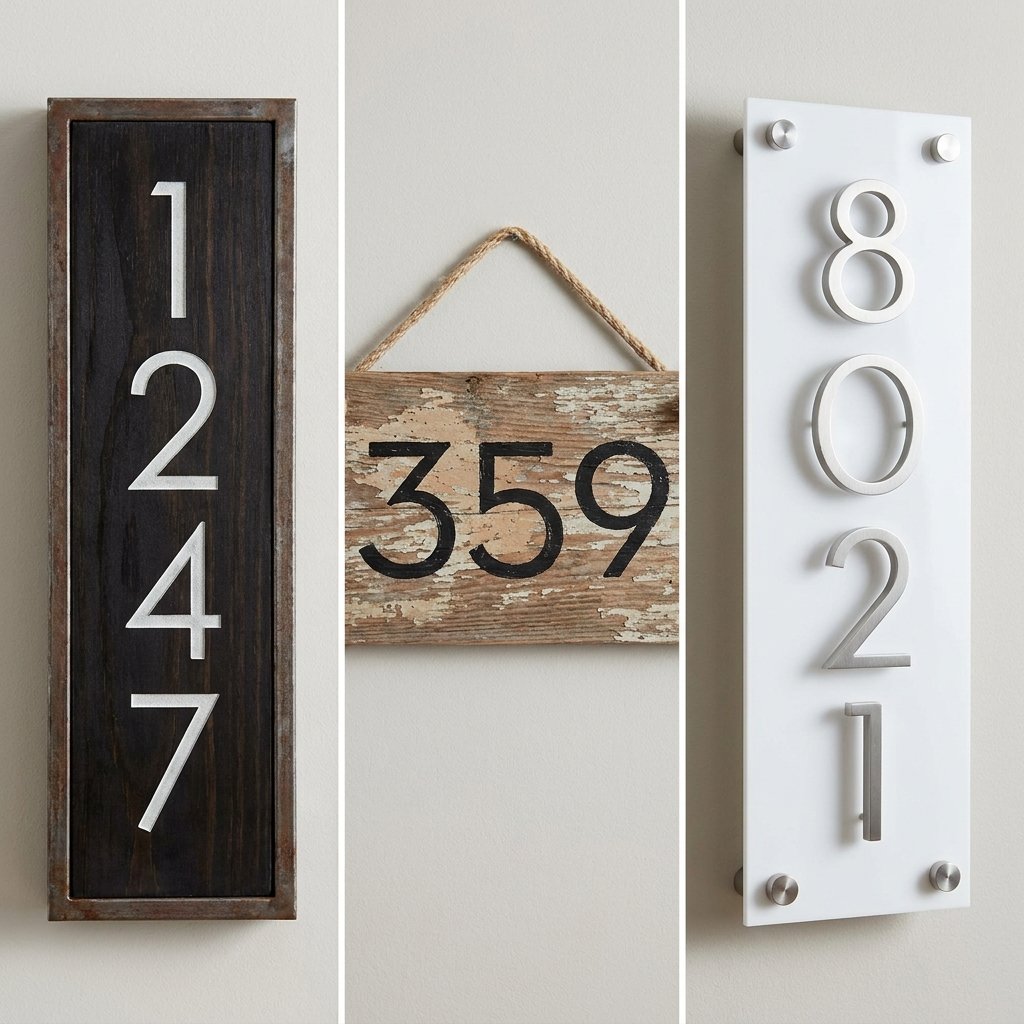
Finding the Right Vibe for Your Porch
Before you pick up a saw, you need to decide which design language fits your home. Are you going for Modern Minimalist, Rugged Industrial, or Classic Farmhouse? The orientation of your plaque—vertical or horizontal—will change the entire energy of your entryway.
- The Modern Vertical: Long, lean, and sophisticated. Best for narrow pillars beside the front door. Use sans-serif numbers and a dark, almost black, stain.
- The Rustic Horizontal: Wide and sturdy. Best for mounting directly onto siding or brick. Use natural wood tones and bold, heavy numbers.
- The Floating Plaque: Use spacers (like small nuts or washers) behind the numbers to create a 3D shadow effect that looks incredibly high-end.
Style Compatibility Guide
| Home Style | Plaque Orientation | Recommended Finish |
|---|---|---|
| Craftsman / Bungalow | Horizontal | Mission Oak or Cherry Stain |
| Modern / Industrial | Vertical | Charcoal Paint or Shou Sugi Ban (Charred) |
| Colonial / Traditional | Horizontal | Classic White with Black Numbers |
| Farmhouse | Either | Weathered Gray or Distressed Teal |
The Step-by-Step Construction Guide
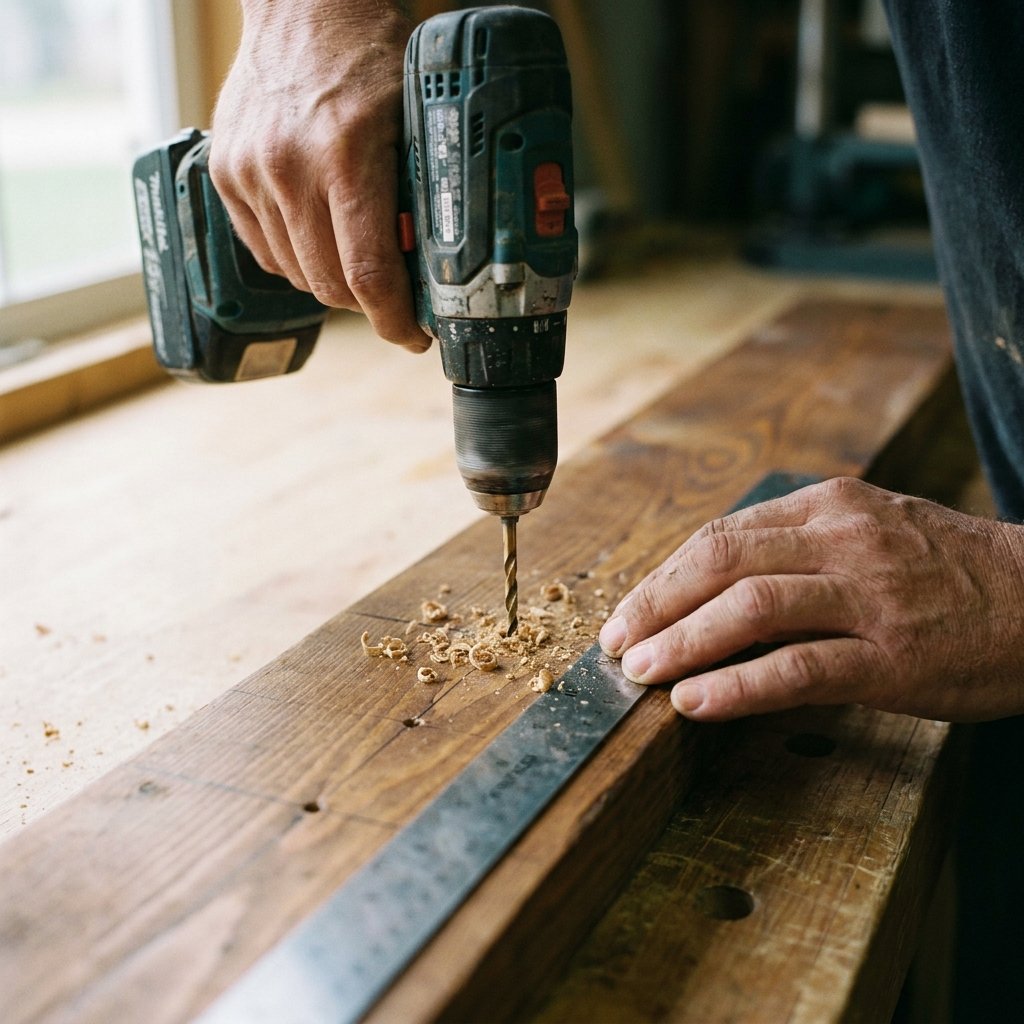
Building Your Plaque with Precision
Now, let’s get down to the crafty-expert work. Follow these steps to ensure your plaque is square, sturdy, and stylish. We will assume you are using a standard cedar picket for that rugged-elegant look.
- Measure and Cut: For a 3-digit horizontal plaque, cut your board to 12 inches. For a vertical plaque, 18 to 24 inches is usually ideal. Use a miter box or a steady hand with a handsaw for clean 90-degree angles.
- Sanding for Success: Even though we want a rugged look, we don’t want splinters. Sand the face and edges with 120-grit sandpaper, moving up to 220-grit for a smooth-to-the-touch finish.
- The Staining Process: Apply your stain using an old rag or foam brush. Let it sit for 3-5 minutes before wiping away the excess. This highlights the natural grain of the cedar.
- Layout and Pre-Drilling: Layout your numbers. Use a ruler to ensure the spacing is perfectly even. Pro Tip: Use a piece of painter’s tape across the board to mark a straight line for the bottom of the numbers. Mark the screw holes with a pencil and pre-drill small pilot holes to prevent the wood from splitting.
- Securing the Numbers: Hand-tighten the screws for the numbers. If you want that ‘floating’ look, place two small zinc washers behind each screw hole before driving the screw home.
Pro Tip: If your Dollar Tree numbers are a color you don’t like (e.g., shiny gold), hit them with a quick coat of Matte Black spray paint for an instant high-end upgrade.
Weatherproofing and Installation
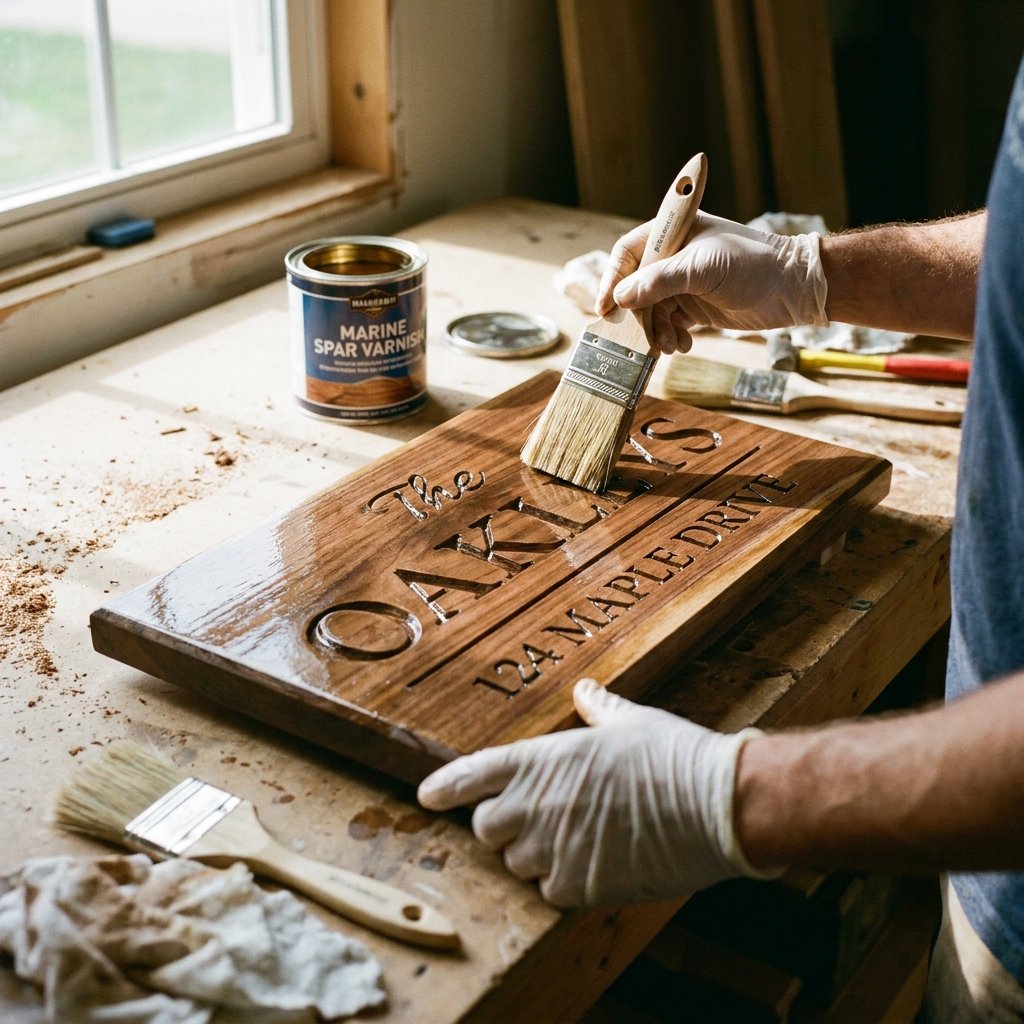
Protecting Your Work from the Elements
Since this plaque will live outdoors, it needs to stand up to rain, sun, and snow. Without proper sealing, your $10 masterpiece will warp within a season. This is where we apply the practical, masculine-elegant finishing touches.
The Sealing Process
Apply at least two coats of an Exterior Grade Spar Urethane. Unlike standard polyurethane, spar urethane contains UV blockers and expands/contracts with the wood, preventing cracking. Allow 2 hours of drying time between coats.
Mounting Strategies
- Brick or Stone: Use a masonry bit to drill a hole and insert a plastic anchor. Screw the plaque directly into the anchor.
- Siding: Use stainless steel wood screws to prevent rust streaks from running down your house.
- No-Drill Option: For renters, heavy-duty exterior command strips or industrial-strength Velcro can work, but check the weight rating first!
| Exposure Level | Sealant Type | Maintenance Interval |
|---|---|---|
| Full Sun | High-UV Spar Urethane | Every 2 Years |
| Covered Porch | Standard Exterior Poly | Every 5 Years |
| High Moisture/Rain | Oil-Based Sealer | Annually |
Advanced Upcycles: The ‘Extra Mile’ Additions
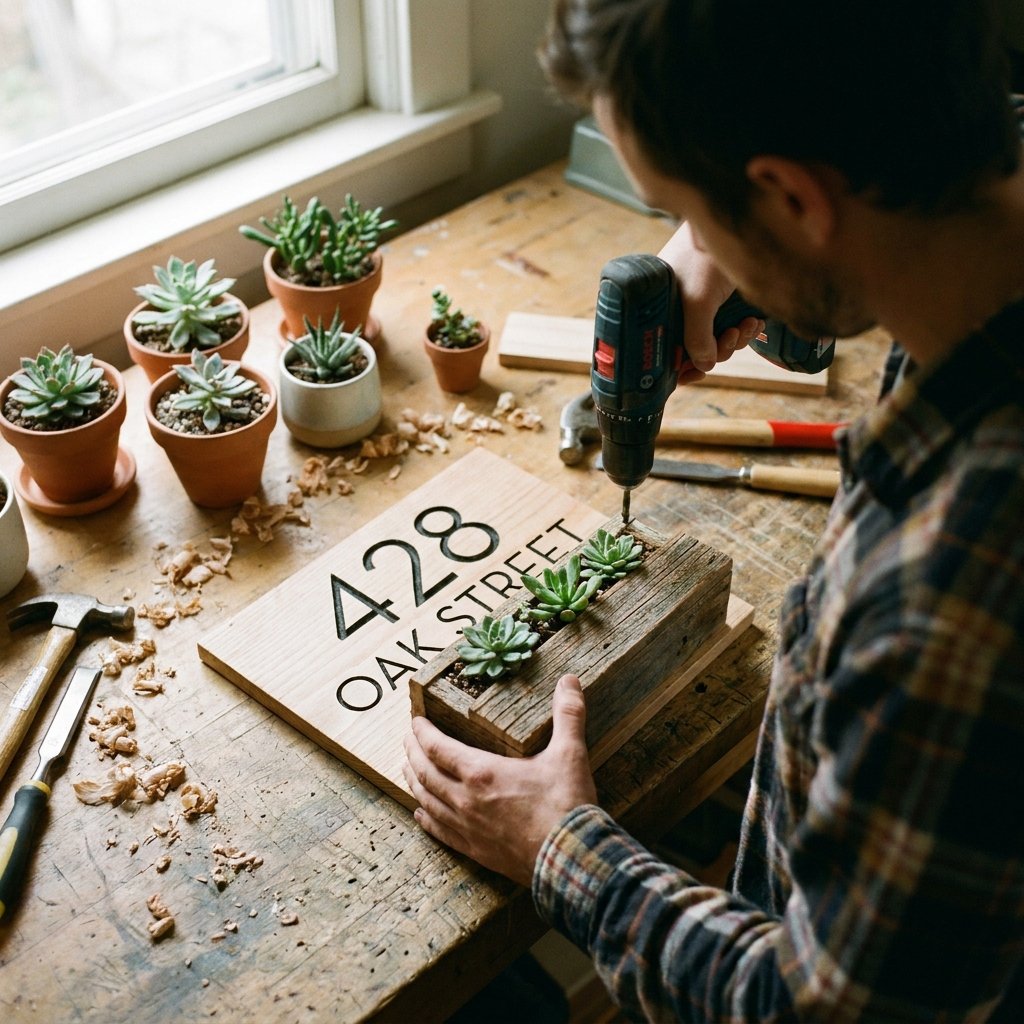
Taking Your Curb Appeal to the Next Level
If you have an extra $2 in your budget or some items in your ‘junk drawer,’ you can elevate the plaque even further. These additions turn a simple sign into a designer feature.
The Solar Glow Hack
Purchase a single solar path light from the dollar store. Remove the stake and glue the light housing to the top of your plaque (or build a small ‘roof’ for it). At night, your address will be illuminated for free, adding a layer of safety and sophistication.
The Succulent Pocket
If you have a scrap piece of wood left over, nail a small ‘pocket’ or box to the bottom of the plaque. Line it with plastic and plant a few hardy succulents. This adds a pop of organic color that contrasts beautifully with the rugged wood.
Safety Note: When using power tools for cutting or drilling, always wear safety glasses. If you are using oil-based stains, ensure you work in a well-ventilated area and dispose of rags properly to avoid combustion.
Conclusion
A High-End Look for a Humble Price
There you have it—a custom, hand-crafted address plaque that boosts your curb appeal instantly for less than the price of a fast-food meal. By combining budget-savvy sourcing with a bit of rugged elegance, you’ve created something that is both functional and beautiful.
Projects like these prove that you don’t need a massive renovation budget to take pride in your home. Whether you chose a sleek vertical modern look or a rustic farmhouse vibe, your home now has a clear, stylish identity. So, stand back, admire your work, and enjoy the fact that you just saved over $100 by doing it yourself. Happy crafting!

Makenzie is the founder and lead writer at MoneyHackTips.com — a personal finance blog dedicated to delivering street-smart financial wisdom for real people on real budgets. With 300+ published articles covering everything from debt management to investing fundamentals, Makenzie’s mission is to make every dollar work harder. When not writing about money hacks, Makenzie is testing frugal living strategies, optimizing side hustles, and helping readers build financial freedom from scratch.