
The Allure of the White Antique: Why Milk Glass Reigns Supreme
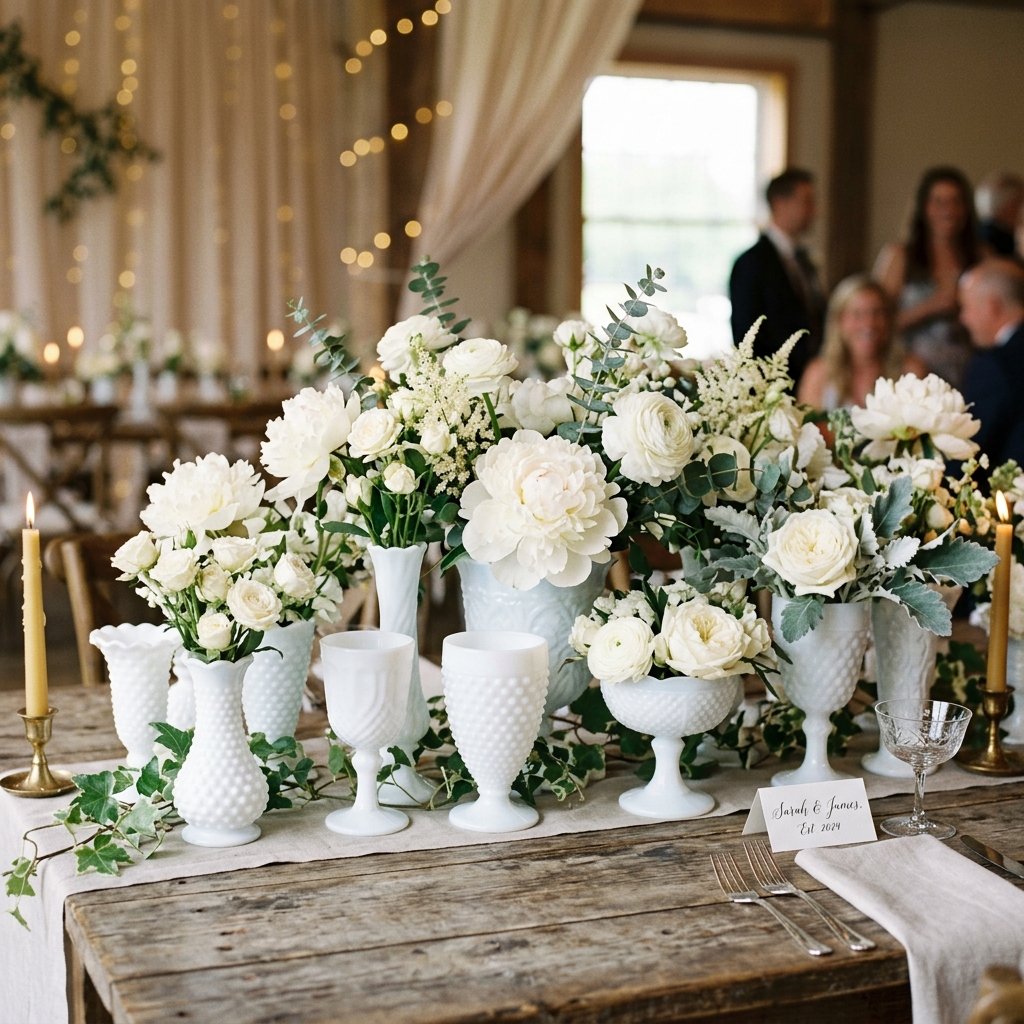
There is something undeniably timeless about milk glass. Originally created as a ‘poor man’s porcelain’ in the 16th century, it saw a massive resurgence in the mid-century modern era. For the modern budget-savvy couple, milk glass offers a rugged yet elegant aesthetic that fits perfectly into bohemian, classic, or rustic wedding themes. However, if you’ve ever stepped into an antique mall, you know that authentic Westmoreland or Fenton pieces come with a price tag that can easily blow a hole in your floral budget. We’re talking $15 to $45 per vase! When you need thirty or forty centerpieces, those numbers just don’t add up for the frugal DIYer.
But here is the crafty-expert secret: milk glass isn’t about the material; it’s about the silhouette and the finish. By scouring local thrift stores for glassware with interesting textures—hobnail patterns, fluted edges, and tapered necks—and applying a clever ‘faux-finish’ technique, you can create a cohesive, high-end look for literal pennies. In this guide, we are going to dive deep into the tactical execution of turning $0.50 thrift store glass into $50 designer-look centerpieces. Whether you’re a handy groom looking to contribute to the decor or a budget bride with a vision, this project is your ticket to a sophisticated tablescape without the luxury price tag.
Strategic Sourcing: The Art of the Thrift Store Hunt
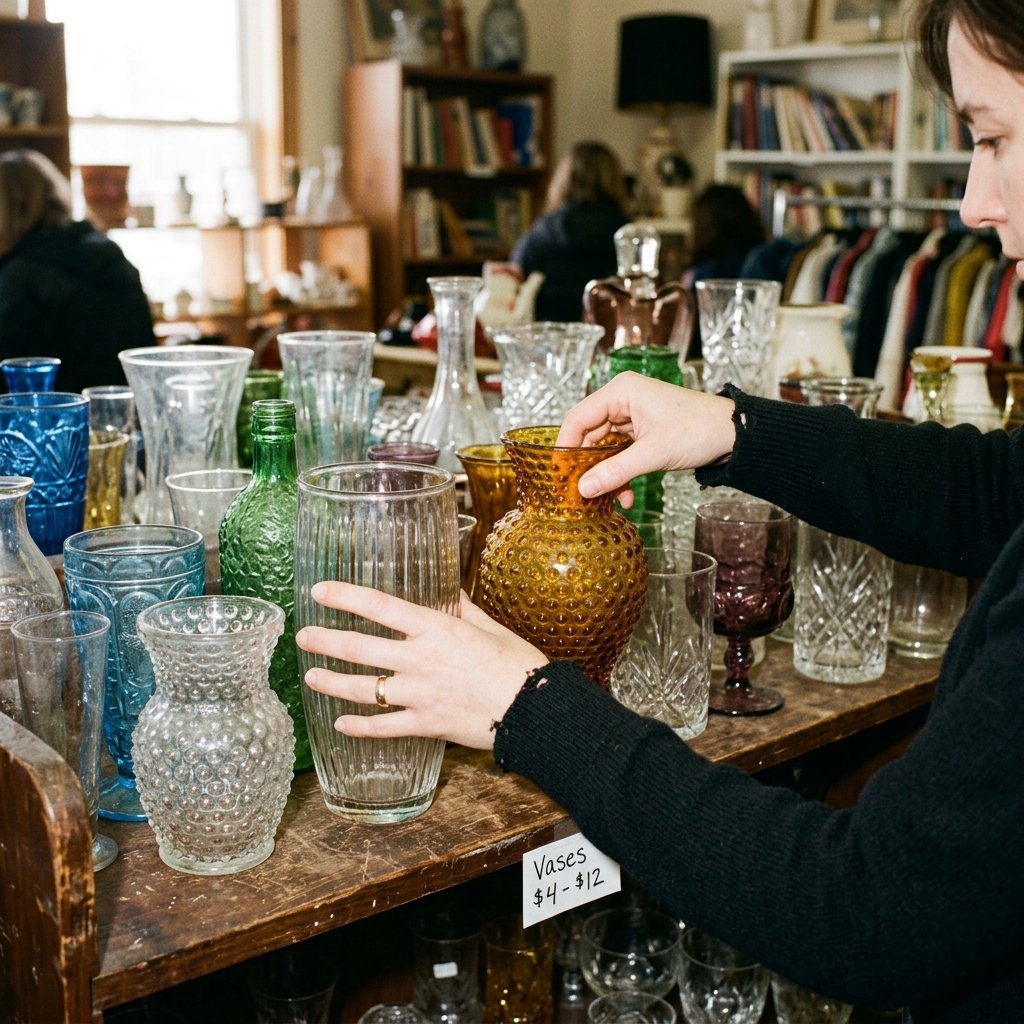
Finding the Diamonds in the Rough
The success of your milk glass dupe depends entirely on the shapes you choose. You aren’t looking for color; you are looking for texture and form. When walking the aisles of your local Goodwill or Habitat for Humanity ReStore, keep your eyes peeled for pieces that have ‘soul.’ Look for the following features:
- Hobnail Patterns: Those little raised bumps that catch the light beautifully once painted.
- Pedestal Bases: Compotes and candy dishes add height and a sense of ‘importance’ to a centerpiece.
- Fluted Edges: Scalloped or ruffled rims that mimic the delicate nature of real vintage glass.
- Tapered Necks: Perfect for single-stem floral arrangements.
Don’t be afraid of ugly colors! A neon green florist vase or a murky brown beer bottle can be transformed. The paint is the great equalizer. Use the table below to see how much you can save by choosing the DIY route over the antique or rental market.
| Item Type | Antique Store Price | Thrift Store DIY Cost | Total Savings |
|---|---|---|---|
| Hobnail Bud Vase | $18.00 | $0.99 | 94% |
| Large Pedestal Compote | $45.00 | $3.50 | 92% |
| Scalloped Edge Bowl | $22.00 | $1.50 | 93% |
Budget Mantra: It’s not about what it looks like now; it’s about the silhouette it casts once the color is uniform.
The Chemist’s Workbench: Choosing Your Weapons
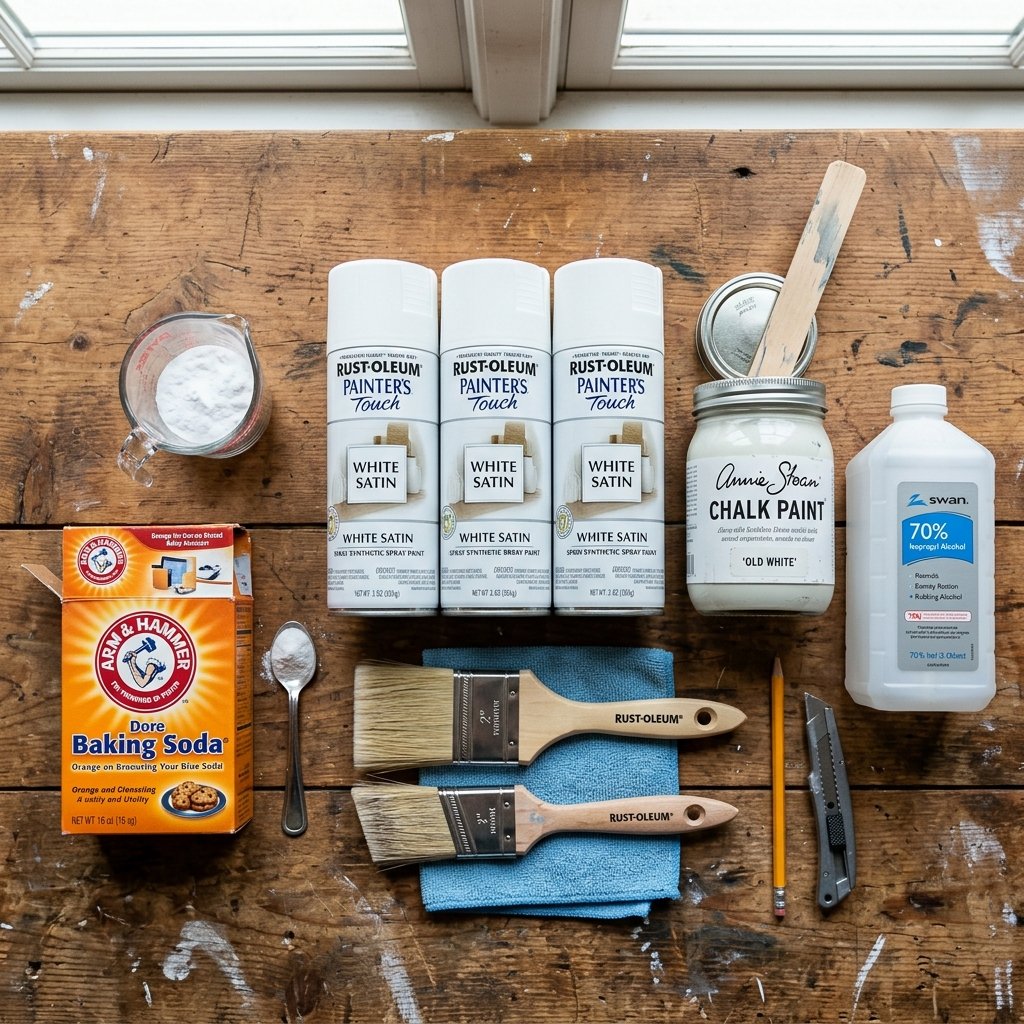
Selecting the Right Paint for a Porcelain Finish
To achieve that signature ‘milky’ look, you can’t just use any old white paint. You need a product that has high opacity and a specific sheen. In the world of DIY, we have two primary contenders: Chalk Paint and Satin Spray Paint.
Option 1: The Chalk Paint Method (The Most Realistic)
Chalk paint provides a matte, porous finish that looks remarkably like unglazed porcelain. When applied to glass, it creates a heavy, expensive feel. If you want a slightly aged look, this is your best bet. You can even mix in a bit of baking soda to your paint to create a ‘stone-ware’ texture that is incredibly trendy right now.
Option 2: The Satin Spray Paint Method (The Fastest)
If you are prepping 100 vases, efficiency is your best friend. A high-quality 2-in-1 Primer and Paint in a ‘Satin’ or ‘Eggshell’ finish will give you that soft, diffused glow that real milk glass possesses. Avoid ‘Gloss’ finishes, as they can make the glass look like cheap plastic.
Pro-Tip: Always use a primer specifically designed for slick surfaces. Look for brands that mention ‘bonding’ or ‘plastic/glass compatibility’ to ensure your paint doesn’t peel off mid-wedding.
The Master’s Process: Step-by-Step Transformation
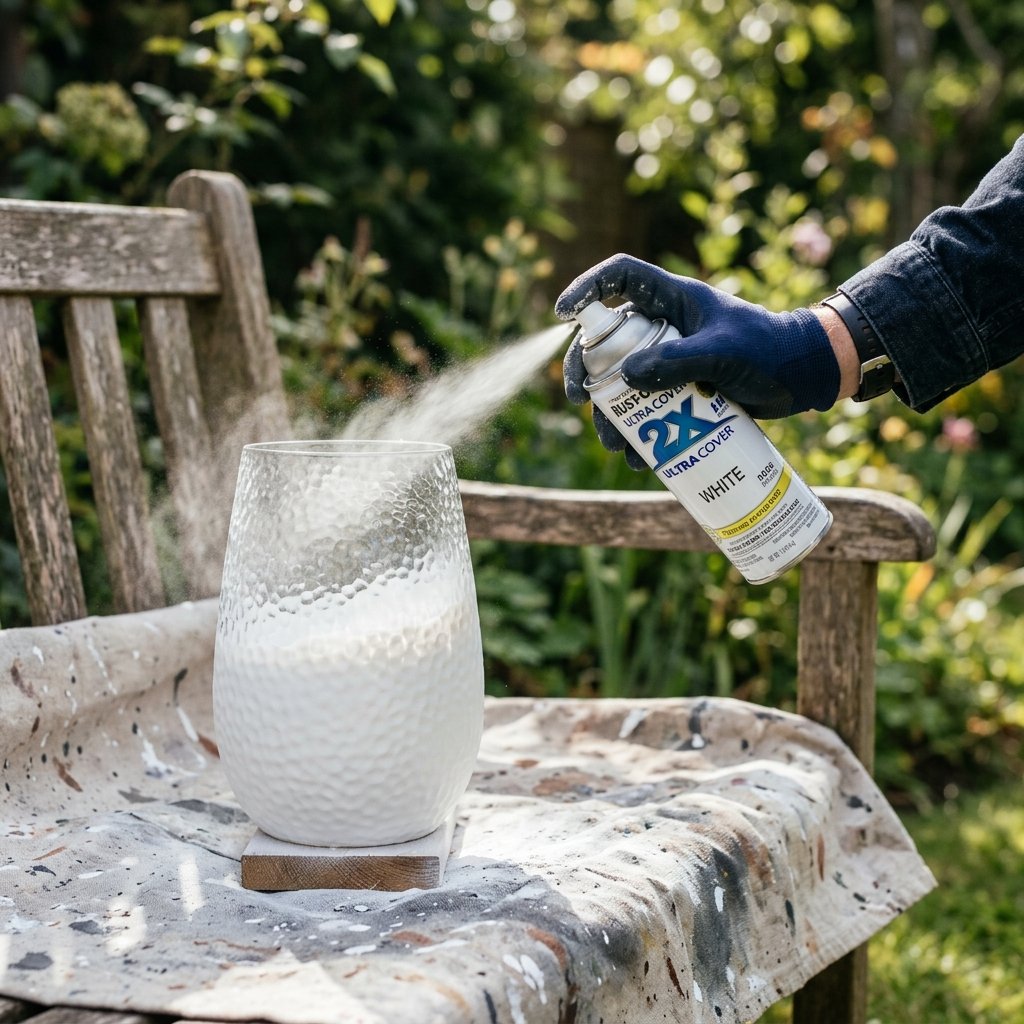
Executing the Perfect Finish
Preparation is 90% of the work. If your glass is dirty or oily, the paint will bubble and flake. Follow these steps for a professional, rugged finish that will last through the wedding and beyond.
- The Vinegar Soak: Submerge your thrifted finds in a mixture of warm water and white vinegar for 20 minutes. This removes old price tag residue and grease.
- The Alcohol Wipe: Once dry, wipe the exterior of the glass with 91% isopropyl alcohol. This ensures a sterile surface for the paint to bond to.
- The Interior Secret: If you want the glass to remain food-safe or hold water for real flowers, never paint the inside. Tape off the rim with painter’s tape.
- Light, Even Coats: Whether brushing or spraying, apply 3 thin layers rather than one thick one. Wait 15 minutes between coats.
- The Curing Phase: This is the hardest part. Let the glassware sit in a dust-free environment for at least 48 hours before handling.
| Process Step | Time Required | Critical Tool |
|---|---|---|
| Cleaning | 30 Minutes | Vinegar/Alcohol |
| Painting | 60 Minutes | Satin White Paint |
| Curing | 48 Hours | Patience |
Advanced Texturing: Faux-Hobnail and Relief Hacks
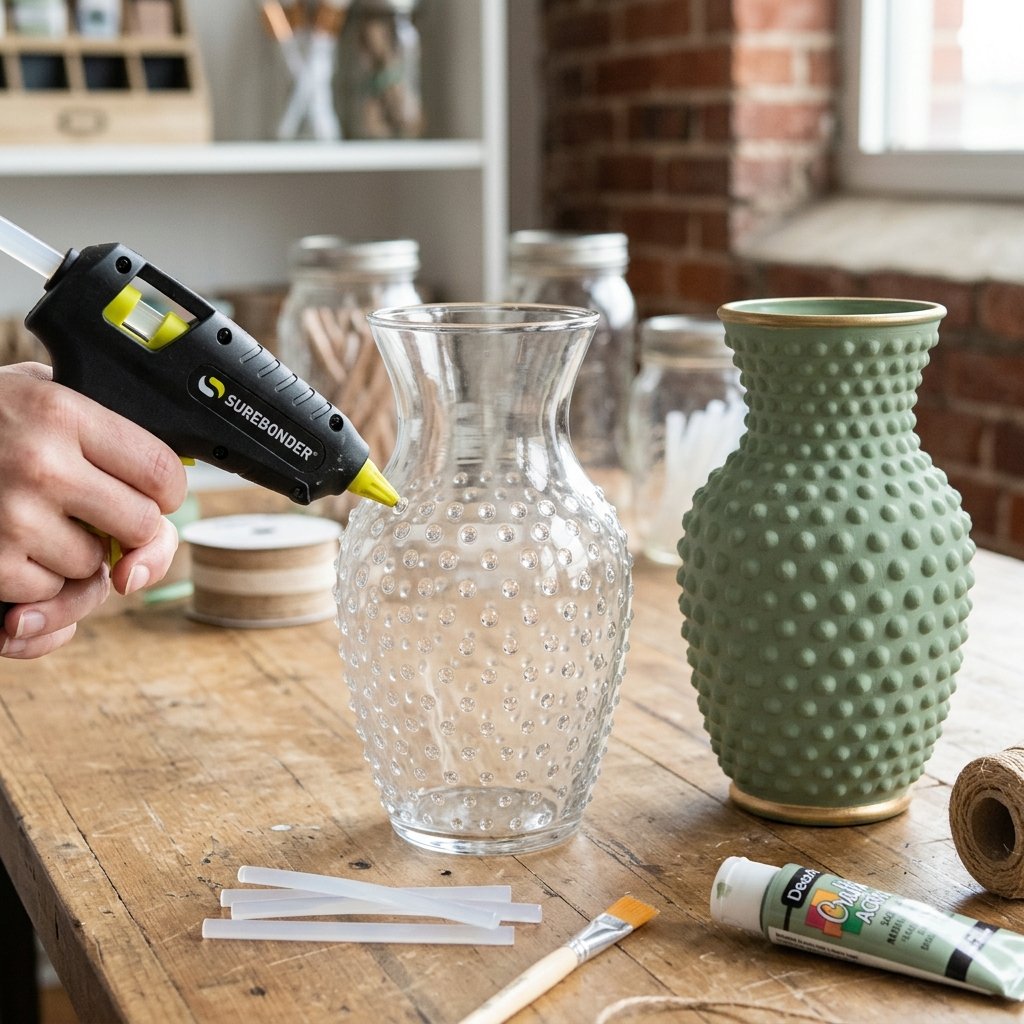
Creating Texture Where There Is None
Sometimes you find a vase with a perfect shape but a boring, smooth surface. As a crafty expert, you can fix that. You can create a ‘faux-hobnail’ effect using a hot glue gun or puff paint.
The Hot Glue Method
Before painting, mark a grid on your glass with a washable marker. Apply small, uniform dots of hot glue to each intersection. Once the glue hardens, paint over the entire piece. The paint hides the glue’s transparency, leaving you with a perfect 3D texture that looks like authentic vintage glass.
The Baking Soda Trick
For a more ‘earthenware’ or ‘matte milk glass’ look, mix one part baking soda with two parts acrylic paint. The reaction creates a thick, textured paste. Apply it with a sponge for a pitted, antique stone look that is very popular in high-end home decor boutiques.
“Texture is the difference between a project that looks like a ‘craft’ and a piece that looks like an ‘artifact’.” — The Frugal Guru
Styling Your Masterpieces: Tablescape Strategy
Arranging Like a Professional Event Stylist
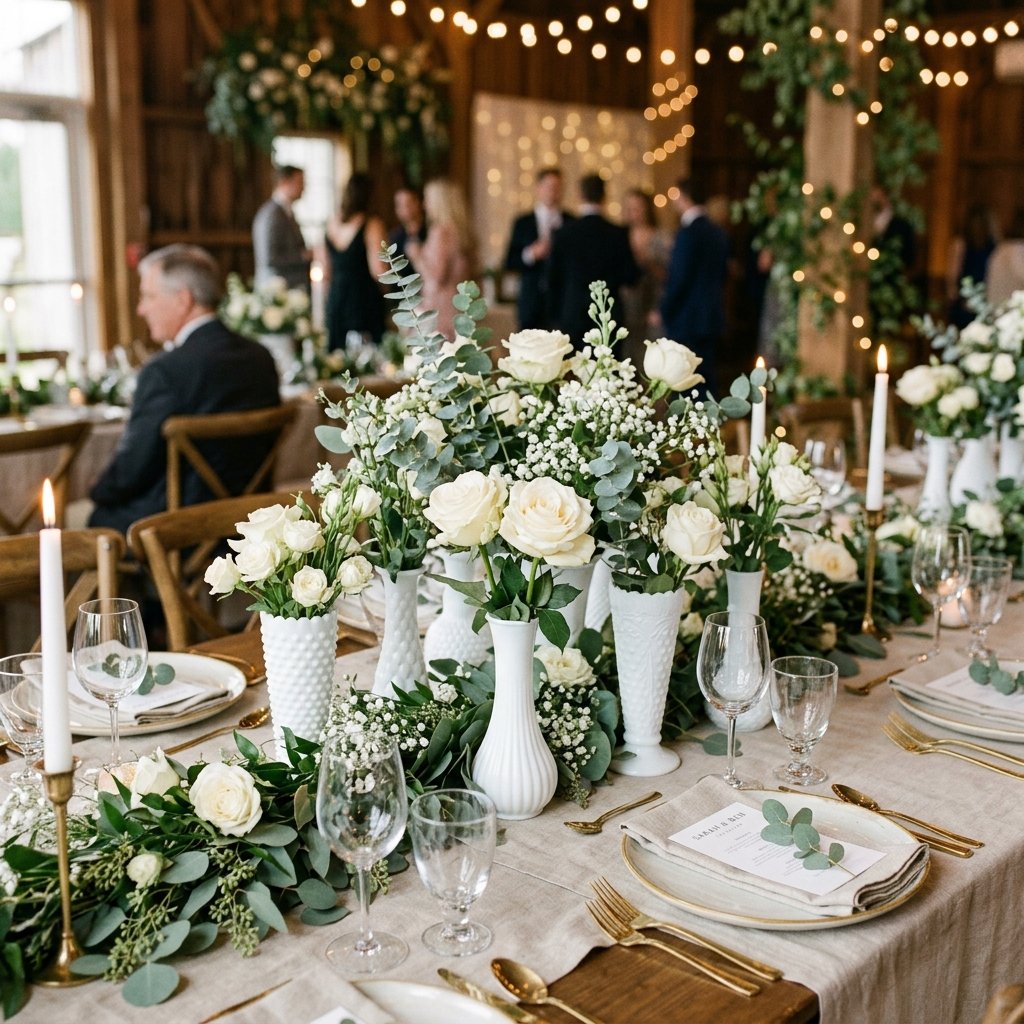
Now that you have your collection of ‘milk glass,’ it’s time to arrange them. The key to a high-end look is varied heights and odd numbers. Don’t just put one vase in the center of the table; create a ‘vignette’.
- The Rule of Three: Group a tall bud vase, a medium compote, and a small votive holder together.
- Monochromatic Magic: Use all white flowers (roses, ranunculus, babies breath) for a sophisticated, clean look.
- The Greenery Contrast: Use eucalyptus or ferns to provide a sharp contrast against the stark white glass.
| Table Type | Arrangement Style | Recommended Pieces |
|---|---|---|
| Round Table | Cluster | 3-5 pieces of varying heights |
| Long Trestle | Runner | 10-12 small bud vases in a line |
| Sweetheart Table | Statement | 2 large compotes with overflowing greenery |
Conclusion
The Final Reveal: Luxury on a Dime
By the end of this project, you will have a collection of stunning wedding centerpieces that look like they were plucked from a high-end antique shop. You’ve taken discarded glass and, through the power of resourcefulness and a little bit of paint, turned it into bridal treasure. The best part? You likely saved over $500 on your decor budget—money that can now be spent on your honeymoon or a down payment on a home.
Remember, the essence of the ‘Frugal Guru’ lifestyle isn’t just about saving money; it’s about the pride of craftsmanship. When your guests admire the beautiful vintage vibes of your tablescapes, you’ll know that every piece was hand-curated and custom-finished by you. Now, go forth, hit those thrift stores, and start your transformation!

Makenzie is the founder and lead writer at MoneyHackTips.com — a personal finance blog dedicated to delivering street-smart financial wisdom for real people on real budgets. With 300+ published articles covering everything from debt management to investing fundamentals, Makenzie’s mission is to make every dollar work harder. When not writing about money hacks, Makenzie is testing frugal living strategies, optimizing side hustles, and helping readers build financial freedom from scratch.