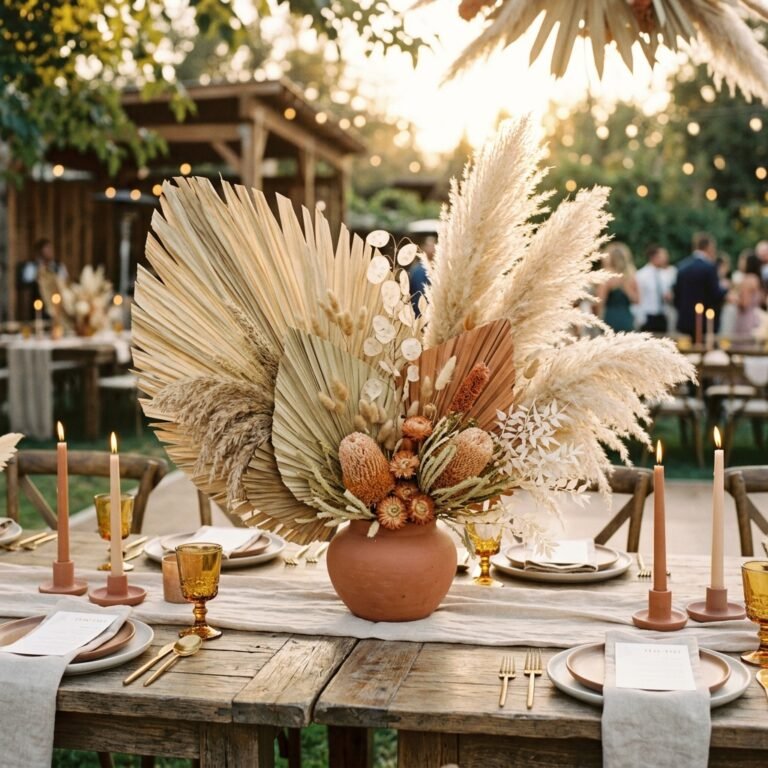

The Art of the Bespoke Budget Wedding
Let’s be honest: wedding planning can quickly turn into a financial whirlwind where a single ‘custom’ sign can cost more than a week’s worth of groceries. But here’s the secret the high-end planners don’t want you to know: elegance isn’t about the price tag; it’s about the execution. As a frugal DIYer, you have a superpower. You see a dusty wine bottle and see a matte-black industrial centerpiece. You see a discarded wood pallet and see rugged, rustic table markers. Your wedding table numbers shouldn’t just be functional—they should be conversation starters. In this masterclass, we are going to dive into 10 stunning DIY table number projects that combine masculine-elegant aesthetics with budget-savvy resourcefulness. We’re talking about high-impact, low-cost designs that will have your guests asking, ‘Where did you buy those?’ only for you to reply with a clever grin, ‘I made them.’
The Financial Breakdown: DIY vs. Boutique Prices
Why DIYing Your Table Numbers is a Financial Win
Before we pick up a glue gun or a drill, let’s look at the hard numbers. When you order custom acrylic or laser-cut wood table numbers from boutique Etsy shops, you aren’t just paying for materials; you’re paying for labor, overhead, and shipping. By taking the ‘Crafty-Expert’ route, you can save upwards of 90% on your decor budget, allowing you to reallocate those funds to what really matters—like the open bar or a better photographer.
| Item Style | Boutique/Rental Price (Per Unit) | DIY Estimated Cost (Per Unit) | Total Savings (15 Tables) |
|---|---|---|---|
| Gold Foil Acrylic | $12.00 – $18.00 | $1.50 | $157.50 – $247.50 |
| Hand-Painted Wood Slices | $10.00 – $15.00 | $0.50 (if sourced) | $142.50 – $217.50 |
| Industrial Copper Pipe | $20.00 – $25.00 | $4.00 | $240.00 – $315.00 |
| Vintage Book Stacks | $15.00+ | $1.00 (Thrifted) | $210.00+ |
Budget Mantra: A dollar saved on a sign is a dollar earned for the honeymoon. Spend your time, not your treasure.
1. The Industrial Copper Pipe Frame
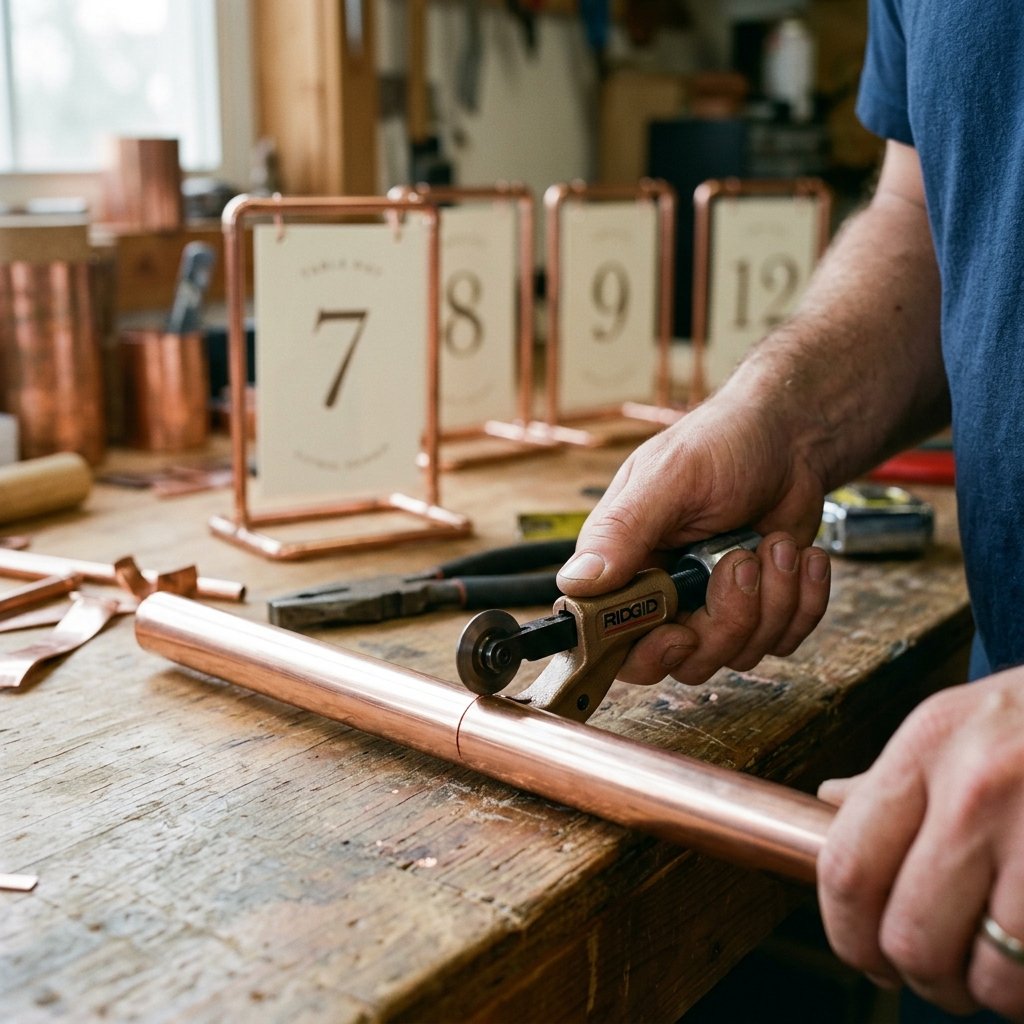
Rugged Elegance for the Modern Couple
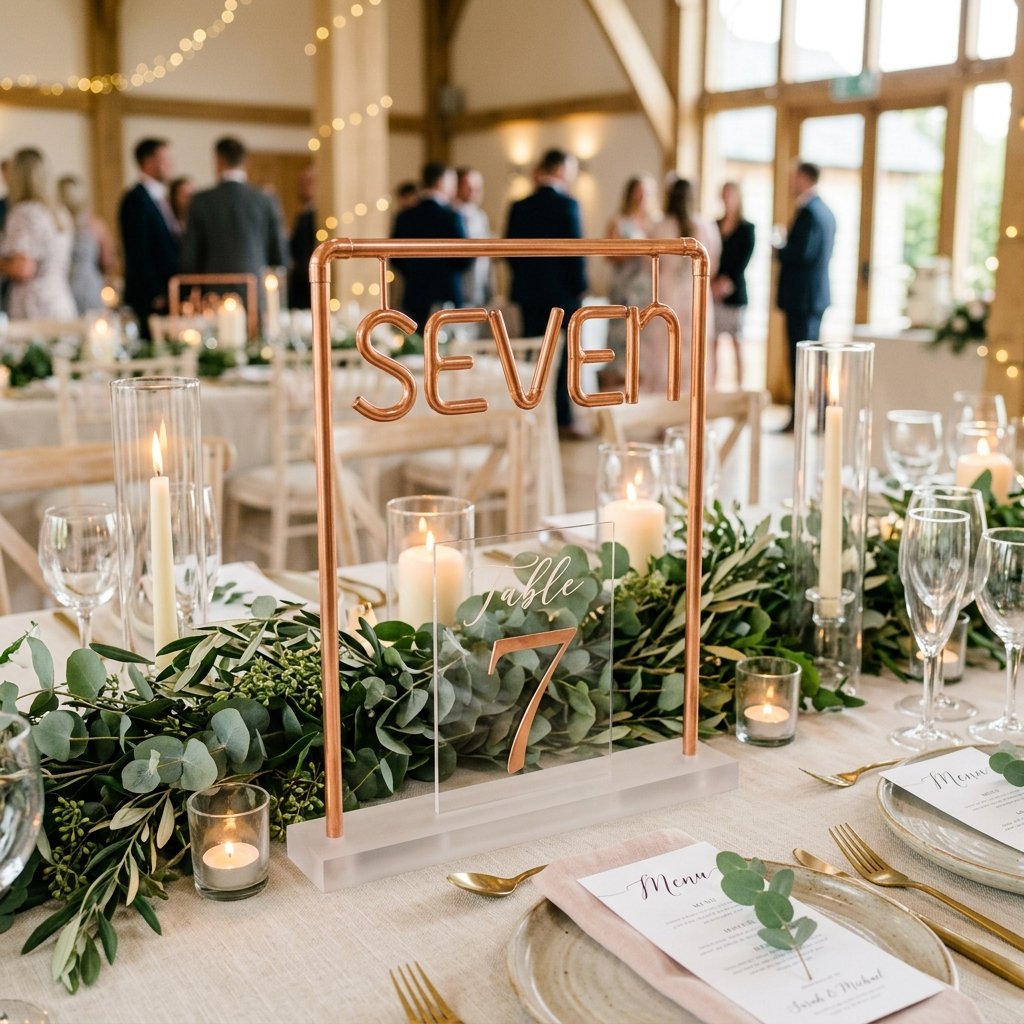
For a wedding that leans into an industrial-chic or ‘Masculine-Elegant’ vibe, nothing beats the warm, polished glow of copper. This project uses standard plumbing parts from the hardware store to create a stand that looks like a custom metalwork piece.
- Materials: 1/2-inch copper pipe, 90-degree copper elbows, copper T-junctions, pipe cutter, and cardstock.
- Step 1: Cut your copper pipe into pieces: two 6-inch vertical segments and one 5-inch horizontal segment for each stand.
- Step 2: Assemble the ‘U’ shape using the 90-degree elbows.
- Step 3: Create the base using T-junctions and small 2-inch ‘feet’ to ensure stability.
- Step 4: Polish the copper with a bit of lemon juice and salt for a high-shine finish, or let it patina for a more rugged look.
Hang your table numbers using small ‘S’ hooks or even simple twine for a touch of texture. Total time per unit: 8 minutes.
2. The ‘Floating’ Acrylic Dollar Tree Hack
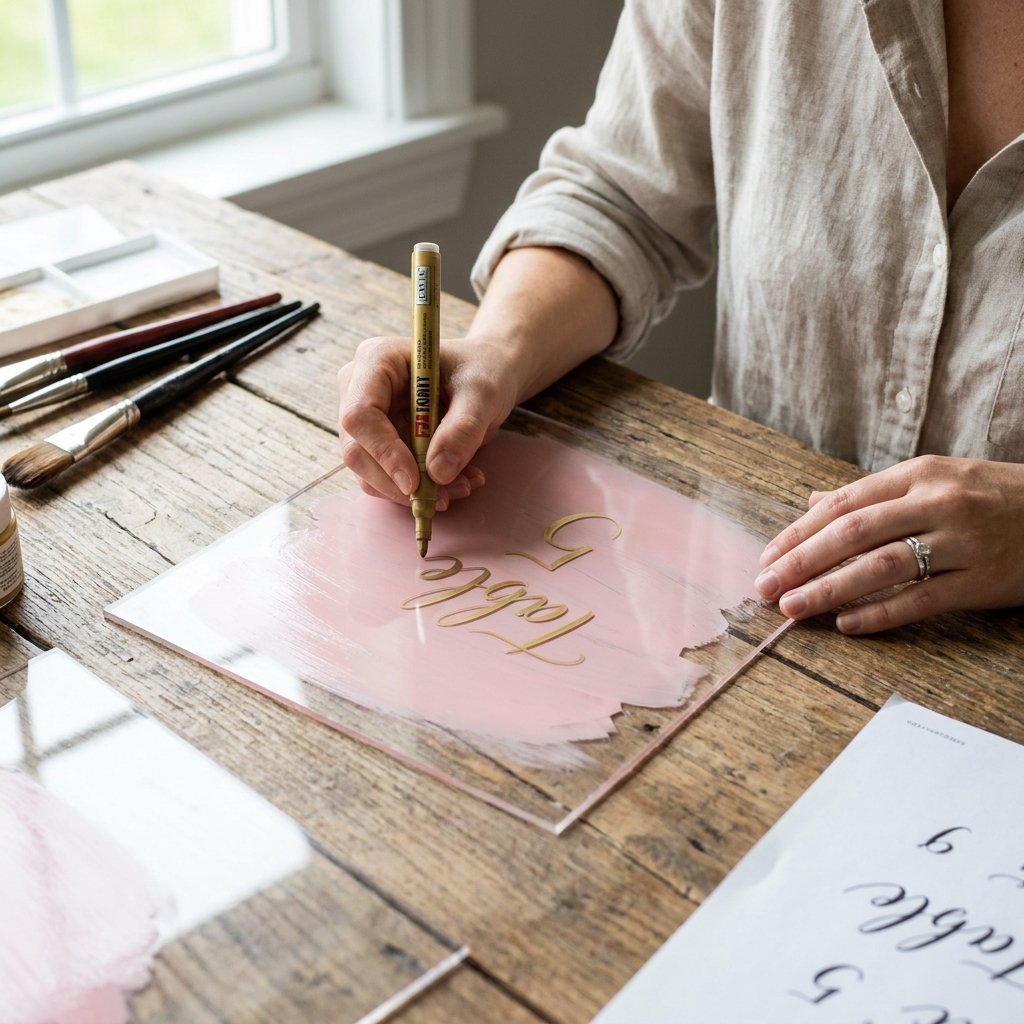
High-End Minimalism for $1.25
If you want that ultra-modern, ‘floating’ text look without the $20-per-piece price tag, head to the nearest dollar store. This is a classic ‘Dollar Tree Dupe’ that looks like it came straight from a luxury wedding catalog.
The Process:
- Purchase basic 5×7 plastic frames. Remove the backing and the stand, keeping only the glass/plastic sheet.
- Clean the surface thoroughly with rubbing alcohol to remove fingerprints.
- Place a printed template of your number underneath the glass.
- Using a white or gold oil-based paint marker, carefully trace the number onto the glass.
- Apply a ‘brushstroke’ of acrylic paint on the back side of the glass in your wedding colors (terracotta, sage, or dusty blue work beautifully).
The result is a professional-grade, multi-dimensional table number that costs less than a cup of coffee. Total Savings: 100% compared to custom acrylic orders.
3. The Upcycled Wine Bottle ‘Chalkboard’
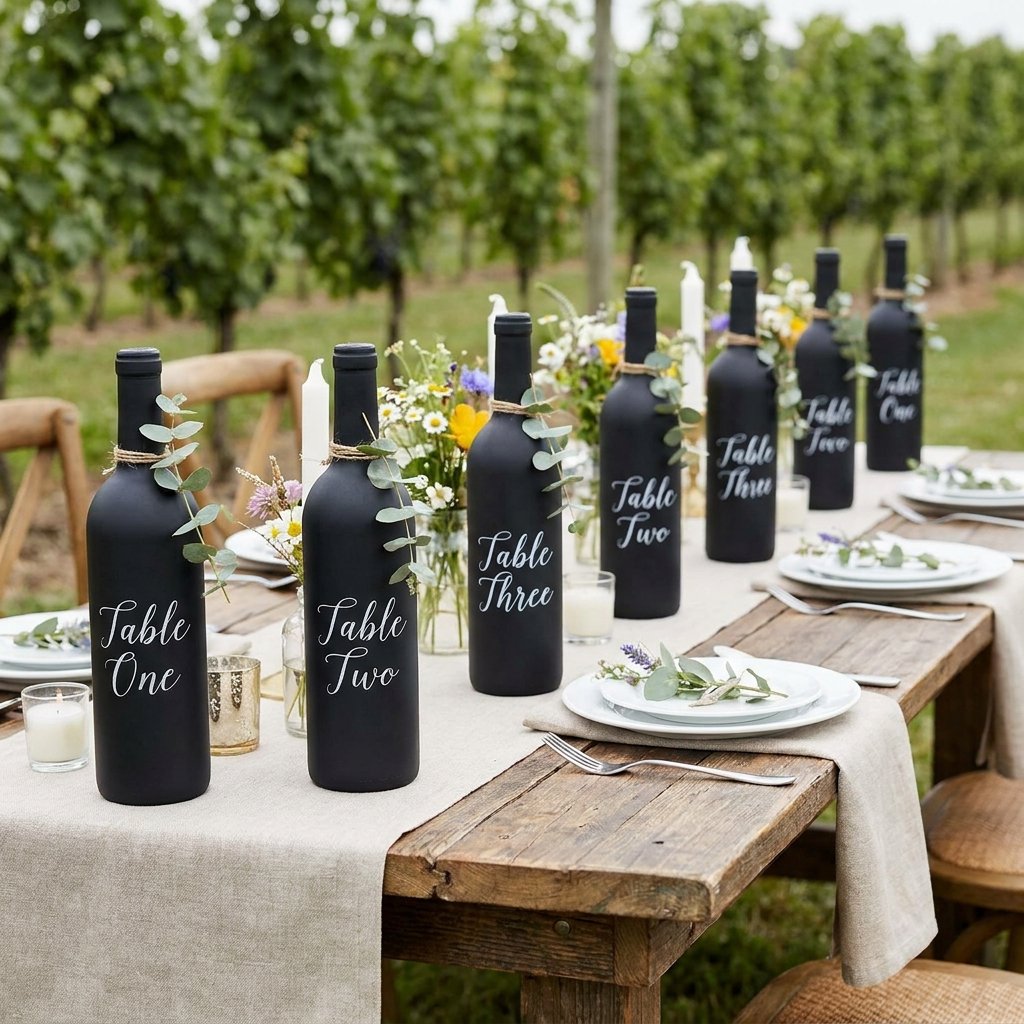
Turning Trash into Rustic Treasure
This is the ultimate ‘Resourceful & Creative’ project. Instead of recycling your wine bottles, start saving them months in advance. A uniform coat of paint can transform a mismatched collection of glass into a cohesive set of table markers.
Pro-Tip: To remove stubborn label glue, mix equal parts baking soda and cooking oil. Rub it on the residue, let it sit for 10 minutes, and wipe clean. No expensive chemicals needed!
Once clean, spray the bottles with matte black chalkboard spray paint. Once dry, you can use a chalk marker to write the table number in elegant script. For a more ‘Masculine-Elegant’ touch, wrap the neck of the bottle in thick jute twine or a strip of leather. These also double as bud vases for a single stem of greenery.
4. Vintage Book Stacks for the Literary Soul
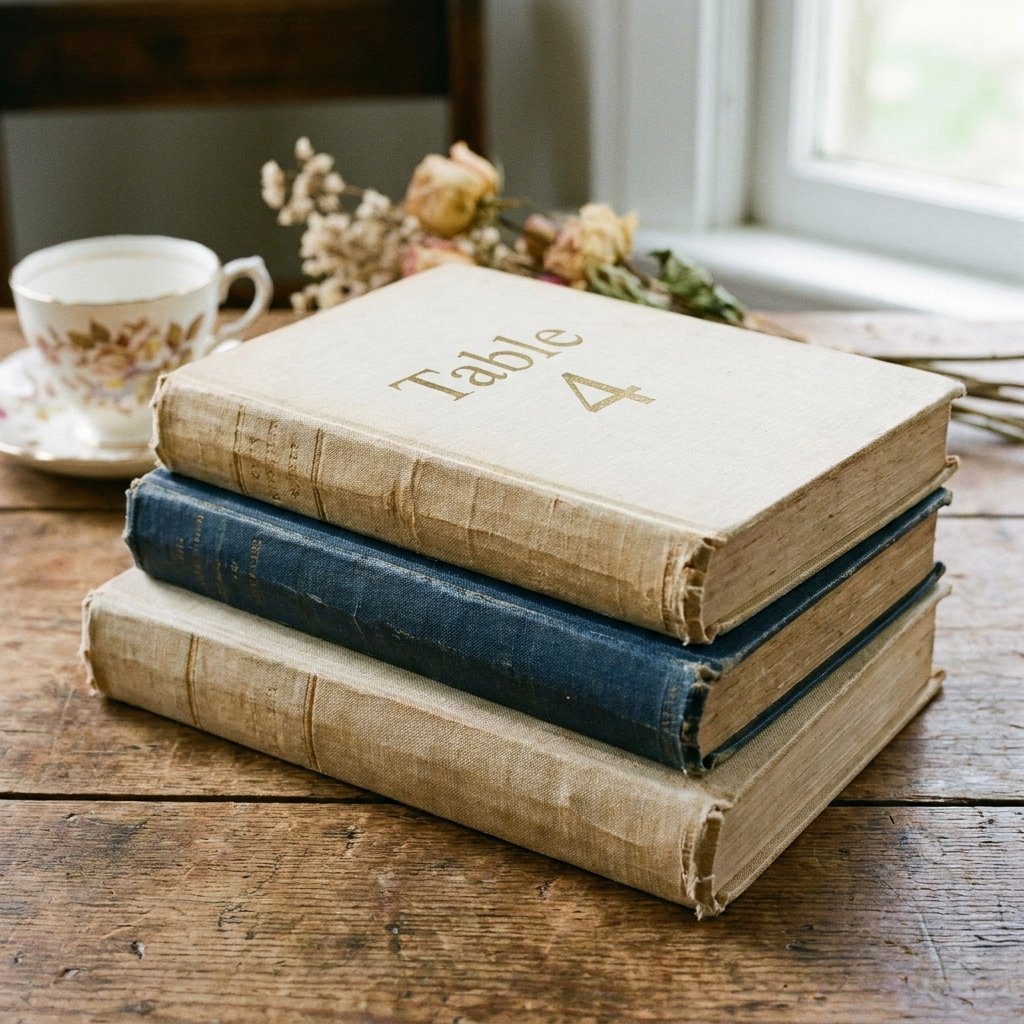
A Clever & Budget-Savvy Centerpiece
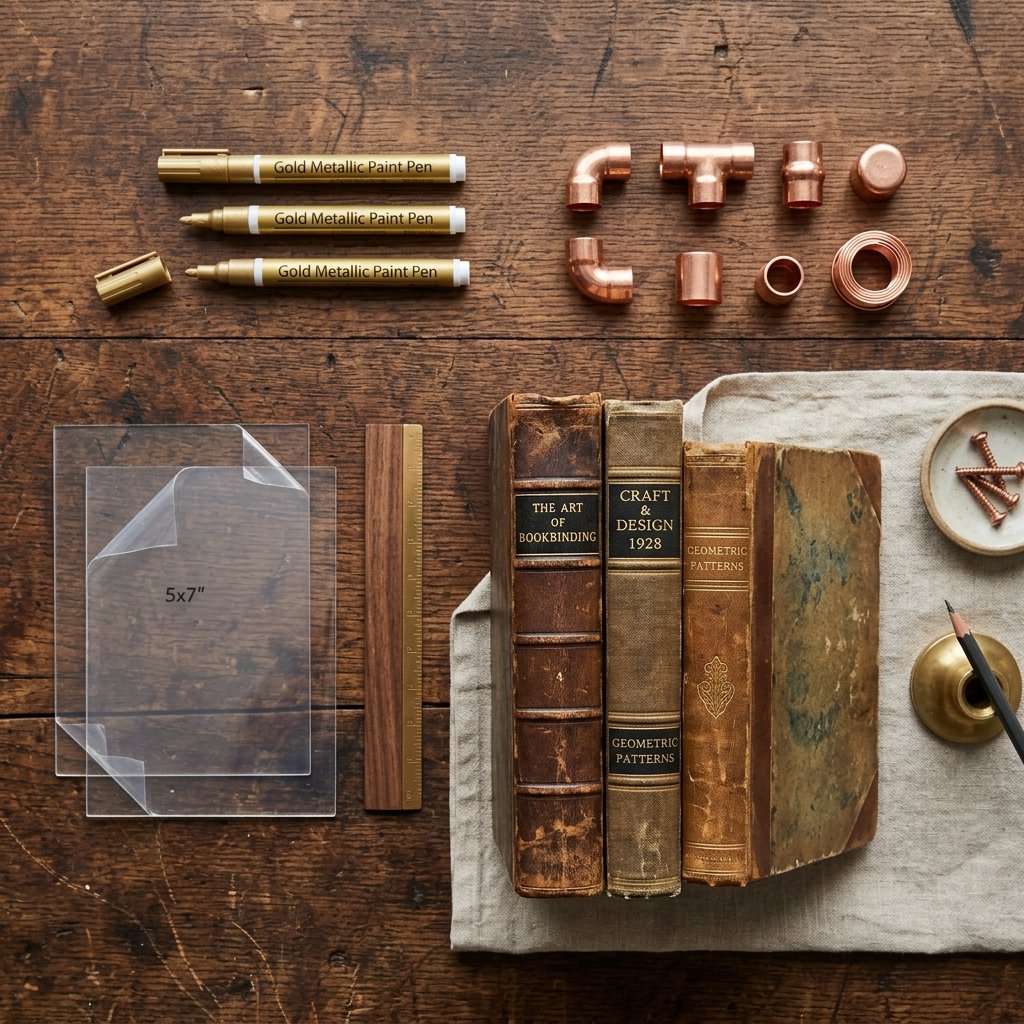
For couples who love a good story, using vintage books as table numbers is both charming and incredibly affordable. Scour thrift stores for books with interesting spines or linen covers in your wedding color palette.
- Sourcing: Look for the ‘fill-a-bag’ sales at local libraries where you can get 20 books for $5.
- The Technique: Stack 2-3 books horizontally. You can either stencil the number directly onto the spine using a gold paint pen or print a ‘bookplate’ and glue it to the front cover.
- Styling: Tie the stack together with a velvet ribbon or a piece of leather cord for a rugged, sophisticated finish.
This idea is a 10/10 for sustainability and adds an instant ‘old-world’ vibe to your reception tables.
5. The Rugged Wood Slice Burn
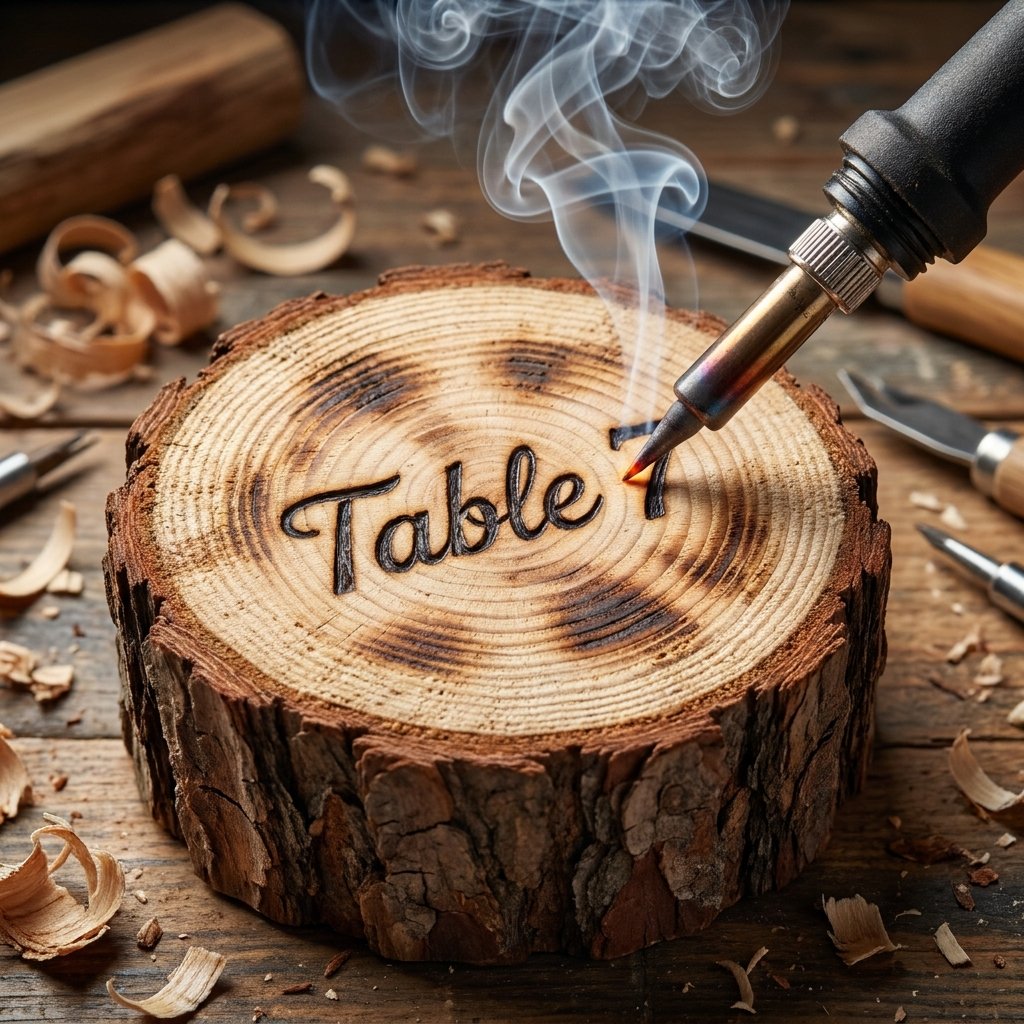
Natural Beauty with a Crafty-Expert Edge
If you have access to a fallen tree limb and a chainsaw (or a friend who does), this project is completely free. If not, wood slices are readily available at craft stores for pennies.
How to Achieve the Look:
- Sand the surface of the wood slice until it is smooth to the touch.
- Use a wood-burning tool (pyrography) to burn the table numbers into the grain. This creates a permanent, rugged look that smells amazing.
- Alternatively, use a carbon paper transfer to trace a complex design before painting it with black acrylic.
- Seal with a quick spray of clear matte lacquer to prevent the bark from peeling.
Safety Note: When using a wood-burning tool, always work in a well-ventilated area and keep the hot tip away from flammable materials. Wear a mask if you are burning treated wood.
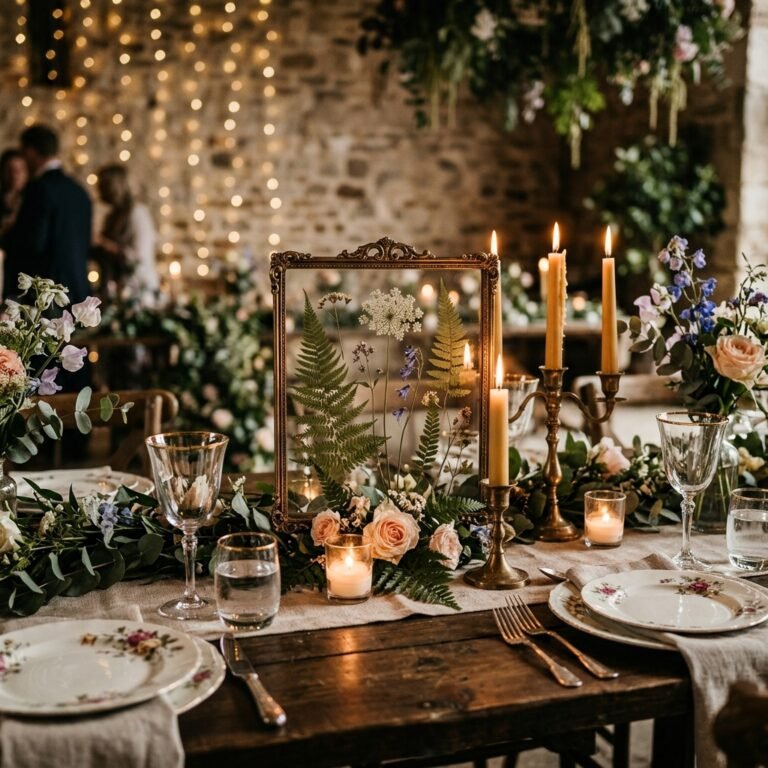
6. The Pressed Flower Frame
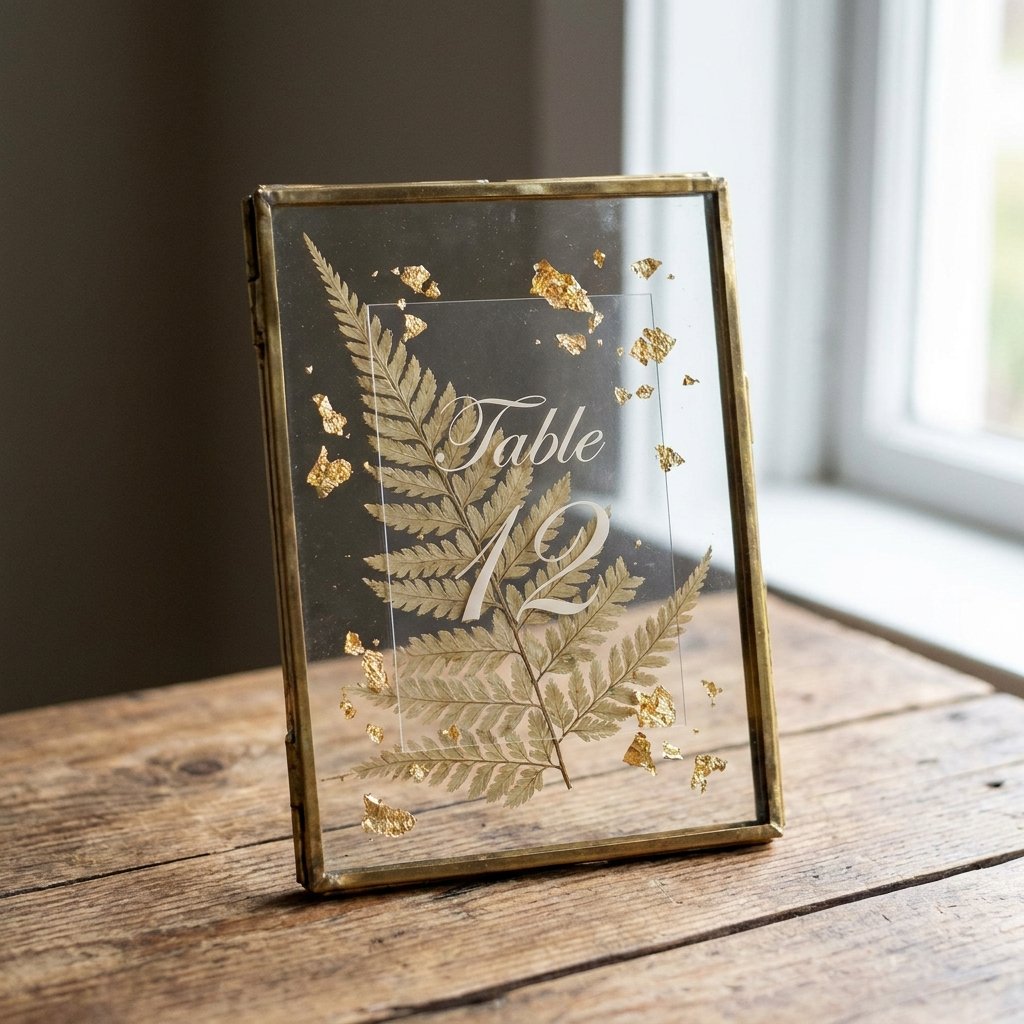
Delicate Craftsmanship for the Budget Bride
This project is perfect for a spring or garden wedding. It combines the ‘Floating Frame’ concept with natural elements. You can even use flowers from your own garden to make it extra personal.
Materials & Ratio Table:
| Material | Quantity | Purpose |
|---|---|---|
| Double-Glass Frame | 1 per table | Housing the design |
| Pressed Ferns/Flowers | 3-5 stems | Natural aesthetic |
| Gold Leaf Flakes | Small pinch | Touch of luxury |
| Transparency Film | 1 sheet | Printing the number |
Print your table numbers onto clear transparency film. Sandwich the film and the pressed flowers between the two panes of glass. The result is a botanical masterpiece that looks like it belongs in a high-end boutique.
7. The Terra Cotta Pot Planter

Functional, Earthy, and Encouraging
Why settle for a sign when your table number can be part of the floral arrangement? Terra cotta pots are incredibly cheap (often under $1.00 for small ones) and offer a beautiful, earthy texture.
- The ‘Aged’ Trick: To make new pots look vintage, wipe them with a thin layer of white lime wax or even watered-down white paint.
- The Numbering: Use a stencil and black paint to add the number to the side of the pot.
- The Filling: Fill with moss, succulents, or herbs like rosemary or lavender.
These serve as both the table number and a portion of your centerpiece, saving you even more on floral costs. Total DIY effort: Low. Visual Impact: High.
8. The Hand-Embroidered Hoop
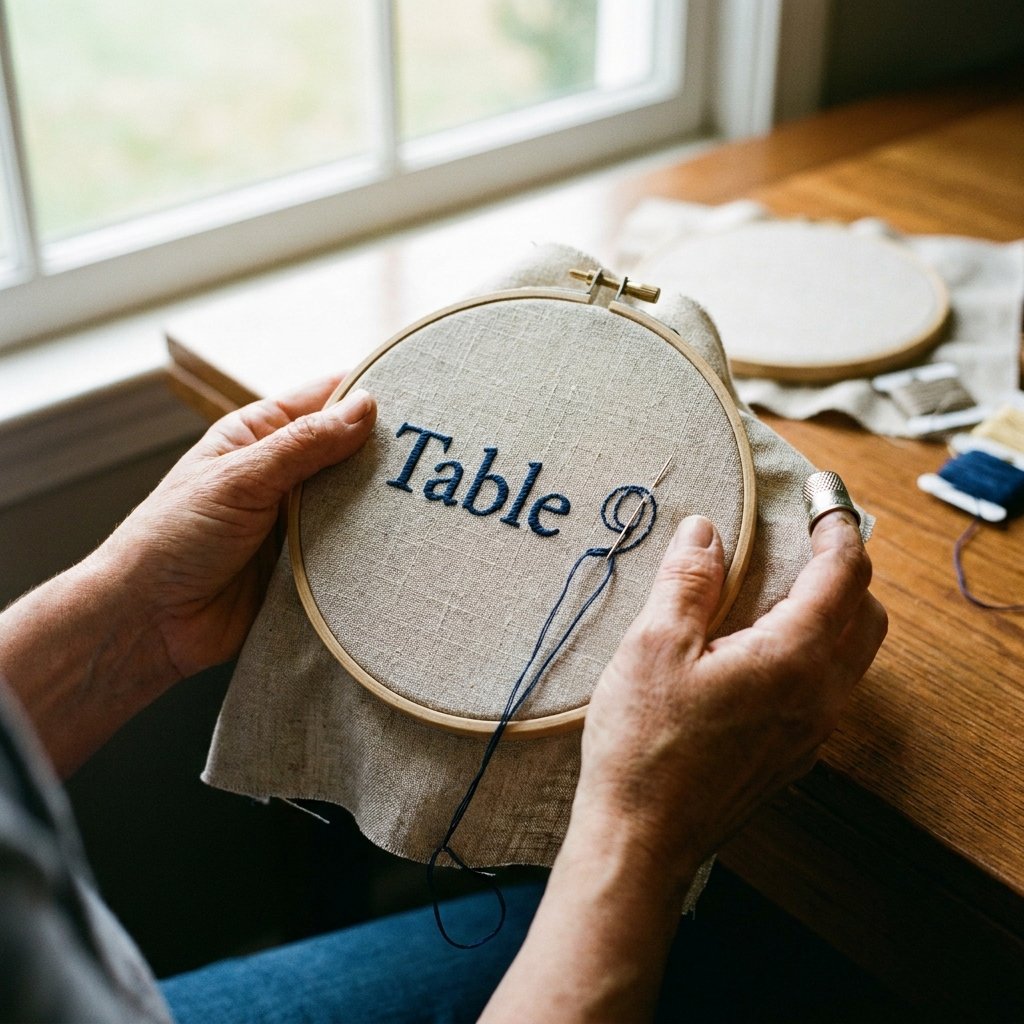
A Master Tailor’s Touch on a Dime
For the crafty gift-giver or the DIYer with a bit of patience, embroidery hoops offer a soft, tactile alternative to paper or wood. This is a great way to incorporate fabric textures like linen or cheesecloth into your tablescape.
Step-by-Step:
- Tighten a piece of neutral linen fabric into a 4-inch or 6-inch embroidery hoop.
- Trace your number onto the fabric using a water-soluble pen.
- Use a simple backstitch or satin stitch with embroidery floss in a contrasting color.
- Trim the excess fabric and hot glue the edges to the inside of the hoop for a clean finish.
These look stunning propped up on small wooden easels or leaned against a lantern. Cost: ~$2.00 per hoop.
9. The Mirrored Tile Glamour
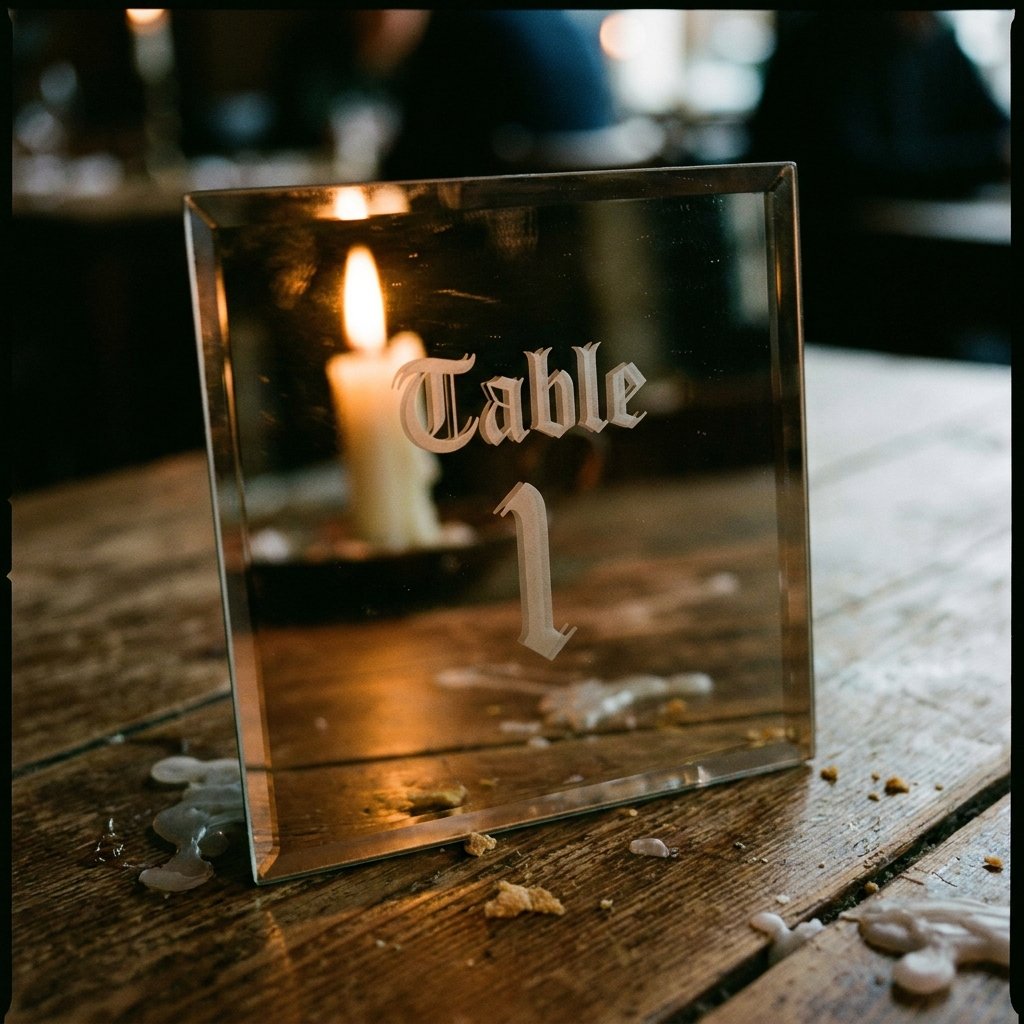
Reflective Elegance for Evening Receptions
Want to add some sparkle without the ‘glitter’ mess? Use mirrored glass tiles from the flooring department of your local hardware store. They are heavy, high-quality, and reflect candlelight beautifully.
Buy a box of 4×4 or 6×6 mirrored tiles. Use a glass etching cream and a stencil to create a permanent, frosted look for the numbers. This is a ‘Crafty-Expert’ technique that looks incredibly expensive. If etching feels too daunting, a white permanent paint pen works just as well and provides a crisp, clean look against the reflective surface.
10. The Scrabble Tile Stand
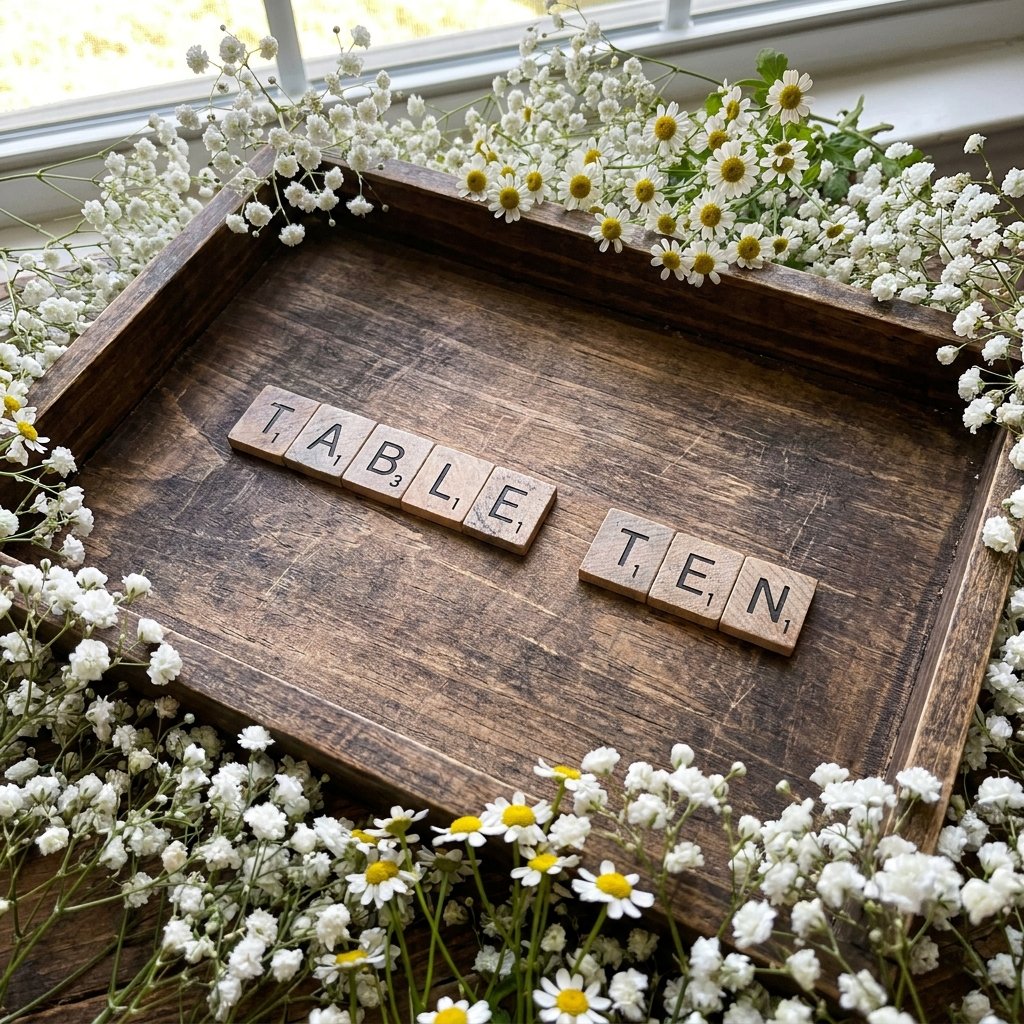
Playful, Clever, and Upcycled
For the couple who loves game night, this is the ultimate ‘Trash-to-Treasure’ hack. Scour garage sales for old Scrabble games with missing pieces—you only need the tiles and the wooden racks.
- The Setup: Use the wooden rack to hold the tiles spelling out ‘ONE’, ‘TWO’, etc.
- The Customization: Stain the wooden rack a dark walnut for a more ‘Masculine-Elegant’ look.
- The Stability: Use a small dab of wood glue to secure the tiles so they don’t get knocked over during the reception.
This idea is budget-savvy and adds a whimsical, personal touch that guests will definitely ‘rant and rave’ about.
Conclusion
Your Tables, Your Story
Creating your own wedding table numbers isn’t just about saving a few bucks—though the hundreds of dollars you’ll save is a fantastic bonus. It’s about infusing your celebration with your own creativity, resourcefulness, and style. Whether you choose the rugged copper pipes, the minimalist acrylic sheets, or the clever vintage books, your guests will appreciate the effort and thought you put into every detail. Remember, the best DIY projects are the ones that make you feel proud every time you look at them. So, grab your materials, channel your inner ‘Crafty-Expert,’ and get to work. Your dream wedding is just a few clever hacks away!

Makenzie is the founder and lead writer at MoneyHackTips.com — a personal finance blog dedicated to delivering street-smart financial wisdom for real people on real budgets. With 300+ published articles covering everything from debt management to investing fundamentals, Makenzie’s mission is to make every dollar work harder. When not writing about money hacks, Makenzie is testing frugal living strategies, optimizing side hustles, and helping readers build financial freedom from scratch.