
The Art of the High-Stakes Handout
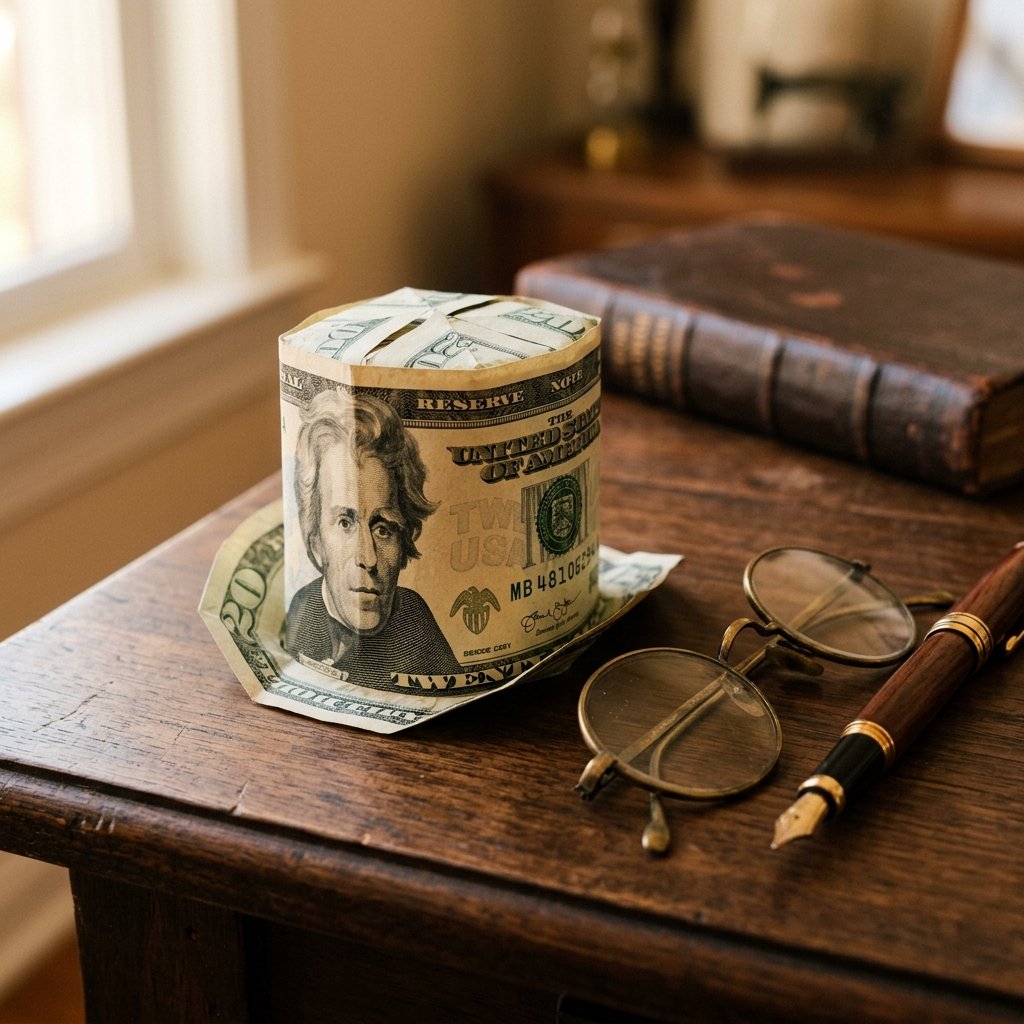
Let’s be honest: giving cash can sometimes feel a bit… uninspired. While everyone loves the utility of a $20 or $50 bill, handing over a plain white envelope feels like a transaction, not a gift. But what if you could transform that currency into a miniature work of architectural art? Enter the Money Origami Top Hat. This isn’t just a craft; it’s a statement of effort, resourcefulness, and masculine elegance. Whether you are looking for a clever way to tip at a high-end gala or a sophisticated graduation gift, this tutorial will teach you how to turn paper tender into a three-dimensional masterpiece that the recipient will likely want to keep on their shelf rather than spend immediately.
Strategic Preparation: Choosing Your Currency and Tools
Selecting the Right Bill
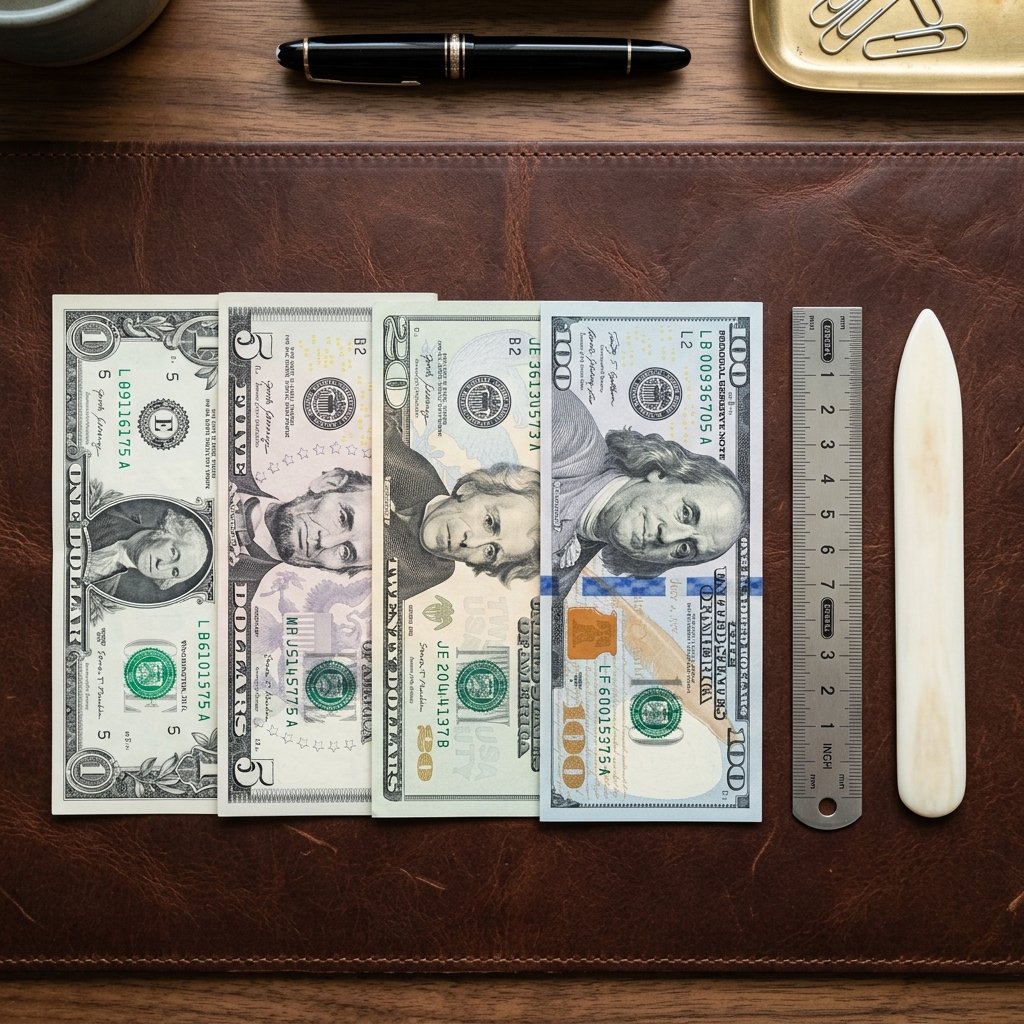
Before you make your first fold, you need to assess your materials. Not all bills are created equal in the world of origami. For a top hat that holds its shape and looks professional, you want a bill that is as crisp as a freshly ironed shirt. A limp, wrinkled bill will result in a soggy-looking hat that lacks the structural integrity required for that iconic silhouette.
The Visual Impact Matrix
Depending on the occasion, the denomination you choose sends a specific message. Use the table below to strategize your gifting impact:
| Bill Denomination | Visual Vibe | Recommended Occasion |
|---|---|---|
| $1 Bill | Playful & Crafty | Practice rounds or ‘just because’ tokens. |
| $5 Bill | Understated Class | Small ‘thank you’ gestures or clever tips. |
| $20 Bill | The Gold Standard | Graduations, birthdays, and Father’s Day. |
| $50 or $100 Bill | High-End Luxury | Weddings, milestone anniversaries, or major promotions. |
Pro-Tip: If your cash is looking a bit weary, you can actually iron it on a low, dry heat setting. This removes wrinkles and makes the fibers more receptive to the sharp, precise creases required for this tutorial.
Step-by-Step Blueprint: Folding the Foundation
The Initial Creasing
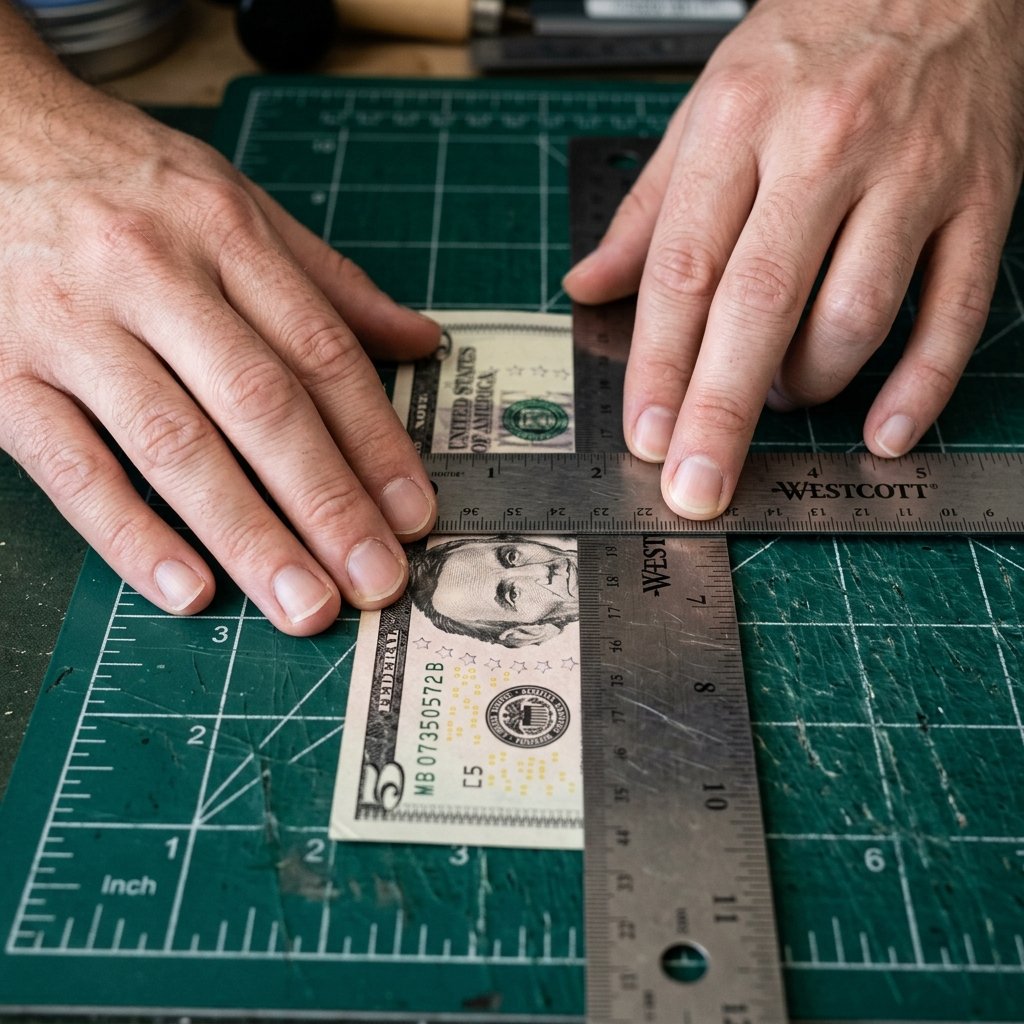
Precision is the hallmark of the clever crafter. To ensure your top hat doesn’t lean like the Tower of Pisa, follow these steps with absolute accuracy.
- The Long Fold: Lay the bill flat on a hard surface. Fold it in half lengthwise (hot dog style), making a sharp crease. Unfold it.
- The Quarter Folds: Fold the top and bottom edges inward to meet that center crease you just made. You now have a long, skinny rectangle.
- The Center Mark: Fold the bill in half widthwise (hamburger style) to find the center point. Crease and unfold.
- The Corner Tucks: Take the top two corners and fold them down to meet the center line, creating two triangles. This forms the ‘peak’ that will eventually become the crown.
- The Brim Flip: Take the bottom edge of the bill and fold it upward. This will eventually become the sturdy brim of the hat.
“The secret to a rugged, professional look lies in the pressure of your thumb. A weak crease makes a weak hat. Commit to every fold with authority.”
Architectural Integrity: Shaping the Crown and Brim
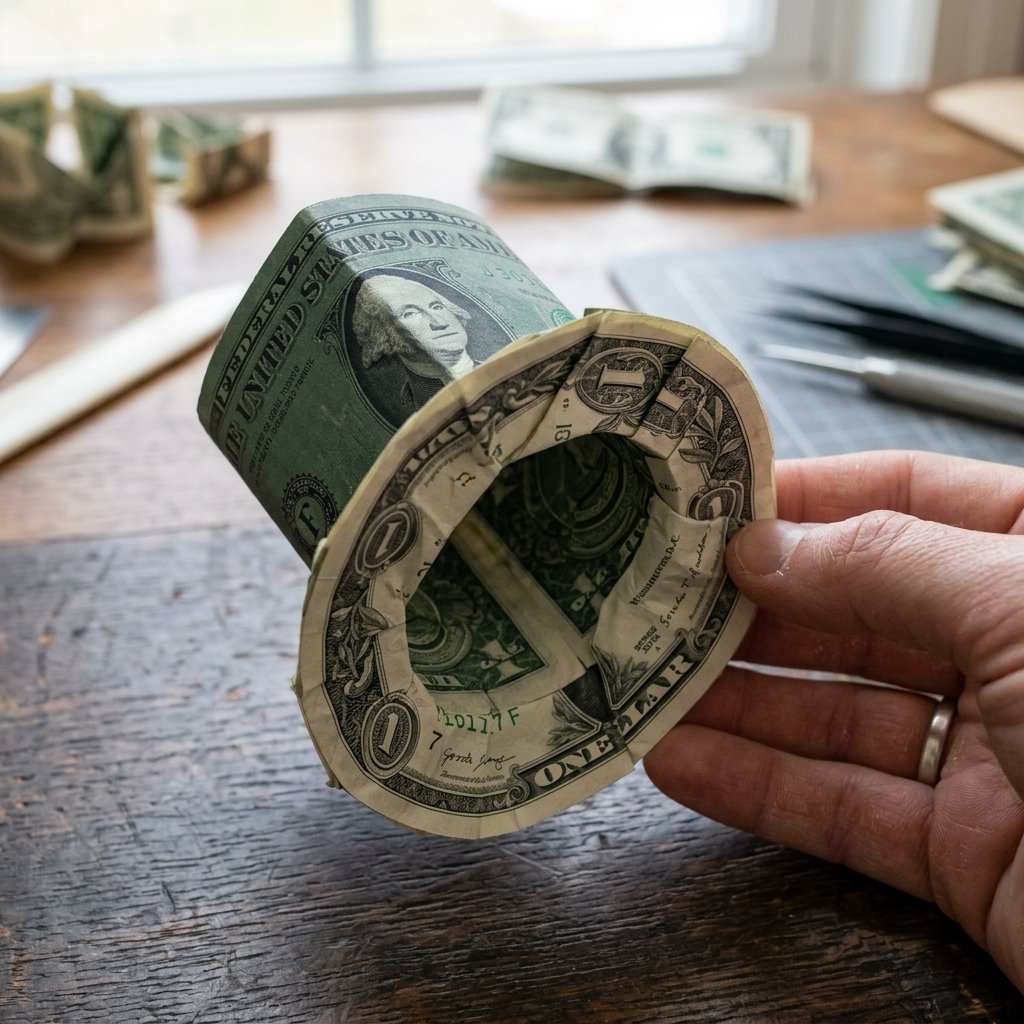
Constructing the 3D Silhouette
Now that your base is prepped, it is time to move from 2D to 3D. This is where the magic happens and your cash starts to take on its masculine-elegant form.
- Step 6: Open the bill slightly and push the center triangles inward. This ‘sink fold’ creates the hollow space for the hat’s crown.
- Step 7: Rotate the bill and repeat the process on the other side to ensure symmetry.
- Step 8: Gently pull the brim sections outward. You will see the circular shape of the hat beginning to form.
- Step 9: Using your fingertips, pinch the corners of the crown to square them off. A top hat needs that rigid, upright posture.
- Step 10: Tuck the loose ends of the bill into the folds of the brim to lock the entire structure in place without the need for tape or glue.
Comparison: Store-Bought Card vs. Money Origami
| Feature | Store-Bought Card | Money Origami Top Hat |
|---|---|---|
| Cost | $5.00+ | $0.00 (plus the gift amount) |
| Time Investment | 2 minutes | 10 minutes |
| Memorable Factor | Low – usually discarded | High – often kept as a keepsake |
| Presentation | Generic | Custom, handcrafted, and clever |
The Presentation: High-End Styling Hacks

Elevating the Experience
Once you have mastered the fold, don’t just hand it over. To truly embody the resourceful and crafty expert persona, you need a presentation that matches the effort of the fold. Here are three ways to display your money top hat:
- The Cigar Box: Place the hat inside an old wooden cigar box lined with velvet. This adds a layer of rugged sophistication.
- The Monocle Companion: Pair the hat with a cheap pair of vintage-style spectacles or a monocle from a thrift store for a whimsical, high-society vibe.
- The Bottle Topper: If you are gifting a bottle of fine bourbon or sparkling cider, perch the top hat directly on the cork. It’s an instant conversation starter.
Safety Note: When gifting money origami to children, ensure they know it is real currency! Sometimes the folds are so professional they might mistake it for play money.
Conclusion
Mastering the Hack
You’ve now successfully navigated the transition from a simple bill-payer to a master of cash-gifting. The money origami top hat is more than just a clever trick; it is a way to show the recipient that you value them enough to invest your time and creativity into their gift. By following these steps, you’ve saved money on expensive cards and gift wrap while delivering a $100 experience on a $0 budget (plus the cash, of course!). Keep practicing, keep your creases sharp, and remember: in the world of frugal DIY, your hands are your most valuable tools. Go forth and gift with style!

Makenzie is the founder and lead writer at MoneyHackTips.com — a personal finance blog dedicated to delivering street-smart financial wisdom for real people on real budgets. With 300+ published articles covering everything from debt management to investing fundamentals, Makenzie’s mission is to make every dollar work harder. When not writing about money hacks, Makenzie is testing frugal living strategies, optimizing side hustles, and helping readers build financial freedom from scratch.