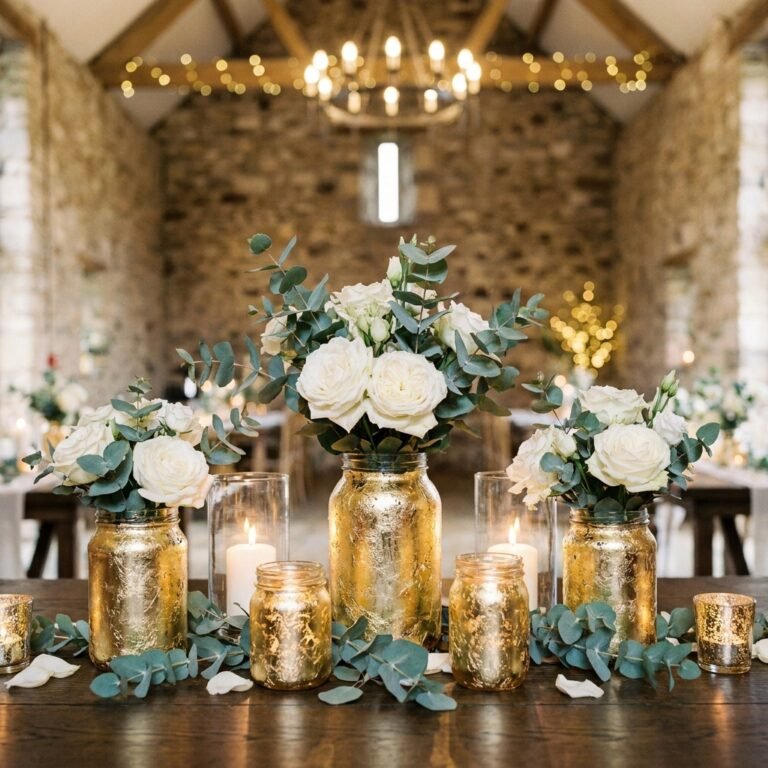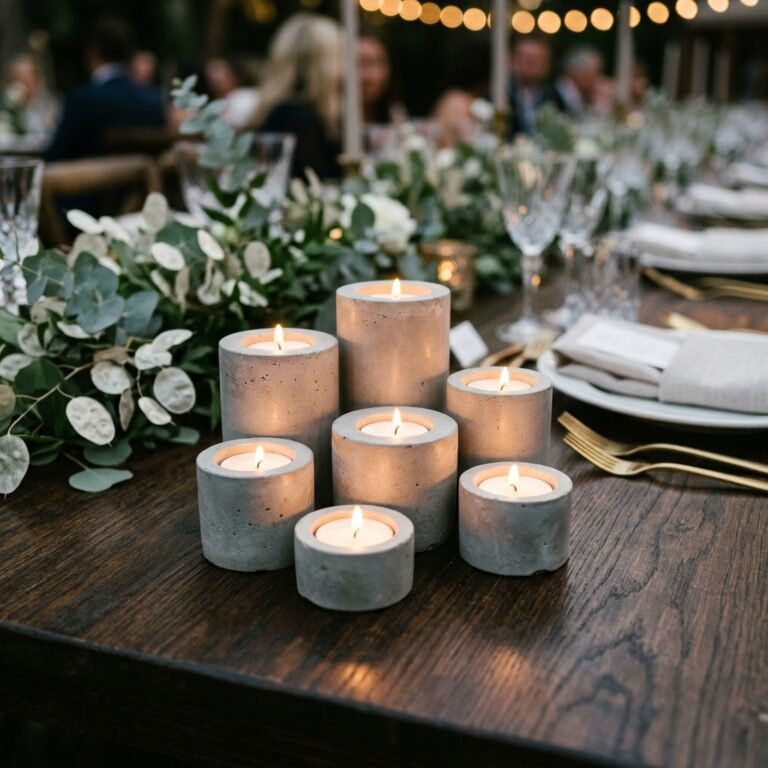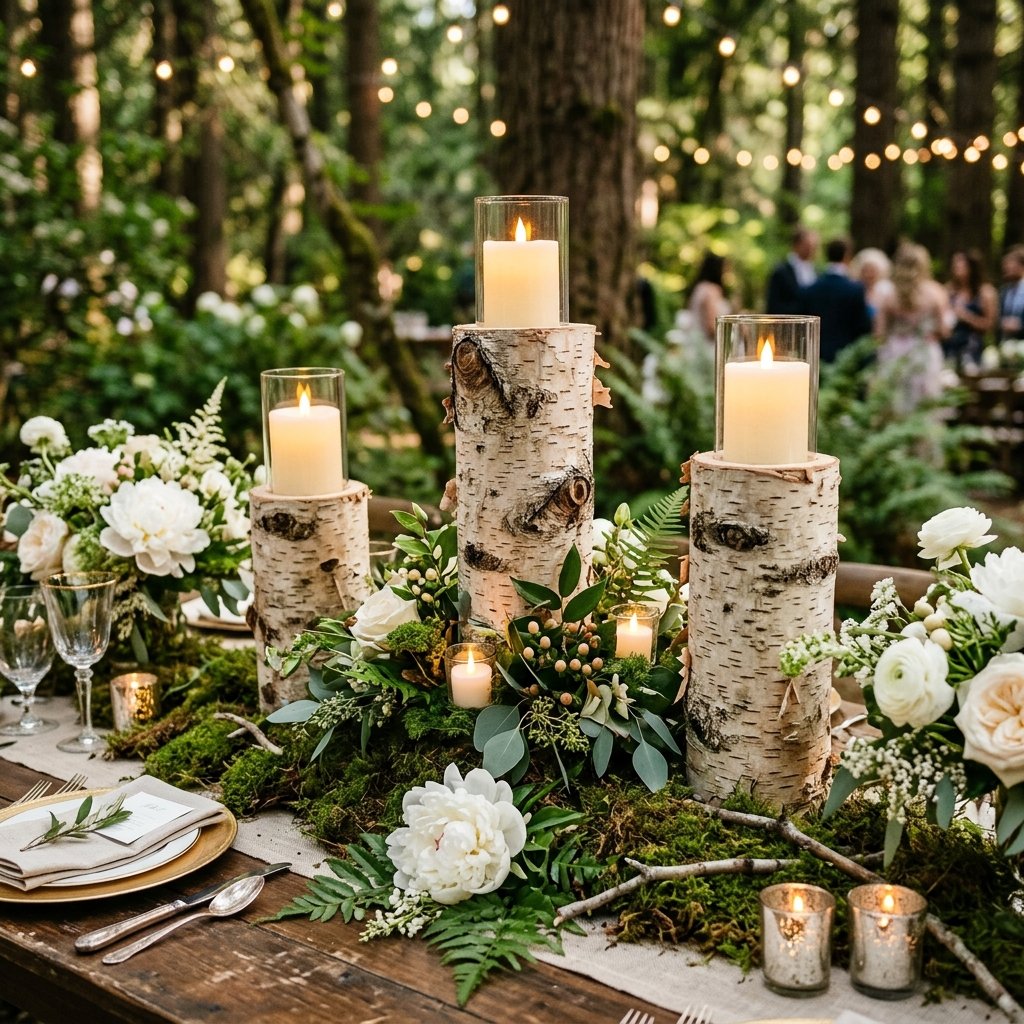

The Rugged Elegance of the Woodland Wedding
There is something undeniably sophisticated about the organic texture of birch bark. It evokes the quiet stillness of a northern forest, blending rugged masculinity with delicate bridal elegance. However, if you have priced out real birch log vases or sheets of natural bark lately, you know that ‘rustic’ often comes with a ‘royal’ price tag. For the resourceful DIYer, spending $30 to $50 per centerpiece is simply not an option when you have twenty tables to fill. That is where the magic of upcycling comes in. By using clever techniques and common household items, we can replicate the intricate, papery texture of birch for a fraction of the cost—often under $3 per unit.
This guide is designed for the crafty couple who isn’t afraid to get their hands a little dirty to achieve a high-end look. We aren’t just ‘faking it’; we are engineering a visual masterpiece that will have your guests reaching out to touch the bark, convinced it was harvested from a mountaintop. Whether you are a handy groom looking to contribute a structural element to the decor or a budget-savvy bride aiming for a Pottery Barn aesthetic on a Dollar Tree budget, this masterclass in faux-finishing will transform your wedding tablescape.
The Strategic Blueprint: Materials and Cost Comparison
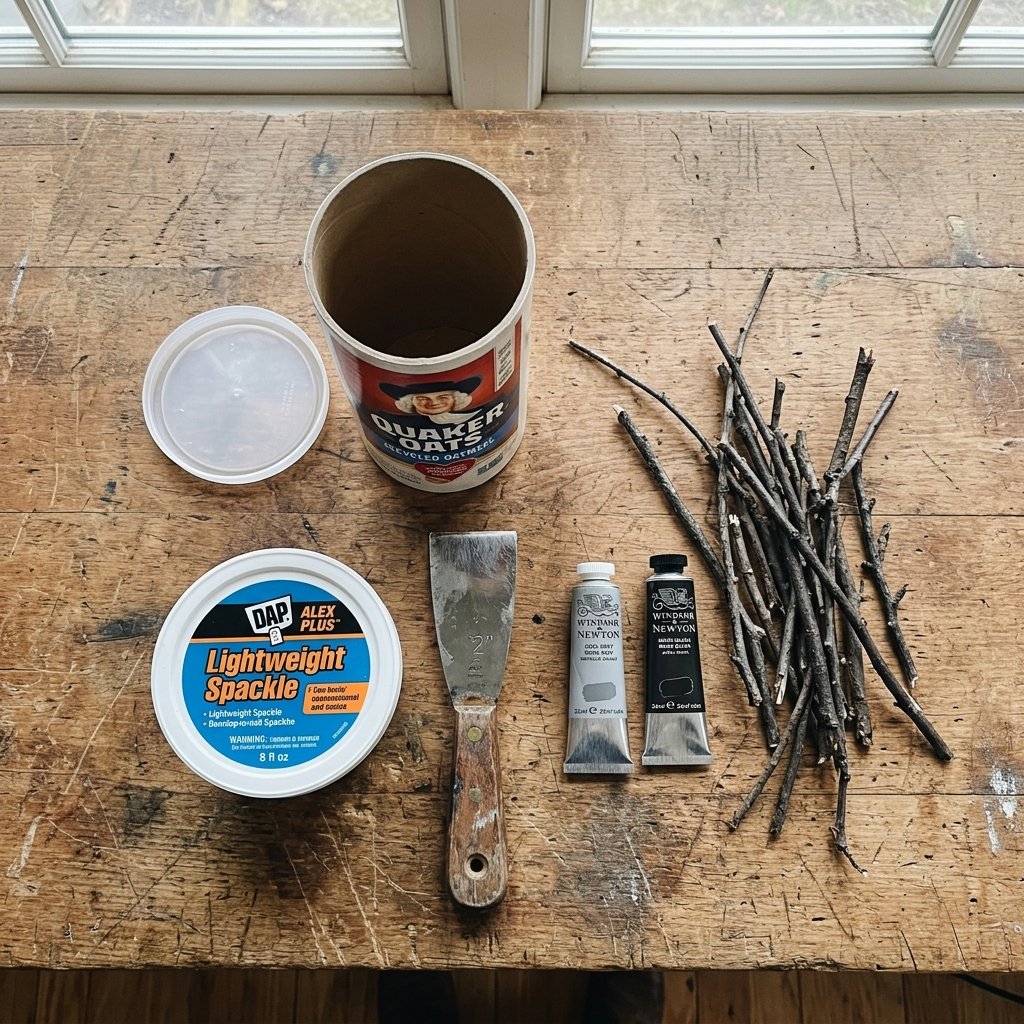
Before we dive into the craft, let’s talk logistics. The key to a successful DIY wedding is scalability. You need materials that are cheap, plentiful, and easy to work with in a ‘production line’ fashion. Our ‘trash-to-treasure’ approach uses cardboard cylinders as the structural core. Think oatmeal containers, mailing tubes, or even PVC pipe offcuts for a more weighted, permanent feel.
| Material Item | Store-Bought Price (Each) | DIY Upcycled Cost (Each) |
|---|---|---|
| Birch Bark Cylinder (6-8″) | $24.99 | $0.50 (Oatmeal Container) |
| Texture Medium (Spackle) | Included | $0.25 (Pro-rated) |
| Acrylic Paint/Finish | Included | $0.40 (Pro-rated) |
| Floral Foam/Weights | $4.00 | $0.75 (Dollar Store) |
| Total Per Unit | $28.99 | $1.90 |
By choosing the DIY route, you are saving over 90% per centerpiece. For a wedding with 15 tables, that is a total savings of nearly $400—money that can be better spent on your honeymoon or a top-tier photographer.
Budget Mantra: Real luxury isn’t about what you spend; it’s about the ingenuity you apply to the materials you have.
The Foundation: Prepping Your Upcycled Cylinders
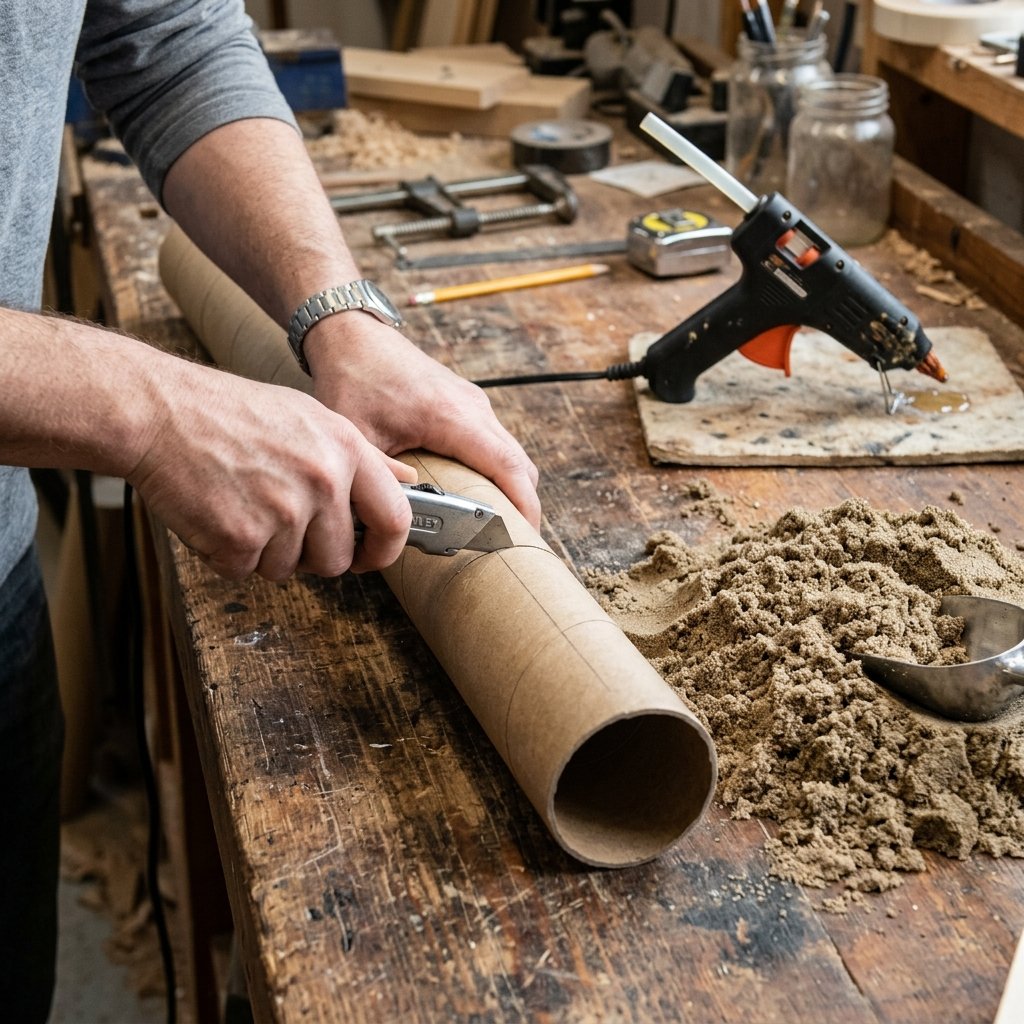
The secret to a centerpiece that doesn’t tip over is structural integrity. If you are using lightweight cardboard like oatmeal canisters or Pringles cans, you must weight the bottom. This ensures that when you add your floral arrangements, the center of gravity remains low.
Step-by-Step Base Preparation:
- Clean and Strip: Remove any plastic lids and wipe down the exterior of your containers. If the surface is very glossy (like a Pringles can), give it a quick scuff with 120-grit sandpaper so the texture medium adheres better.
- Weighting: Pour approximately 2 inches of dry sand, pea gravel, or even plaster of Paris into the bottom of the cylinder. If using sand, seal it with a cardboard disc and hot glue to prevent leakage.
- Sizing Variety: For a professional look, create clusters of three centerpieces at varying heights (e.g., 4″, 6″, and 9″). Use a utility knife to cut your mailing tubes or PVC to these specific lengths.
Remember, the goal is to create a ‘forest floor’ effect. Nature isn’t uniform, so your centerpieces shouldn’t be either. Varying the diameters and heights creates visual rhythm on your guest tables.
The Texture Secret: Applying the ‘Bark’ Layer
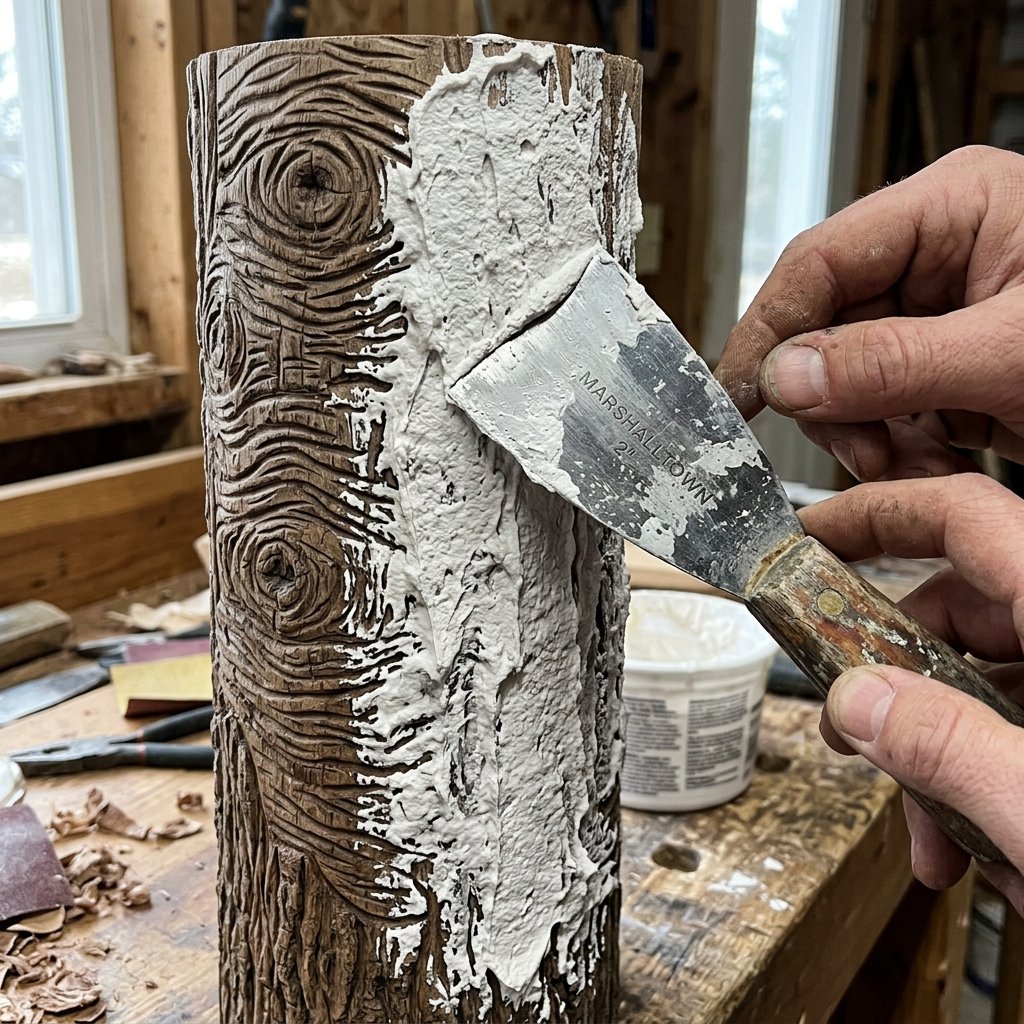
This is where the transformation happens. We aren’t just painting wood grain; we are creating three-dimensional relief. To do this, we use lightweight wall spackle or joint compound. This material is a DIYer’s best friend because it is incredibly cheap and mimics the ‘papery’ ridges of real birch bark perfectly.
The Application Process:
- The Base Coat: Using a small putty knife or even a popsicle stick, apply a thin, uneven layer of spackle over the entire container. Don’t worry about making it smooth—imperfections are your friend here.
- Creating the ‘Peel’: In certain areas, apply the spackle a bit thicker. While it’s still wet, use the edge of your knife to ‘lift’ the edges slightly, creating the appearance of bark peeling away from the trunk.
- Adding the Knots: Birch trees are famous for their dark, horizontal knots. Use your tool to gouge out small, horizontal oval shapes (about 1 inch wide) into the wet spackle. Deepen the texture around these areas.
- Horizontal Striations: Real birch has fine horizontal lines. Take a coarse-bristled brush or even a fork and lightly drag it horizontally around the cylinder while the spackle is semi-dry.
Pro Tip: Let the spackle dry for at least 12 to 24 hours. If you try to paint while it is damp, the moisture will soften the cardboard and cause it to warp.
The Woodland Palette: Mastering the Faux Finish
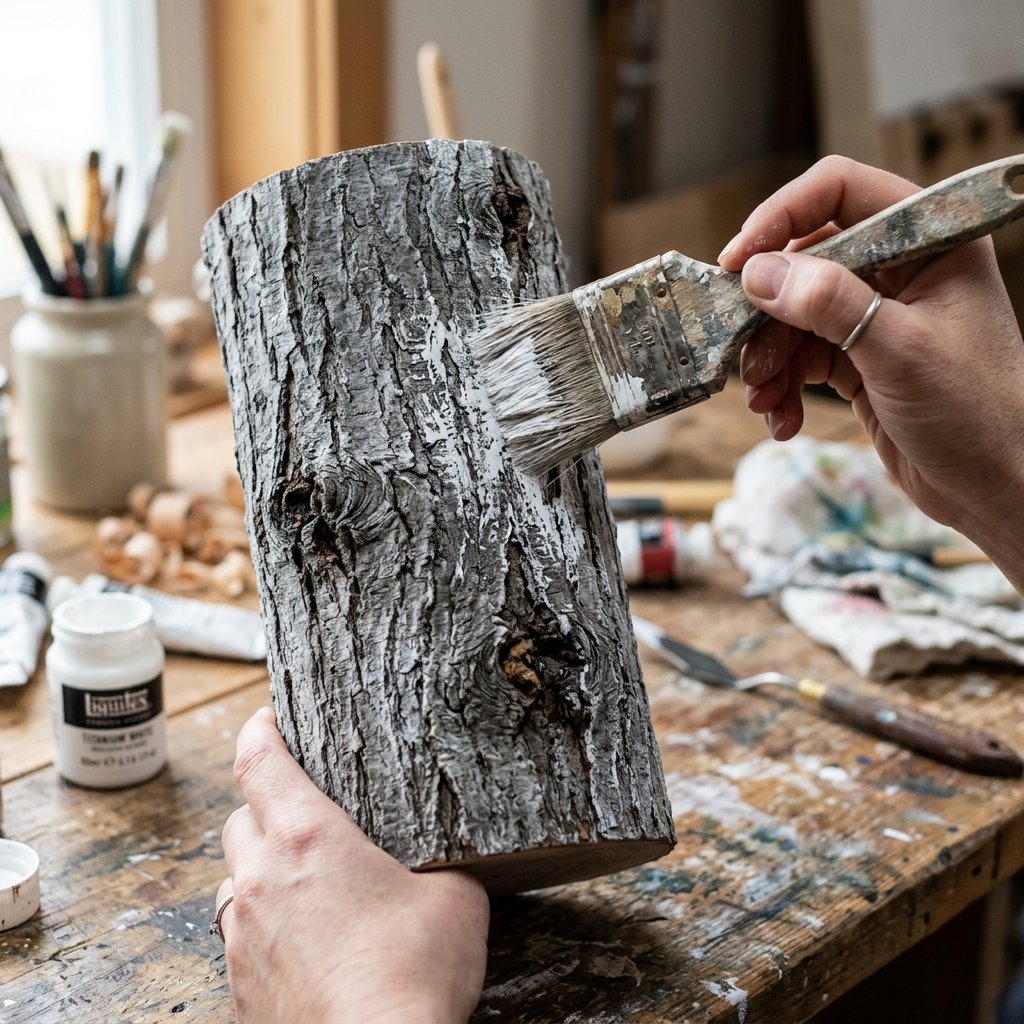
The color of birch isn’t just ‘white.’ If you look closely at a tree in the wild, you’ll see layers of slate grey, charcoal, cream, and even hints of burnt umber. To achieve a high-end look, we will use a ‘dry-brushing’ technique.
Painting Steps for Realism:
- The Deep Shadow: Paint the entire textured cylinder in a medium-grey acrylic paint. Ensure the paint gets into all the deep cracks and knots you created. This acts as your shadow layer.
- The Birch White: Once the grey is dry, take a large, dry brush and dip it into creamy white paint. Wipe most of it off on a paper towel. Lightly ‘skish’ the brush over the raised textures. The white will catch the high points, leaving the grey in the recesses.
- Detailing the Knots: Use a fine-tip brush and a mix of black and dark brown paint to fill in the ‘eye’ of the knots you carved. Smudge the edges slightly with your finger to create a natural gradient.
- The Final Highlight: For a ‘masculine-elegant’ finish, add a very light touch of metallic champagne or silver paint only on the very edges of the ‘peeling’ bark to catch the candlelight.
This layering process creates depth and dimension that a single coat of paint simply cannot achieve. It turns a piece of cardboard into a convincing piece of timber.
Styling and Assembly: The Professional Finish

Now that your faux birch cylinders are complete, it’s time to turn them into functional wedding centerpieces. Since these are made of cardboard and spackle, they are not waterproof. If you plan to use real flowers, you must insert a glass jar or a plastic liner inside the cylinder to hold the water.
| Styling Element | Purpose | Budget Tip |
|---|---|---|
| Sheet Moss | Hides the rim and adds organic green color. | Buy in bulk rolls online for $15. |
| Twine/Jute | Adds a rugged, handmade touch. | Wrap 3 times around the center and tie a square knot. |
| LED Tea Lights | Safe illumination without fire risk. | Buy 24-packs at the Dollar Store for $1.25. |
| Wood Slices | Provides a ‘stage’ for the centerpiece. | Ask a local tree service for ‘cookies’ or scraps for free. |
The Arrangement:
Place your three varying heights of birch on a large wood slice. Tuck clumps of green moss around the base to ground the arrangement. If using as vases, fill with white hydrangeas, baby’s breath, or eucalyptus for a clean, sophisticated look. For a more rugged feel, use dried branches and pinecones.
Safety Note: Never use open-flame candles inside cardboard or spackled containers. Always opt for high-quality LED flickering candles to ensure your beautiful wedding doesn’t go up in smoke!
Mass Production Mastery: Scaling for the Big Day
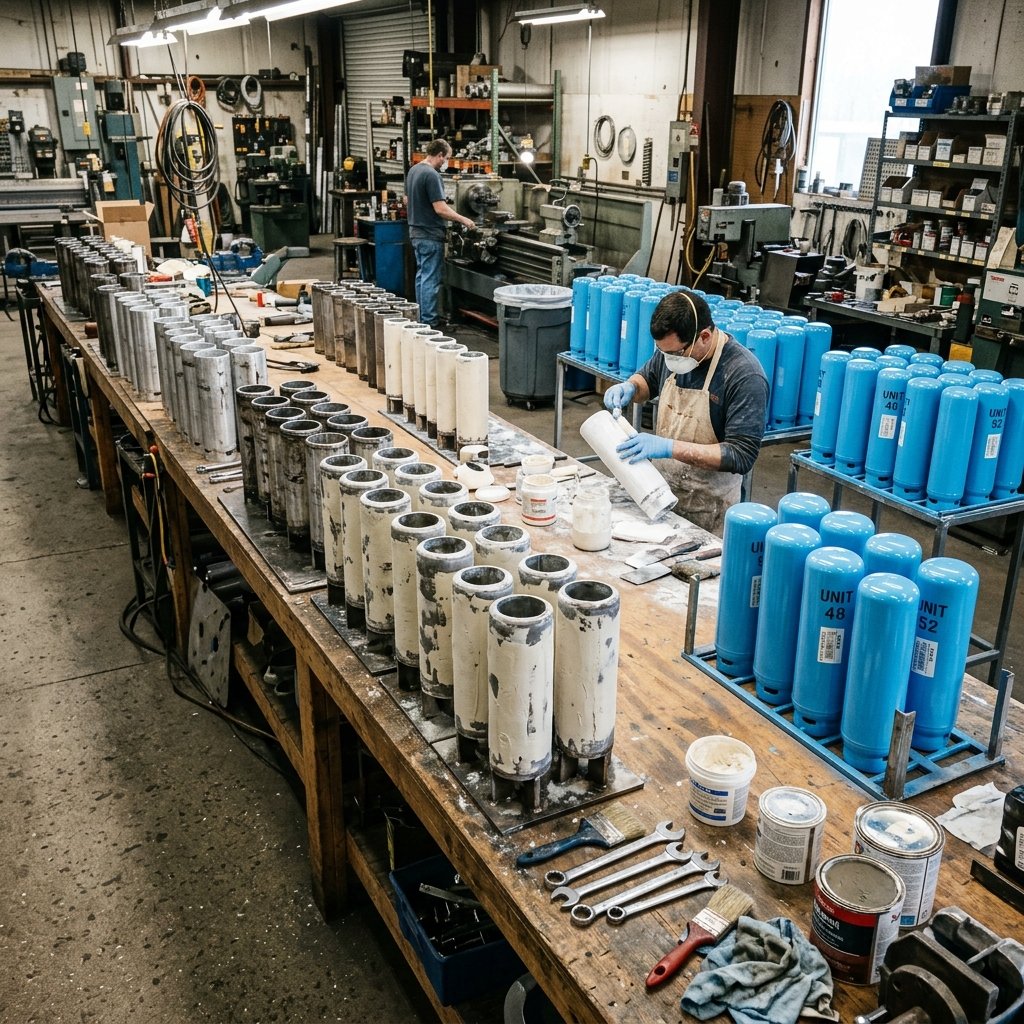
When you are making 20, 30, or 50 of these, you need a system. Don’t try to finish one centerpiece from start to finish before moving to the next. Instead, work in batches to maximize your time and materials.
- Day 1: The Cut and Weight. Spend one evening cutting all your tubes and adding the weights. Line them up on a long table.
- Day 2: The Spackle Session. This is the messiest part. Do all the texturing at once. Use a large tub of contractor-grade joint compound (it’s cheaper than craft spackle).
- Day 3: The Base Coat. Spray paint can be a huge time-saver here. Use a matte grey spray paint for the initial shadow layer instead of hand-painting.
- Day 4: The Artistic Touch. This is where you (and perhaps a few bridesmaids or groomsmen) do the dry-brushing and knot detailing.
By breaking the project down, you can complete a massive amount of decor in just a few hours of active work time. This ‘assembly line’ approach ensures consistency across all your tables, giving your wedding a cohesive, professionally-designed feel.
Conclusion
A Forest of Savings and Style
Creating your own DIY faux birch bark centerpieces is more than just a way to save a few hundred dollars; it is an opportunity to infuse your wedding with a personal, handcrafted touch that store-bought items simply cannot replicate. By seeing the potential in a mailing tube or an oatmeal box, you’ve proven that a resourceful, budget-savvy mindset can result in high-end, ‘insanely beautiful’ results.
As you walk into your reception and see the warm glow of candlelight reflecting off the intricate textures of your ‘birch’ forest, you’ll know that every knot and peel was a labor of love. These pieces don’t just hold flowers; they hold the story of your creativity and your commitment to a beautiful future—built with your own two hands. Now, grab that putty knife and get to work; your dream rustic wedding is just a few upcycled containers away!

Makenzie is the founder and lead writer at MoneyHackTips.com — a personal finance blog dedicated to delivering street-smart financial wisdom for real people on real budgets. With 300+ published articles covering everything from debt management to investing fundamentals, Makenzie’s mission is to make every dollar work harder. When not writing about money hacks, Makenzie is testing frugal living strategies, optimizing side hustles, and helping readers build financial freedom from scratch.