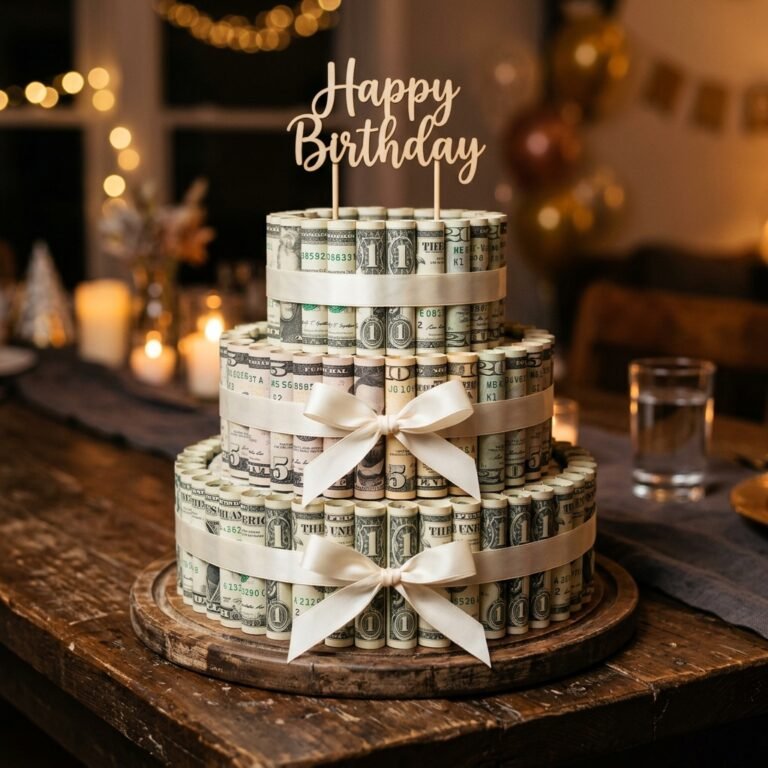

The Death of the Five-Dollar Greeting Card
Let’s be honest: greeting cards have become a racket. You walk into a drugstore, spend ten minutes agonizing over a piece of cardstock with a generic platitude, and then drop $5 to $8 on something that will inevitably end up in a recycling bin—or worse, the trash—within forty-eight hours. For the frugal DIYer, the clever gift-giver, and the handy parent, there is a better way. Why spend money on the vessel when the vessel itself can be the money? Welcome to the world of money origami, where we turn cold, hard cash into a work of art that commands respect and displays genuine effort.
Graduation is a monumental milestone. Whether it’s a high school senior heading off to college or a grad student finally finishing their thesis, they don’t want a cardboard card with a glittery ‘2024’ on it; they want gas money, textbook funds, and a little bit of ‘I’m proud of you.’ By folding a money origami graduation diploma, you are giving them the gift they actually need in a format they will never forget. It’s rugged, it’s precise, and it shows you took the time to craft something with your own two hands. In this guide, we aren’t just rolling a bill; we are architecting a miniature scroll that looks like it belongs in a tiny ivy-league dean’s office.
The Strategic Advantage: Why Money Origami Outshines Traditional Gifts
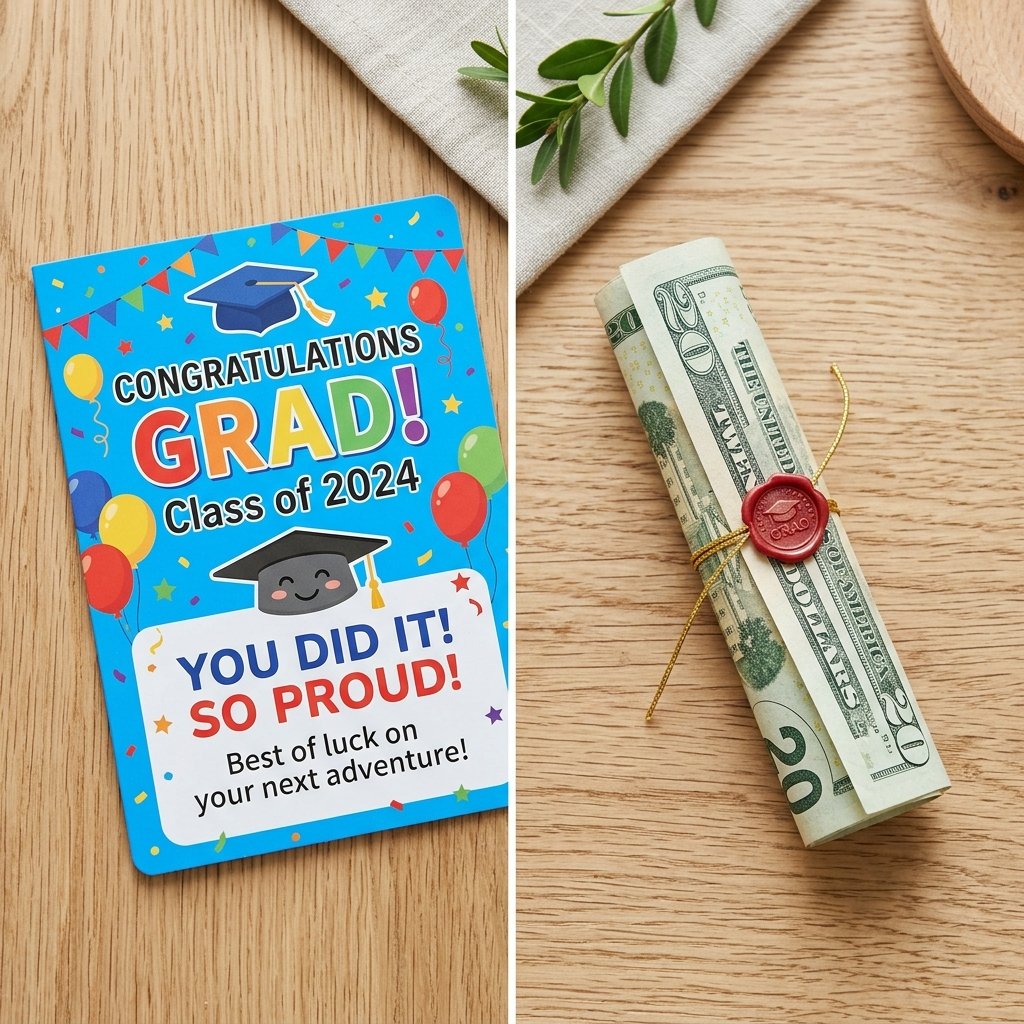
In the realm of gift-giving, there is a hierarchy of impact. At the bottom lies the digital transfer—efficient, but soulless. In the middle is the cash-in-an-envelope—practical, but lazy. At the pinnacle sits the handmade gift. When you combine the practicality of cash with the precision of origami, you create a ‘tactile memory.’ The recipient doesn’t just see the value; they feel the weight of your effort. For the budget-savvy crafter, this is the ultimate win: you spend $0 on extra materials while increasing the perceived value of your gift by 100%.
The Cost-Benefit Analysis
Let’s look at the numbers. A standard high-end graduation card costs nearly as much as a fast-food lunch. By skipping the card and putting that extra $7 toward the actual gift, you’re being more resourceful and providing more value to the graduate.
| Gift Method | Cost of Packaging | Effort Level | ‘Wow’ Factor |
|---|---|---|---|
| Store-Bought Card | $5.99 – $8.99 | Low | Minimal |
| Digital Transfer | $0.00 | Zero | None |
| Money Origami Diploma | $0.00 | High | Maximum |
The goal isn’t just to give money; it’s to present an investment in their future with the dignity it deserves. A folded bill is a signature of your craftsmanship.
The Material Matrix: Selecting Your Bill and Accessories
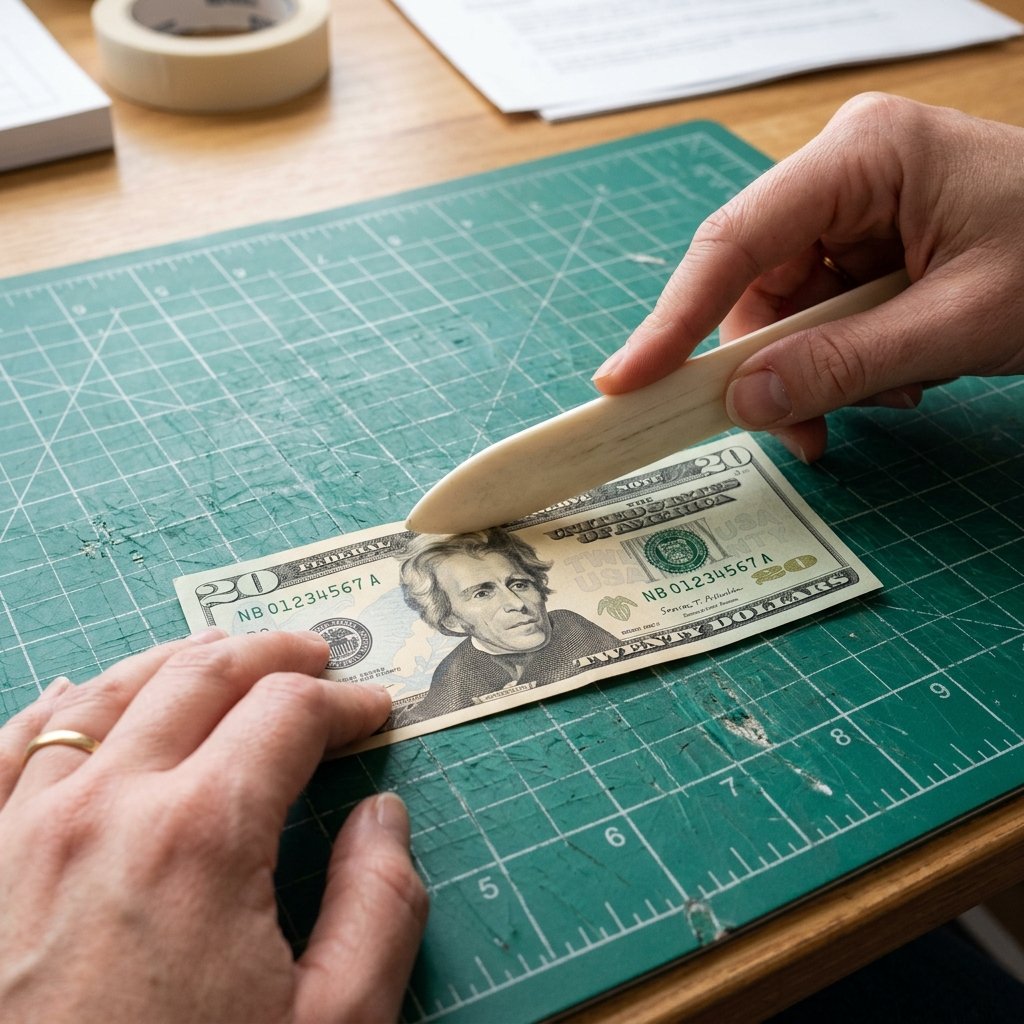
Not all currency is created equal when it comes to folding. If you want a diploma that looks sharp and stays crisp, you need to be selective. A limp, wrinkled bill from a vending machine change-slot will not yield the results we’re looking for. You want a bill that feels like fresh parchment. If you have a stack of older bills, don’t worry—I’ll show you the ‘pro-mender’ trick to reviving them.
Denomination vs. Visual Impact
While any bill can be folded, the color and ‘vibe’ of certain denominations lend themselves better to the diploma aesthetic. A $10 bill has a lovely subtle orange/yellow hue that feels academic, while the $20 bill is the classic choice for its sturdy paper quality.
| Denomination | Color Palette | Best For… |
|---|---|---|
| $1 Bill | Traditional Green | Practice or ‘Money Bouquets’ |
| $5 Bill | Pink/Purple Tones | High School Graduations |
| $20 Bill | Deep Green/Blue | The Standard ‘Solid’ Gift |
| $50/$100 Bill | Sophisticated Hues | College or Advanced Degrees |
The ‘Crispness’ Hack
If your bills are less than perfect, you can actually ‘iron’ them. Set your clothes iron to a low, dry heat (no steam!). Place the bill under a thin cotton cloth and press for 5-10 seconds. This removes the micro-creases and prepares the fibers for high-precision folding. Safety Note: Never leave the iron in one spot for too long, and ensure the bill is genuine; synthetic ‘prop’ money can melt under heat.
Step-by-Step Blueprint: Folding the Master Diploma
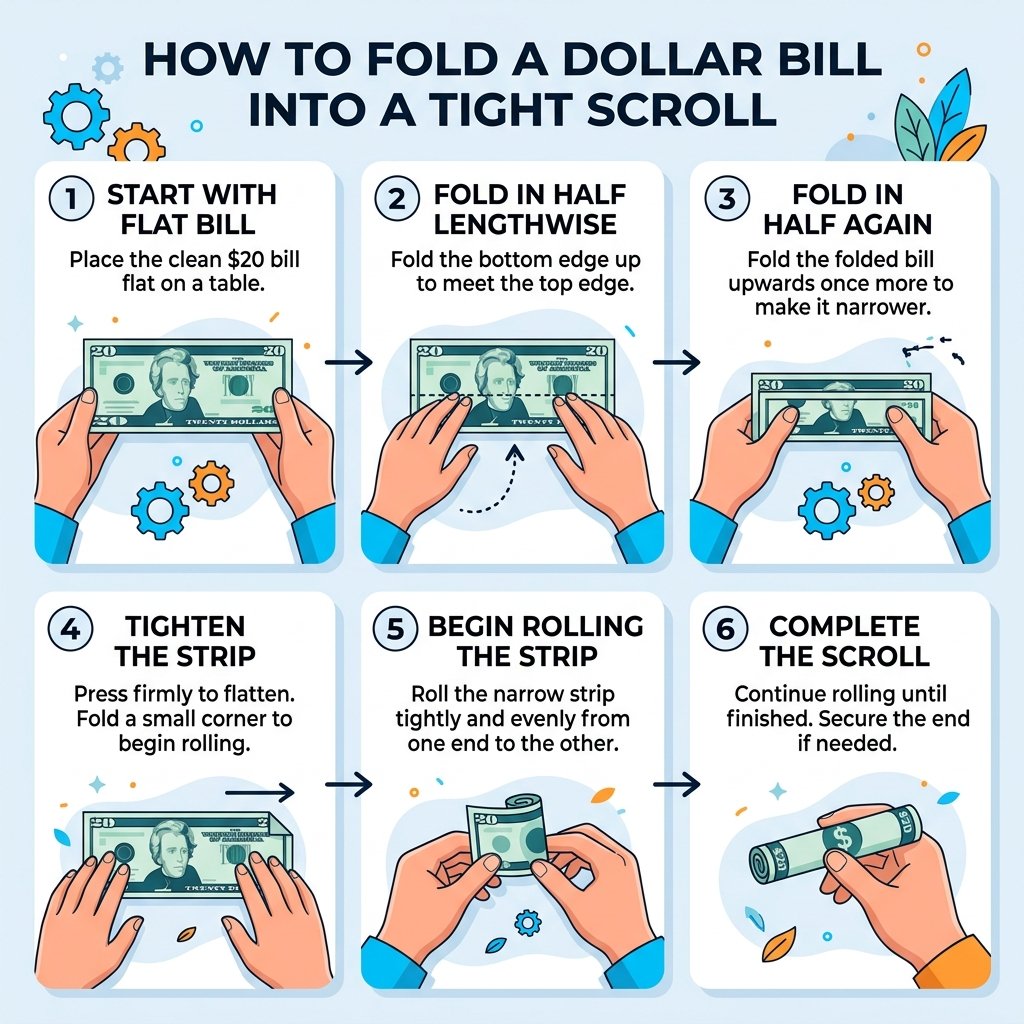
This is where the magic happens. We aren’t just rolling a tube; we are creating a structural scroll with defined borders. Follow these steps with the precision of a master tailor.
The Folding Process
- The Foundation Fold: Lay the bill flat on a hard surface, face up. Fold the top edge down about 1/4 inch and the bottom edge up about 1/4 inch. This creates the ‘border’ of your diploma. Use your fingernail or a credit card edge to make these creases razor-sharp.
- The Longitudinal Half: Fold the entire bill in half lengthwise, bringing the bottom edge up to meet the top. Crease well, then unfold. You now have a center guideline.
- The Quarter Folds: Fold the top edge down to the center crease, and the bottom edge up to the center crease. Your bill should now be a long, narrow strip. This adds the necessary thickness to make the ‘scroll’ look substantial rather than flimsy.
- The Initial Roll: Starting from the left side (the side with the ‘1’ or ’20’ in the corner), begin a very tight, small roll. The tighter the initial roll, the better the final diploma will look. Think of it like rolling a fine cigar or a piece of heavy-duty canvas.
- The Final Cylinder: Continue rolling until you reach the end of the bill. Ensure the edges remain perfectly aligned. If the roll starts to ‘telescope’ (one side sliding out), unroll slightly and realign.
- The ‘Seal’ Position: Hold the roll tightly. You will notice that the outer edge of the bill creates a natural seam. This is where we will place our ribbon or tassel to secure the shape.
Precision is the difference between a ‘wadded-up bill’ and a ‘work of art.’ Take your time with the initial borders; they define the entire silhouette.
The Finishing Touch: Crafting the Tassel and Ribbon
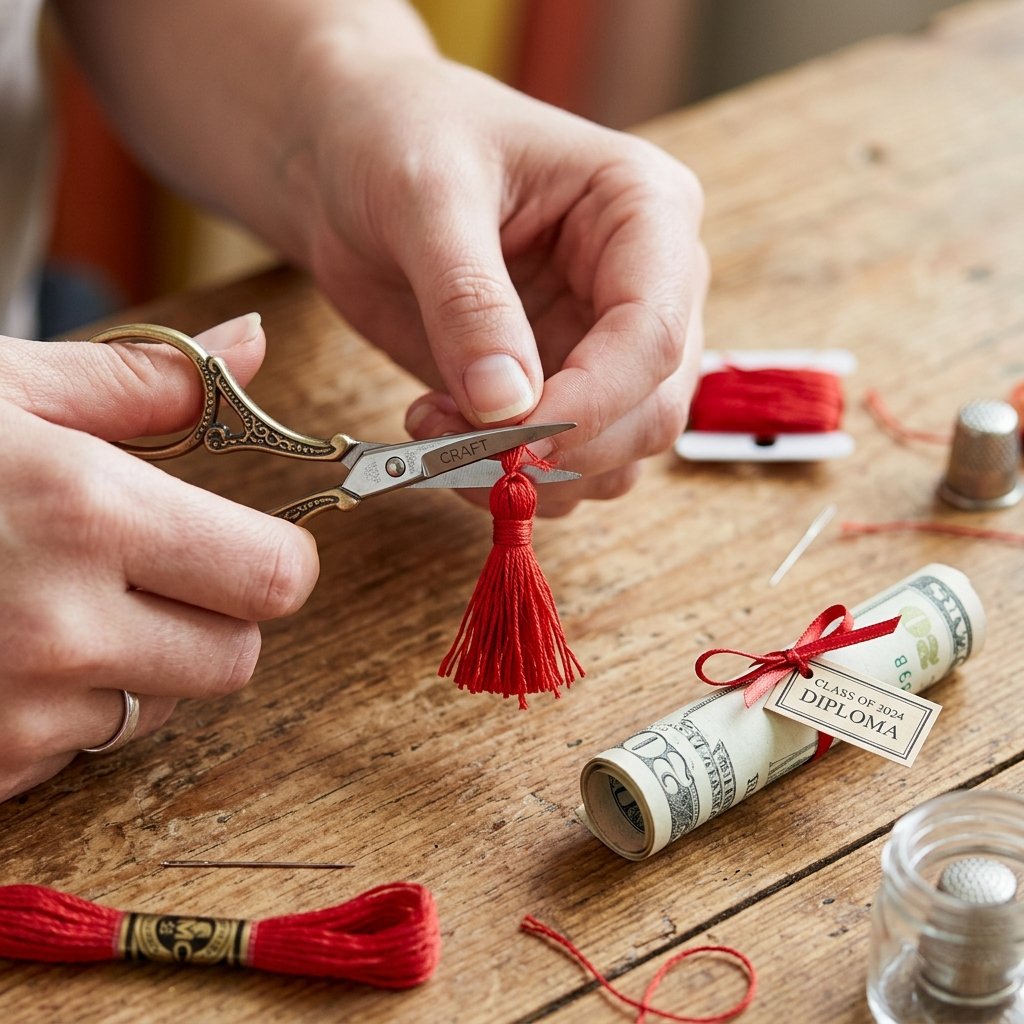
A diploma isn’t a diploma without the iconic red ribbon and tassel. Since we are being budget-savvy, we aren’t going to buy a pre-made tassel. We are going to make one using simple embroidery floss or even a few strands of yarn from your scrap bin. This is the ‘masculine-elegant’ detail that elevates the gift from a craft project to a professional presentation.
Materials for the Seal
- 3 inches of thin red ribbon (or any school color).
- A 6-inch strand of embroidery floss for the tassel.
- A tiny dab of hot glue or a small piece of double-sided tape.
The 2-Minute Tassel Technique
- Wrap your embroidery floss around two fingers 10 times.
- Slide a small piece of thread through the loops and tie it tight at the top—this is your hanger.
- Tie another small thread about 1/4 inch below the top tie to create the ‘head’ of the tassel.
- Snip the bottom loops and trim them so they are perfectly even.
Wrap the ribbon around the center of your money scroll and secure it with a tiny dot of glue (be careful not to get glue on the bill itself!). Attach your handmade tassel to the ribbon, and you have a masterpiece.
Presentation Strategies: The Grand Reveal

Now that you have your money origami diploma, how do you give it? Throwing it into a box is fine, but we can do better. As a ‘Trash-to-Treasure’ guru, I recommend upcycling a small jewelry box or even a clean, empty spice jar decorated with a bit of twine and a ‘Class of 2024’ label.
Creative Display Ideas
- The Mini Mortarboard: Cut a small square of black cardstock and glue it to the top of a plastic soda bottle cap. Place the diploma underneath it.
- The Shadow Box: If you are giving multiple bills, fold three or four diplomas and arrange them in a small shadow box from the Dollar Tree. It looks like a high-end graduation display.
- The ‘Message in a Bottle’: Place the diploma inside a small clear glass vial with a bit of gold confetti. It’s rugged, nautical, and incredibly chic.
| Display Method | Material Source | Time to Create |
|---|---|---|
| Mini Mortarboard | Recycled Bottle Cap | 5 Minutes |
| Glass Vial | Dollar Store / Kitchen | 2 Minutes |
| Shadow Box | Thrift Store / Dollar Tree | 15 Minutes |
Troubleshooting & Pro-Tips for Success
Even the most seasoned crafters run into issues. Here is how to handle the common pitfalls of money origami to ensure your gift looks flawless.
Common Issues and Solutions
- The Bill Keeps Unrolling: If the paper is too stiff, the roll might spring open. Solution: Use a very small, clear hair elastic (the kind used for braids) to hold the roll in place before you wrap the ribbon over it. It’s invisible and effective.
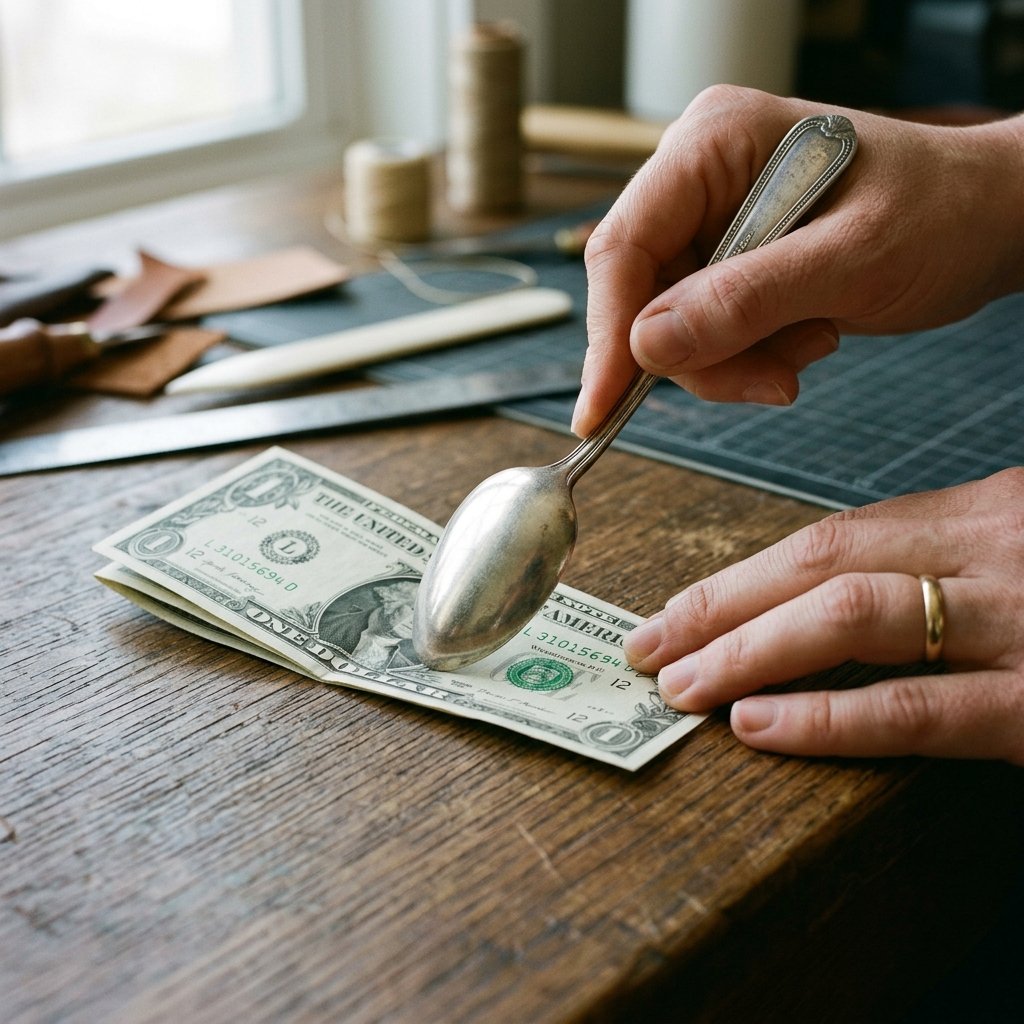
- The Edges are Frayed: If you’re using an older bill, the edges might look ‘fuzzy.’ Solution: Use the side of a silver spoon to burnish the edges. Rubbing the metal against the paper fibers flattens them and adds a slight sheen.
- The Tassel is Too Big: A massive tassel will overwhelm the tiny scroll. Solution: Scale it down! The tassel should be no longer than 1 inch for a standard US bill scroll.
Never underestimate the power of a crisp crease. If the bill doesn’t want to cooperate, a tiny bit of moisture on your fingertip can help ‘train’ the paper, but use it sparingly to avoid staining.
Conclusion
The Reward of the Resourceful Giver
By choosing to fold a money origami graduation diploma, you’ve done more than just save $5 on a card. You’ve demonstrated that you value the recipient enough to invest your time, your focus, and your creativity into their celebration. This project is the epitome of the frugal DIY ethos: taking something common and transforming it into something extraordinary through nothing more than cleverness and a bit of hand-work.
The graduate will likely keep this diploma long after they’ve spent the cash. It’s a memento of a major life transition and a testament to your craftiness. So, the next time graduation season rolls around, stay away from the stationery aisle. Grab a crisp bill, find a flat surface, and fold something that will truly wow them. Happy crafting, and congratulations to your graduate!

Makenzie is the founder and lead writer at MoneyHackTips.com — a personal finance blog dedicated to delivering street-smart financial wisdom for real people on real budgets. With 300+ published articles covering everything from debt management to investing fundamentals, Makenzie’s mission is to make every dollar work harder. When not writing about money hacks, Makenzie is testing frugal living strategies, optimizing side hustles, and helping readers build financial freedom from scratch.