
The Genius of the Glowing Garden
There is a specific kind of satisfaction that comes from mastering your outdoor space without draining your wallet. As a frugal DIYer, you know that the difference between a ‘cheap’ garden and a ‘bespoke’ landscape often lies in the details. One of the most common frustrations for the rugged gardener is the disappearing act our plant labels perform once the sun goes down. You’ve spent hours tilling the soil and selecting the perfect perennials, but by 8:00 PM, your hard work is shrouded in darkness.
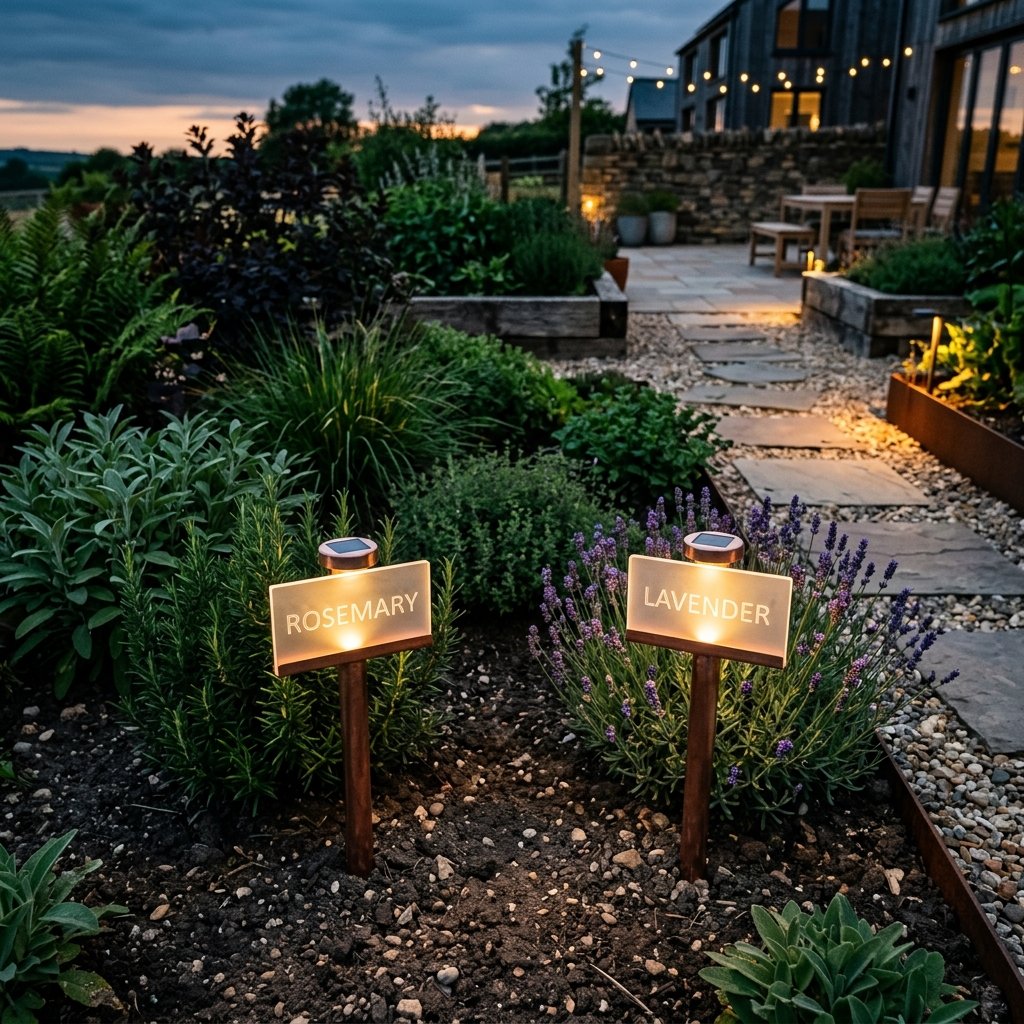
Enter the Dollar Tree Solar Light Plant Label. This project isn’t just about being thrifty; it’s about being resourceful. We are taking the humble $1.25 solar path light and the standard plastic plant stake and merging them into a high-end, luminous organizational system. This guide will show you how to create a garden that is as functional at midnight as it is at noon, all while keeping your budget firmly intact. Whether you are a handy dad looking to spruce up the herb garden or a budget-savvy crafter aiming for that Anthropologie aesthetic, these labels are your next must-make project.
The Blueprint: Sourcing Your $1.25 Components
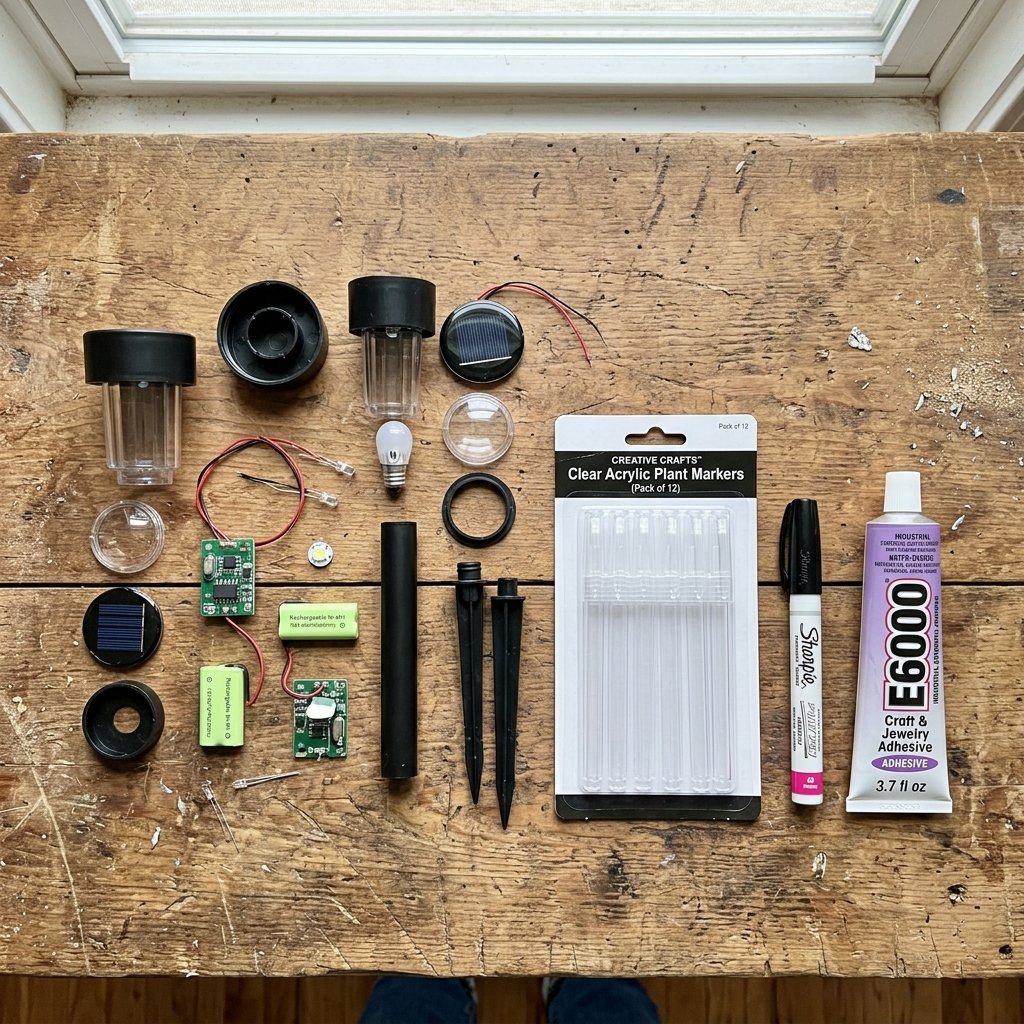
The Resourceful Shopper’s Checklist
The secret to a successful ‘Trash-to-Treasure’ project is selecting the right ‘trash.’ At the Dollar Tree, not all solar lights are created equal. For this build, we want the slim, stainless-steel-look stakes or the clear plastic lanterns that can be easily disassembled. We are looking for components that offer a flat surface for labeling or a structure that can support an attached tag.
By sourcing these items strategically, you can create a dozen labels for less than the price of a single ‘designer’ garden light. Here is the breakdown of what you need to grab on your next run:
| Item | Purpose | Cost per Unit |
|---|---|---|
| Solar Path Lights | The light source and power cell | $1.25 |
| Acrylic Signage or Plastic Stakes | The label surface for plant names | $1.25 (multipack) |
| E6000 Adhesive or Outdoor Hot Glue | Securing the label to the light housing | $0.50 (pro-rated) |
| Permanent Paint Markers | Weatherproof lettering | $1.25 |
| Clear Gloss Spray (Optional) | UV protection and weatherproofing | $0.20 (pro-rated) |
Budget Guru Mantra: A clever crafter doesn’t see a cheap plastic light; they see a solar-powered engine waiting for a better chassis.
The Master Build: Step-by-Step Assembly

Precision Engineering on a Dime
To ensure these lights last through the season, we need to focus on a rugged build. Follow these steps to assemble your luminous markers:
- Step 1: Prep the Solar Engine. Remove the pull-tab from the battery compartment of your solar light. Test the light in a dark room to ensure the sensor and LED are functional before you begin the build.
- Step 2: Disassemble the Stake. Most Dollar Tree lights come in three parts: the solar cap, the plastic lens, and the ground stake. For this project, we will be attaching our label directly to the lens or the neck of the stake.
- Step 3: Etch or Write. Using your permanent paint marker (white or gold looks most ‘high-end’), write the plant names onto your acrylic or plastic stakes. If you have a steady hand, a ‘faux-calligraphy’ style adds a touch of elegance.
- Step 4: The Fusion. Apply a small amount of E6000 adhesive to the back of your plant label and press it firmly against the clear lens of the solar light. If you are using a flat acrylic piece, you can even slide it inside the lens for a protected, ‘floating’ look.
- Step 5: Cure Time. Allow the adhesive to cure for at least 24 hours. This is critical for outdoor durability.
By integrating the label into the light itself, you eliminate the need for two separate stakes in the ground, creating a cleaner, more minimalist look in your flower beds.
Rugged Durability: Weatherproofing Your Labels
Defying the Elements
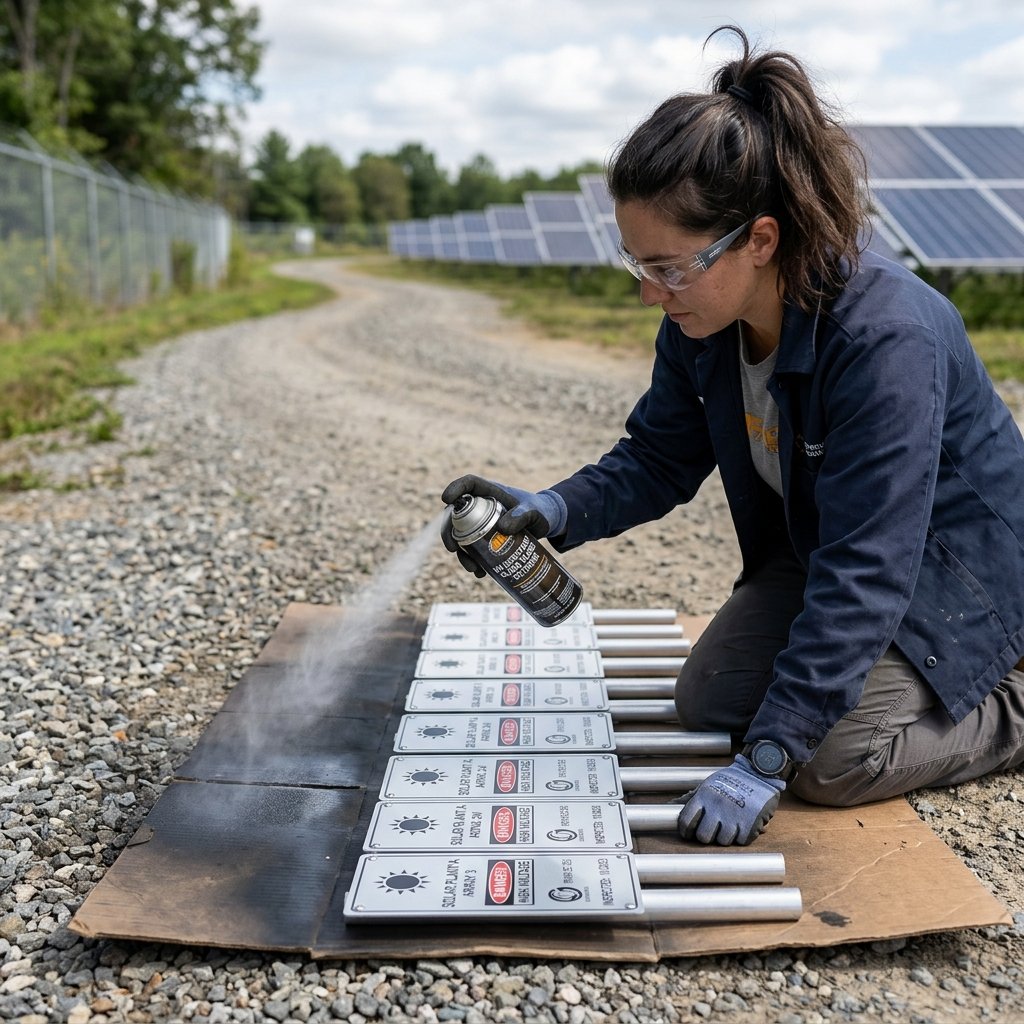
The biggest enemy of a budget DIY project is the weather. Rain, UV rays, and fluctuating temperatures can turn a beautiful project into a mess in weeks. To prevent this, we use a few ‘handy-parent’ secrets to ensure these labels remain legible and bright.
- UV Protection: Standard permanent markers will fade to a dull purple or grey under direct sunlight. After your ink has dried, spray the labels with a UV-resistant clear gloss. This acts as a sunscreen for your lettering.
- Water Sealing: Use a bead of clear silicone caulk around the edge where the solar cap meets the lens. This prevents moisture from seeping into the battery compartment, which is the #1 cause of solar light failure.
- The Ground Anchor: Dollar Tree stakes can be brittle. To prevent snapping in hard soil, use a screwdriver or a metal rod to ‘pilot’ the hole in the ground before inserting your plastic stake.
| Weather Threat | DIY Solution | Time Required |
|---|---|---|
| Sun Fading | UV-Resistant Clear Coat | 2 Minutes |
| Rain/Rust | Silicone Sealing | 5 Minutes |
| Hard Soil Breakage | Pilot Hole Technique | 1 Minute |
Style Variations: From Rustic to Modern
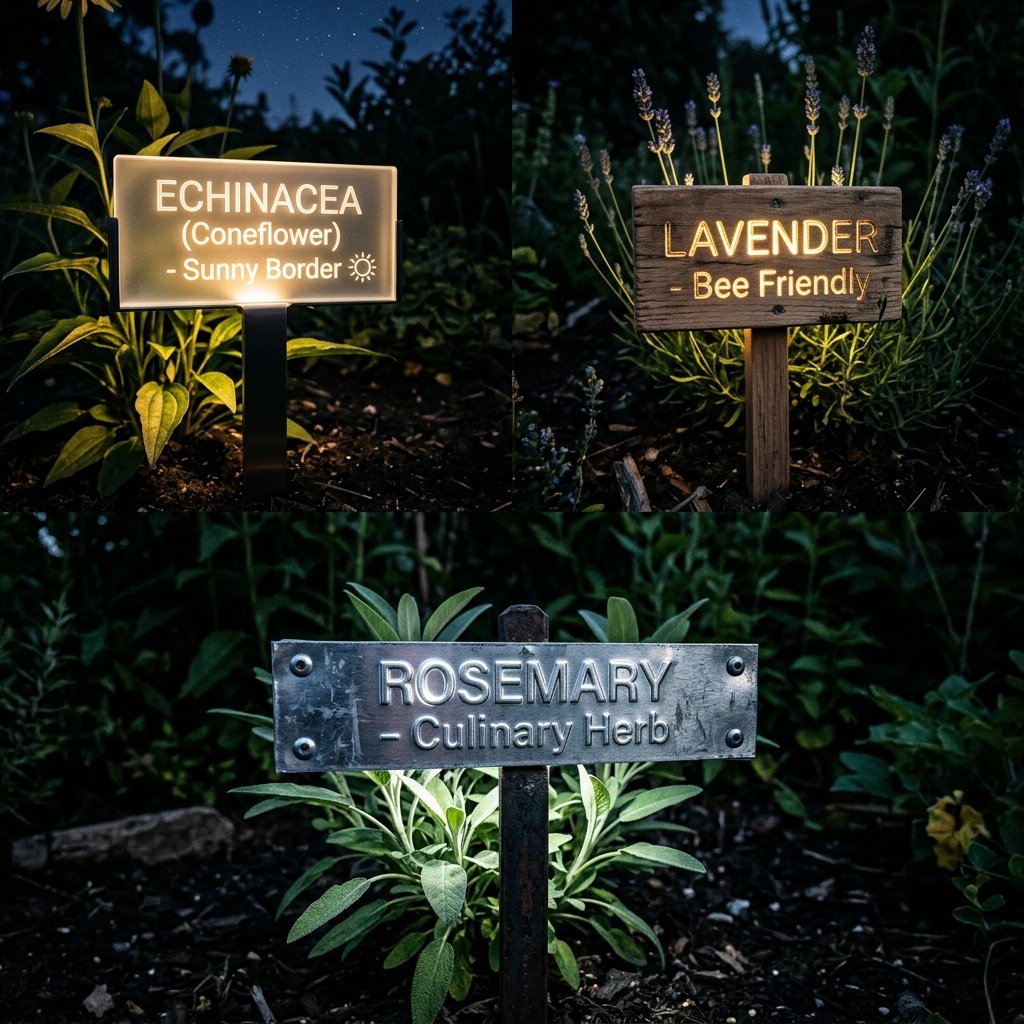
Tailoring the Look to Your Garden
Not every garden has the same vibe. You can easily adapt this Dollar Tree hack to match your personal style. Here are three ‘Crafty-Expert’ variations:
1. The Modern Minimalist
Use black solar lights and frosted acrylic. To frost the plastic, give it a light sanding with 220-grit sandpaper before writing the plant name in a crisp, white sans-serif font. This looks incredibly expensive and mimics high-end architectural lighting.
2. The Rustic Farmhouse
Instead of acrylic, use small wooden slats or even large, flat river stones found in your yard. Glue the stone to the base of the solar light. Use a white paint pen for a ‘chalkboard’ effect that feels organic and rugged.
3. The Tactical Herb Garden
For the handy gardener who loves a clean, organized look, use embossed metal tapes (from a label maker) instead of hand-lettering. The metallic sheen of the tape catches the LED light perfectly at night, making the labels highly legible from a distance.
Pro-Tip: If you’re making these as a gift, bundle a set of six in a small wooden crate with some seed packets. It’s a thoughtful, handmade gift that looks like it cost $50 but only cost you $10.
The Economic Edge: DIY vs. Store-Bought
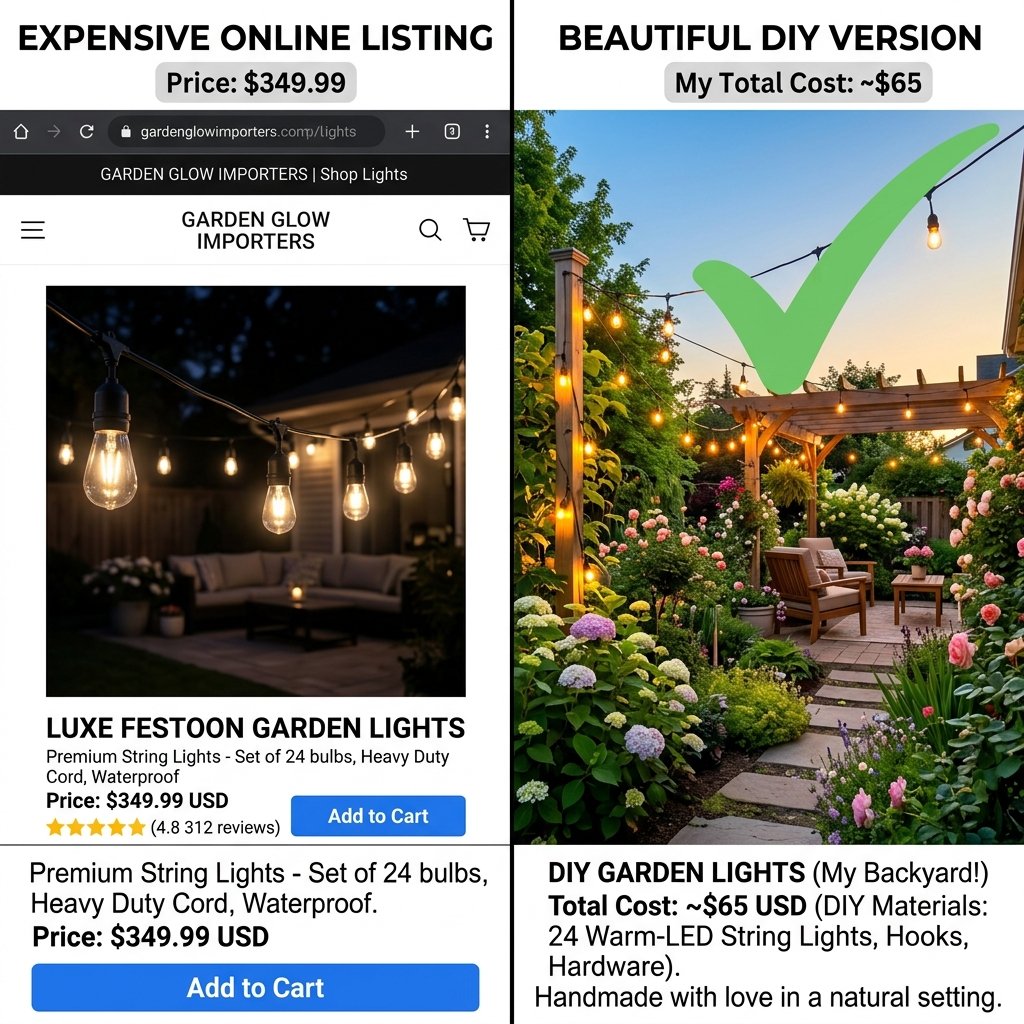
Why We Build Instead of Buy
If you were to head to a high-end garden center or browse an online boutique, you would find ‘illuminated garden markers’ retailing for anywhere from $15 to $35 per light. For a full garden of 10-12 plants, that is a staggering investment. By using the Dollar Tree method, we achieve the same functional result for a fraction of the cost.
| Feature | Boutique Solar Label | Dollar Tree DIY Version |
|---|---|---|
| Cost per Unit | $24.99 | $1.50 |
| Customization | Limited to Pre-set Names | 100% Customizable |
| Repairability | Disposable | Easy to Replace Parts |
| Total for 10 Labels | $249.90 | $15.00 |
The savings of over $200 isn’t just money in your pocket—it’s money that can be reinvested into more plants, better soil, or your next big upcycling project. That is the essence of being a budget-savvy maker.
Conclusion
A Brighter Future for Your Garden
Building your own solar light plant labels is more than a simple afternoon craft; it’s a statement of resourcefulness. You’ve taken basic, affordable components and engineered a solution that adds safety, organization, and a touch of elegance to your home. No longer will you have to guess which sprout is which in the twilight hours, nor will you have to settle for the boring, uninspired garden markers found in every other yard on the block.
As you watch your garden glow tonight, take pride in the fact that you did it yourself, you did it for less, and you did it with style. Now, go grab those $1.25 lights and start illuminating your green thumb! Your garden—and your wallet—will thank you.

Makenzie is the founder and lead writer at MoneyHackTips.com — a personal finance blog dedicated to delivering street-smart financial wisdom for real people on real budgets. With 300+ published articles covering everything from debt management to investing fundamentals, Makenzie’s mission is to make every dollar work harder. When not writing about money hacks, Makenzie is testing frugal living strategies, optimizing side hustles, and helping readers build financial freedom from scratch.