
The Art of the High-End Hustle
Let’s be honest: most plastic trash cans look exactly like what they are—cheap utility items meant to be hidden under a sink. But as a resourceful DIYer, you know that a $1.25 price tag isn’t a limitation; it’s a challenge. We aren’t just ‘decorating’ a wastebasket today; we are performing a structural and aesthetic overhaul that mirrors the masculine-elegant aesthetic found in high-end boutiques like West Elm or Restoration Hardware. By the time we’re done, your guests will be asking which designer showroom you visited, and you’ll have the quiet satisfaction of knowing it cost less than a latte. This project is about grit, creativity, and the ‘baking soda paint’ secret that is currently taking the design world by storm. Get ready to turn ‘trash’ into a genuine treasure.
Budget Mantra: Luxury is not a price tag; it is a level of intentionality applied to everyday objects.
The Blueprint: Sourcing Your $5 Luxury Kit
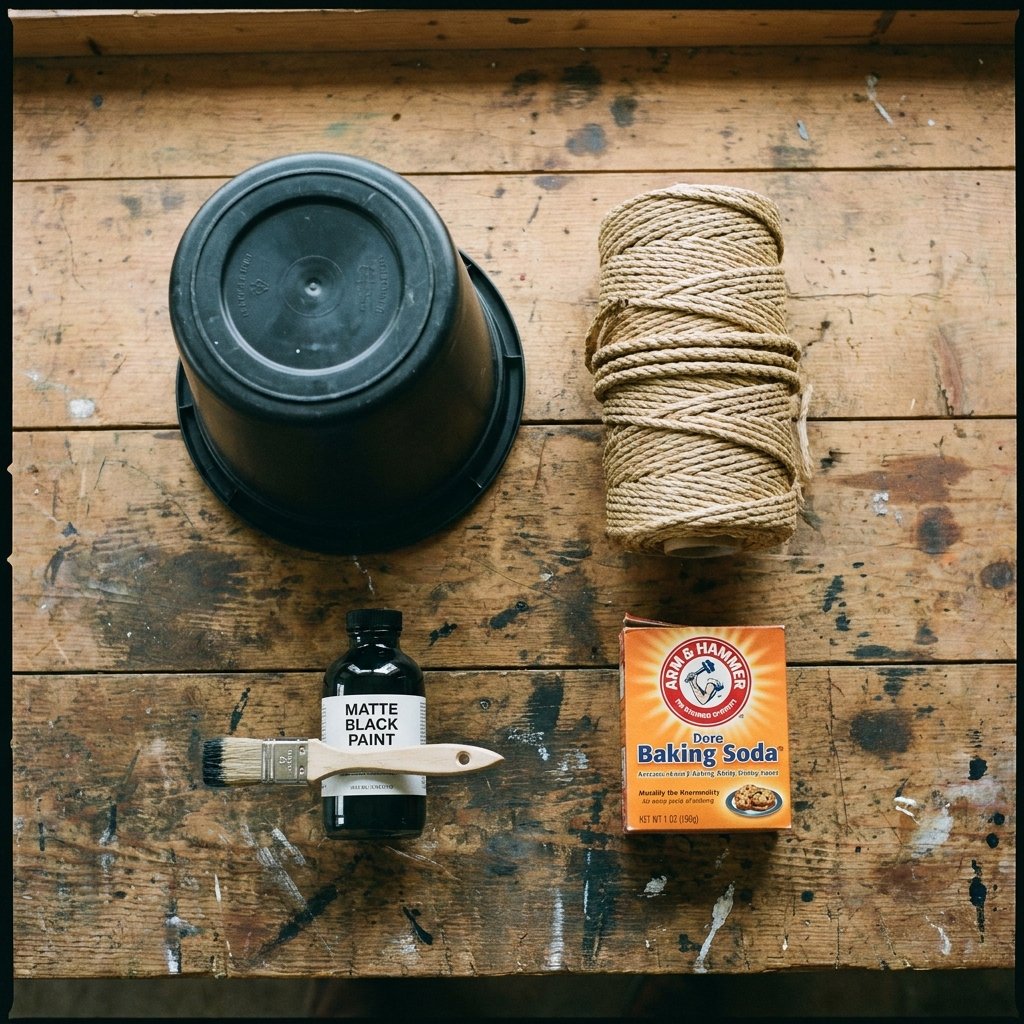
Success in any upcycling project begins with the hunt. You need to look past the neon plastics and flimsy builds to find the ‘bones’ of your project. For this makeover, we are targeting the standard Dollar Tree plastic wastebasket. While it looks unimpressive on the shelf, its cylindrical shape is a perfect canvas for texture. To achieve a bespoke, rugged look, we will also need a few specific additives that turn basic acrylic paint into a stone-like finish.
Materials Needed & Estimated Cost
| Item | Source | Cost |
|---|---|---|
| Plastic Wastebasket | Dollar Tree | $1.25 |
| Nautical Rope (9.5ft) | Dollar Tree | $1.25 |
| Matte Acrylic Paint (Black or Charcoal) | Craft Store/Stash | $1.50 |
| Baking Soda | Pantry | $0.50 |
| Hot Glue Sticks | Dollar Tree | $0.50 |
| Total Project Cost | – | $5.00 |
Before you start, ensure your workspace is protected. Even a budget-savvy master knows that a clean shop is a productive shop. Use old newspapers or a cardboard scrap from your last delivery to catch the drips.
The Faux-Stone Secret: Mastering the Baking Soda Paint Trick
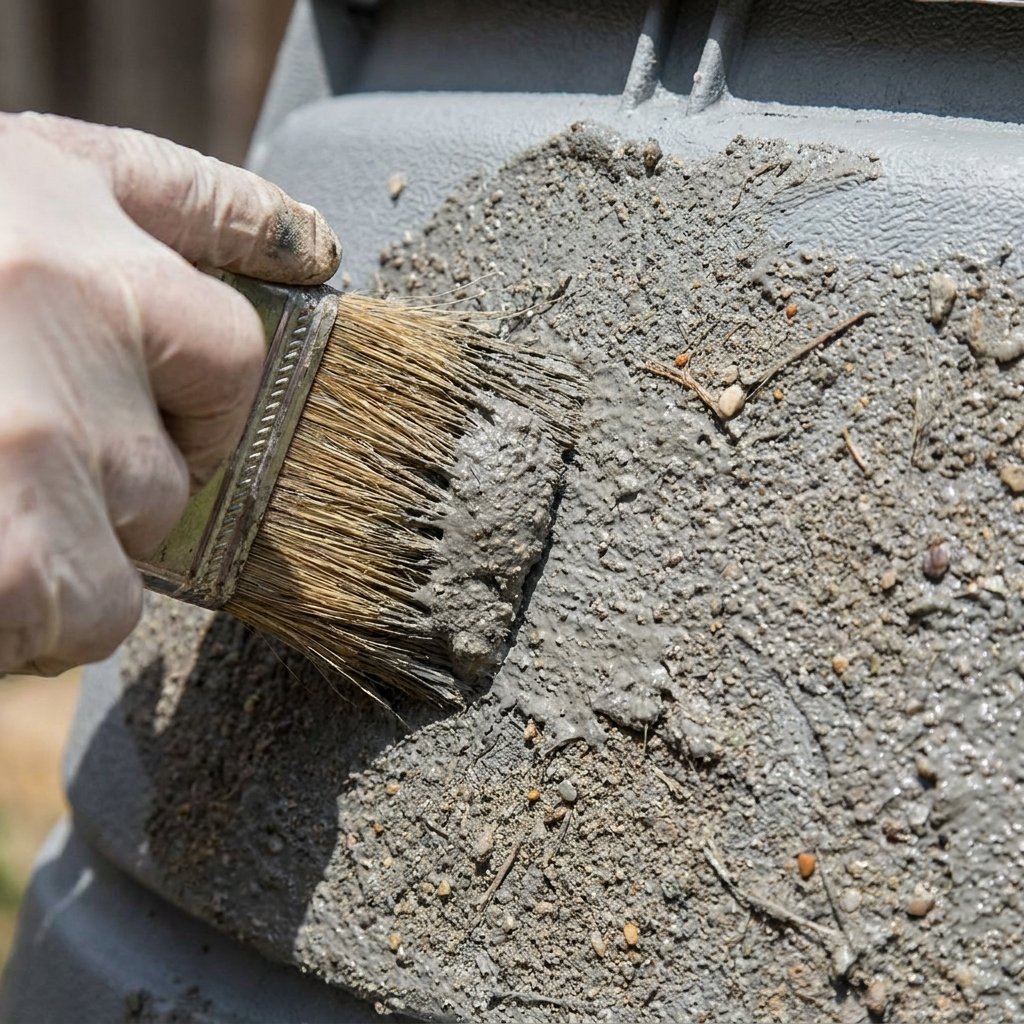
The biggest giveaway of a cheap item is its ‘plastic sheen.’ To kill the shine and add sophisticated weight, we use the baking soda technique. This creates a ceramic-like texture that mimics expensive stoneware or cast iron. It’s a crafty-expert move that requires zero professional equipment.
- Prep the Surface: Use a high-grit sandpaper to lightly scuff the plastic. This gives the paint ‘teeth’ to grab onto.
- The Formula: Mix 1 cup of matte acrylic paint with 1/4 cup of baking soda. Stir slowly until it reaches a thick, mousse-like consistency.
- The Application: Do not brush it on in smooth strokes. Instead, stipple the paint onto the plastic using a sponge or a coarse brush. This creates the ‘pitted’ look of real stone.
- Curing: Let the first coat dry for at least 45 minutes. If the plastic is still peeking through, apply a second coat.
Pro Tip: For a more ‘rugged’ patina, mix in a tablespoon of fine sand or coffee grounds to the paint mixture for extra grit.
Structural Elegance: Adding the Nautical Rope Rim

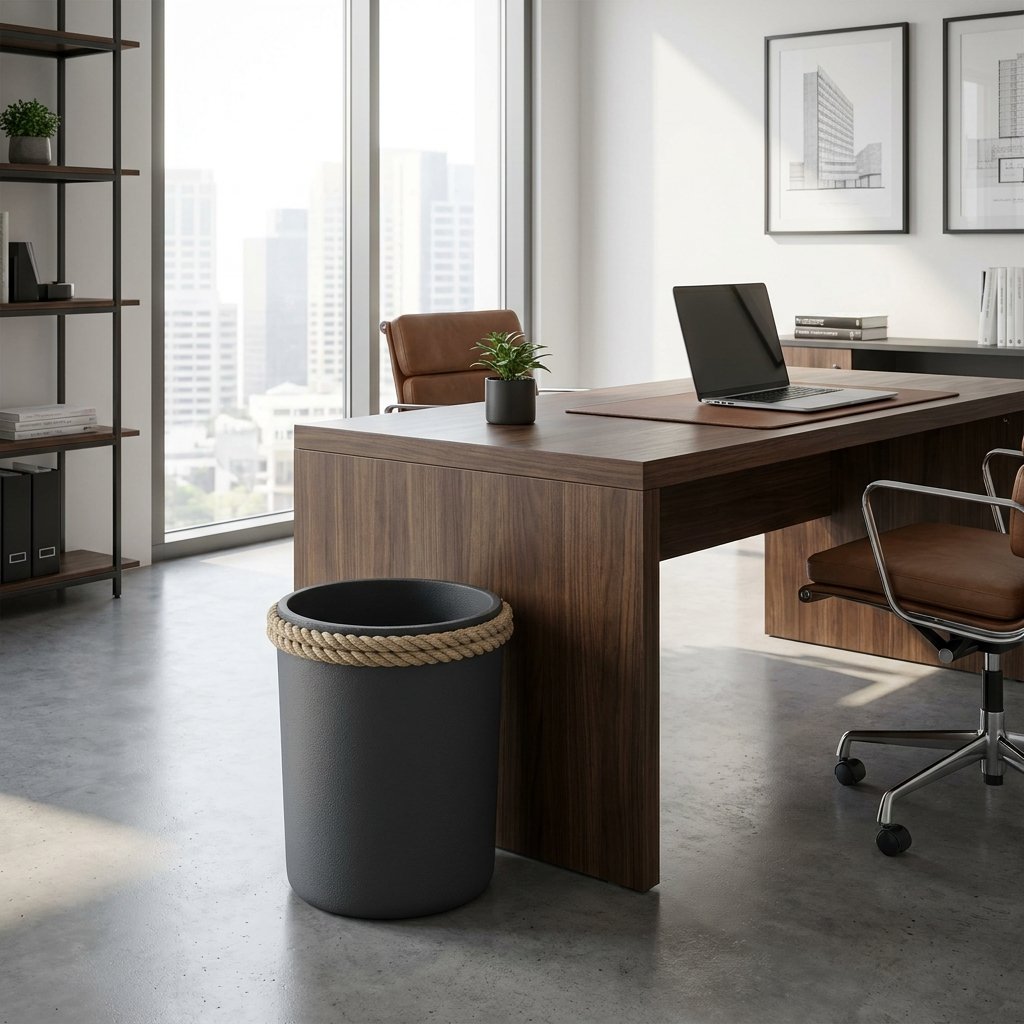
Now that the body of the trash can looks like heavy pottery, we need to add a masculine-elegant trim. Nautical rope provides a brilliant contrast to the dark, textured paint. It hides the thin, cheap plastic rim and adds a layer of organic warmth to the piece.
Rope Attachment Steps
- Heating Up: Ensure your hot glue gun is at its highest setting for a permanent bond.
- The Anchor: Start at the back seam of the trash can. Glue the end of the rope flush against the top lip.
- The Coil: Wrap the rope around the rim three times, applying a thin bead of glue every 2 inches. Press firmly as you go.
- The Clean Cut: When you reach the end, cut the rope at an angle (a scarf joint) so it sits flush against the starting point. Secure with an extra dab of glue.
This simple addition transforms the silhouette from ‘utility bucket’ to ‘designer accent piece.’ The contrast between the charcoal stone finish and the tan fibers of the rope is a classic interior design move used to balance cold and warm tones.
The High-End Finish: Sealing and Styling
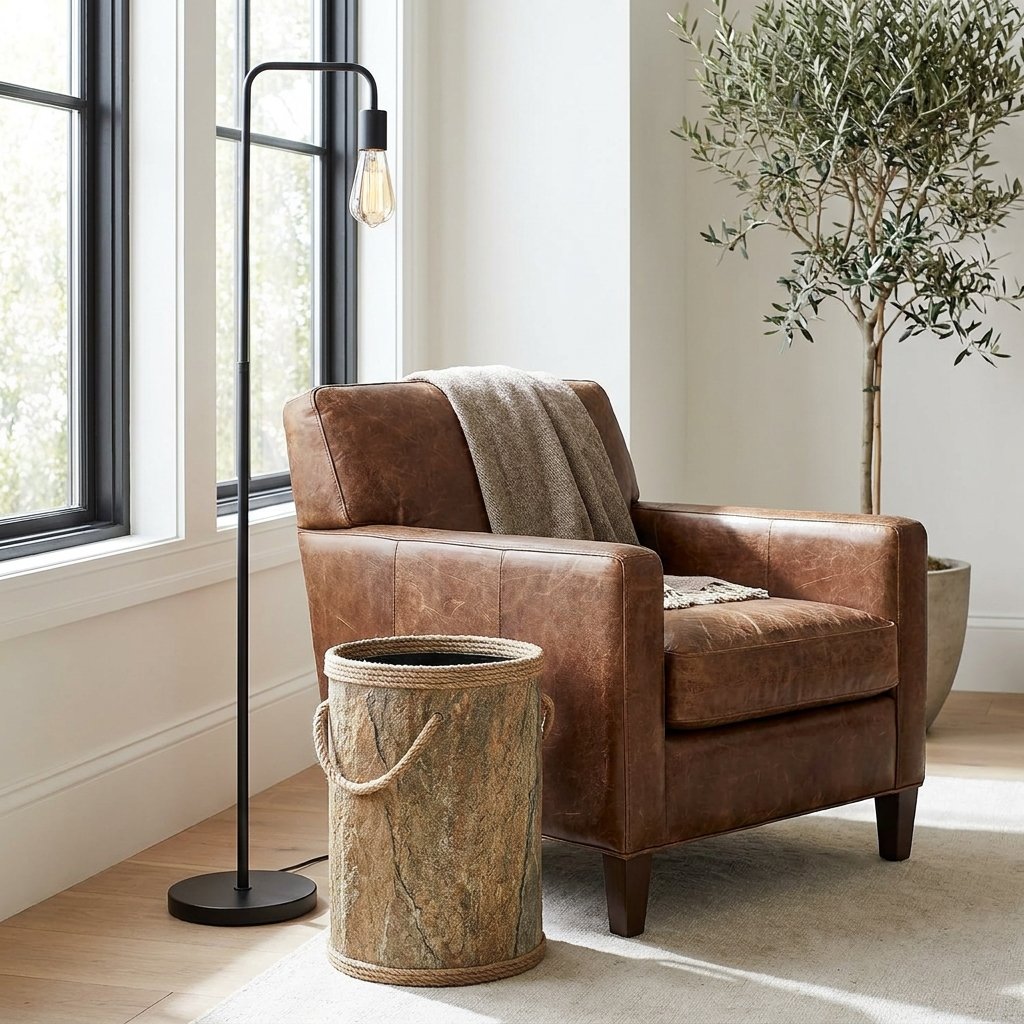
To ensure your $5 masterpiece lasts through years of use, you must seal the texture. Baking soda paint can be porous, so a quick spray of matte clear sealer will protect it from moisture and scuffs. This is the difference between a ‘craft’ and a ‘piece of furniture.’
Style Compatibility Guide
| Interior Style | Color Palette | Hardware Addition |
|---|---|---|
| Industrial Loft | Charcoal / Black | Black Metal Washers |
| Coastal Modern | Sage Green / Tan | White-Washed Rope |
| Rustic Farmhouse | Cream / Terracotta | Leather Tab Handles |
| Minimalist Scandi | Light Gray / White | Natural Wood Base |
Once sealed, place your new creation in a high-visibility area. It works perfectly in a home office, a guest bathroom, or even as a unique planter for a large indoor tree (just add a plastic liner inside!).
Cost Analysis: Dollar Tree vs. Designer Brands
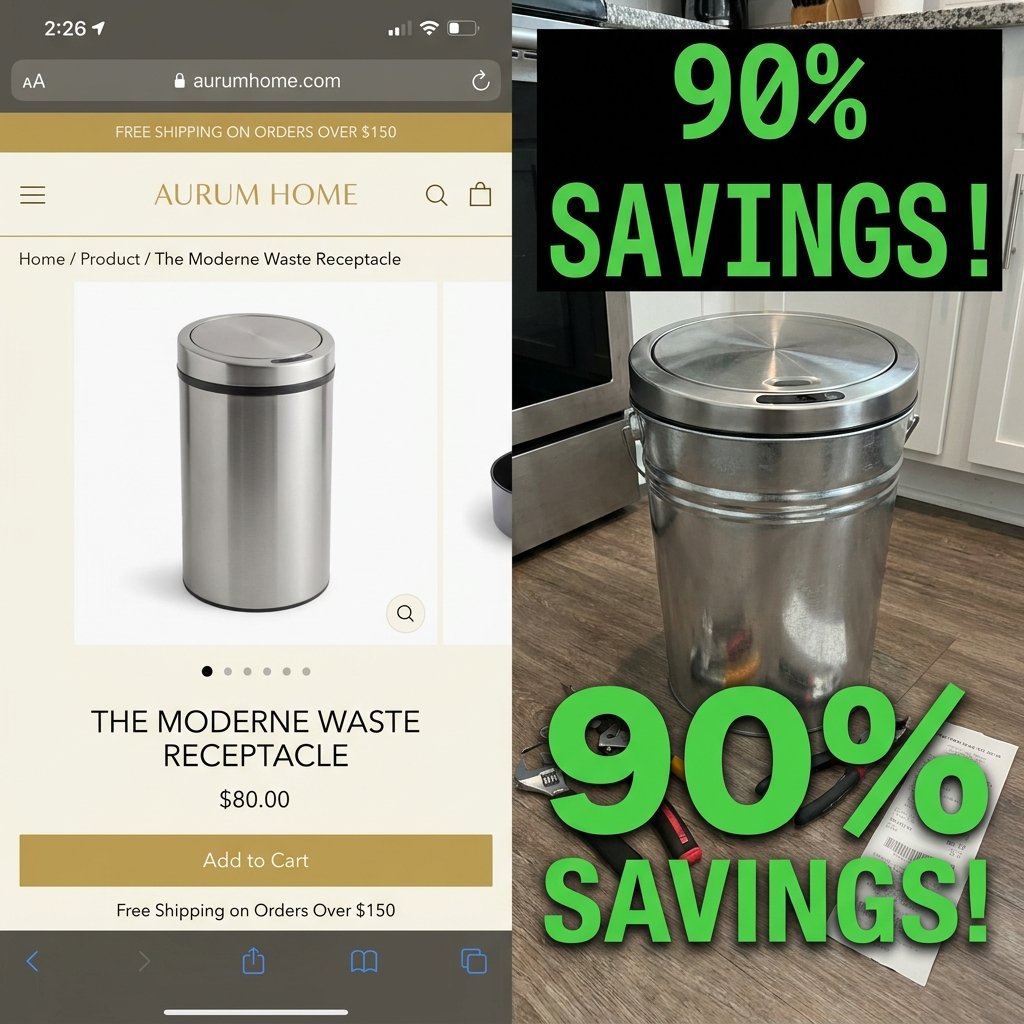
If you’re still not convinced that frugal DIYing is the way to go, let’s look at the cold, hard numbers. When you buy a ‘textured resin’ or ‘nautical themed’ wastebasket from a high-end retailer, you aren’t paying for better materials—you’re paying for the brand and the styling. By doing it yourself, you keep $40 to $90 in your pocket.
Price Comparison Table
| Retailer | Item Description | Price |
|---|---|---|
| West Elm | Textured Stone Wastebasket | $65.00 |
| Pottery Barn | Rope-Wrapped Resin Bin | $89.00 |
| Anthropologie | Artisanal Ceramic Can | $48.00 |
| Your DIY Version | Upcycled DT Trash Can | $5.00 |
Savings Mantra: Every dollar saved on decor is a dollar earned for your next big adventure.
The math is clear. For the price of one designer trash can, you could outfit every room in your house with a custom-made version and still have money left over for a nice dinner. That is the power of the clever, budget-savvy maker.
Conclusion
The Power of the $5 Transformation
You’ve just turned the most overlooked item in the house into a statement piece. This project proves that with a little resourceful creativity and a few dollars, you can bypass the high-end markups and create a home that reflects your style and your smarts. Don’t stop here—take that baking soda paint trick and apply it to vases, lamps, and picture frames. Once you see the potential in a $1.25 plastic bin, the whole world becomes your workshop. Go forth and upcycle with rugged elegance!

Makenzie is the founder and lead writer at MoneyHackTips.com — a personal finance blog dedicated to delivering street-smart financial wisdom for real people on real budgets. With 300+ published articles covering everything from debt management to investing fundamentals, Makenzie’s mission is to make every dollar work harder. When not writing about money hacks, Makenzie is testing frugal living strategies, optimizing side hustles, and helping readers build financial freedom from scratch.