
The Art of the High-End Hustle: Why Your Porch Needs This Hack
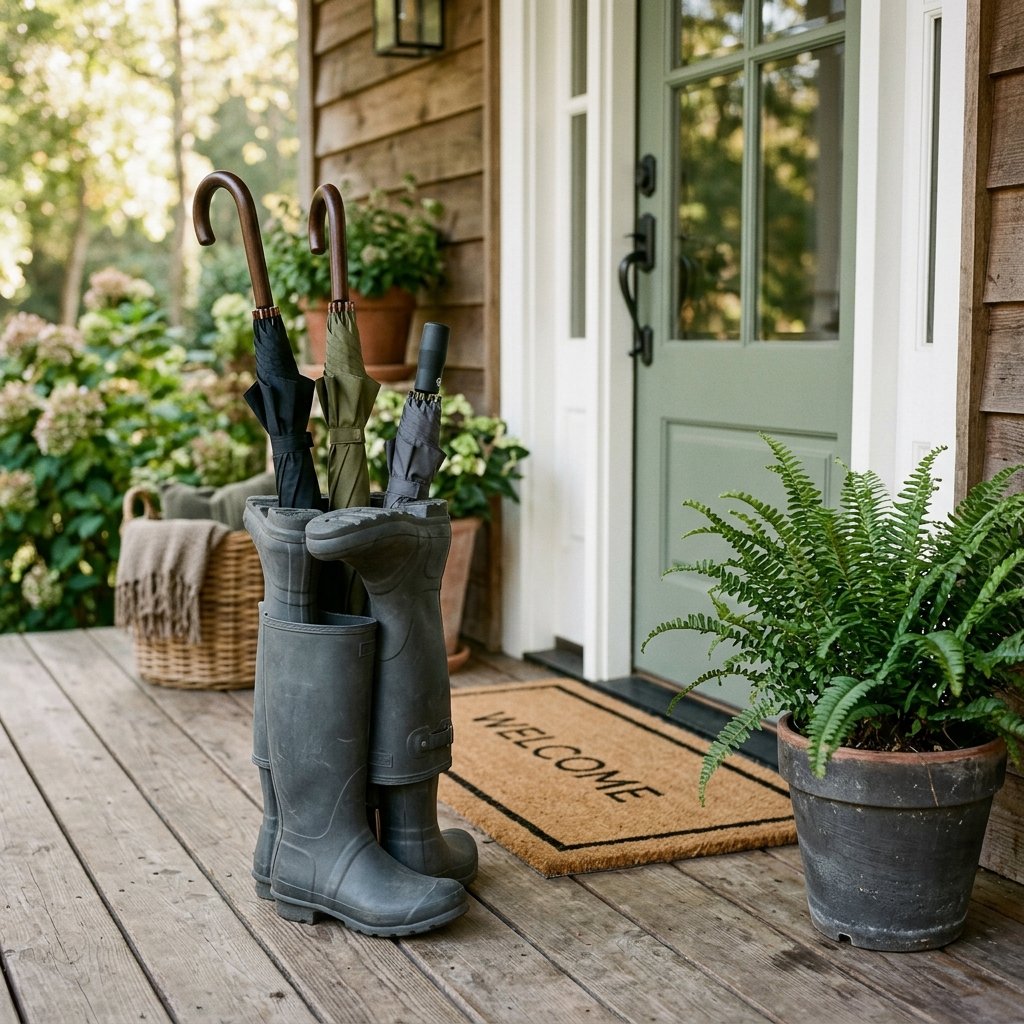
Let’s talk about curb appeal. We’ve all seen those stunning porch setups in high-end catalogs—the ones where a perfectly weathered, vintage-inspired umbrella stand sits effortlessly next to a $100 designer welcome mat. But here’s the reality: most of us would rather spend that $50 or $60 on a nice dinner or a new set of power tools than on a ceramic cylinder that just holds wet fabric. That is where the Viral Porch Makeover Hack comes into play. As a seasoned frugal guru, I’ve mastered the art of spotting the ‘bones’ of an object. When I saw the bright, plastic rain boots at the local Dollar Tree, I didn’t see cheap footwear; I saw the foundation for a rugged, masculine-elegant umbrella stand that looks like it belongs in a Pacific Northwest lodge or a modern farmhouse entryway.
This project is the epitome of being resourcefully creative. We aren’t just slapping paint on plastic; we are re-engineering a lightweight item into a heavy-duty, weather-resistant piece of functional art. Whether you are a handy dad looking to tidy up the mudroom or a budget-savvy crafter aiming for that ‘Anthropologie’ look on a ‘Dollar Tree’ dime, this guide will walk you through the structural reinforcement, the aesthetic texturizing, and the final styling that will make your neighbors think you spent a fortune at a boutique.
The Blueprint: Materials and Cost Comparison
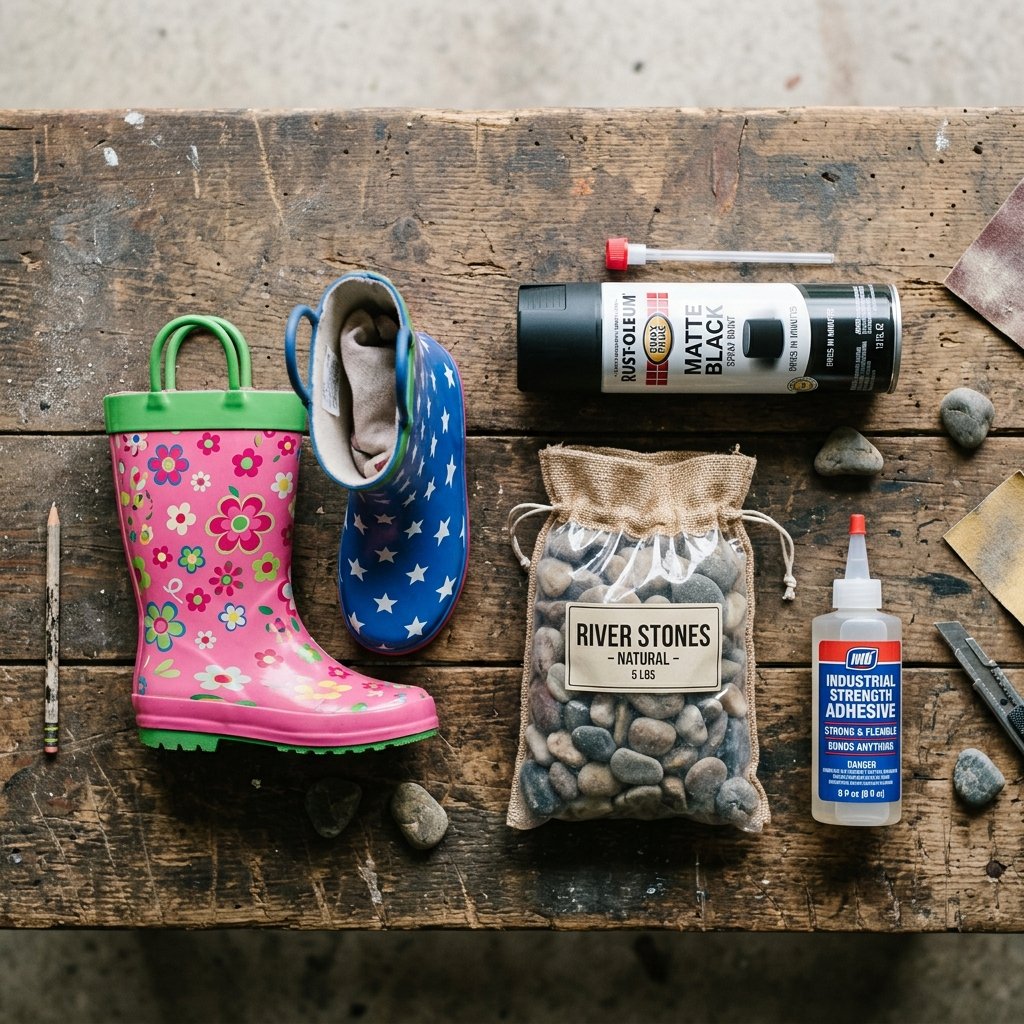
Before we pick up a brush, let’s look at the numbers. The goal of any elite upcycler is to achieve a 90% savings compared to retail prices. By sourcing our primary vessel from a discount store, we bypass the ‘decor tax’ entirely. We will be using common household items like gravel or sand to provide the rugged stability needed to ensure your stand doesn’t tip over during a spring thunderstorm.
| Item | DIY Cost (Estimated) | Retail Equivalent |
|---|---|---|
| Rain Boots (Pair) | $5.00 – $10.00 | $45.00+ |
| Matte Spray Paint/Primer | $6.00 | Included |
| Weighting Material (Rocks/Sand) | $0.00 (Free) | Included |
| Weatherproof Sealant | $4.00 | Included |
| Total Investment | $15.00 – $20.00 | $65.00 – $85.00 |
As you can see, the savings are substantial. This budget-savvy approach allows you to allocate your funds toward higher-quality umbrellas or other porch upgrades like LED lighting or weather-resistant cushions.
Structural Integrity: Weighting and Bonding
The Foundation of Function
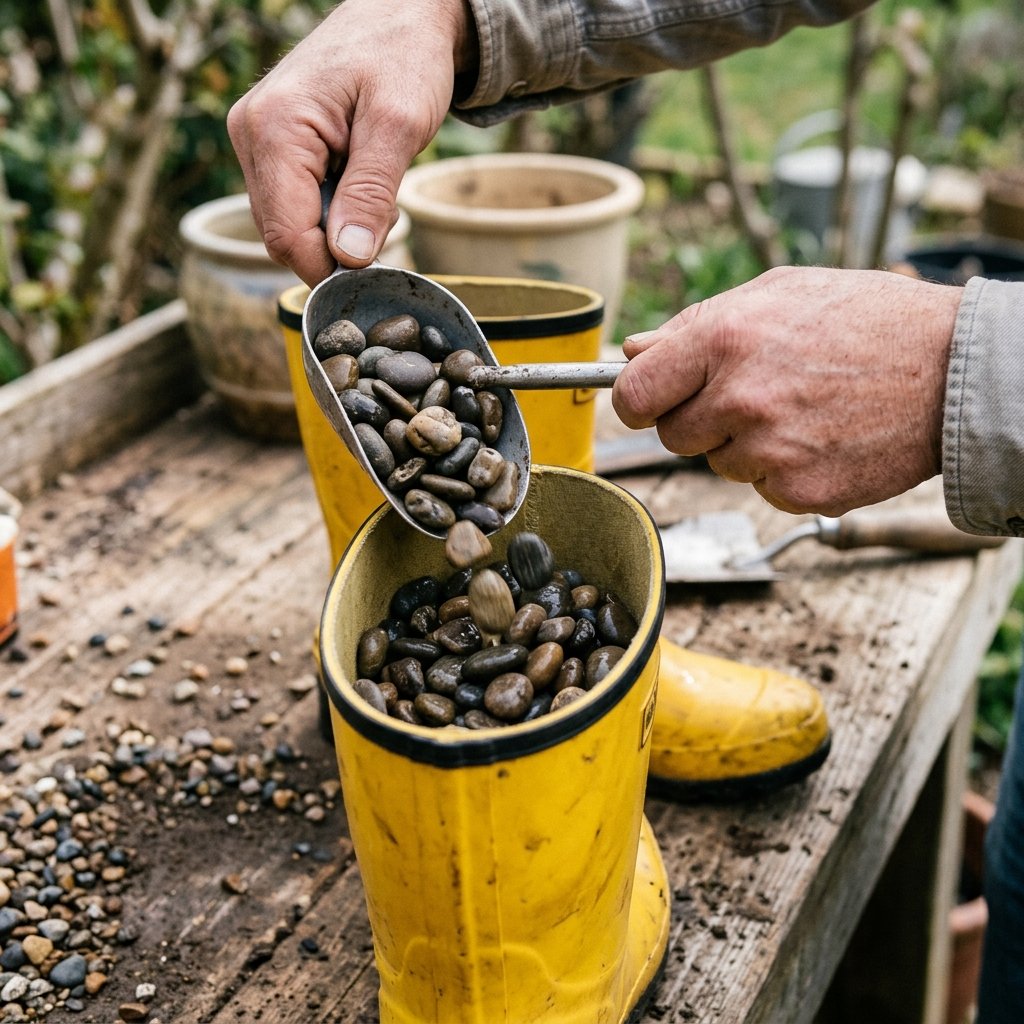
The biggest mistake amateur crafters make with this hack is forgetting the ‘stand’ part of the umbrella stand. Rain boots are designed to be flexible and light; umbrellas are often top-heavy. To create a practical and masculine-elegant piece, we must give it some ‘heft.’ We achieve this by creating a weighted base that lowers the center of gravity.
- Step 1: The Internal Anchor. Fill the bottom 3 inches of each boot with heavy river rocks or dry play sand. This ensures the boots stay upright even when holding large golf umbrellas.
- Step 2: Bonding the Pair. To make this a singular ‘stand,’ use a high-strength adhesive (like E6000 or a heavy-duty hot glue) to bond the inner sides of the boots together at the calf and the heel.
- Step 3: The Drainage Solution. If your porch is uncovered, drill small holes in the very bottom of the soles. However, for most covered porches, we want to keep the water inside. Place a small piece of sponge at the bottom of the boot to soak up drips, which can be removed and wrung out periodically.
Budget Mantra: ‘A beautiful object that fails its function is just clutter. Build for durability first, beauty second.’
The Aesthetic Overhaul: Faux-Stone and Matte Finishes
Transforming Plastic into Premium
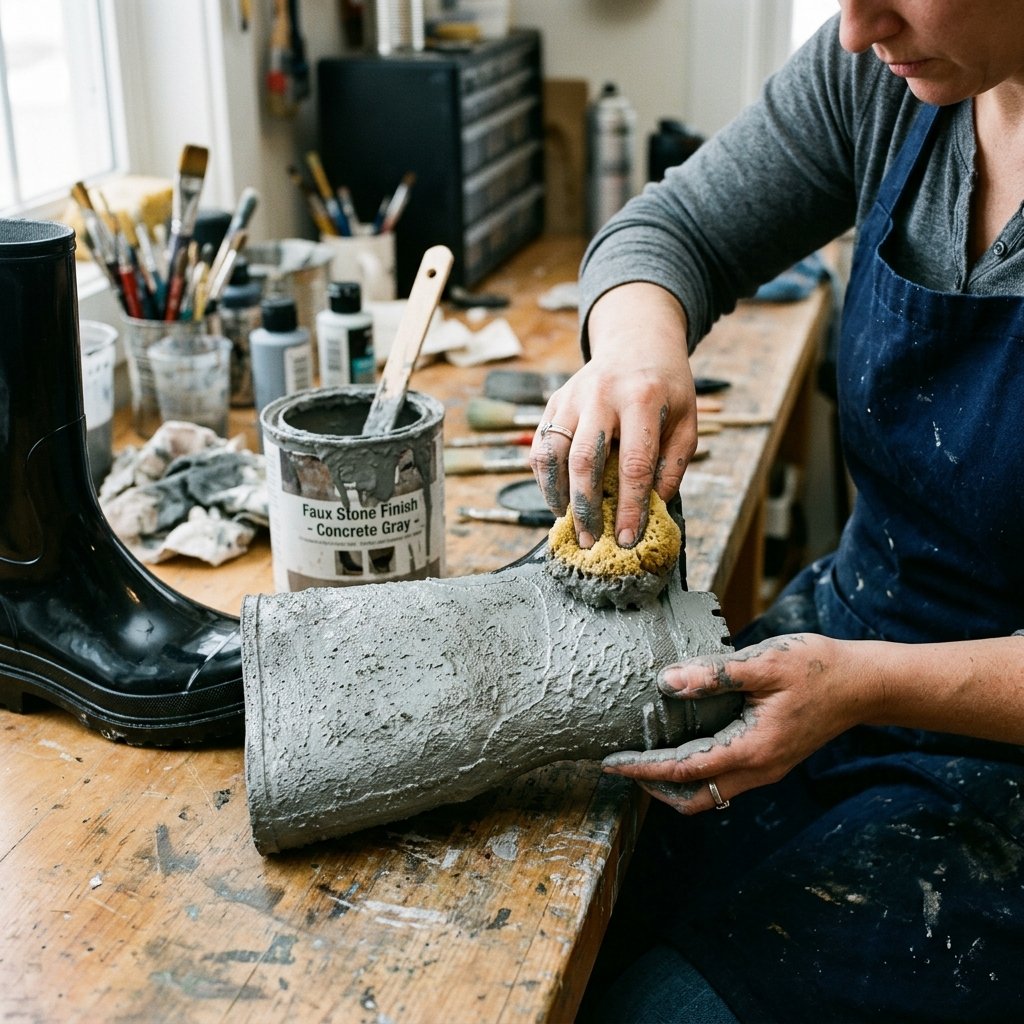
Now we move to the ‘crafty-expert’ phase. We need to hide the fact that these were ever plastic boots. The secret weapon? Texture. To achieve a look that mimics cast iron, heavy ceramic, or weathered stone, we use the ‘Baking Soda Paint Trick.’
The Texture Recipe
| Ingredient | Ratio | Purpose |
|---|---|---|
| Matte Acrylic Paint | 1 Cup | Base Color |
| Baking Soda | 1/4 Cup | Granular Texture |
| Water | 1 Tablespoon | Consistency Adjustment |
Mix these until you have a thick, gritty paste. Use a stippling motion with a coarse brush to apply this to the boots. This technique breaks up the light reflections that scream ‘cheap plastic.’ For a rugged, masculine look, I recommend deep charcoal, forest green, or a weathered bronze metallic finish. If you prefer a cleaner, modern farmhouse vibe, go with a chalky white or a slate gray.
Safety Note:
If using spray-on textured stone paints, always work in a well-ventilated area—preferably outdoors—and wear a mask to avoid inhaling fine particulates.
Step-by-Step Assembly Guide
Bringing the Vision to Life
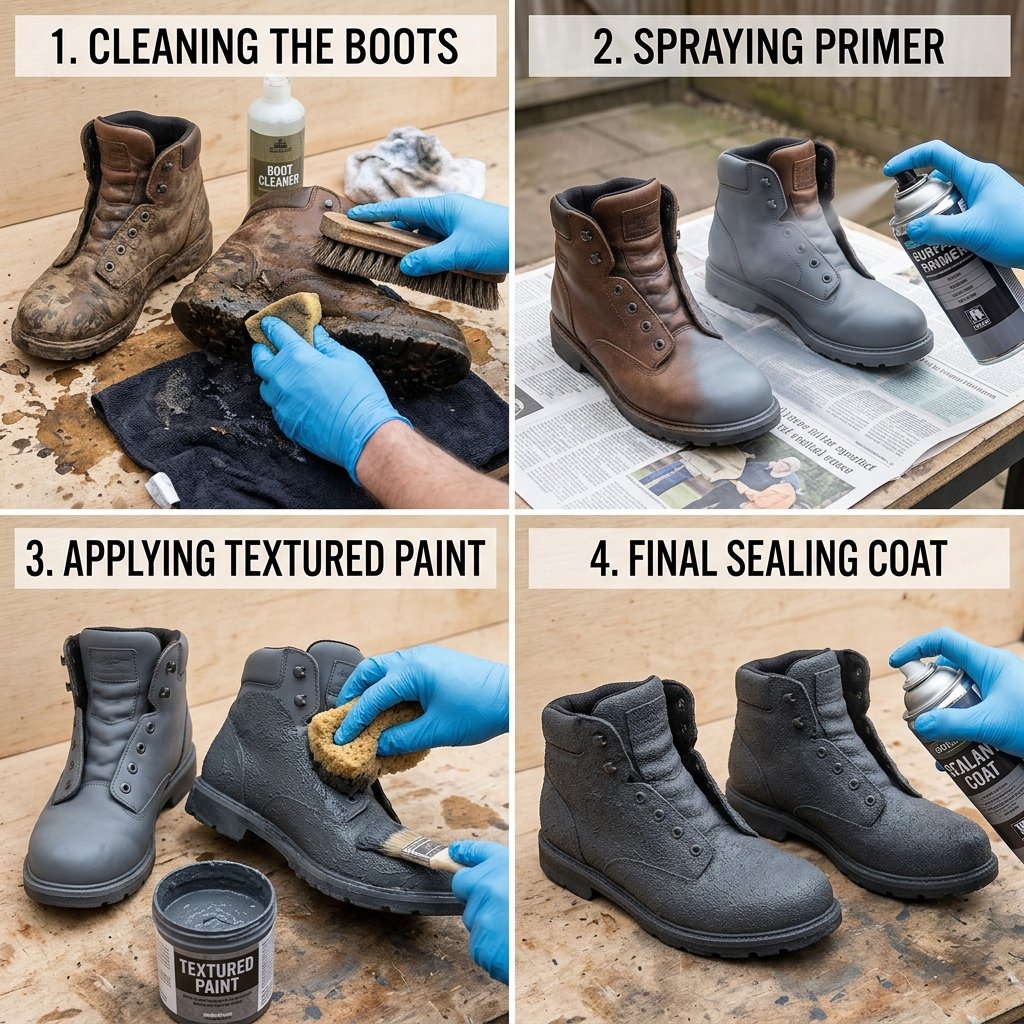
- Clean and Prep: Wipe down the boots with rubbing alcohol. This removes manufacturing oils and ensures your paint bonds permanently to the rubber.
- Prime: Use a ‘Plastic-Bonding’ primer. This is the clever step that prevents your hard work from peeling off in the summer heat.
- Apply Texture: Use the baking soda method or a stone-effect spray paint. Apply two thin coats rather than one thick one to avoid drips.
- Detailing: Once dry, take a slightly lighter shade of paint and ‘dry brush’ the raised details of the boots (like the buckles or the tread patterns) to give it depth and a high-end replica feel.
- Seal: Apply a matte outdoor-grade polyurethane sealer. This protects the finish from UV rays and moisture.
This process takes approximately 2 hours of active work, plus drying time, making it a perfect Saturday afternoon project for the handy parent.
Styling Your Viral Creation
The Final Reveal
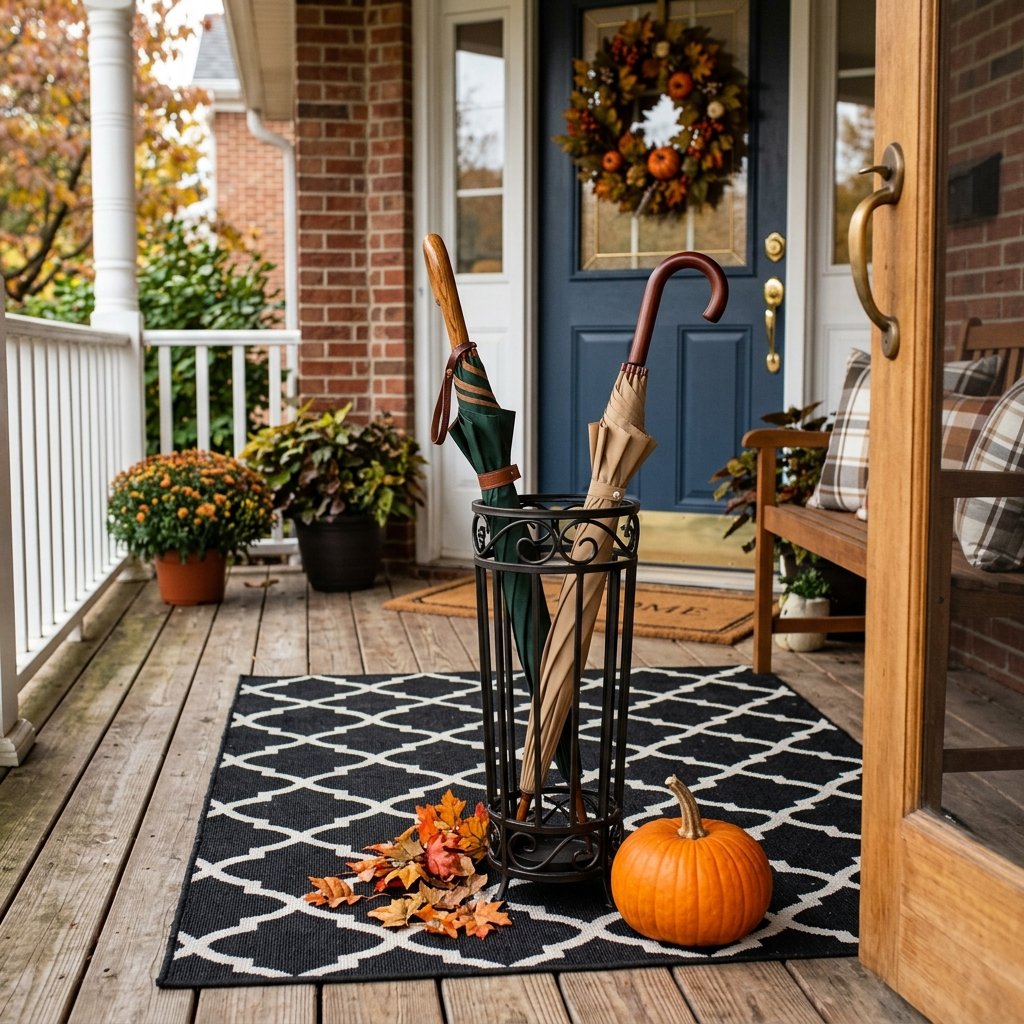
Your DIY Dollar Tree Rain Boot Umbrella Stand is now ready for its close-up. To truly ‘sell’ the look, you need to style it with intention. Don’t just shove it in a corner. Place it alongside a rugged wooden bench or a stack of vintage crates. The juxtaposition of the ‘soft’ boot shape with ‘hard’ porch materials creates a masculine-elegant aesthetic that is very trendy right now.
- The Greenery Hack: If it’s not raining, tuck a few sprigs of faux eucalyptus or dried lavender into one of the boots. It adds a touch of life and color.
- Seasonal Swaps: In the winter, replace the umbrellas with birch branches and twinkle lights. In the fall, stick in some decorative cattails or wheat stalks.
- The Entryway Ensemble: Pair the stand with a coir mat featuring a bold, minimalist greeting. The weight of the boots will anchor the corner of the mat, keeping everything looking tidy.
Conclusion
The Frugal Guru’s Final Word
Upcycling is more than just a way to save a few bucks; it’s a way to inject personality and resourceful creativity into your home. By taking a pair of $5.00 boots and applying a bit of crafty-expert knowledge, you’ve created a piece that is functional, durable, and undeniably stylish. You’ve saved $40 or more, kept plastic out of the landfill, and elevated your home’s first impression. That is the ultimate ‘Trash-to-Treasure’ victory. Now, every time it rains, you’ll have a clever reminder of your DIY prowess waiting for you at the door. Happy crafting!

Makenzie is the founder and lead writer at MoneyHackTips.com — a personal finance blog dedicated to delivering street-smart financial wisdom for real people on real budgets. With 300+ published articles covering everything from debt management to investing fundamentals, Makenzie’s mission is to make every dollar work harder. When not writing about money hacks, Makenzie is testing frugal living strategies, optimizing side hustles, and helping readers build financial freedom from scratch.