
The $40 Illusion: Why You Should Never Pay Retail for Decor
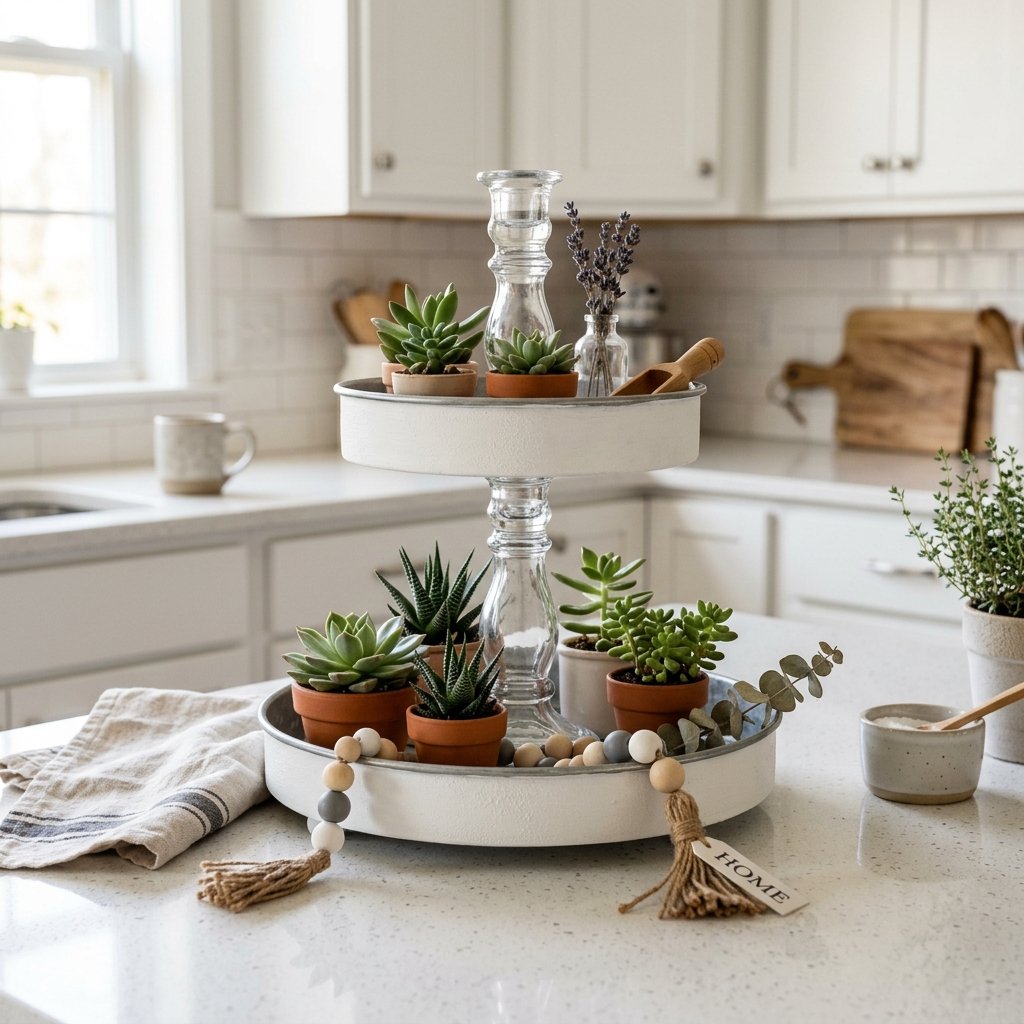
We have all been there—strolling through the aisles of high-end home decor boutiques or scrolling through Target’s latest collection, only to find a simple tiered tray priced at a staggering $40 to $60. It is a beautiful piece, certainly, but as a frugal DIYer, your internal alarm should be going off. Why spend a week’s grocery budget on a few pieces of molded metal or wood when you can replicate that exact same aesthetic for the price of a fancy latte? Today, we are going to channel our inner ‘Trash-to-Treasure’ guru to build a rugged, elegant, and structurally sound tiered tray using nothing but Dollar Tree staples. By the time we are done, you will have a centerpiece that looks like it was plucked from the pages of a Magnolia catalog, while keeping your hard-earned $35+ in your pocket. This isn’t just about saving money; it is about the masculine-elegant satisfaction of building something better, stronger, and more personalized than what you can find on a shelf.
The Blueprint: Sourcing Your $5 Inventory
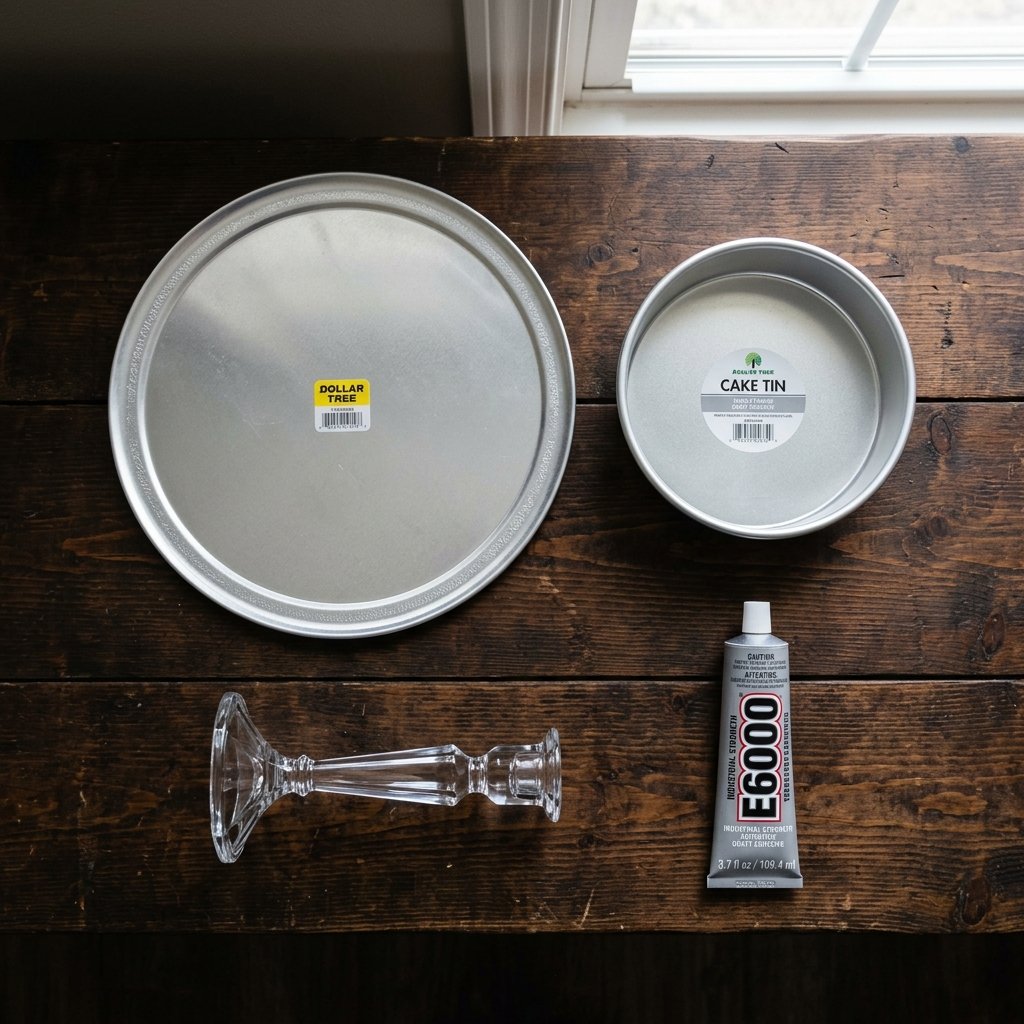
Success in any build starts with the right materials. For this project, we are looking for items that have great ‘bones’—the shape matters, the color does not. We are going to head to the kitchen and glassware aisles of your local dollar store to find our structural components. The key here is to look for durability and symmetry. We need two flat surfaces of different sizes and a sturdy central pillar.
| Dollar Tree Item | Function | Estimated Cost |
|---|---|---|
| Large Metal Pizza Pan (12″) | Bottom Tier Base | $1.25 |
| Small Metal Cake Pan or Pie Tin (8-9″) | Top Tier Base | $1.25 |
| Glass Taper Candlestick Holder | Central Support Pillar | $1.25 |
| E6000 Industrial Adhesive (Small Tube) | Structural Bonding | $1.25 |
| TOTAL PROJECT COST | High-End Dupe | $5.00 |
“The secret to a high-end look isn’t the price tag; it’s the silhouette. Look past the shiny silver finish and see the architectural potential of the metal.”
Surface Preparation: The Secret to Professional Finishes
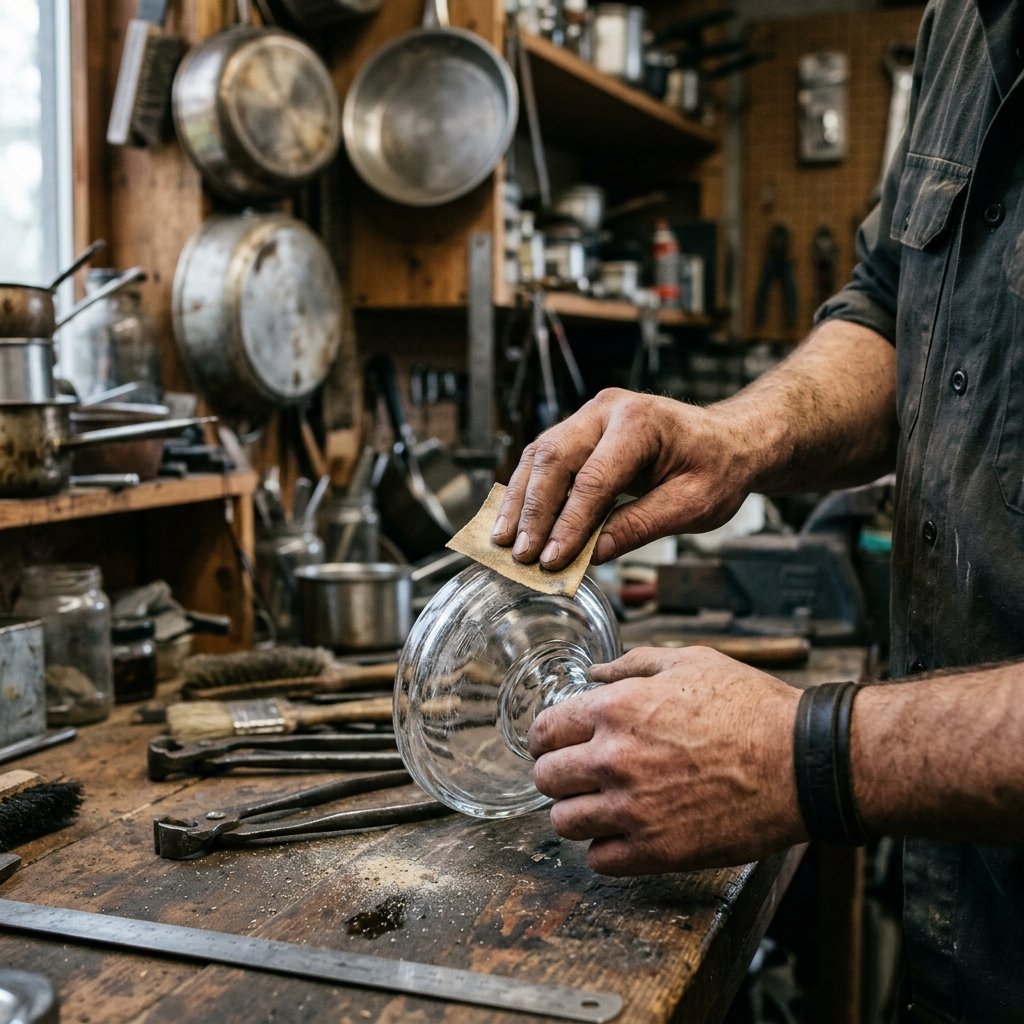
Degreasing and De-sticking
Dollar store items are notorious for two things: industrial-strength price stickers and a thin film of factory oil. If you skip the prep, your paint will peel in less than 24 hours. Start by peeling off all stickers. If they leave a residue, use a dab of rubbing alcohol or a citrus-based adhesive remover. Wash both pans and the glass candlestick in hot, soapy water to remove any oils. This ensures your industrial adhesive and paint have a 100% clean surface to bond to.
Mechanical Bonding (Sanding)
To ensure this tray lasts for years, we need to create ‘tooth’ on the surface. Take a 220-grit sandpaper and lightly scuff the top of the large pan where the candlestick will sit, and the bottom of the small pan. Also, lightly sand the top and bottom rims of the glass candlestick. This creates microscopic grooves that allow the glue to bite into the material, creating a permanent bond that won’t fail when you load the tray with heavy decor items.
“Prep work is 90% of the job. A clean surface is the difference between a ‘cheap craft’ and a ‘custom heirloom’.”
The Engineering Phase: Precision Alignment and Bonding
Finding the True Center
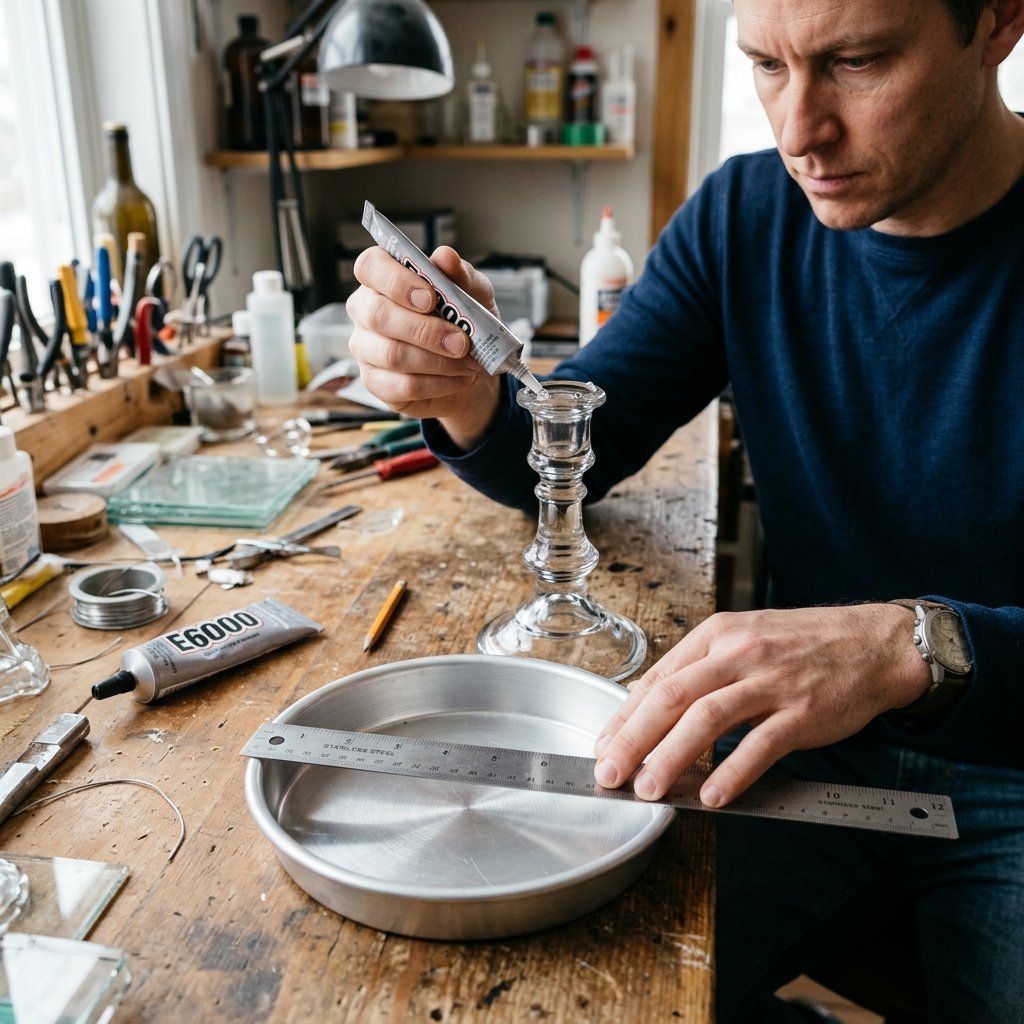
Nothing ruins the ‘elegant’ look faster than a lopsided tray. To find the center of your pizza pan, use a ruler to measure the diameter and mark the midpoint with a pencil. Do this from three different angles; where the lines intersect is your dead center. Repeat this for the smaller top pan.
The Hybrid Glue Method
For maximum efficiency, we use a hybrid gluing technique. E6000 provides the long-term structural integrity, while hot glue provides the instant hold. Apply a thick bead of E6000 to the bottom rim of the candlestick, leaving two small gaps. In those gaps, place a large drop of high-temp hot glue. Press the candlestick onto the center of the large pan. The hot glue will set in 30 seconds, holding everything in place while the E6000 cures over the next 24 hours. Repeat this process for the top pan.
| Adhesive Type | Role | Cure Time |
|---|---|---|
| High-Temp Hot Glue | Immediate Positioning | 30 Seconds |
| E6000 Industrial | Structural Weight Bearing | 24 Hours |
The ‘Baking Soda Paint Trick’: Creating Faux-Stone Texture
The Formula for High-End Ceramics
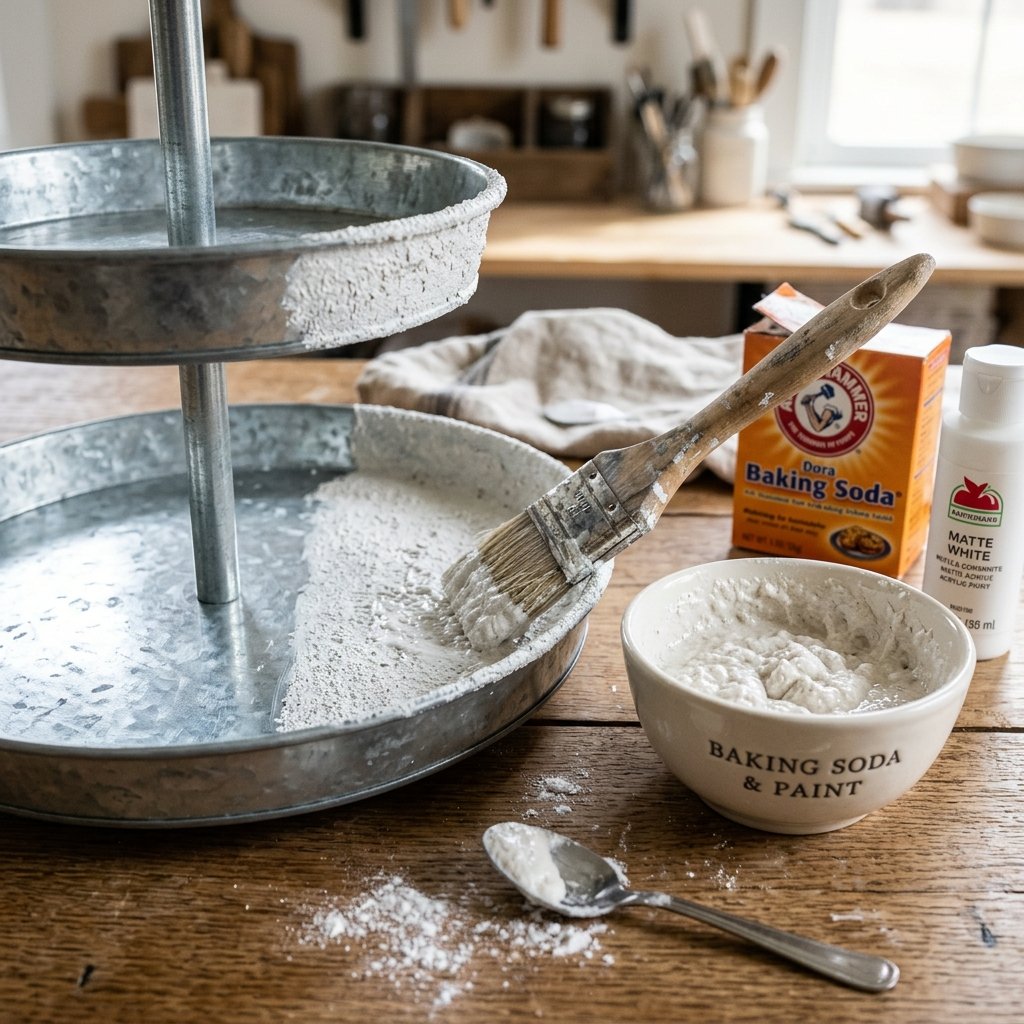
To get that rugged, matte, stone-like finish seen in high-end stores, we aren’t just using regular spray paint. We are going to create a custom ‘chalk-stone’ mixture. This is a favorite among resourceful crafters because it hides the imperfections of the cheap metal pans perfectly.
- 1 Cup Matte Acrylic Paint (White, Charcoal, or Sage Green)
- 1/4 Cup Baking Soda
- Mix until it reaches a ‘thick batter’ consistency
Apply this mixture using a stippling motion (dabbing up and down) with a coarse brush or a sea sponge. This creates a variegated texture that mimics expensive cast-iron or heavy stoneware. Apply two coats, allowing 1 hour of dry time between them. The result is a finish that feels heavy and premium to the touch, completely disguising its $1.25 origins.
“Texture is the language of luxury. By adding grit to your paint, you transform plastic and thin metal into something that feels substantial and grounded.”
Styling Like a Pro: The Rule of Three

Now that your tray is built and cured, it’s time to style it. A common mistake is cluttering the tray with too many small items. Instead, follow the Rule of Three: group items in odd numbers of varying heights. For a masculine-elegant look, combine organic textures (wood, greenery) with hard surfaces (ceramic, metal).
Seasonal Rotation Ideas
- Farmhouse Kitchen: Small white creamers, a bunch of dried lavender, and a wooden bead garland.
- Rugged Coffee Bar: A stack of espresso cups, a small tin of cocoa powder, and a cinnamon stick bundle.
- Holiday Harvest: Mini white pumpkins, sprigs of eucalyptus, and a small amber glass candle.
| Tier Level | Suggested Items | Visual Weight |
|---|---|---|
| Bottom Tier | Larger mugs, heavy candles, books | Heavy/Grounded |
| Top Tier | Small plants, air plants, salt cellars | Light/Airy |
Conclusion
Final Thoughts: The Power of the Frugal Mindset
By following this guide, you have successfully bypassed the retail markup and created a custom piece of home decor for under $5. You didn’t just save $35; you gained the skill of seeing potential in the mundane. This tiered tray is more than just a place to put your keys or your cupcakes—it is a testament to resourceful creativity and practical elegance. Whether you are a budget bride looking for centerpieces or a handy parent organizing a craft room, the ‘Trash-to-Treasure’ philosophy proves that you don’t need a massive bank account to have a beautiful home. Now, go forth and upcycle—the dollar store is your oyster!

Makenzie is the founder and lead writer at MoneyHackTips.com — a personal finance blog dedicated to delivering street-smart financial wisdom for real people on real budgets. With 300+ published articles covering everything from debt management to investing fundamentals, Makenzie’s mission is to make every dollar work harder. When not writing about money hacks, Makenzie is testing frugal living strategies, optimizing side hustles, and helping readers build financial freedom from scratch.