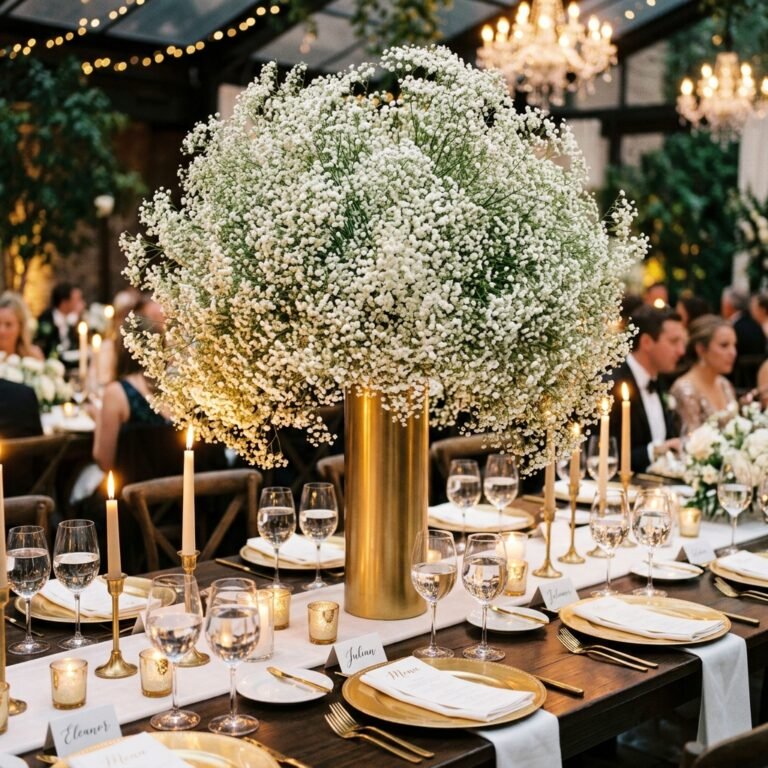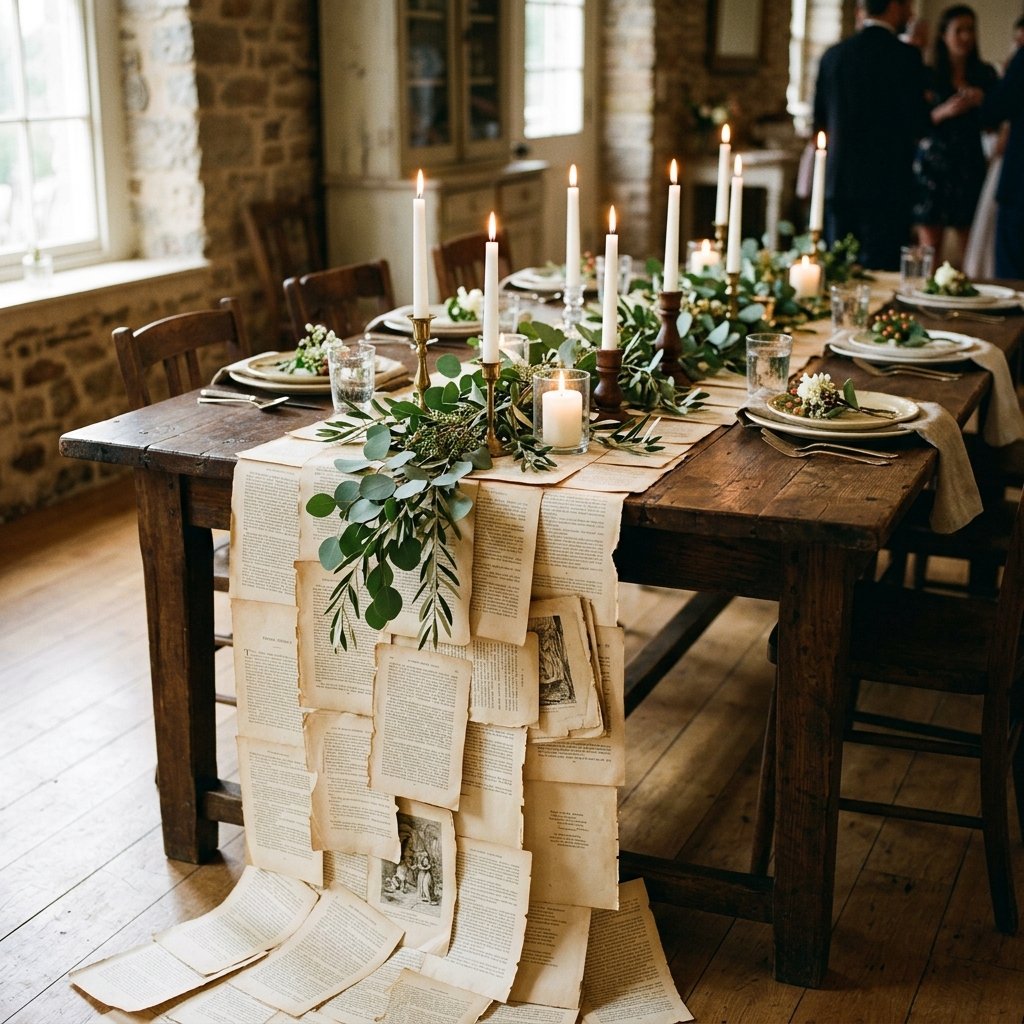

Why spend $50 to $100 on a single-use fabric runner when you can create a conversation-starting masterpiece for under $5? As a dedicated trash-to-treasure guru, I have seen far too many budget-conscious brides and home stylists settle for cheap polyester linens that lack character. Today, we are reclaiming the discarded and turning the written word into a visual symphony. This vintage book page runner isn’t just a craft; it is an exercise in resourceful elegance. Whether you are styling a rugged, masculine study or a whimsical wedding reception, this project proves that style is not about what you spend, but how you see the potential in the mundane. We are going to dive deep into the mechanics of paper construction, the art of tea-staining for that perfect ‘centuries-old’ look, and the structural secrets to making a paper runner that survives the dinner rush.
The Strategic Sourcing of Materials: Finding Your Canvas
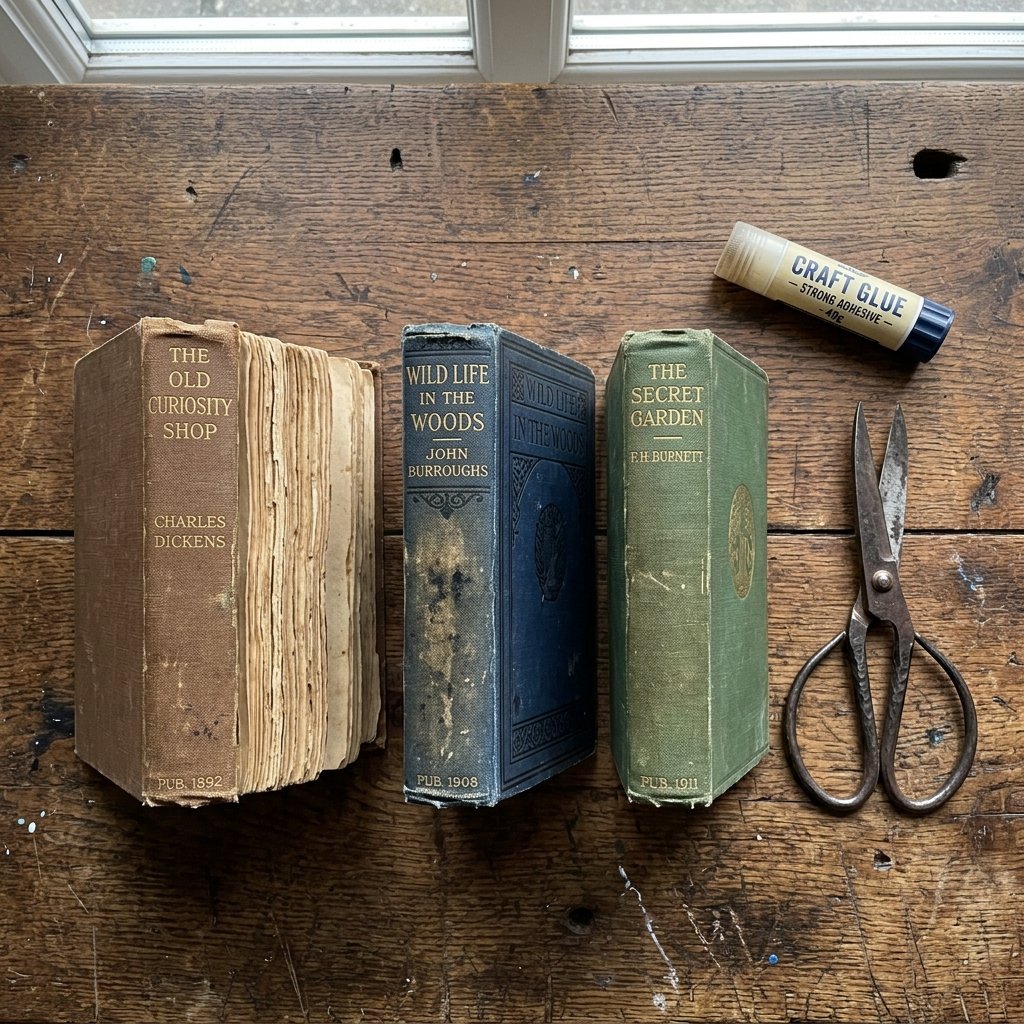
The secret to a high-end look lies in the quality of your paper. You aren’t just looking for any book; you are looking for character. Head to your local thrift store, library book sale, or even your own attic. Look for books with deckled edges, interesting typography, or that beautiful, natural yellowing that only comes with age. If you can only find bright white modern paper, don’t worry—we will cover the ‘instant age’ tea-stain technique later. Below is a breakdown of what you’ll need and why this project is the ultimate budget win.
| Material | Source | Estimated Cost |
|---|---|---|
| Vintage Hardcover Books | Thrift Store / Free Bins | $1.00 – $2.00 |
| Acid-Free Glue Stick or Double-Sided Tape | Dollar Tree | $1.25 |
| Clear Matte Sealant (Optional) | Hardware Store Scraps | $0.00 |
| Total Project Cost | – | $2.25 – $3.25 |
Pro-Tip for Selection
Avoid glossy textbooks or modern mass-market paperbacks with cheap, grayish paper. You want the tactile feel of cream-colored bond or the rugged texture of an old encyclopedia. If the spine is falling apart, even better—it makes the harvesting process easier and saves a book from the landfill.
The Harvest: How to Properly Deconstruct a Book
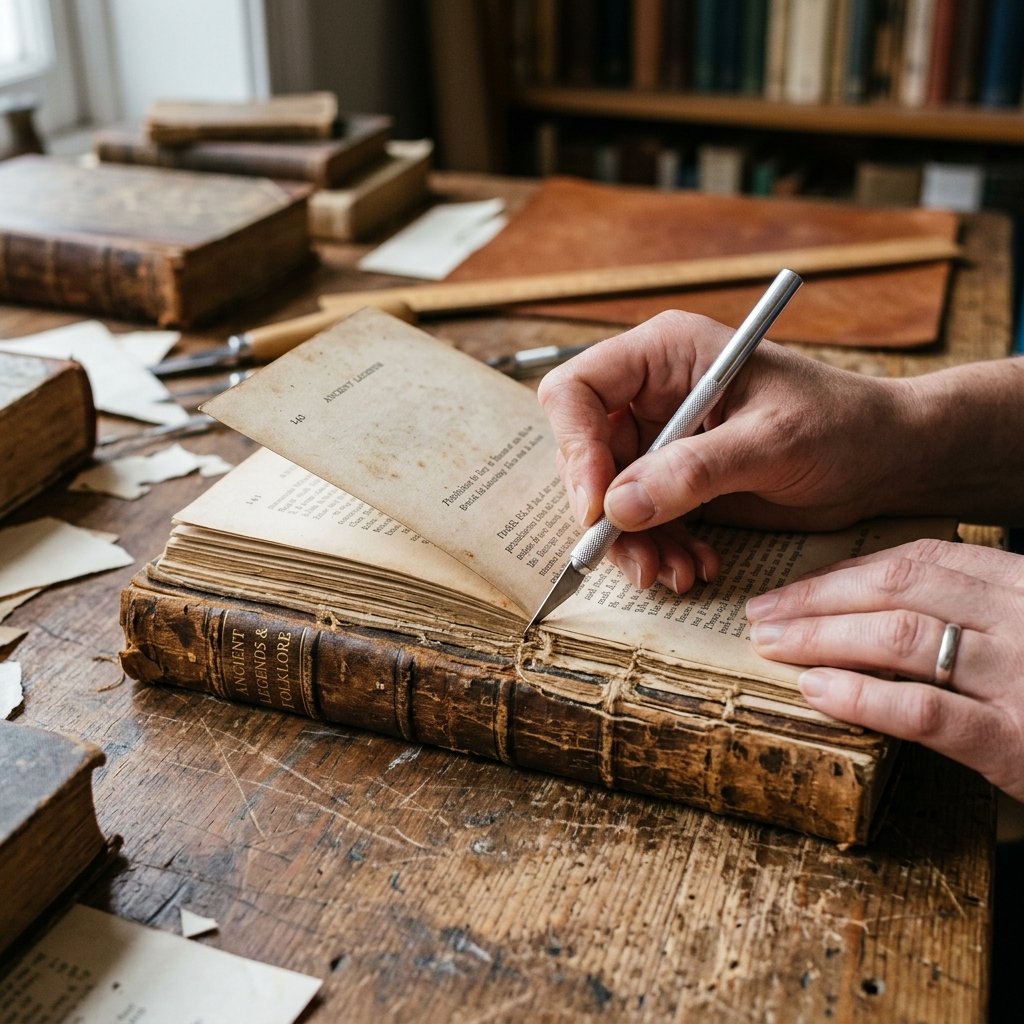
Deconstructing a book requires a bit of finesse. You don’t want jagged, ripped edges unless you are going for a specifically ‘shredded’ aesthetic. To get those clean, straight lines that allow for seamless overlapping, follow these steps:
- Identify the Gutter: Open the book to the center of a signature (a group of folded pages).
- The Surgical Cut: Using a sharp utility knife, carefully slice through the threads or glue holding the signature to the spine. Safety First: Always cut away from your body and keep your fingers clear of the blade’s path.
- The Bulk Harvest: If the book is already damaged, you can often pull pages out in chunks, but be mindful of the inner margin. You need that extra half-inch of space to apply your adhesive.
“The goal is not destruction, but transformation. Every page removed is a new layer of history added to your table.”
For a standard 6-foot table, you will need approximately 40 to 60 pages depending on the width of the runner and the amount of overlap you choose.
Construction Masterclass: Building the Foundation
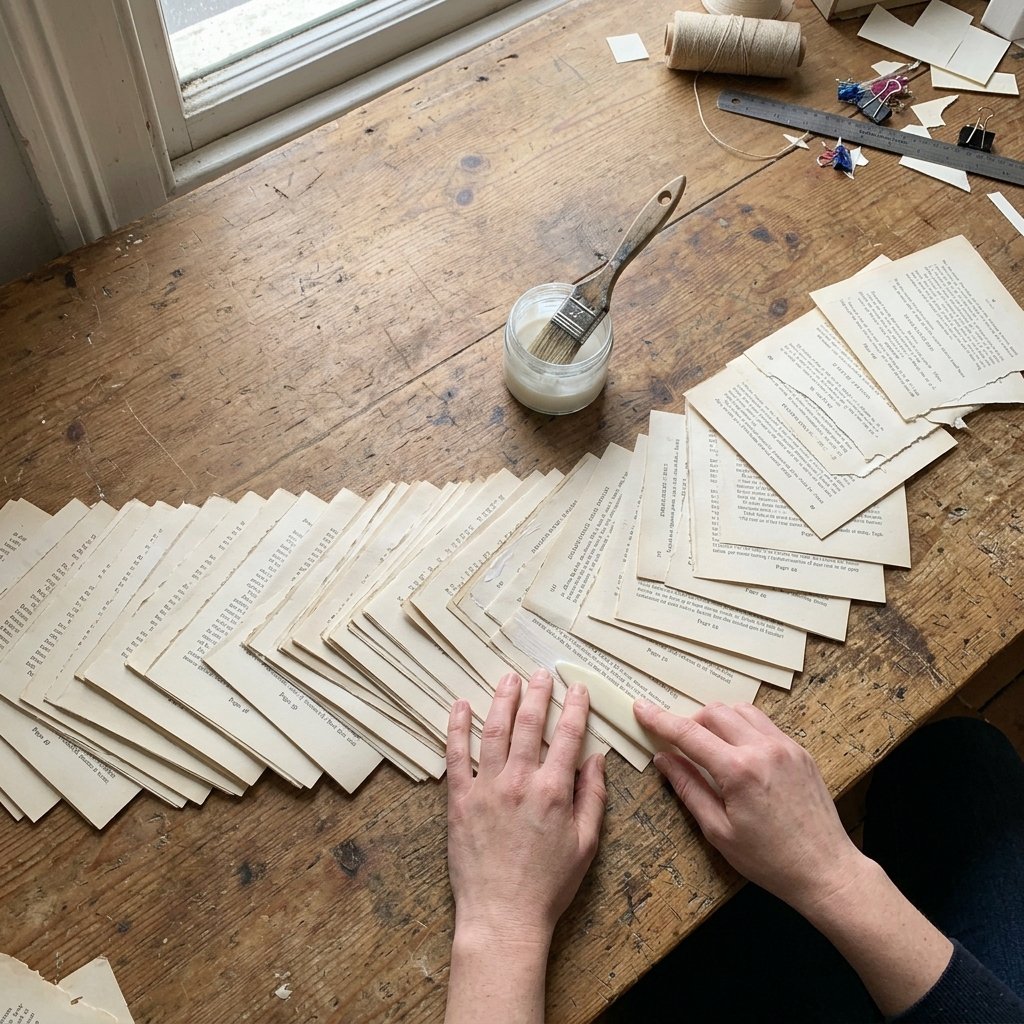
Now we move into the assembly phase. This is where your runner takes shape. You have two primary options for the layout: the Linear Path or the Organic Mosaic.
The Linear Path (The Classic Look)
This method involves laying pages in a straight line, slightly overlapping the bottom of one page over the top of the next. It creates a clean, organized look that mimics a traditional fabric runner. Use a ruler to ensure your width remains consistent—typically 12 to 14 inches wide.
The Organic Mosaic (The Magical Look)
This is my personal favorite. Instead of a straight line, you fan the pages out at slight angles, overlapping them in a haphazard but intentional way. This creates a wider, more dramatic runner with ‘fluttering’ edges that look like a trail of fallen leaves. It is perfect for boho-chic weddings or rugged autumnal tablescapes.
| Feature | Linear Path | Organic Mosaic |
|---|---|---|
| Vibe | Formal & Structured | Whimsical & Artistic |
| Page Count | Lower (approx. 30) | Higher (approx. 50+) |
| Difficulty | Beginner | Intermediate |
The ‘Instant Antique’ Secret: Tea-Staining and Weathering
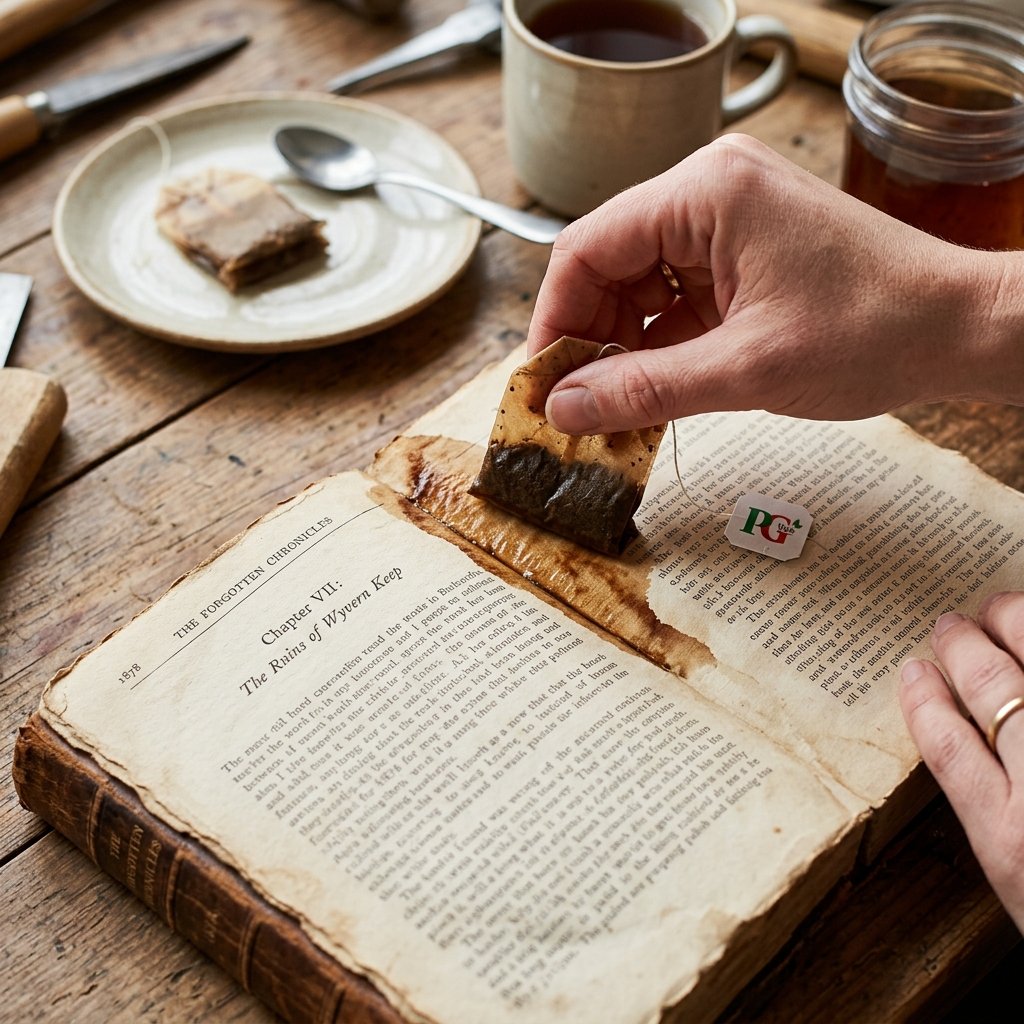
If your pages look too ‘new,’ we can fix that with a simple kitchen staple: black tea. This is a classic crafter’s trick that adds instant soul to modern paper. It costs pennies and takes only minutes.
- Step 1: Brew a very strong pot of black tea (3-4 bags). Let it cool slightly.
- Step 2: Lightly spritz the pages with the tea using a spray bottle for a mottled look, or dip the edges of the pages directly into the tea for a ‘burnt’ effect.
- Step 3: For a rugged, masculine-elegant finish, take a slightly damp tea bag and rub it directly onto the edges of the paper. This creates deep, dark staining that mimics years of handling.
- Step 4: Let the pages dry completely before gluing. If they wrinkle, you can iron them on low heat (no steam!) to flatten them back out.
Safety Note: If you choose to singe the edges with a lighter for a ‘survived a fire’ look, do so outdoors over a metal tray and keep a bowl of water nearby. Never leave burning paper unattended.
Styling and Durability: Making It Last Through the Event

One common concern with paper runners is durability. Will a spilled glass of wine ruin it? Probably. But for $3, you can simply replace the affected pages or the entire runner. However, there are ways to toughen it up. If you are using this for a high-traffic event like a wedding, consider a light coat of matte spray sealant. This will provide a minor moisture barrier without ruining the paper’s texture.
The Finishing Touches
- Greenery: Pair your runner with seeded eucalyptus or dried lavender. The green against the yellowed paper is a timeless color palette.
- Lighting: Use brass candlesticks with white taper candles. The flickering light reflects beautifully off the ink and paper.
- Weight: If you are using this outdoors, use small, smooth river stones or heavy glass votives to keep the paper from blowing away in a breeze.
Compared to renting a runner from a florist or event company, the savings are staggering. You are looking at a 95% cost reduction while increasing the ‘wow factor’ of your decor.
Conclusion
Creating a DIY vintage book page runner is more than just a budget hack; it is a statement of creativity and resourcefulness. In a world of mass-produced decor, taking the time to hand-assemble a piece of history for your table sets you apart as a savvy maker. You’ve saved over $45, diverted waste from a landfill, and created a magical atmosphere that guests will be talking about long after the candles are blown out. So, put down that expensive catalog and pick up a thrifted book. Your masterpiece is waiting between the covers. Stay crafty, stay frugal, and keep building a beautiful life on a dime.

Makenzie is the founder and lead writer at MoneyHackTips.com — a personal finance blog dedicated to delivering street-smart financial wisdom for real people on real budgets. With 300+ published articles covering everything from debt management to investing fundamentals, Makenzie’s mission is to make every dollar work harder. When not writing about money hacks, Makenzie is testing frugal living strategies, optimizing side hustles, and helping readers build financial freedom from scratch.