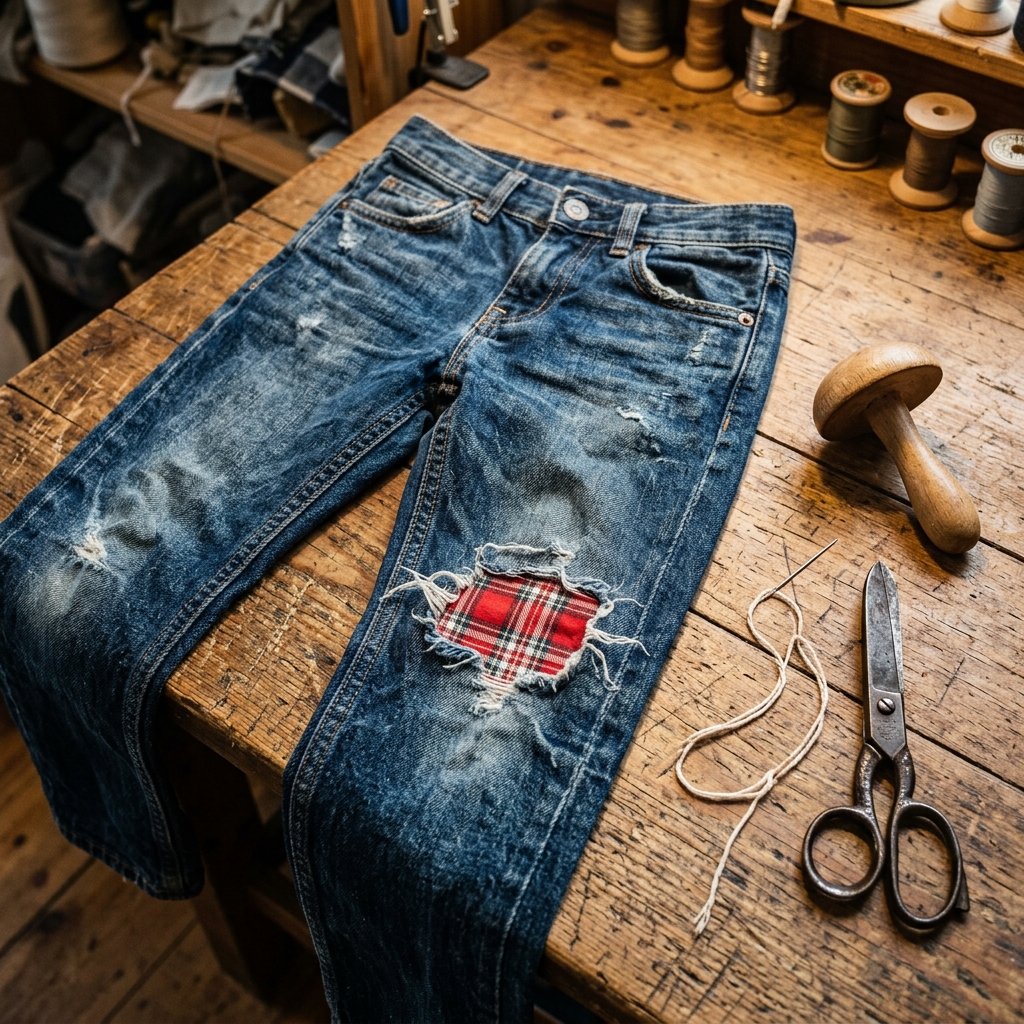

The Rugged Reality of Childhood Play
If you have kids, you know the sound: the unmistakable rrip of denim meeting pavement. One minute they are conquering the playground, and the next, their favorite pair of $30 jeans has a gaping hole in the knee. Most parents see a casualty of war; the Resourceful DIYer sees a canvas for creativity. Mending isn’t just about ‘making do’—it is about ‘making better.’ By using fun fabric scraps and a few clever stitches, you can transform a ragged hole into a rugged, masculine-elegant style choice that lasts longer than the original fabric. Best of all, this isn’t a weekend-long project. We are talking about a 10-minute victory that keeps your budget intact and your kids looking sharp. Let’s dive into the art of the 10-minute patch.
The Savvy Scrapper’s Toolkit: Materials & Cost Breakdown
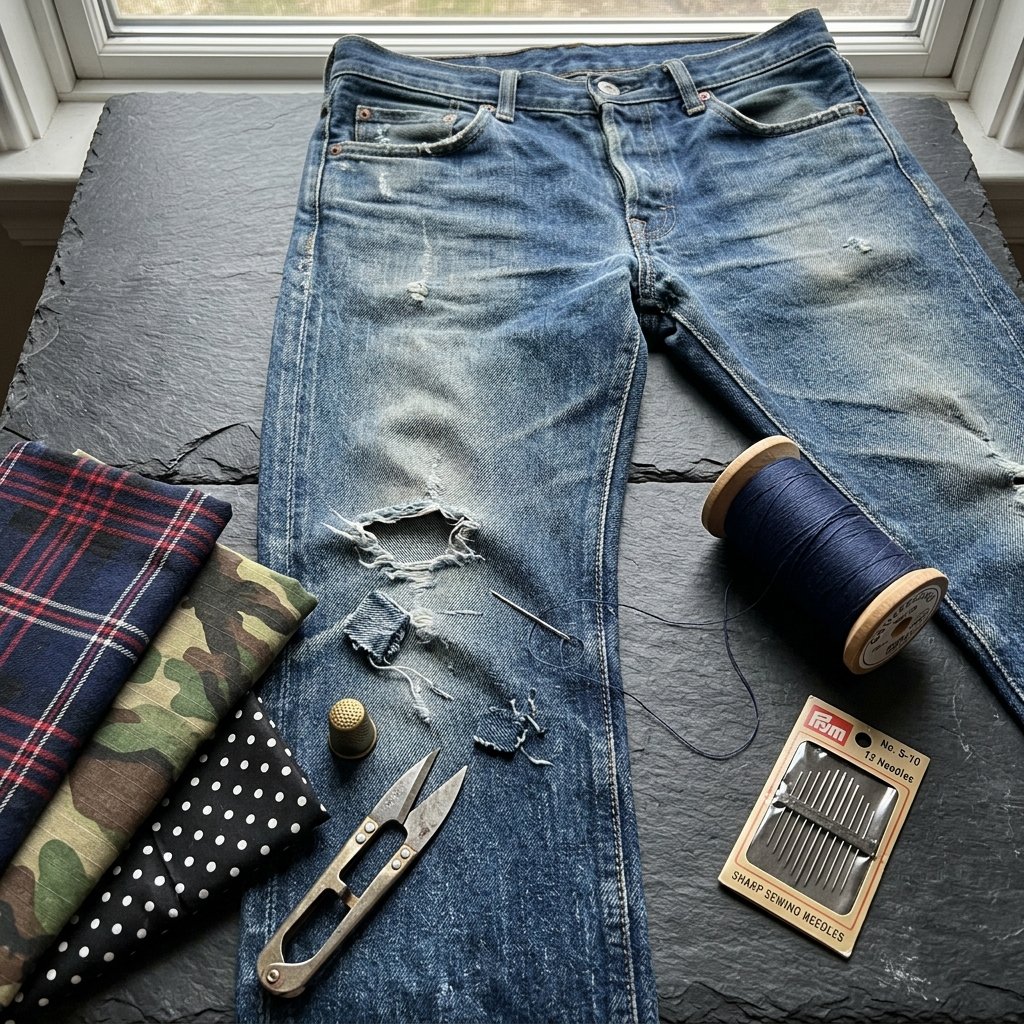
Before we pick up the needle, let’s look at the economics of mending. Buying a new pair of quality denim jeans can cost anywhere from $25 to $50. A iron-on patch from a craft store might cost $5, but they often peel off after three washes. Our method uses materials you likely already have in your ‘scrap bin,’ bringing the total cost of this repair to $0.00.
| Material | Source | Estimated Cost |
|---|---|---|
| Fabric Scrap | Old flannel shirt or cotton scraps | $0.00 |
| Embroidery Thread | Leftover craft supplies | $0.10 |
| Needle | Standard sewing kit | $0.05 |
| Total Project Cost | DIY Upcycling | $0.15 |
Choosing the Right Fabric
For a patch that stands the test of time, you need a fabric that can handle the friction of a crawling toddler or a skateboarding pre-teen. Look for heavyweight cotton, flannel, or even leather scraps. Avoid thin silks or stretchy polystyrenes that will shred against the rough edges of the denim.
Budget Savvy Tip: Never throw away a shirt that is beyond repair. Cut it into 4×4 inch squares and keep them in a ‘Mending Jar.’ You’ll have a curated selection of patterns ready for the next knee-tastrophe.
The 10-Minute Masterclass: Step-by-Step Patching
Step 1: Prep the Wound (2 Minutes)
Trim any extremely long, loose white threads from the hole. You want a relatively clean opening, but don’t cut away too much denim. The frayed edges add a nice ‘rugged’ character to the finished look.
Step 2: The ‘Secret’ Under-Patch (2 Minutes)
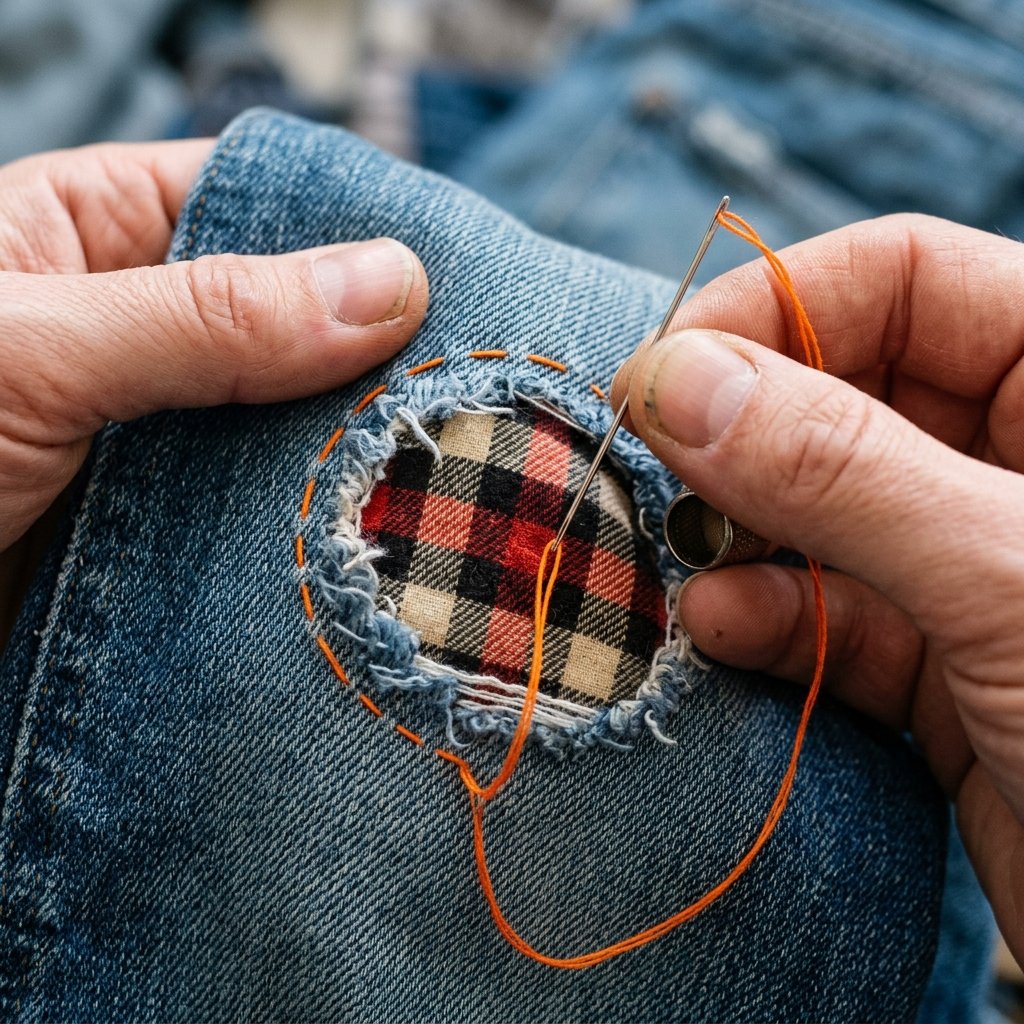
Instead of placing the patch on top, slide your fun fabric inside the pant leg. Center it under the hole. This protects the edges of the patch from fraying and creates a ‘peek-a-boo’ effect that looks professional and intentional. Pin it in place with 4 safety pins or straight pins.
Step 3: The Sashiko-Inspired Stitch (5 Minutes)
We aren’t aiming for invisible mending here; we want visible strength. Use a simple ‘running stitch’ (up and down) around the perimeter of the hole. For extra durability, sew three concentric squares around the opening.
- Start from the inside so the knot is hidden against the child’s skin.
- Keep your stitches about 1/8th of an inch apart for maximum grip.
- Use a contrasting thread color (like bright orange or white) for a bold, crafty look.
Step 4: The Final Lock (1 Minute)
Turn the jeans inside out and tie off your thread with a double surgeon’s knot. Trim the excess fabric from the patch inside, leaving about 1/2 inch of seam allowance so it doesn’t pull through the stitches.
Stitch Compatibility & Durability Guide
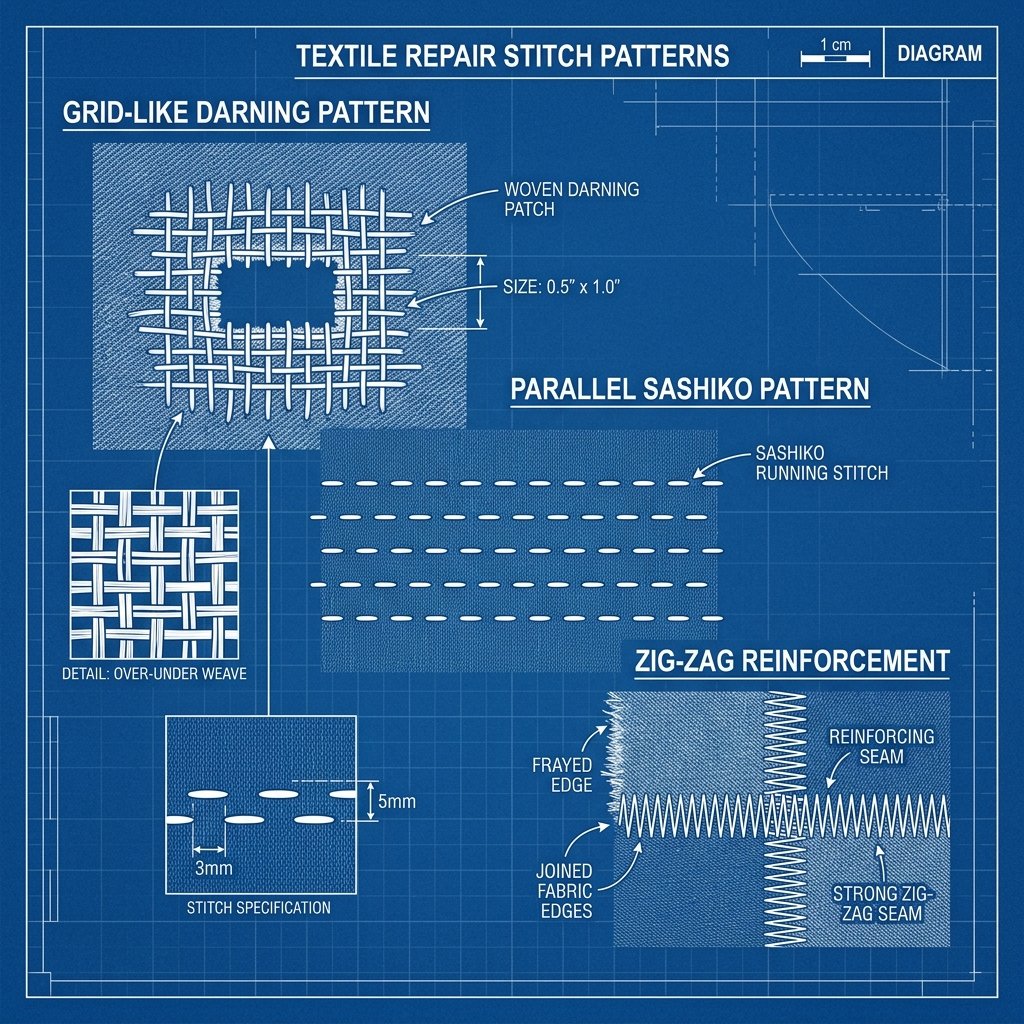
Not all holes are created equal. Depending on the size of the ‘blowout,’ you may need to adjust your technique. A small snag requires a different approach than a full-scale knee explosion.
| Hole Type | Recommended Stitch | Difficulty Level |
|---|---|---|
| Small Snag | Darning (Woven) | Moderate |
| Large Blowout | Under-patch with Sashiko | Easy |
| L-Shaped Tear | Ladder Stitch | Advanced |
| Frayed Hem | Whip Stitch | Easy |
The Strength of Sashiko
Sashiko is a traditional Japanese embroidery style that was originally used to reinforce points of wear on farm clothing. By using this ‘little stabs’ technique, you aren’t just covering a hole; you are actually reinforcing the surrounding denim, making the entire knee area stronger than it was when it left the factory. It’s the ultimate rugged-elegant solution for active kids.
Safety Note: When pinning your patch, always place a small piece of cardboard inside the pant leg. This prevents you from accidentally sewing the front of the leg to the back!
Style Ideas: Making Mending ‘Cool’
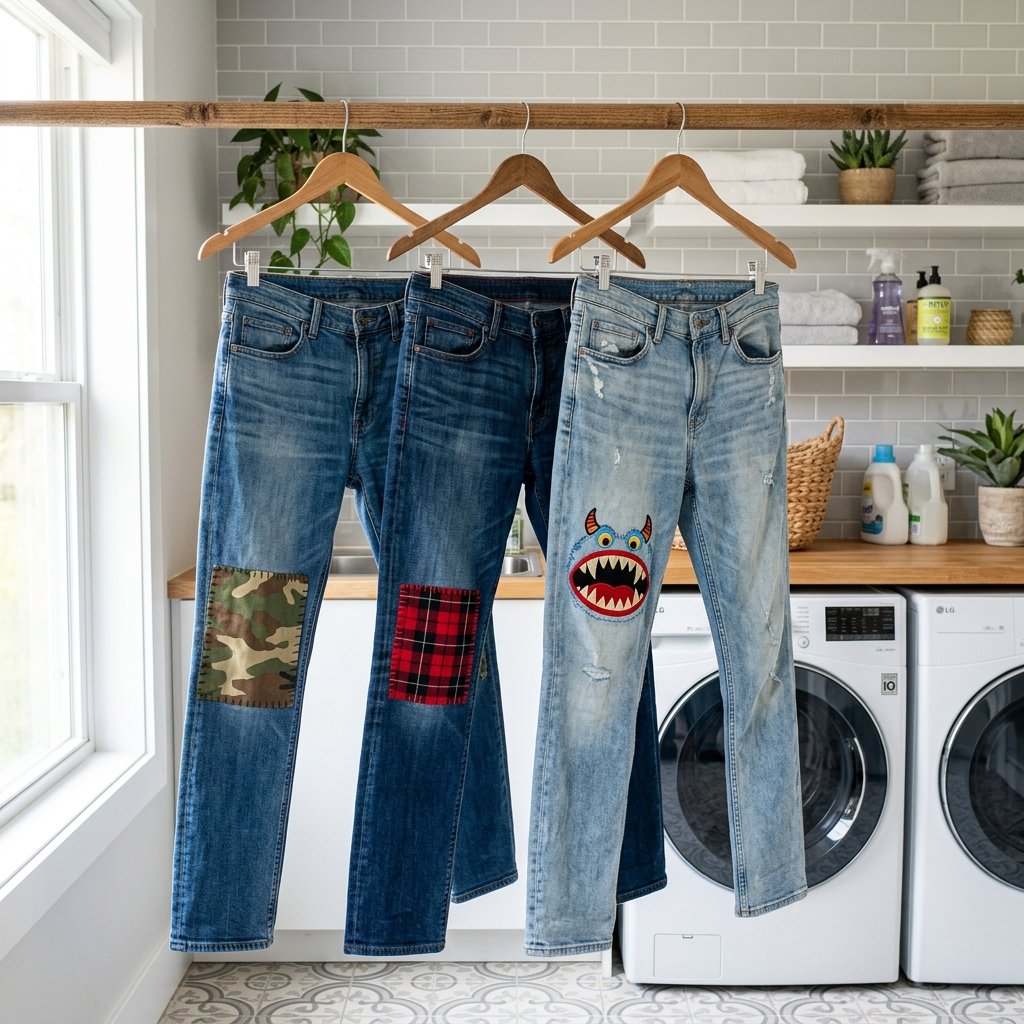
The biggest hurdle to mending is often the child’s willingness to wear ‘fixed’ clothes. The secret is to make the patch look like a custom design choice rather than a repair. Here are a few clever ways to level up the aesthetic:
- The Superhero Secret: Use fabric from an old t-shirt featuring their favorite character. When they look at the hole, they see Spider-Man or Batman peeking through.
- The Texture Play: Use a scrap of corduroy or faux-leather for a sophisticated, ‘Professor-chic’ look on a pair of darker jeans.
- The Monster Mouth: Turn the hole into a mouth! Sew white felt triangles (teeth) along the top edge of the hole and use a red fabric patch behind it to look like a tongue.
By involving the child in the fabric selection, you give them ‘ownership’ of the garment. They won’t just wear the jeans; they will brag about them. This is how we cultivate a mindset of resourcefulness in the next generation.
Conclusion
The Victory of the 10-Minute Mend
In the time it takes to brew a pot of coffee or scroll through social media, you have successfully saved a garment from the landfill and $30 from leaving your wallet. Mending is a quiet act of rebellion against ‘fast fashion’ and a loud statement of your own craftiness. Your child now has a one-of-a-kind pair of jeans that tells a story of play, adventure, and a parent who knows how to fix things. So, the next time you hear that rrip on the playground, don’t sigh. Smile, grab your scrap jar, and get ready for your next 10-minute masterpiece. Happy mending!

Makenzie is the founder and lead writer at MoneyHackTips.com — a personal finance blog dedicated to delivering street-smart financial wisdom for real people on real budgets. With 300+ published articles covering everything from debt management to investing fundamentals, Makenzie’s mission is to make every dollar work harder. When not writing about money hacks, Makenzie is testing frugal living strategies, optimizing side hustles, and helping readers build financial freedom from scratch.