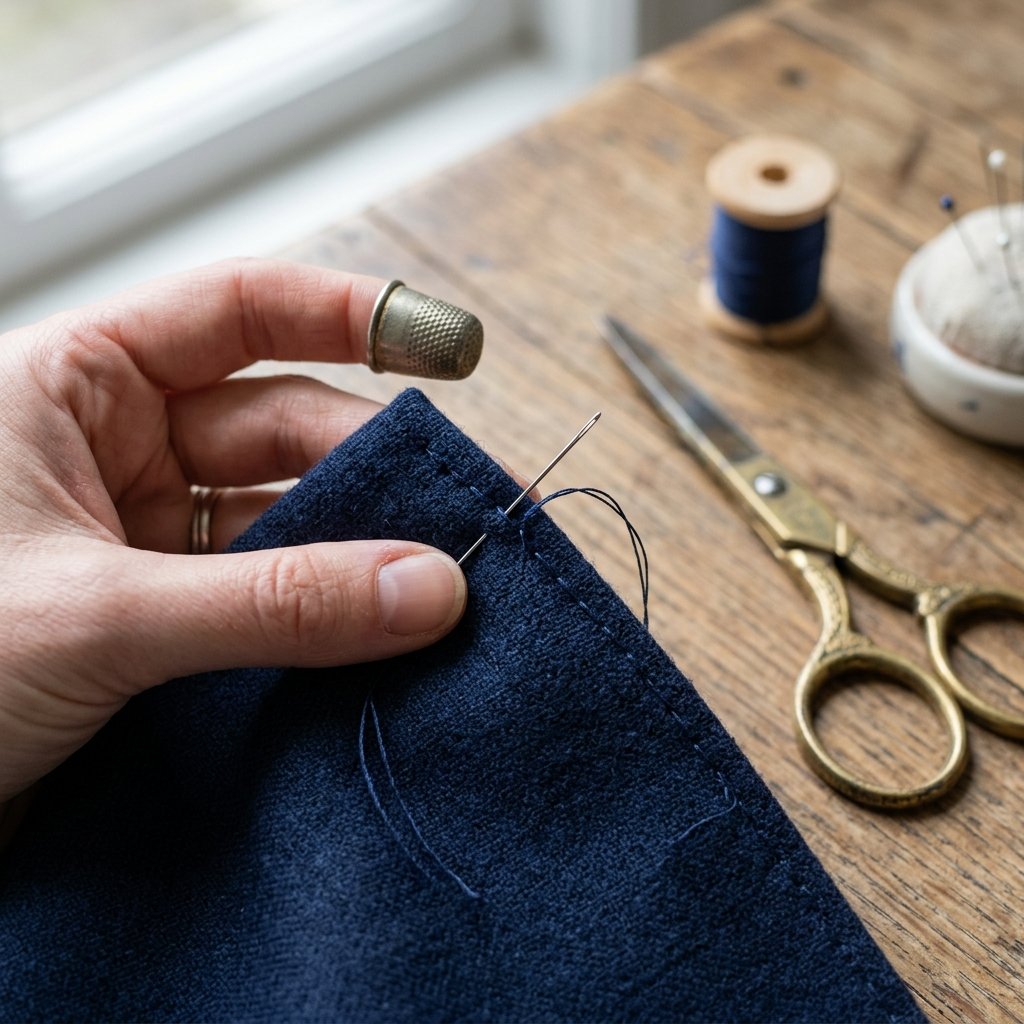

There is a quiet, rugged satisfaction in taking a garment that doesn’t quite fit and refining it with your own two hands. Whether you’ve found a designer gem at a thrift store for $5 that’s four inches too long, or you’re a frugal parent trying to keep up with a child’s sudden growth spurt, the ability to hem a dress or trousers is a superpower. Most people assume professional results require a $300 sewing machine or a $25 trip to the tailor. They are wrong.
The secret to a flawless, invisible hem lies not in high-tech machinery, but in the humble blind stitch. This technique, passed down through generations of master tailors, allows you to secure a hem so that no thread is visible on the outside of the garment. It is the gold standard of masculine elegance and feminine grace in tailoring. Today, we are going to reclaim the art of hand-mending, saving you hundreds of dollars a year while ensuring your wardrobe looks like it was custom-fitted on Savile Row.
The Tailor’s Toolkit: Minimalist Gear for Maximum Results

Before we make our first stitch, we must assemble our gear. A crafty expert knows that you don’t need a dedicated sewing room; you just need the right essentials. By skipping the professional tailor, you are essentially paying yourself $20 to $40 per hour. Let’s look at the cost-benefit of doing it yourself.
| Essential Tool | Purpose | Budget Tip |
|---|---|---|
| Sharp Hand Needles | Precision stitching | Buy a multi-pack for $2.00 |
| Matching Thread | Blending into fabric | Use 100% polyester for strength |
| Fabric Scissors | Clean, fray-free edges | Keep one pair ONLY for fabric |
| Measuring Tape/Ruler | Ensuring evenness | A simple $1.00 tape is perfect |
| Iron & Board | Setting the crease | Crucial for a crisp, pro look |
The Cost Comparison: DIY vs. Professional Tailor
If you have five items in your closet that need hemming, the savings add up quickly. Here is why learning this skill is the ultimate budget-savvy move:
| Item Type | Tailor Price (Avg) | DIY Cost (Materials) | Your Savings |
|---|---|---|---|
| Summer Dress | $25.00 | $0.15 | $24.85 |
| Dress Slacks | $20.00 | $0.10 | $19.90 |
| Lined Skirt | $35.00 | $0.25 | $34.75 |
| Total (3 Items) | $80.00 | $0.50 | $79.50 |
“A penny saved is a stitch earned. The most expensive garment in your closet is the one you don’t wear because it doesn’t fit.”
The Anatomy of the Blind Stitch: The Magic Behind the Invisible Hem

The “blind stitch” or “slip stitch” is the holy grail of hand-sewing. The logic is simple: you are catching only a single fiber of the exterior fabric, then hiding the rest of the thread inside the folded hem. This results in a finish that is completely invisible from the right side of the dress.
Understanding Fabric Compatibility
Not all fabrics behave the same way under the needle. A rugged denim requires a slightly different approach than a delicate silk. Use this guide to choose your needle and thread combination:
| Fabric Type | Needle Size | Thread Type | Stitch Tension |
|---|---|---|---|
| Silk/Chiffon | 9-10 (Fine) | Silk or Fine Poly | Very Loose |
| Cotton/Linen | 7-8 (Medium) | All-purpose Poly | Medium |
| Wool/Suiting | 7 (Medium) | Cotton-wrapped Poly | Firm |
| Denim/Canvas | 5 (Thick) | Heavy Duty | Very Firm |
Pro-Tip: Always use a single strand of thread for an invisible hem. Doubling the thread makes the stitch too bulky and visible from the outside.
The Step-by-Step Blueprint to a Pro-Level Hem
Follow these steps with precision. The difference between a “home-made” look and a “hand-made” look is in the preparation.
- Measure Twice, Cut Once: Put on the dress with the shoes you plan to wear. Pin the desired length. Remove the dress and measure the distance from the original hem to ensure it is even all the way around.
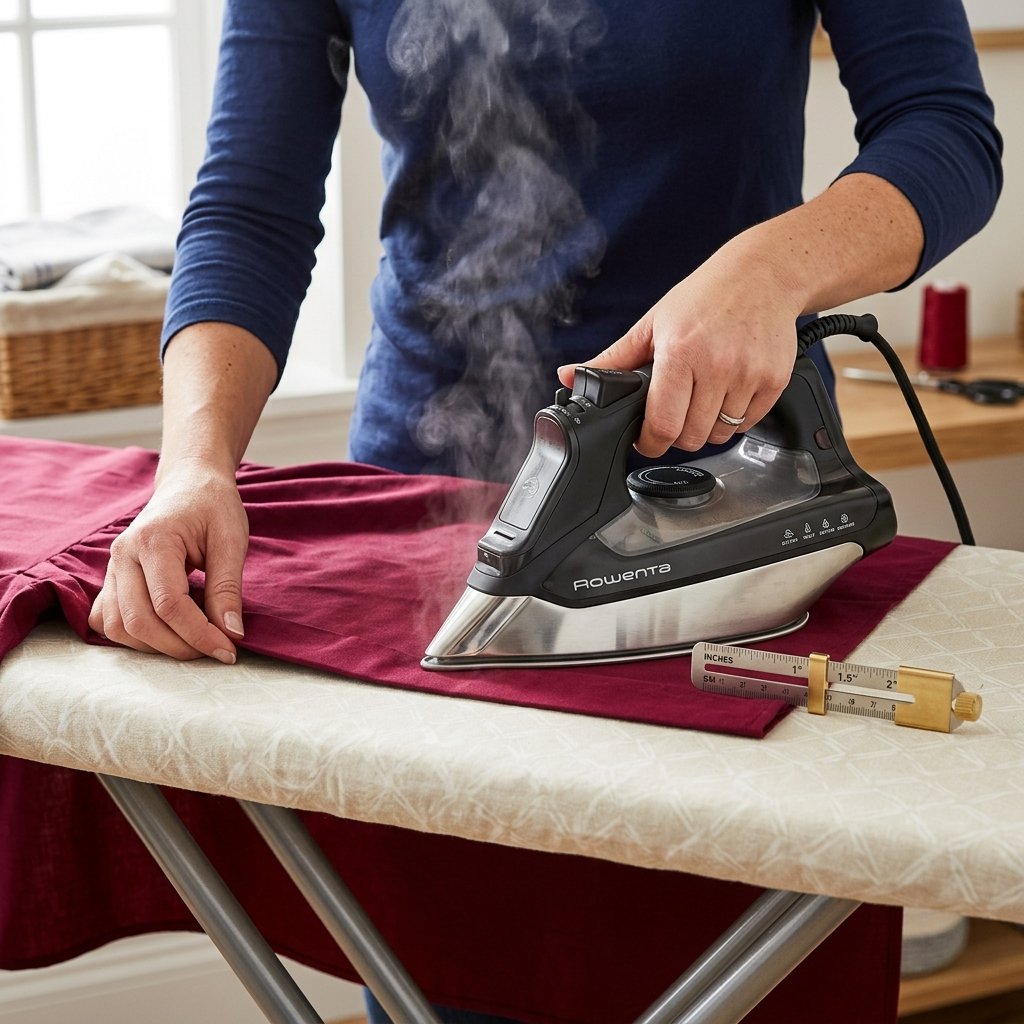
- The Press is Key: Fold the fabric up to your desired length and iron it flat. This creates a crisp edge that acts as your guide. Use a $1.00 seam gauge to ensure the fold is exactly the same width everywhere.
- The Second Fold: For a clean finish, fold the raw edge under by 1/4 inch and press again. This hides the “trashy” frayed edges inside the hem.
- Anchor the Thread: Knot your thread and hide the knot inside the fold of the hem.
- The “Pick” Motion: Take a tiny, microscopic “pick” of the fabric on the main body of the dress. You should only catch 1 or 2 threads.
- The Slide: Push the needle through the fold of the hem for about 1/2 inch.
- Repeat: Continue this pattern—tiny pick, long slide—all the way around the garment.
The Golden Rule of Hemming: Never pull the thread too tight. If you do, the fabric will pucker, revealing the “secret” of your DIY work. Keep the tension relaxed.
Troubleshooting & Expert Finishing Touches
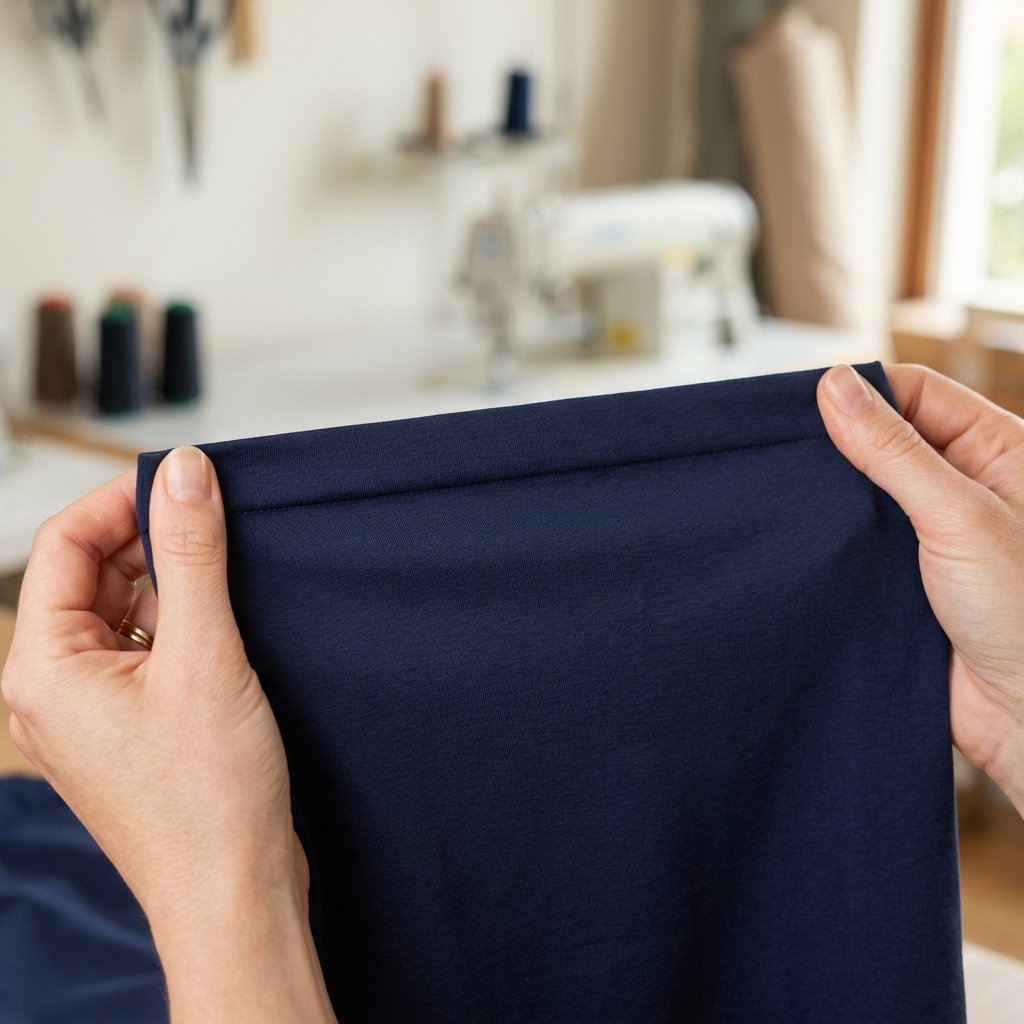
Even the most resourceful crafter hits a snag. Here is how to handle common hemming hurdles like a pro.
Avoiding the Dreaded ‘Pucker’
If you see small dimples on the outside of your dress, your stitches are either too tight or you caught too much fabric. The Fix: Gently pull the fabric horizontally to settle the stitches. If that doesn’t work, snip the thread and start over—it’s better to spend 10 extra minutes than to wear a sloppy hem.
Handling Curved Hems
Hemming a full circle skirt is harder than a straight pencil skirt. For curves, you need to use smaller “slides” (about 1/4 inch) to prevent the fabric from bunching up. Use plenty of pins—at least one every 2 inches.
The Final Polish
Once you finish your circle of stitches, tie off the thread inside the fold. Give the hem one final steam press with a damp cloth between the iron and the dress. This “sets” the stitches into the fibers, making them virtually disappear.
Conclusion
Congratulations! You have just saved yourself a trip to the tailor and kept $25 in your pocket. More importantly, you have mastered a skill that elevates your wardrobe from off-the-rack to custom-tailored. This resourceful approach to fashion is what separates the savvy minimalist from the mindless consumer. Whether you are prepping a dress for a budget-friendly wedding or mending a favorite pair of trousers, remember: the beauty is in the details. Keep your needles sharp, your iron hot, and your stitches invisible. Happy sewing!

Makenzie is the founder and lead writer at MoneyHackTips.com — a personal finance blog dedicated to delivering street-smart financial wisdom for real people on real budgets. With 300+ published articles covering everything from debt management to investing fundamentals, Makenzie’s mission is to make every dollar work harder. When not writing about money hacks, Makenzie is testing frugal living strategies, optimizing side hustles, and helping readers build financial freedom from scratch.