
The Art of the Save: Why We Mend
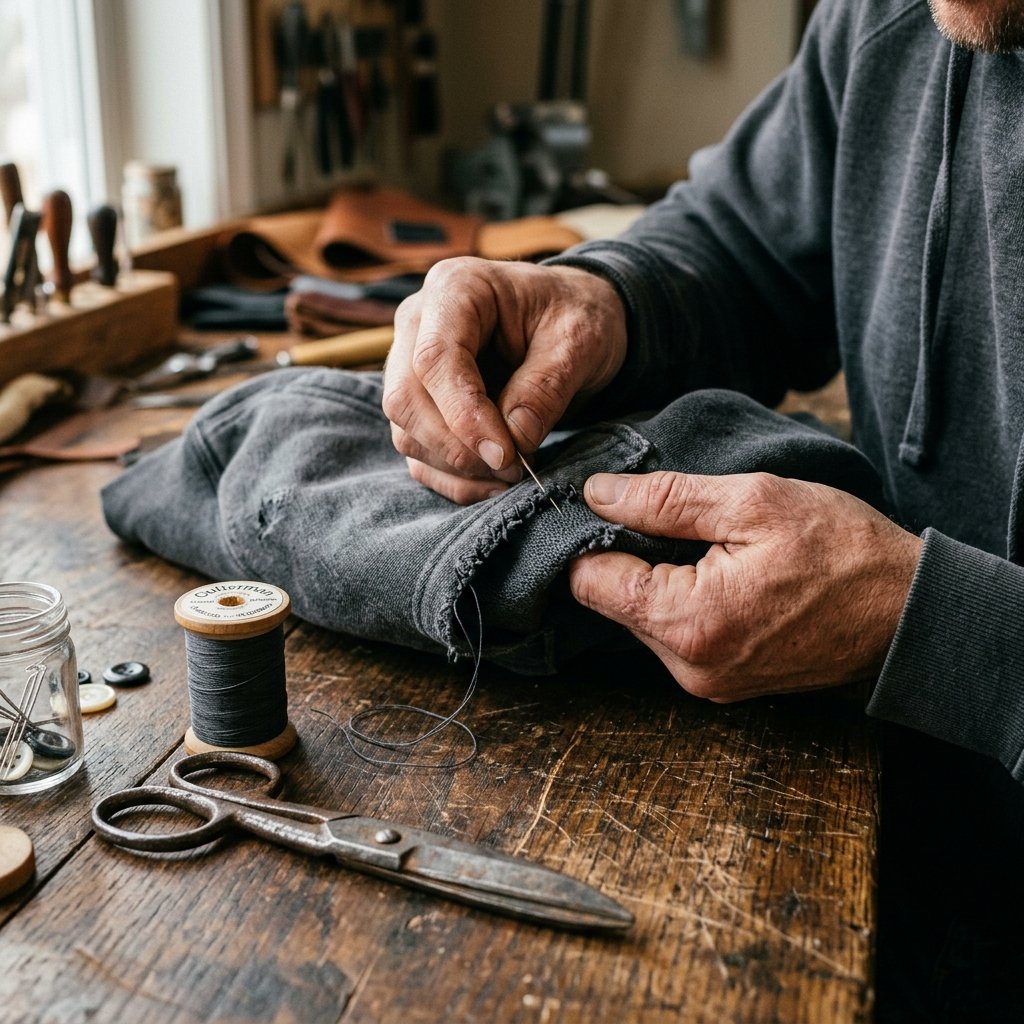
In a world of fast fashion and disposable garments, there is something deeply satisfying—even rebellious—about choosing to repair rather than replace. Your favorite hoodie isn’t just a piece of clothing; it is a reliable layer of comfort, a shield against a brisk morning, and perhaps a relic of a great concert or a hard-won race. When that kangaroo pocket begins to pull away at the corners or develops a gaping hole, it feels like the end of an era. But before you relegate that garment to the rag bin or, worse, the landfill, consider this: a professional-grade repair costs less than $0.10 in materials and takes only 20 minutes of your time.
This guide isn’t about sloppy patches or visible ‘Frankenstein’ stitches. We are diving into the world of invisible mending. We will use techniques borrowed from master tailors to ensure that once you are finished, the repair is so seamless that even you will forget where the tear was. Whether you are a frugal DIYer looking to extend the life of your wardrobe or a handy parent fixing a kid’s play clothes, this rugged, practical approach to hand-sewing will elevate your repair game from ‘good enough’ to ‘factory finish.’
The Mender’s Arsenal: Tools and Material Selection
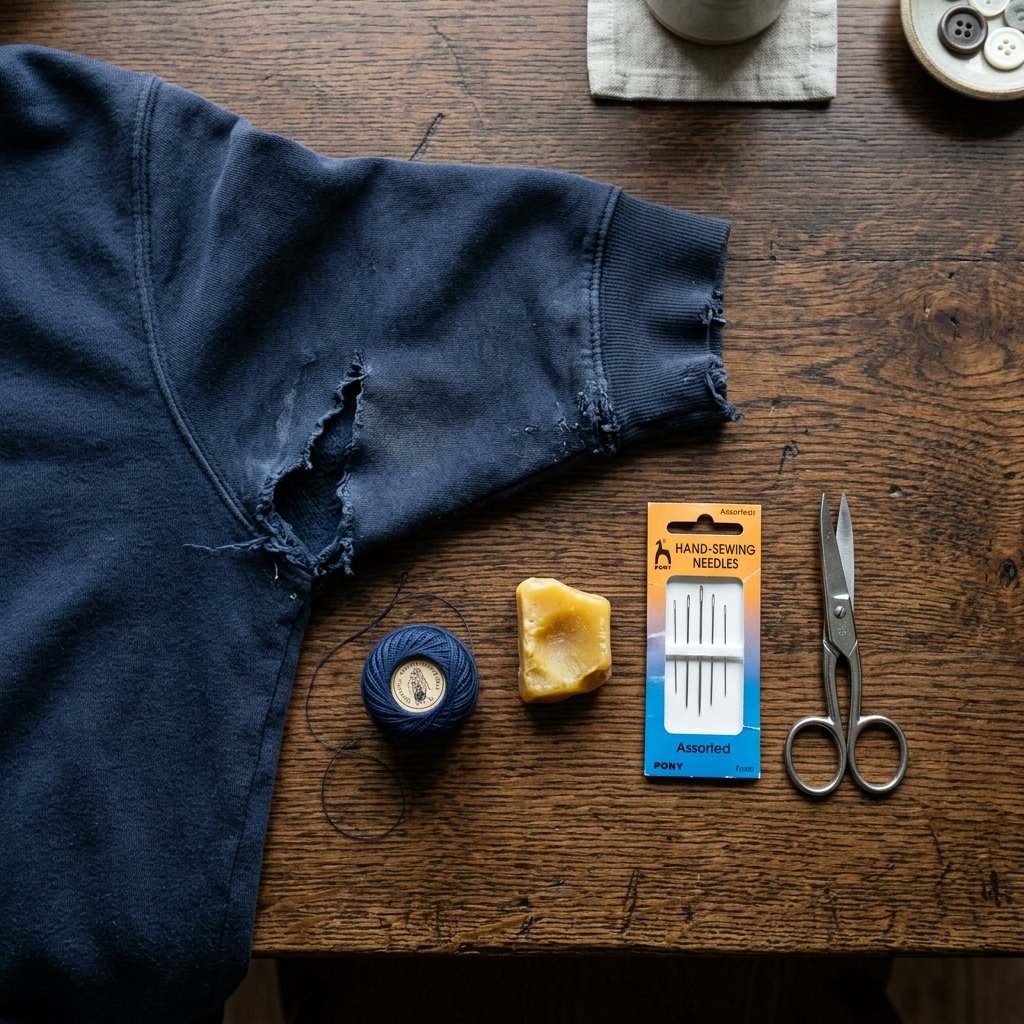
To achieve an invisible finish, you cannot simply grab any old needle and thread. The secret to a repair that disappears is matching the weight, color, and fiber of your materials to the original garment. A heavy-duty hoodie requires a thread that can handle the tension of hands being shoved into pockets, while the needle must be sharp enough to pierce thick fleece without leaving massive puncture marks.
The Essential Toolkit
- All-Purpose Polyester Thread: Unlike cotton, polyester has a slight stretch and immense durability, which is vital for high-stress areas like pockets.
- Hand Sewing Needles (Size 7-9): A medium-sized ‘sharp’ needle is ideal for most sweatshirt fabrics.
- Small Embroidery Scissors: Precision is key when trimming excess threads.
- Tailor’s Chalk or a Pencil: To mark your start and end points.
- Beeswax (Optional): Running your thread through beeswax prevents tangling and strengthens the fiber.
| Material | Estimated Cost | Why It Matters |
|---|---|---|
| Polyester Thread | $2.50 | Durability and slight elasticity for movement. |
| Assorted Needles | $3.00 | Ensures the right gauge for the fabric thickness. |
| Beeswax | $1.00 | Reduces friction and prevents ‘bird-nesting’ knots. |
| Total Investment | $6.50 | Saves a $50 – $100 hoodie from replacement. |
“A stitch in time saves nine, but a stitch done right saves the whole garment. Precision over speed, always.”
The Secret Weapon: Mastering the Invisible Ladder Stitch
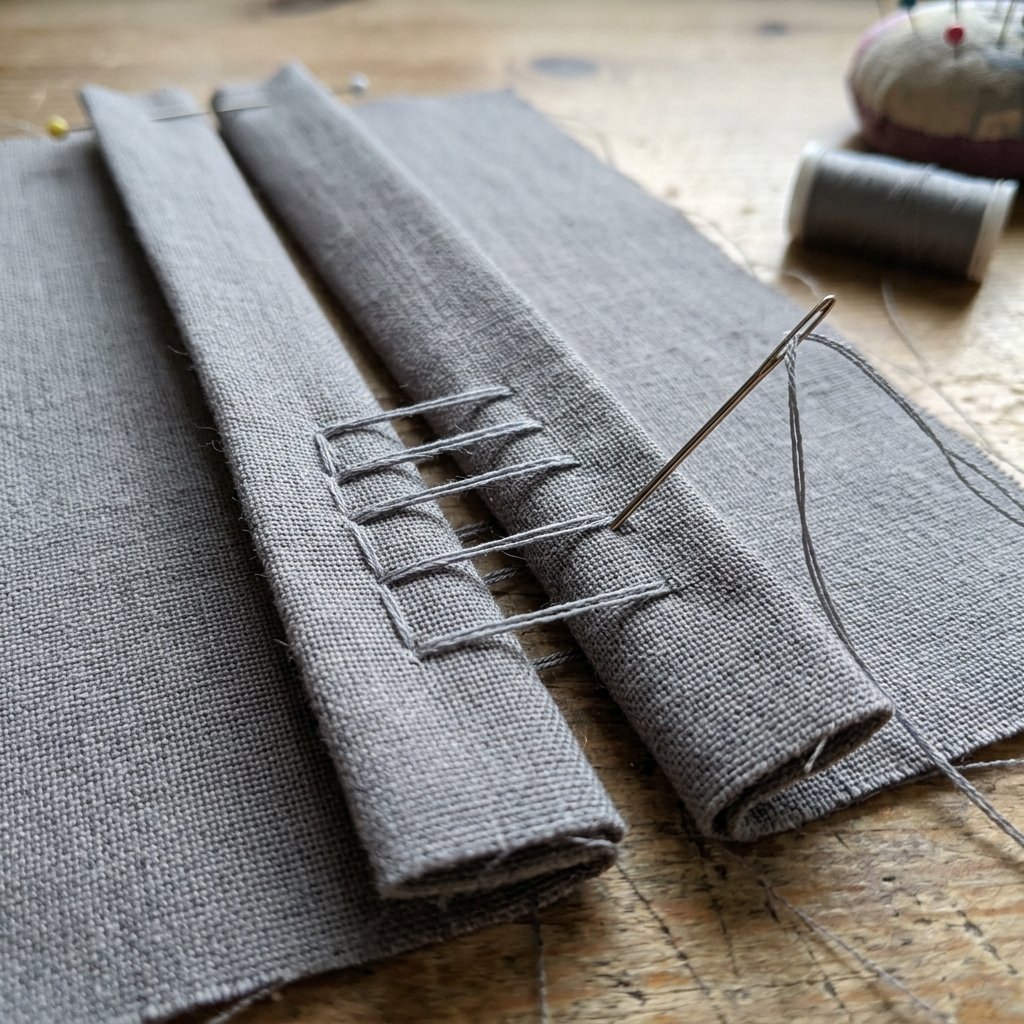
The Ladder Stitch (also known as the Slip Stitch) is the gold standard for closing seams from the outside. It allows you to pull two edges of fabric together so that the thread remains hidden inside the fold. This is particularly effective for hoodie pockets where the top edge has pulled away from the main body.
Step-by-Step Execution
- Prep the Area: Trim any frayed ‘fuzz’ from the tear. If the pocket has pulled away, tuck the raw edges inward to create a clean fold.
- Anchor the Thread: Knot your thread and bring the needle up from the inside of the fold so the knot is hidden.
- The Bridge: Pass the needle through the opposite side (the body of the hoodie), taking a small 1/8 inch stitch horizontally.
- The Ladder Rung: Move back to the pocket side and take an identical 1/8 inch stitch horizontally through the fold.
- The Tension: After 3 or 4 ‘rungs’ of your ladder, gently pull the thread taut. Watch as the two sides of the fabric zip together invisibly.
- Repeat: Continue until the gap is closed, ensuring your stitches are small and consistent.
By using this method, you are mimicking the way the garment was originally constructed, but with the added strength of a hand-tailored finish. Total time: 10 minutes.
Reinforcing Stress Points: The Bar Tack Technique
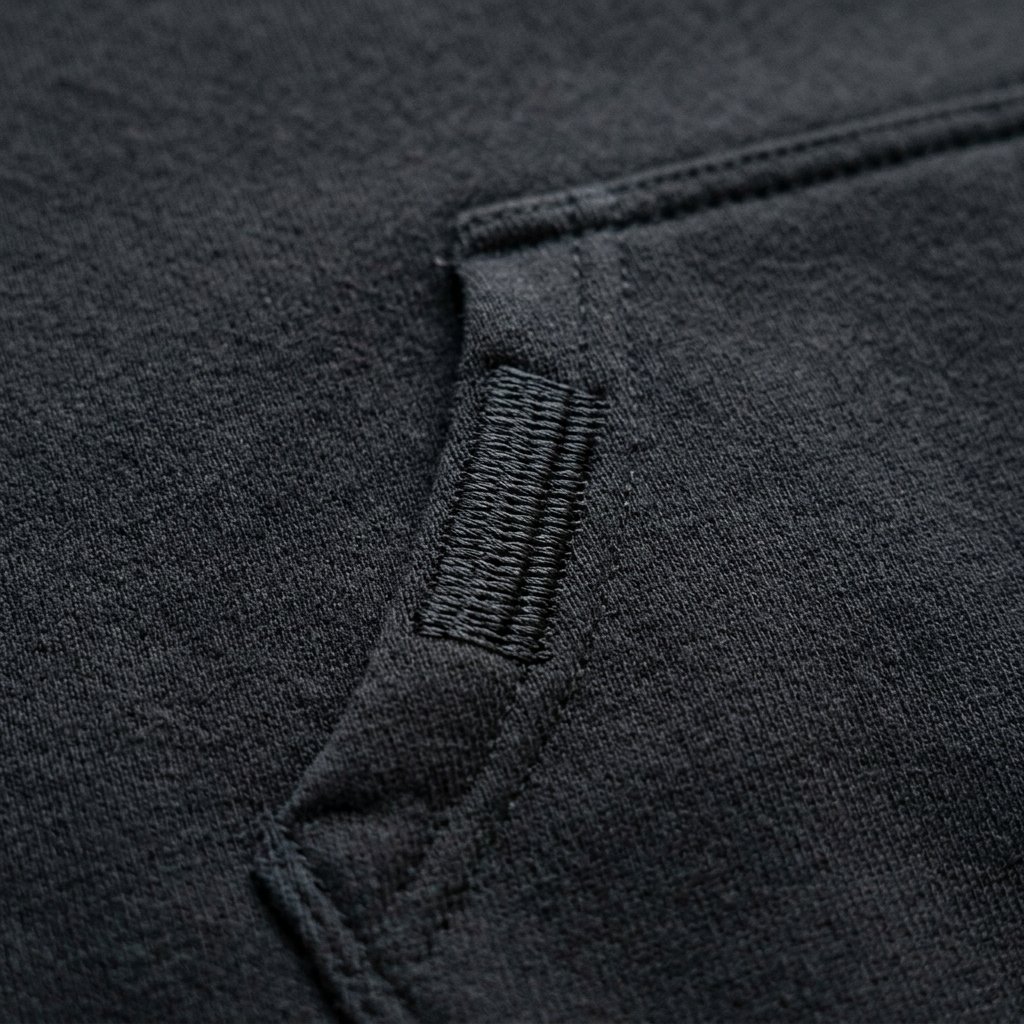
Most hoodie pockets rip because of the extreme tension placed on the top corners. If you only perform a simple repair, it will likely rip again the next time you drop your heavy smartphone into the pocket. To prevent this, we use the Bar Tack—a series of dense, zig-zagging stitches that act as a structural reinforcement.
How to Create a DIY Bar Tack
- Identify the corner where the pocket meets the hoodie body.
- Sew 3 to 4 long vertical stitches (about 1/4 inch long) spanning across the stress point.
- Switch to a ‘whip stitch,’ wrapping your thread tightly around those vertical bars without piercing the fabric every time.
- This creates a thick ‘stump’ of thread that absorbs all the mechanical stress, protecting the fabric underneath.
| Repair Type | Durability Level | Best For… |
|---|---|---|
| Standard Straight Stitch | Low | Temporary fixes or low-stress areas. |
| Ladder Stitch | Medium-High | Invisible seam closures and aesthetic repairs. |
| Bar Tack Reinforcement | Maximum | Pocket corners, belt loops, and zipper bases. |
Applying a bar tack adds an extra 5 minutes to your project but increases the lifespan of the repair by 200%. It is the hallmark of a craftsman who builds things to last.
Fabric Compatibility and Thread Matching

Not all hoodies are created equal. A heavy 12oz cross-grain fleece requires a different approach than a lightweight tri-blend tech hoodie. Understanding the Problem vs. Solution matrix ensures your needle doesn’t damage the fibers.
| Fabric Type | Common Problem | Recommended Stitch/Tool |
|---|---|---|
| Heavy Cotton Fleece | Corner Tearing | Heavy Duty Poly Thread + Bar Tack |
| Thin Jersey/T-Shirt Material | Pinhole Development | Fine Needle + Interfacing Patch inside |
| Polyester Performance Tech | Seam Unravelling | Stretch Stitch or Zig-Zag |
| Ribbed Cuffs/Hems | Stretching Out | Knit-fix or Darning technique |
Pro Tip: The ‘Sunlight Test’
Before you commit to a thread color, take your hoodie and the spool of thread to a window. Artificial indoor lighting can be deceptive. A thread that looks like a perfect match under a kitchen bulb might look drastically different in natural sunlight. Always choose a shade slightly darker than the fabric, as thread tends to look lighter once it is sewn into the shadow of a seam.
Conclusion
Wear It With Pride
Congratulations! You’ve just saved your favorite hoodie and mastered a skill that is becoming increasingly rare. By taking the time to mend your gear, you aren’t just saving $50 or more on a new sweatshirt; you are practicing a form of self-reliance that honors the things you own. Whether you’re heading back out to the garage, the trail, or just the couch, your hoodie is now stronger than it was when it left the factory.
Remember, the goal of a great DIYer isn’t just to fix what’s broken, but to fix it in a way that shows respect for the craft. Keep your stitches tight, your thread matched, and your pockets reinforced. Now, go put that hoodie on—you’ve earned it.

Makenzie is the founder and lead writer at MoneyHackTips.com — a personal finance blog dedicated to delivering street-smart financial wisdom for real people on real budgets. With 300+ published articles covering everything from debt management to investing fundamentals, Makenzie’s mission is to make every dollar work harder. When not writing about money hacks, Makenzie is testing frugal living strategies, optimizing side hustles, and helping readers build financial freedom from scratch.