
The Art of the High-End Hustle
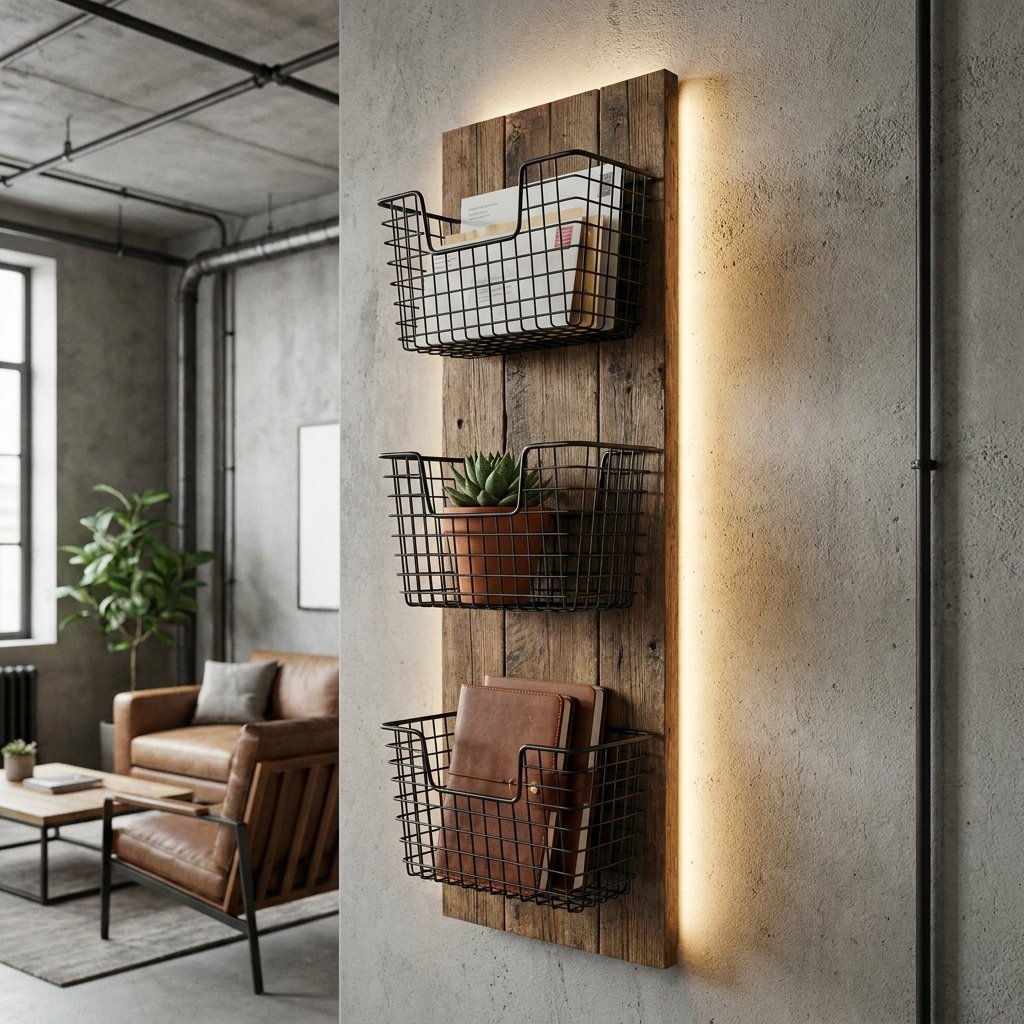
Let’s be honest: walking into a high-end home goods store is a masterclass in psychological warfare. You see a simple wire basket—something that clearly cost pennies to manufacture—rebranded as ‘Industrial Minimalist Wall Storage’ and slapped with a $45 price tag. It’s enough to make any resourceful DIYer’s blood boil. But here’s the secret: style isn’t about how much you spend; it’s about how you manipulate materials. Today, we are going to reclaim your entryway and your wallet. We are taking the humble, flimsy wire basket from the dollar store and elevating it into a rugged, masculine-elegant organizer that looks like it was salvaged from a 1920s factory. For a total investment of under $5, you’ll solve your clutter problem while proving that a little cleverness beats a big budget every single time.
The Blueprint: Materials and the $5 Budget Breakdown
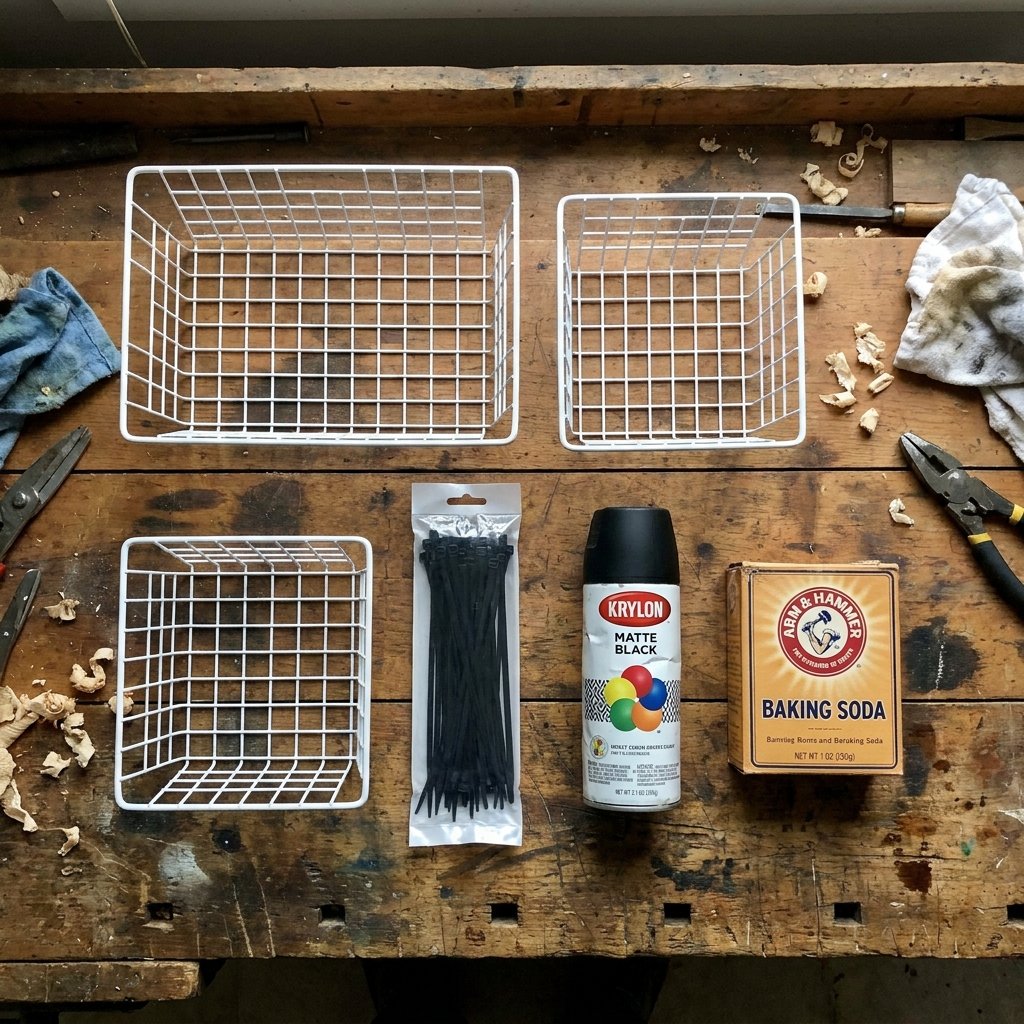
To pull off a high-end ‘dupe,’ you need to start with the right bones. The Dollar Tree wire baskets are often bright white or chrome, which screams ‘dorm room.’ We’re going to fix that. But first, let’s look at the cold, hard numbers. A professional organizer doesn’t just buy things; they source them strategically.
| Item | Source | Cost |
|---|---|---|
| Wire Storage Baskets (3 units) | Dollar Store | $3.75 |
| Heavy Duty Zip Ties (Small Pack) | Dollar Store | $1.25 |
| Matte Black Spray Paint | Workshop Stash | $0.00 |
| Wall Screws/Anchors | Toolbox Spares | $0.00 |
| Total Investment | $5.00 |
Pro-Tip: The Texture Secret
If you want that ‘cast iron’ look, don’t just use flat spray paint. The secret is the Baking Soda Paint Trick. By mixing a small amount of baking soda into your acrylic paint or dusting it over wet spray paint, you create a gritty, matte texture that mimics heavy, expensive forged metal. This is how we move from ‘plastic-coated wire’ to ‘industrial steel’ in 10 minutes.
The Transformation: From Flimsy to Forged
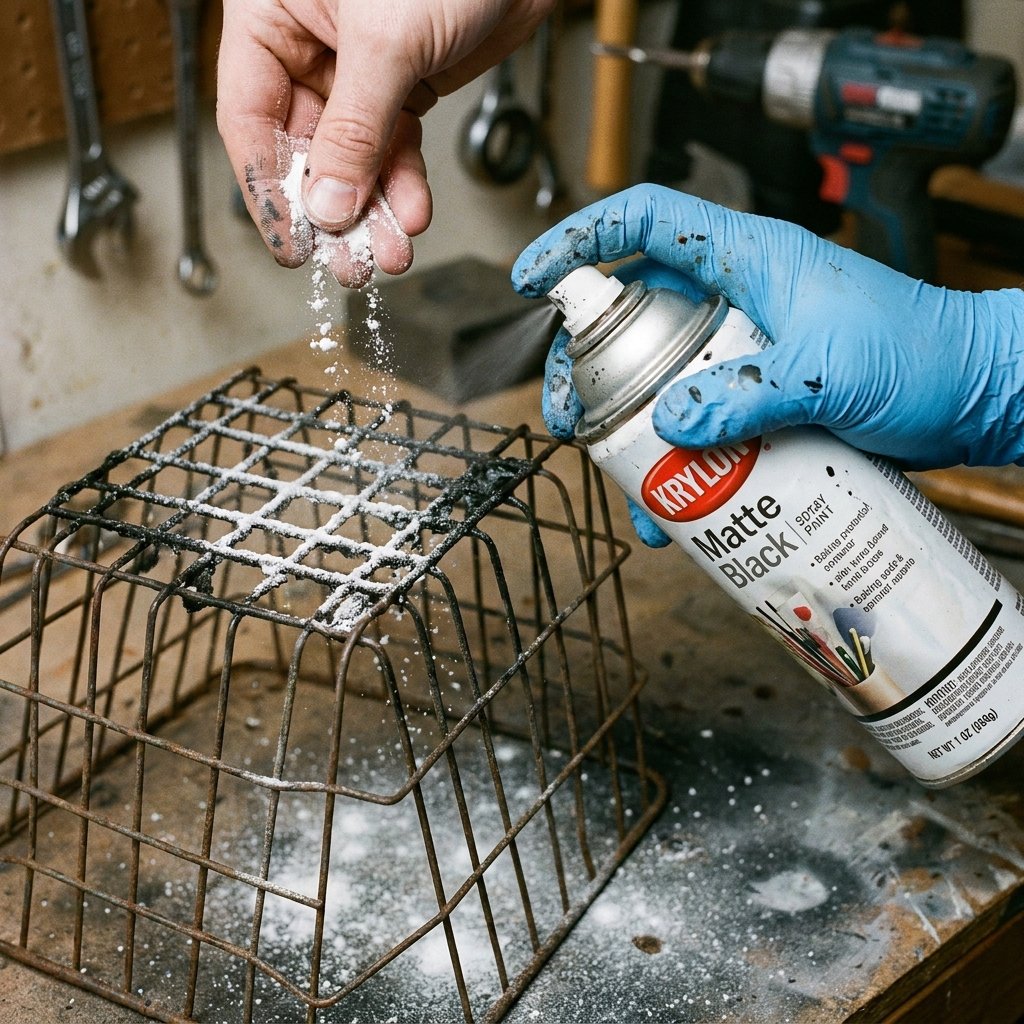
The biggest giveaway of a cheap DIY is a poor finish. We are going to treat these baskets like they are going into a high-traffic workshop. Follow these steps for a finish that won’t chip or peel.
- Degloss the Surface: Use a bit of high-grit sandpaper or even a rough kitchen sponge to scuff the plastic coating on the baskets. This gives the paint ‘teeth’ to grab onto.
- The First Coat: Apply a very thin, misty coat of matte black or oil-rubbed bronze spray paint. Wait 5 minutes before the next layer.
- The Texture Application: While the second coat is still tacky, lightly sift baking soda over the wire joints. This hides the cheap welding points.
- The Seal: Apply a final heavy coat of paint to lock in the texture.
“The difference between ‘cheap’ and ‘chic’ is 90% preparation and 10% patience. Let the paint cure fully—at least 2 hours—before you even think about mounting these to the wall.”
The Mounting Hack: Vertical Command Center
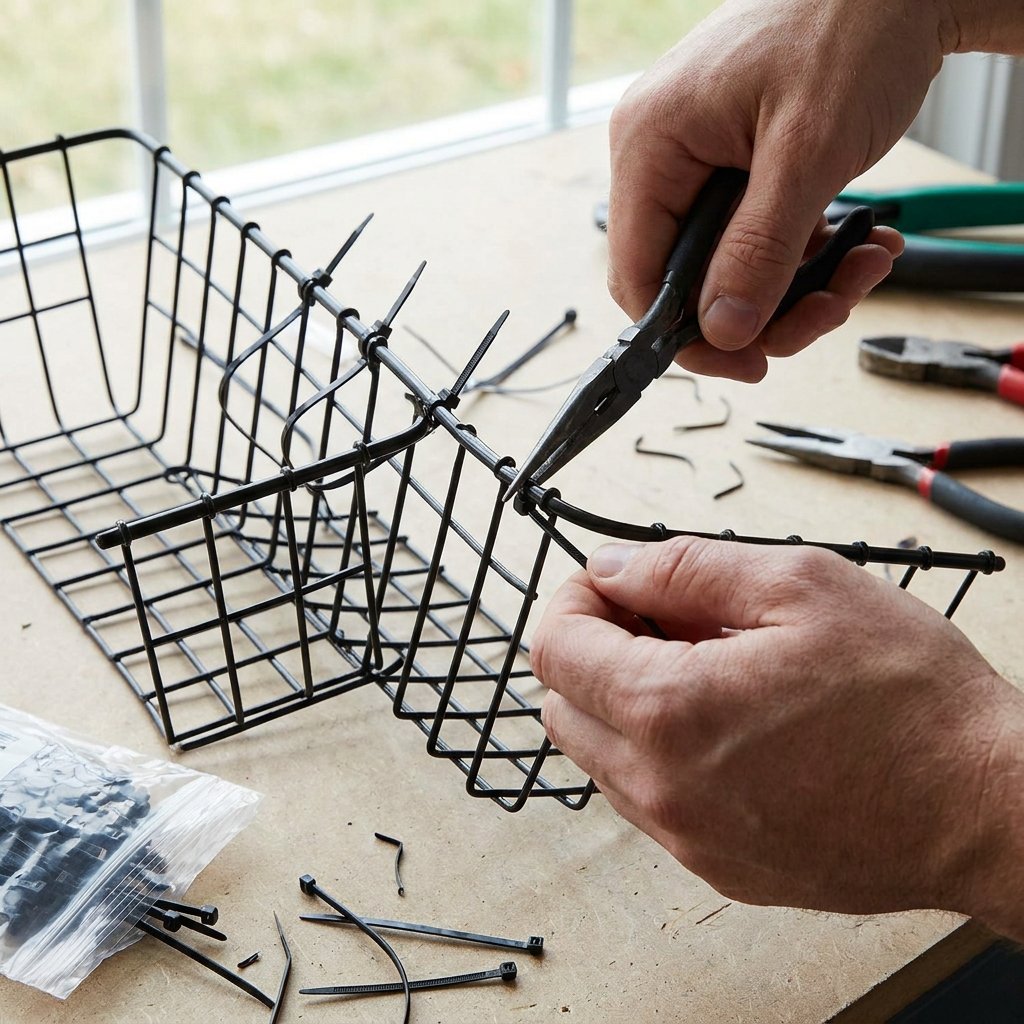
Now that your baskets look like they cost a week’s salary, it’s time to mount them. You have two options: the ‘Floating’ look or the ‘Plank’ look. For a truly rugged, masculine-elegant vibe, I recommend mounting them to a single vertical scrap of wood first.
The ‘No-Drill’ Connector Method
If you are stacking three baskets vertically, use your $1.25 black zip ties to connect the bottom of the top basket to the top of the middle basket. This creates a single, rigid unit. Trim the tails of the zip ties and rotate the ‘head’ of the tie so it’s hidden behind the wire frame. This makes the unit much easier to level and mount with just two screws at the very top.
| Mounting Style | Best For | Effort Level |
|---|---|---|
| Direct to Drywall | Minimalist Look | Medium |
| Mounted on Wood Plank | Rustic/Industrial | High |
| Command Hooks | Renters/Light Duty | Low |
Styling for Function: Kitchen, Office, and Entryway
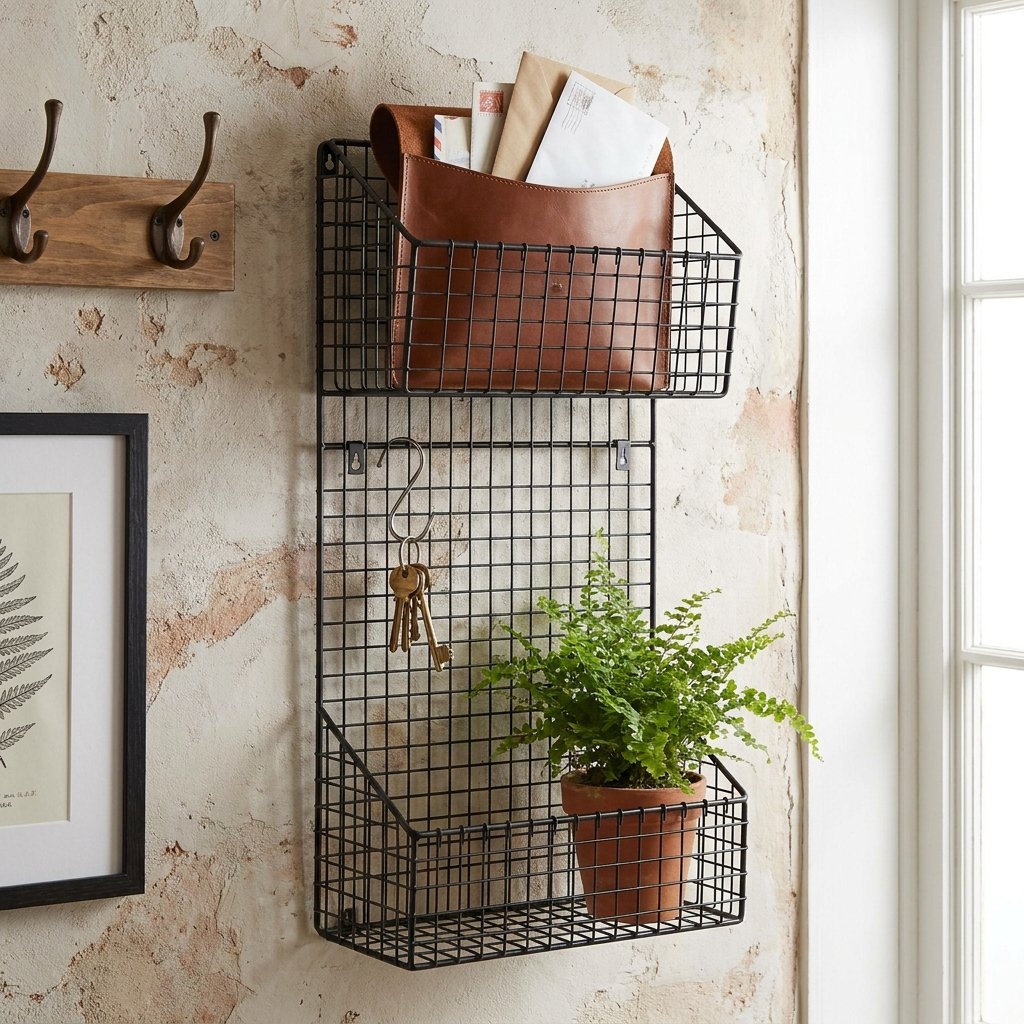
An organizer is only as good as what it holds. Because these are wire, they are incredibly versatile. You aren’t just limited to paper; you can use the wire grid to hang additional items using ‘S’ hooks.
- The Entryway Command Center: Use the top basket for outgoing mail, the middle for dog leashes, and the bottom for umbrellas. Hang your keys directly on the wire mesh using a carabiner.
- The Kitchen Spice Rack: These baskets are the perfect width for standard spice jars. Add a small piece of cardboard or a wood shim to the bottom of each basket to create a flat shelf.
- The Home Office: Store your tablets and notebooks vertically. The wire allows you to see exactly what is in each slot, saving you from the ‘junk drawer’ syndrome.
“A place for everything, and everything in its place. But remember: if you haven’t touched it in 3 months, it doesn’t belong in the organizer; it belongs in the bin.”
Cost Comparison: DIY vs. Big Box Retail
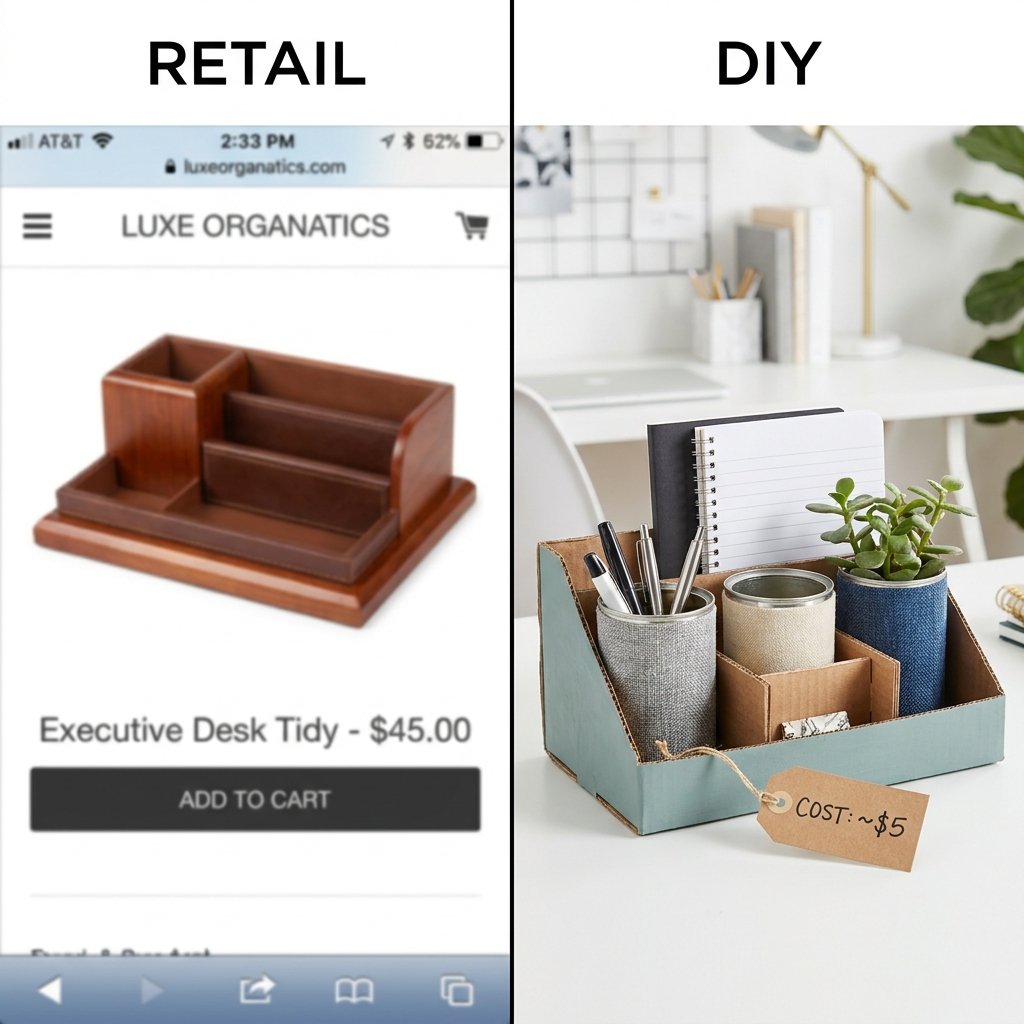
Let’s take a look at why we do this. It’s not just about the craft; it’s about the financial win. When you choose to build instead of buy, you are essentially paying yourself a high hourly wage for your creativity.
| Feature | Store-Bought (Target/West Elm) | DIY Dollar Store Hack |
|---|---|---|
| Material | Powder Coated Steel | Coated Wire + Custom Finish |
| Price | $35.00 – $65.00 | $5.00 |
| Customization | None (Take it or leave it) | Infinite (Color, Size, Texture) |
| Time Investment | 30 min (Driving/Shopping) | 45 min (Crafting/Painting) |
| Total Savings | $0 | $30.00 – $60.00 |
By spending less than an hour of your time, you’ve saved enough money to buy dinner or fund your next three DIY projects. That is the definition of being budget-savvy.
Conclusion
Victory for the Frugal Maker
You don’t need a massive workshop or a massive bank account to create a home that feels curated and organized. By looking at a $1.25 wire basket and seeing the potential for industrial art, you’ve mastered the most important tool in any DIYer’s arsenal: perspective. This wall organizer hack is just the beginning. Whether you’re a busy parent trying to find the car keys or a minimalist looking to clear your desk, this $5 solution proves that style is earned through effort, not bought with a credit card. Now, go find a blank wall and get to work—your clutter doesn’t stand a chance.

Makenzie is the founder and lead writer at MoneyHackTips.com — a personal finance blog dedicated to delivering street-smart financial wisdom for real people on real budgets. With 300+ published articles covering everything from debt management to investing fundamentals, Makenzie’s mission is to make every dollar work harder. When not writing about money hacks, Makenzie is testing frugal living strategies, optimizing side hustles, and helping readers build financial freedom from scratch.