
The Art of the Financial Finesse: Why a Money Ring?
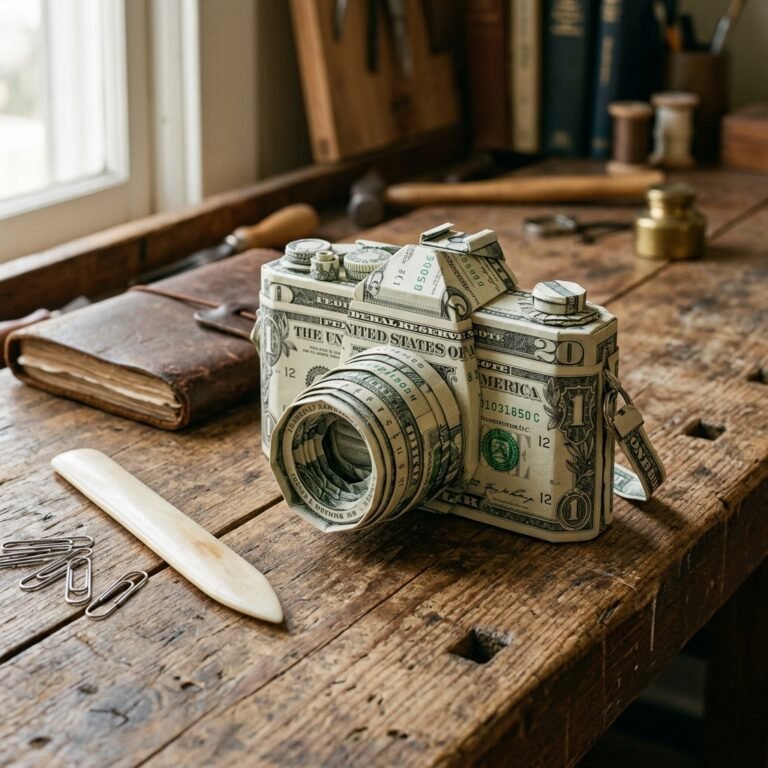
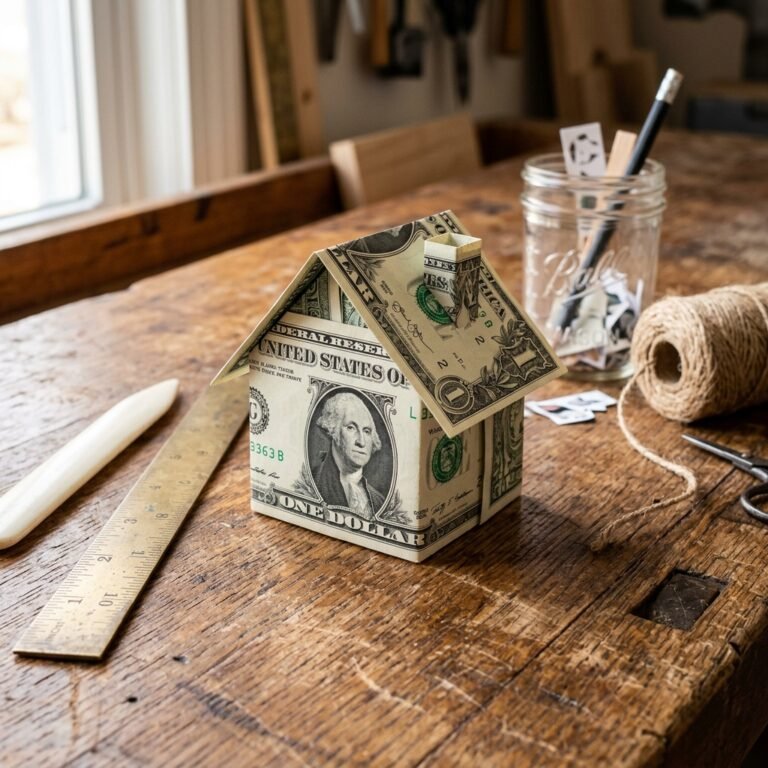
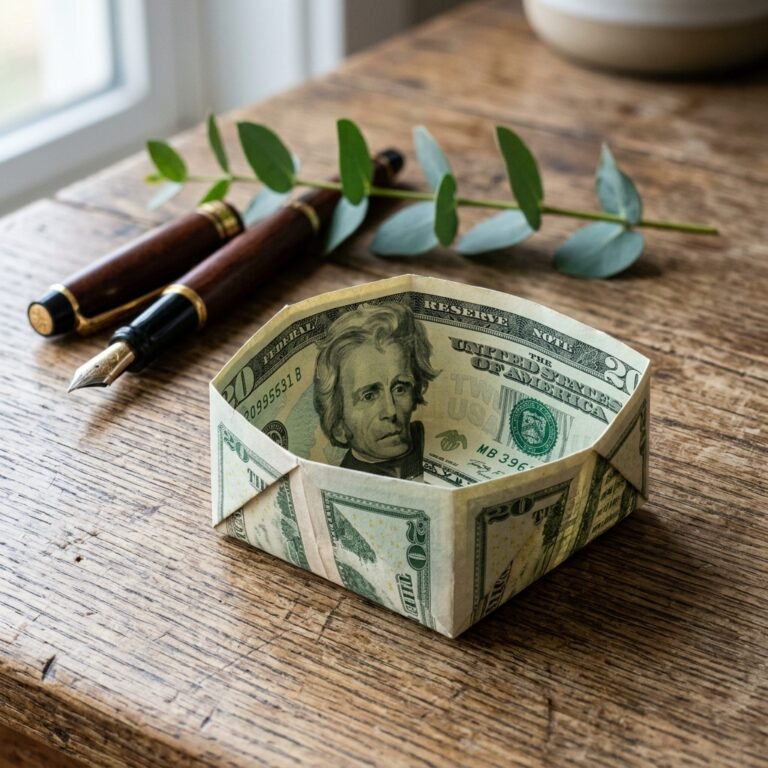
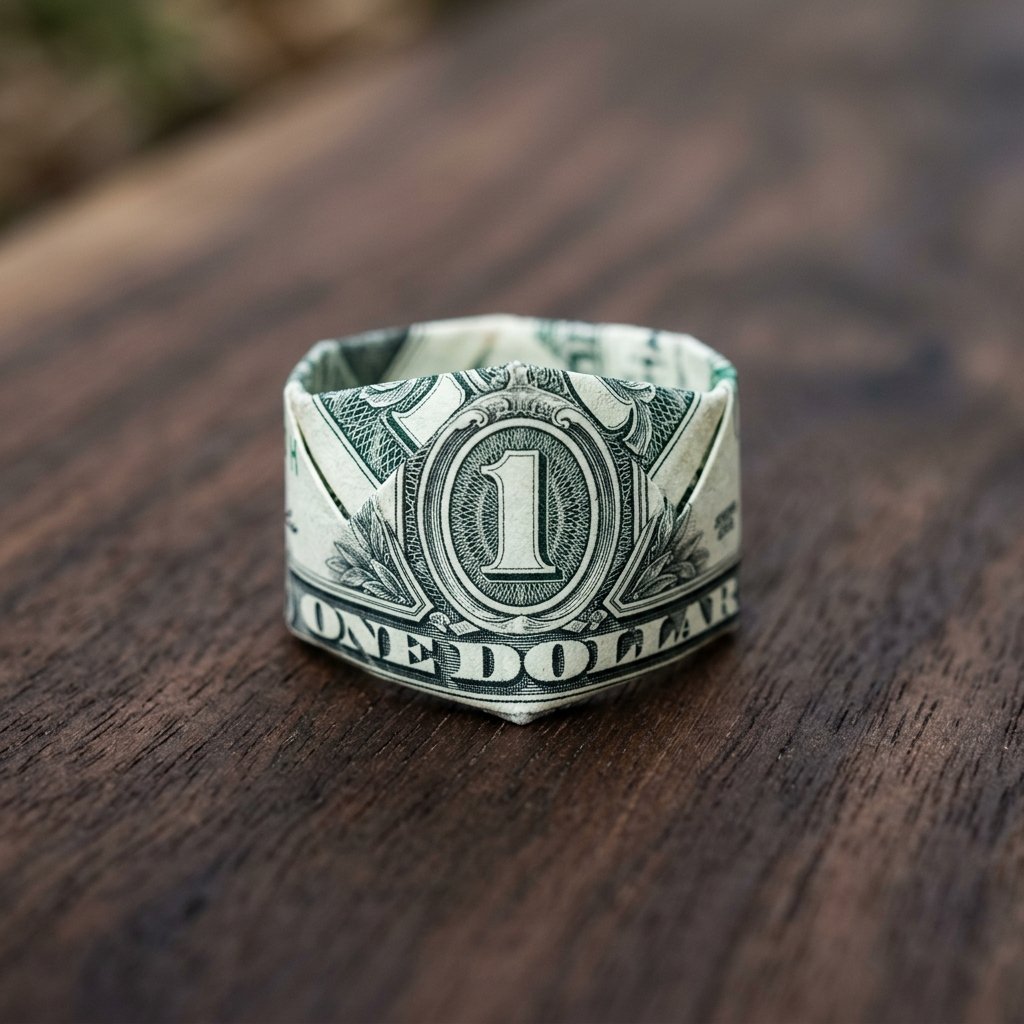
In a world of digital transfers and impersonal gift cards, there is something profoundly tactile and clever about the art of money origami. As a resourceful DIYer, you know that the value of a gift isn’t always measured by the number of zeros in a bank account, but by the creativity and effort poured into the presentation. Folding a one-dollar bill into a ring is the ultimate ‘parlor trick’ for the modern gentleman or the budget-savvy crafter. It turns a mundane piece of currency into a conversation starter, a charming tip for a hardworking barista, or a whimsical ‘placeholder’ engagement ring for a playful moment.
This isn’t just about folding paper; it’s about mastering precision. Whether you are a handy parent looking to impress the kids or a frugal gift-giver wanting to add a ‘wow’ factor to a graduation card, this guide will teach you the rugged elegance of the money ring. We are going to break down the process into bite-sized, actionable steps that will take you from a flat bill to a wearable masterpiece in less than 3 minutes. Grab a crisp bill, find a flat surface, and let’s get to work.
The Strategic Selection: Choosing Your Canvas
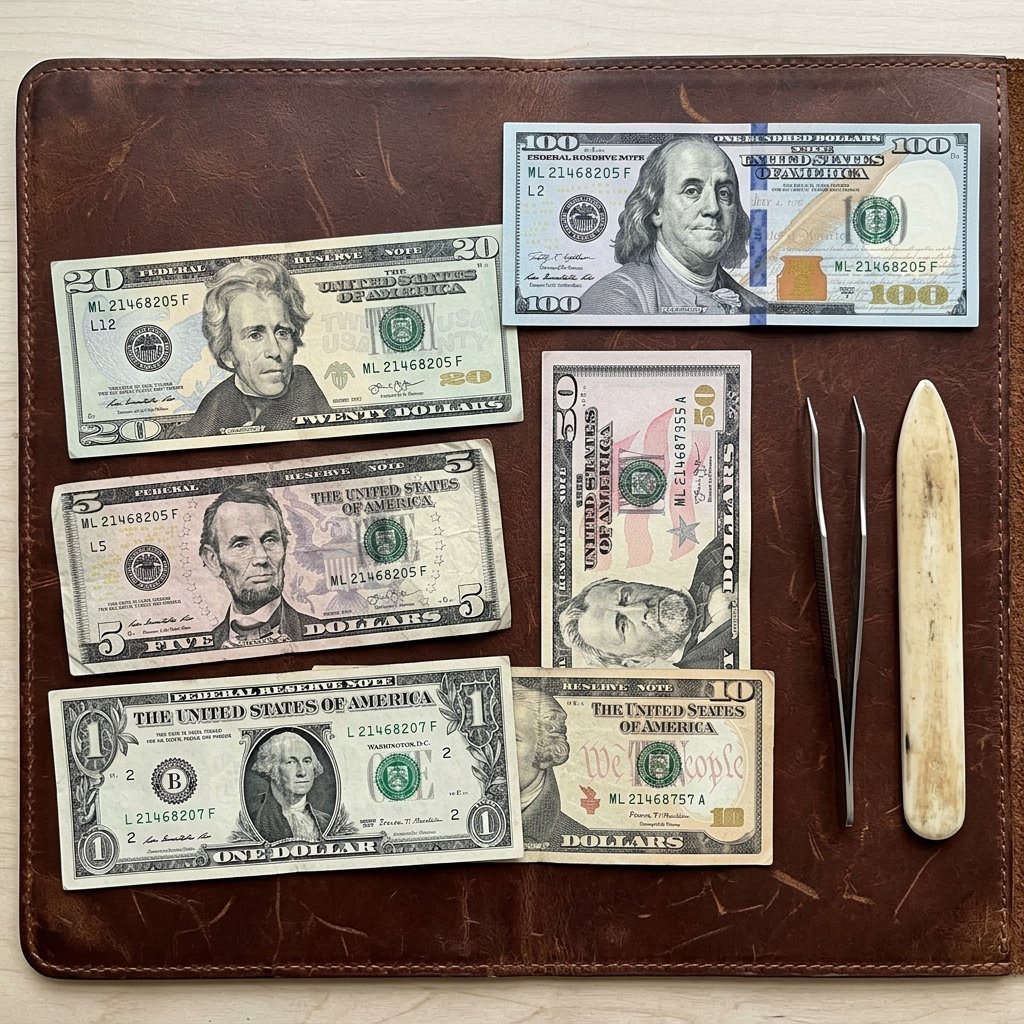
Not All Bills Are Created Equal
Before we make our first crease, we must discuss the medium. In the world of origami, the quality of your paper determines the longevity and crispness of your final product. For a money ring, you want a bill that feels like it just came off the press. A limp, over-circulated bill will not hold the ‘locking’ folds required to keep the ring on a finger. If you’re planning this for a special occasion, head to the bank and request a ‘crisp, uncirculated’ stack. The fibers in new currency are stiff, allowing for the high-precision edges that make the ring look professional rather than like a piece of crumpled trash.
| Bill Condition | Folding Difficulty | Visual Impact | Durability |
|---|---|---|---|
| Brand New (Uncirculated) | Easy / Precise | High (Sharp Edges) | Excellent |
| Lightly Used | Moderate | Medium | Good |
| Soft / Rag-like | Difficult | Low (Lumpy) | Poor (Will Unravel) |
Always remember the Folder’s Mantra: ‘The sharper the crease, the better the piece.’ Use your fingernail or a credit card edge to burnish every fold for a professional, rugged finish.
The 3-Minute Blueprint: Step-by-Step Execution
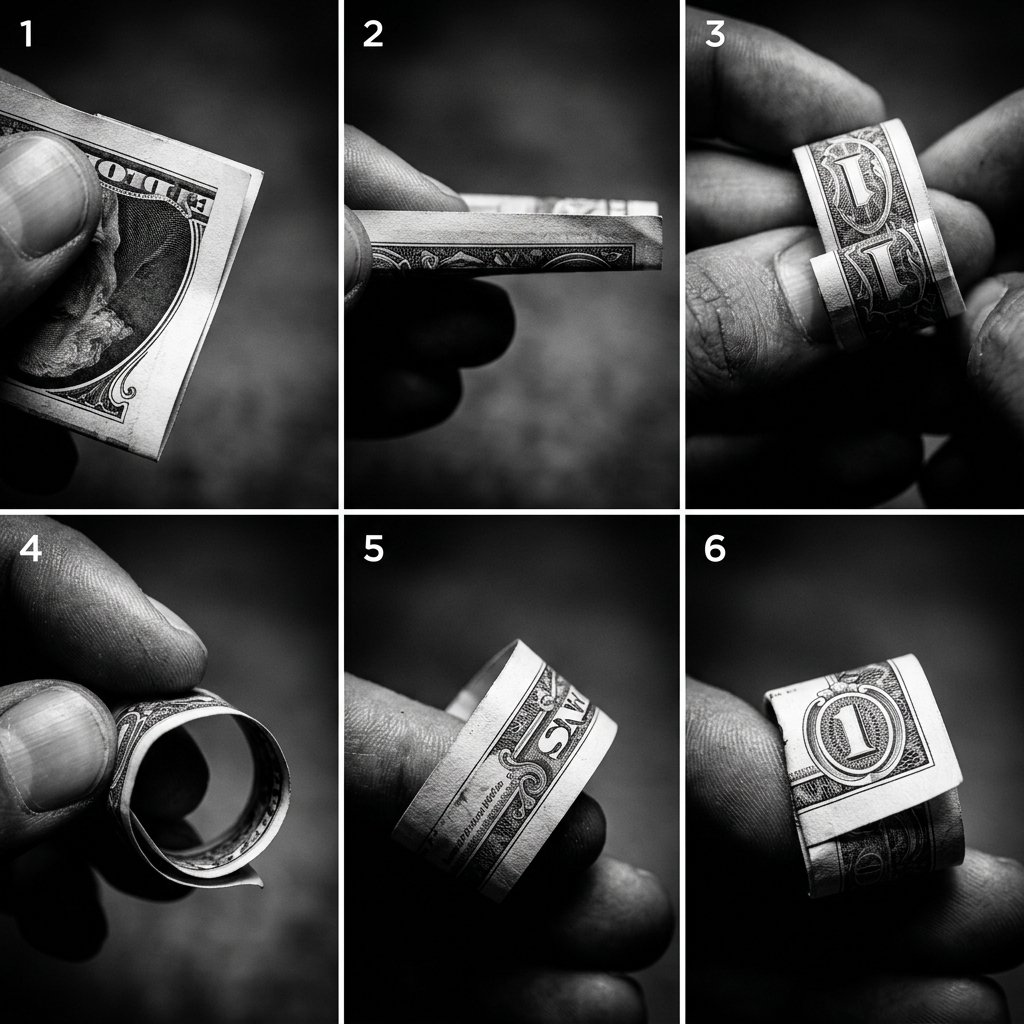
Precision Engineering in Five Phases
Follow these steps with the focus of a master tailor. We will be using a standard $1 USD bill for this tutorial, as the placement of the ‘1’ in the corner creates a perfect ‘gemstone’ effect.
- The Initial Slimming: Place the bill face up (George Washington facing you). Fold the top white border down behind the bill. Repeat with the bottom white border. The goal is to hide the white edges entirely.
- The Frame Fold: Fold the bill in half lengthwise, then unfold it to create a center crease. Fold the top and bottom edges into that center crease. You now have a very thin strip of currency.
- The Gemstone Placement: On the right side of the bill, locate the ‘1’ inside the ornate circle. Fold the end of the bill just to the left of this ‘1’. This vertical fold will eventually be the face of your ring.
- The Curving: Gently pull the strip between your thumb and the edge of a table to give it a slight curve. This makes the final circular shaping much easier.
- The Wrap and Lock: Wrap the long end of the strip around your finger (or a pen) to gauge the size. Tuck the plain end through the ‘gemstone’ fold you created in step 3. Pro Tip: Secure the loose end by tucking it under the internal flap of the ‘1’ frame.
The Denomination Matrix
| Denomination | Center Image | Best Gifting Occasion |
|---|---|---|
| $1 Bill | The Numeral ‘1’ | Casual Tips, Kids’ Rewards |
| $5 Bill | The Numeral ‘5’ | Small ‘Thank You’ Gifts |
| $10 Bill | Hamilton’s Architecture | Graduations |
| $20 Bill | The White House | Birthday Surprises |
| $100 Bill | The Independence Hall | Weddings / Major Milestones |
Tactical Refinements: Tips for the Crafty Expert
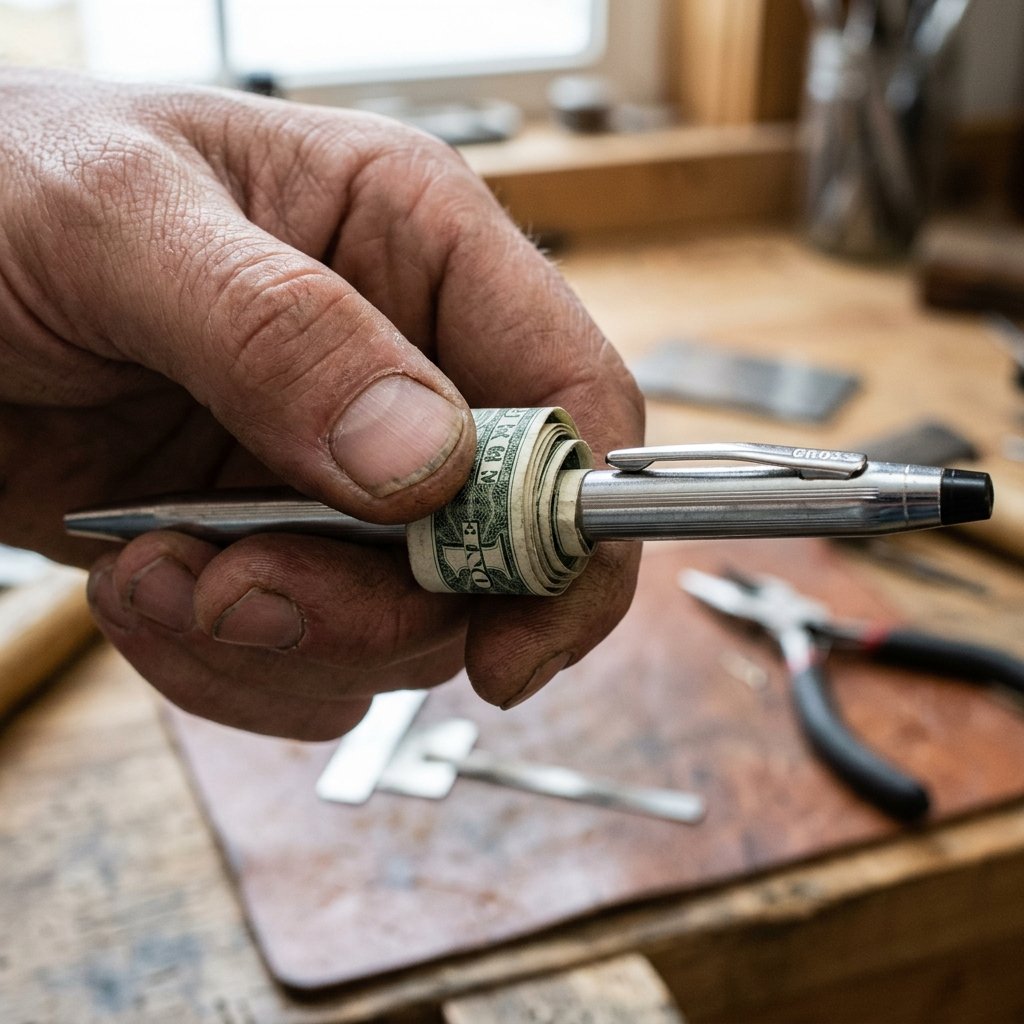
Mastering the ‘Friction Lock’
One of the biggest challenges for the frugal crafter is ensuring the ring doesn’t spring open. This is where the ‘Friction Lock’ technique comes into play. When you tuck the final tail of the bill into the ‘square’ head of the ring, you must ensure it is pushed in deep enough to catch against the internal folds. If the bill is too short for the recipient’s finger, you may need to adjust the initial ‘frame fold’ to be slightly narrower, which provides more length for the wrap.
Tools of the Trade
While this is designed to be done with nothing but your hands, a clever maker knows when to use a tool. A simple wooden dowel or a thick marker can serve as a ‘ring mandrel’ to help you keep the band perfectly circular during the final assembly. This ensures the ring isn’t lopsided when presented. If you are making these in bulk for a wedding favor or a party, using a mandrel will save your fingers from fatigue and ensure 100% consistency across every piece.
Budget Savvy Tip: If you’re practicing, don’t use real money at first. Cut a piece of printer paper to the exact dimensions of a US bill (6.14 x 2.61 inches) and practice until your muscle memory takes over.
The Presentation: Elevating a 1-Dollar Gift
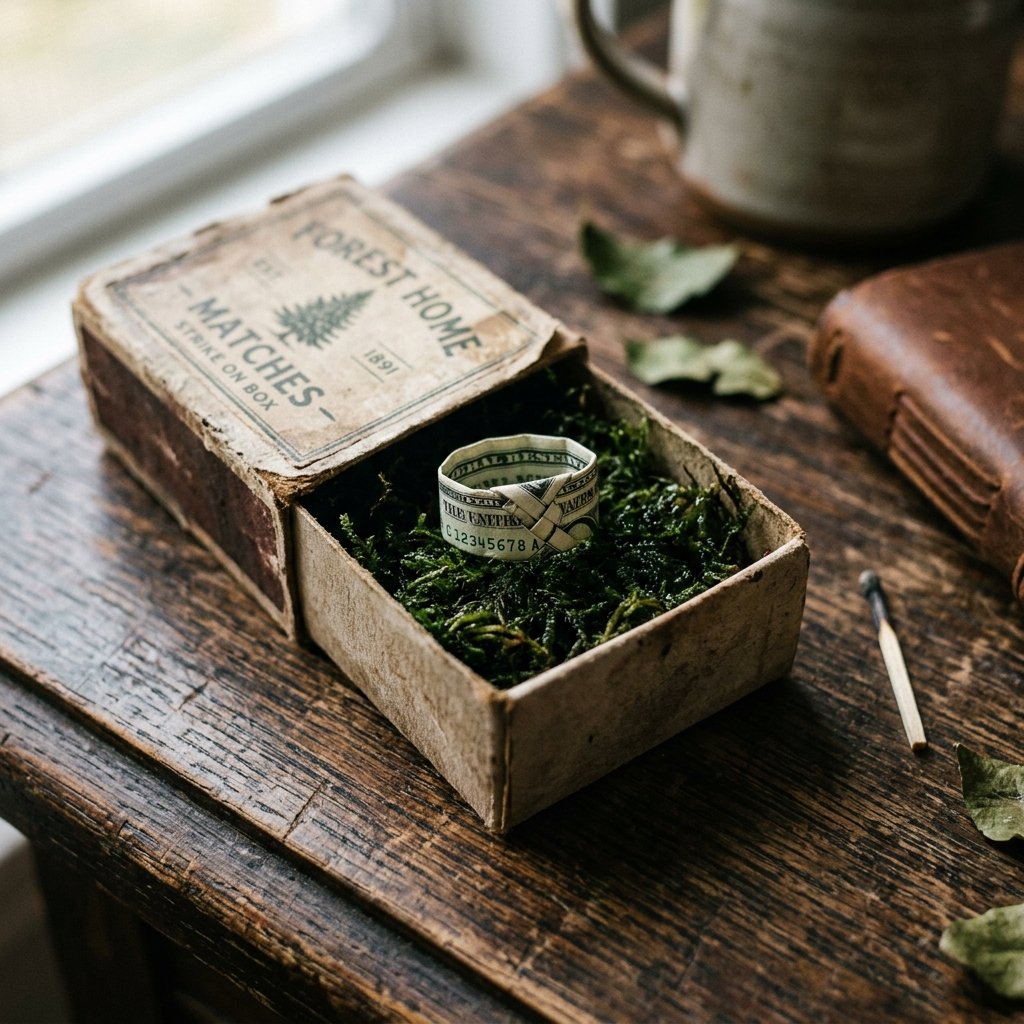
From ‘Pocket Change’ to ‘Polished Present’
A masculine-elegant gift is as much about the box as it is about the contents. You’ve spent 3 minutes folding a masterpiece; don’t just hand it over loose. To truly embrace the trash-to-treasure ethos, consider upcycling a small matchbox. Line the inside with a scrap of black velvet or even a piece of dark felt from an old hat. This contrast makes the green and white of the currency pop, giving it the appearance of a high-end boutique item.
Occasions for the Money Ring
- The ‘Best Tip Ever’: Leave a $1 or $5 ring on the table at a restaurant. It shows the server you appreciate their effort enough to put in your own.
- The Graduation Card: Instead of a flat bill, tape the ring to the inside of the card so it ‘pops out’ when opened.
- The Scavenger Hunt: Use money rings as the ‘treasure’ at the end of a backyard map for kids.
- The Budget Wedding: Use $10 or $20 rings as whimsical photo booth props or ’emergency’ wedding bands for funny photos.
| Presentation Method | Estimated Cost | Vibe |
|---|---|---|
| Upcycled Matchbox | $0.00 | Vintage / Rugged |
| Miniature Velvet Pouch | $0.50 | Classic / Elegant |
| Tied to a Bouquet | $2.00 | Romantic / Creative |
| Inside a Walnut Shell | $0.10 | Whimsical / Mystery |
Conclusion
Your New Superpower: The Gift of Creativity
Congratulations! You have just mastered a skill that combines mathematical precision with frugal ingenuity. Folding a 1-dollar money origami ring is more than just a craft; it’s a testament to the idea that with a little bit of time and the right technique, even the most common objects can be transformed into something extraordinary. You are now equipped to provide a thoughtful, hand-crafted gesture at a moment’s notice, whether you’re at a wedding, a birthday party, or simply out for coffee.
Remember, the first few tries might be a bit ‘rugged,’ but stick with it. Within a few repetitions, you’ll be hitting that sub-3-minute mark with ease. Keep a crisp bill in your wallet at all times—you never know when you’ll need to deploy a bit of money origami magic to brighten someone’s day. Stay crafty, stay resourceful, and keep folding!

Makenzie is the founder and lead writer at MoneyHackTips.com — a personal finance blog dedicated to delivering street-smart financial wisdom for real people on real budgets. With 300+ published articles covering everything from debt management to investing fundamentals, Makenzie’s mission is to make every dollar work harder. When not writing about money hacks, Makenzie is testing frugal living strategies, optimizing side hustles, and helping readers build financial freedom from scratch.