
Let us face a practical truth: when a friend, family member, or loved one moves into a new home, they do not need another generic scented candle. They do not need a mass-produced, store-bought trinket that will inevitably end up at a yard sale. What new homeowners truly need is cash. Between unexpected trips to the hardware store, the sudden need for custom window blinds, and the sheer cost of moving boxes, cash is the ultimate king of housewarming gifts.
But here is the frugal crafter’s dilemma: handing someone a flat twenty-dollar bill in a store-bought greeting card feels incredibly transactional, lazy, and devoid of personality. It lacks the rugged thoughtfulness and creative spirit that we, as budget-savvy makers and upcyclers, strive for. We want to give a gift that is both endlessly practical and deeply personal.
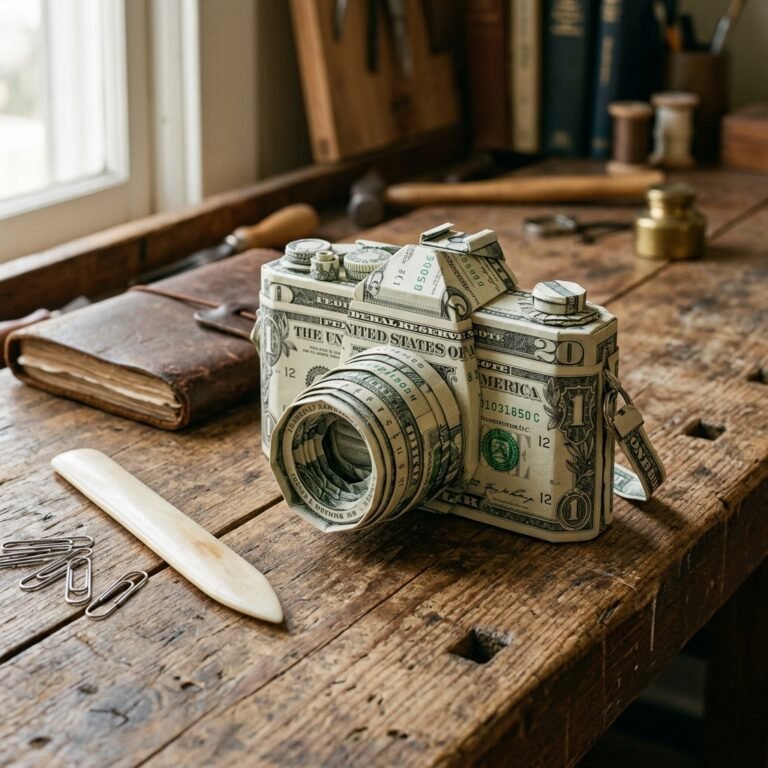
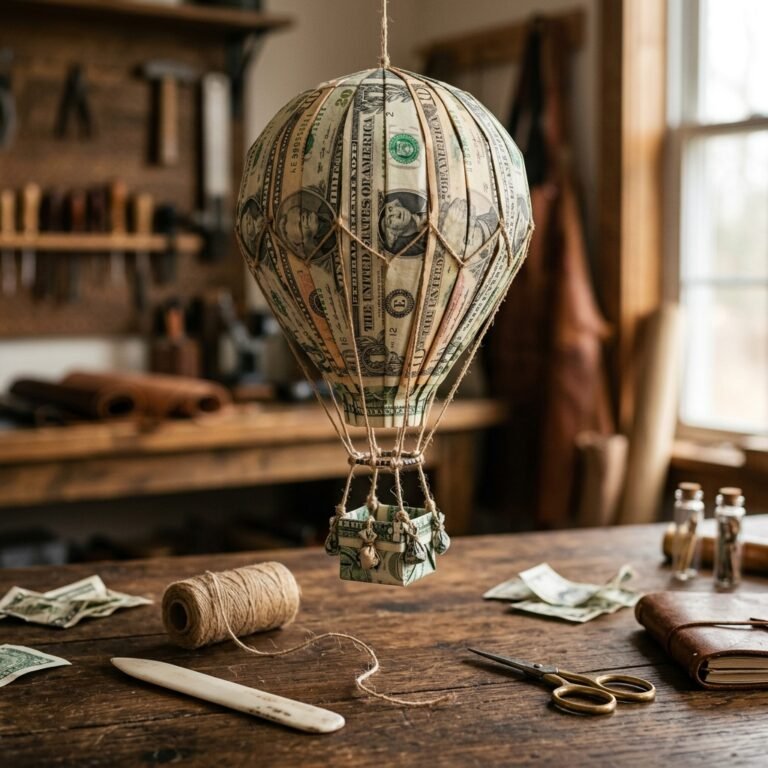
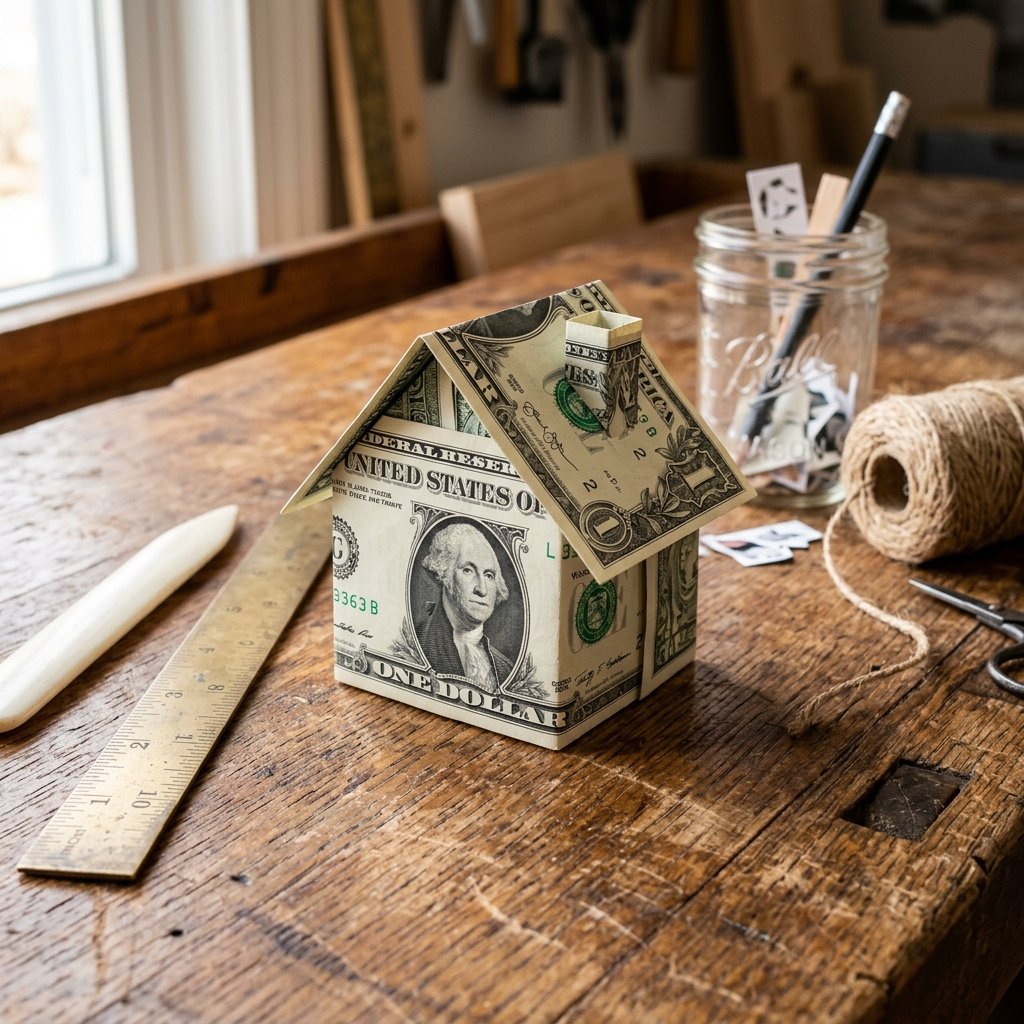
Enter the art of money origami—specifically, the Money Origami House. By taking a single piece of currency and applying a few precise, masterful folds, you can transform cold, hard cash into a warm, memorable, and highly photogenic symbol of their new milestone. It costs you absolutely nothing extra to make (your budget is literally just the gift amount itself!), yet the perceived value skyrockets because of the time, skill, and cleverness you invested.
In this comprehensive, step-by-step masterclass, we are going to walk through the exact blueprint for folding a flawless origami house out of a single bill. Whether you are a handy parent looking to give a clever graduation gift, a frugal DIYer assembling a neighborhood of one-dollar bills for a quirky centerpiece, or a thoughtful friend crafting a high-end shadowbox display on a Dollar Tree budget, this guide will equip you with the skills to make your cash gift the talk of the housewarming party.
Laying the Foundation: Prepping Your Currency and Workspace
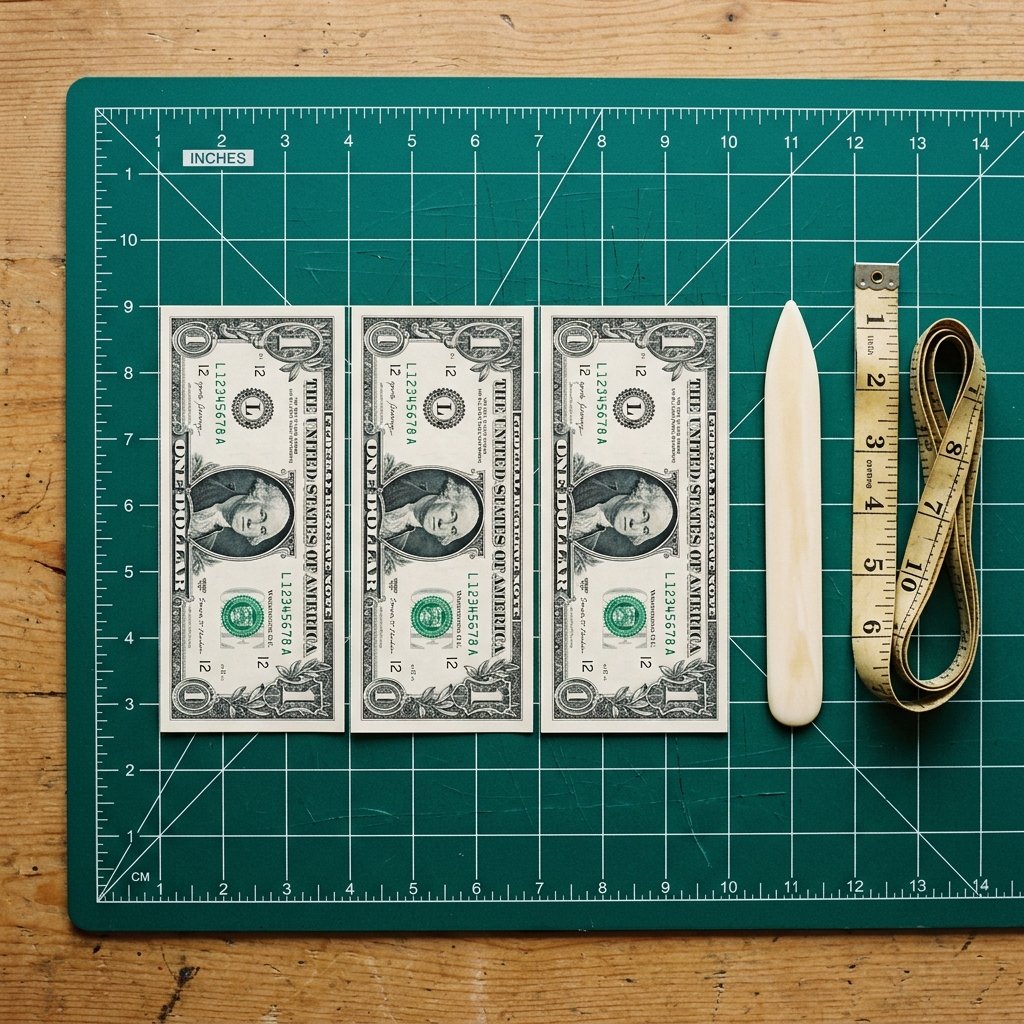
Before we make a single fold, we need to talk about our building materials. United States currency is not actually paper; it is a rugged blend of 75% cotton and 25% linen. This unique textile composite is what gives cash its durability, but it also means it behaves differently than standard origami paper. To achieve those crisp, architectural lines for our miniature house, preparation is non-negotiable.
Sourcing the Perfect Bill
You cannot build a sturdy house on a weak foundation, and you cannot fold a beautiful origami house with a limp, crumpled bill that has spent six months at the bottom of a gym bag. You need crisp currency.
- The Bank Trip: The easiest way to get crisp bills is to ask a bank teller specifically for “new, uncirculated bills.” They are usually more than happy to oblige.
- The Ironing Hack: If you only have slightly wrinkled bills on hand, you can iron them! Place the bill on an ironing board, cover it with a clean, slightly damp cotton cloth (like a flour sack towel), and press it with an iron set to low heat. Never use steam directly on the bill, and never iron it unprotected, as you can scorch the fibers.
A crisp bill holds a crease like a tailor-made suit. A crumpled bill yields a sloppy house. Treat your currency like fine fabric before you begin folding.
Setting Up Your Workbench
You do not need a massive crafting studio to execute this project, but you do need a hard, perfectly flat surface. A self-healing cutting mat or a clean kitchen table works wonders. I highly recommend using a bone folder to press your creases. If you do not have a bone folder, the smooth back of a butter knife or the edge of a credit card will give you the sharp, professional edges required for miniature paper architecture.
The Blueprint: Step-by-Step Money House Folding Instructions
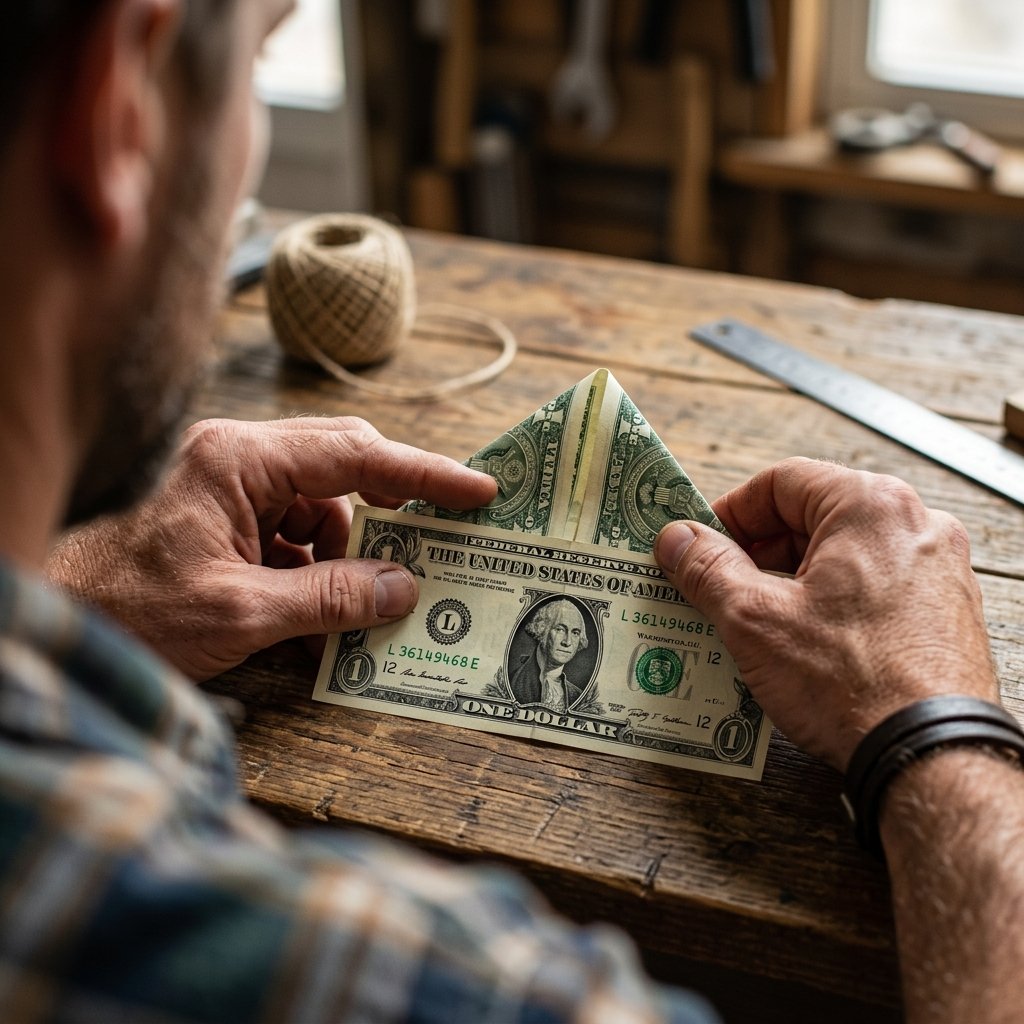
Now it is time to put on your hard hat and start building. This origami house requires precision, so take your time. Read through each step before making the fold. We will be using standard origami terminology: a valley fold (folding the paper toward you, creating a “V” shape) and a mountain fold (folding the paper away from you, creating an inverted “V” or peak).
- The Initial Alignment: Lay your crisp bill flat on your workspace with the “face” side (George Washington, if using a $1 bill) facing down. Ensure the bill is oriented horizontally, like a landscape portrait.
- The Center Crease (Hamburger Fold): Fold the bill in half from left to right. Match the corners perfectly. Use your bone folder or thumbnail to press the crease firmly. Once creased, unfold the bill completely. You now have a vertical center guideline.
- Building the Walls: Take the left edge of the bill and fold it inward so that it meets the vertical center crease you just created. Repeat this with the right edge. Your bill should now look like a set of double doors closing over the center. Crease these folds heavily.
- The Roofline Foundation (Hot Dog Fold): Keeping the “doors” folded shut, fold the entire bill in half horizontally (top edge down to the bottom edge). Crease firmly, then unfold just this horizontal fold. You now have a horizontal guideline crossing your vertical “doors.”
- Constructing the Eaves: This is where the magic happens. Look at the top half of your folded bill. You are going to take the inner top corners (where the two “doors” meet at the center line) and fold them outward and down, aligning them with the horizontal center crease. This will force the top rectangular sections to splay open into triangles.
- The Squash Fold (Raising the Roof): As you pull those corners down, press the paper flat against the table. The top sections will squash down into two perfect triangles side-by-side. These triangles form the pitched roof of your house! Ensure the peaks of the roof are sharp and symmetrical.
- Securing the Base: To give the house stability and better proportions, fold the bottom edge of the “house” up by about 1/2 inch. Tuck this fold behind the house (a mountain fold). This shortens the walls, making it look much more like a cozy cottage rather than a tall skyscraper, and it locks the vertical folds in place.
- Final Inspection: Run your bone folder over all the outer edges one last time. Flip the house over to see the final result. You should see the intricate scrollwork and numbers of the currency beautifully framing the roof and walls of your new tiny home.
The Currency Matrix: Denomination vs. Visual Impact
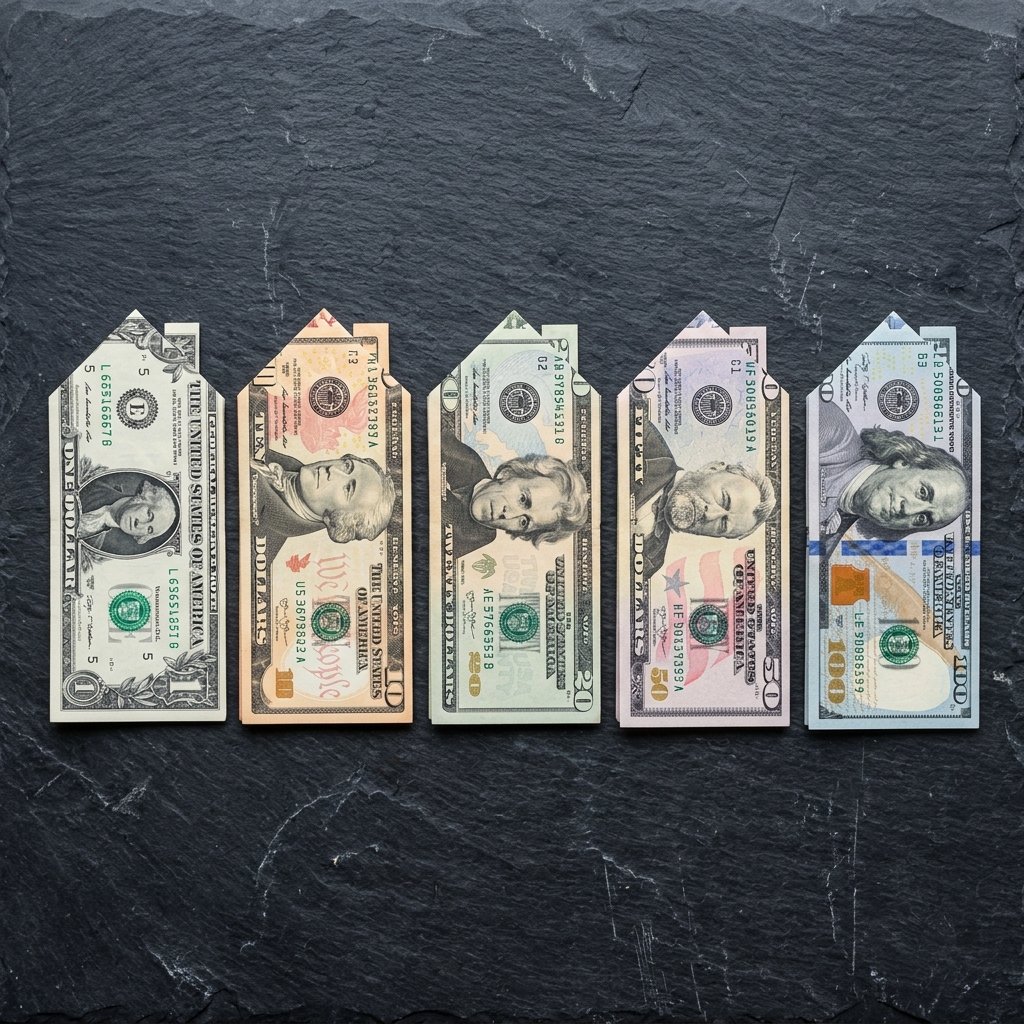
One of the most clever aspects of money origami is how the design of the currency itself interacts with your folds. Different denominations feature different colors, watermarks, and scrollwork. If you are gifting a larger amount, you might wonder whether to fold one $100 bill or one hundred $1 bills. As a budget-savvy gift-giver, you must consider the visual impact of the denomination.
Below is a handy matrix to help you choose the right “building materials” for your specific gifting scenario. Remember, the structure remains the same, but the curb appeal changes dramatically based on the bill you select.
| Denomination | Color Profile & Design Features | Visual Impact / Vibe | Ideal Gifting Scenario |
|---|---|---|---|
| $1 Bill | Classic green, heavy geometric scrollwork, prominent “1”s in the corners. | Traditional, rustic, highly recognizable as classic origami. | Building a “neighborhood” of multiple houses; casual gifts. |
| $2 Bill | Deep green, unique reverse side featuring the Declaration of Independence. | Quirky, rare, vintage-inspired. | A unique, memorable token for a frugal friend who appreciates oddities. |
| $10 Bill | Subtle orange and yellow undertones, modern watermark. | Warm, autumnal, slightly elevated. | A modest but thoughtful contribution to a DIY hardware store fund. |
| $20 Bill | Vibrant green and peach, large modern numerals. | Bold, practical, the standard ATM workhorse. | The classic “buy yourself a couple of paint gallons” housewarming gift. |
| $50 Bill | Blue and red background hues, very crisp modern borders. | Sophisticated, patriotic, high-end. | A substantial gift for close family members or best friends. |
| $100 Bill | Prominent blue 3D security ribbon, copper ink that shifts to green. | Luxurious, flashy, the ultimate “wow” factor. | Weddings, major life milestones, or down-payment contributions. |
If you are on a tight budget but want to make a massive visual impact, I highly recommend the “Neighborhood Approach.” Instead of folding one $50 bill, fold fifty $1 bills. It takes more time, but arranging a sprawling village of tiny money houses inside a gift box is an unforgettable, resourceful presentation that screams “crafty expert.”
Curb Appeal: Upcycled and Creative Presentation Ideas
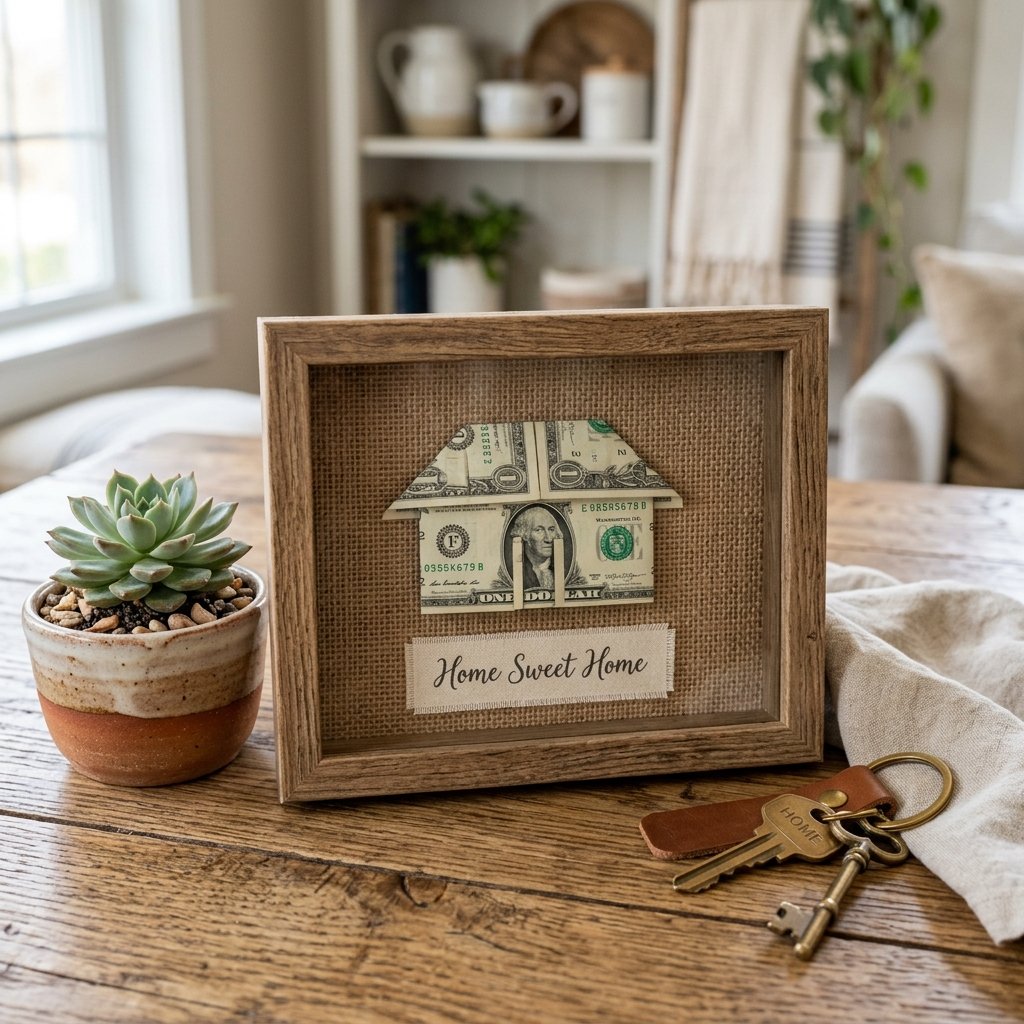
You have successfully folded the house. Now, how do you hand it over? Please, do not just toss this architectural masterpiece into a blank envelope. The presentation is where your frugal DIY skills truly shine. By using items from the Dollar Tree, upcycled materials from your garage, or simple thrift store finds, you can elevate this cash gift into a piece of high-end home decor.
Idea 1: The Dollar Tree Shadow Box (Cost: $1.25)
Head to your local dollar store and pick up a small, deep picture frame or shadow box. Remove the generic stock photo. Cut a piece of scrap fabric—burlap, canvas, or even an old flannel shirt—to fit the backing board. Use a tiny loop of painter’s tape to gently affix your money origami house to the center of the fabric. Below the house, use a label maker or a neat handwritten tag that says, “Home Sweet Home – Emergency Hardware Fund.” It looks like a custom piece from a boutique, but it cost you pennies.
Idea 2: The “New Keys” Keychain Attachment (Cost: Free/Upcycled)
If you want a rugged, practical presentation, dig into your junk drawer and find a spare, clean split key ring. Cut a 4-inch piece of leather cord or heavy-duty jute twine. Carefully thread the cord through the roofline of your origami house (the folds will hold it securely without tearing the bill) and tie it to the key ring. Add a blank brass key from a hardware store ($1.50) with a tag that says “For the New Digs.” It is a masculine, clever, and highly thematic way to present cash.
Idea 3: The Houseplant “Property” (Cost: $5 – $10)
Plants are a classic housewarming gift. Buy a small, budget-friendly succulent or a “Money Tree” (Pachira aquatica) from the hardware store garden center. Take a wooden skewer or a clean popsicle stick, attach your origami house to the top using a tiny dab of removable mounting putty, and stick it into the soil. You have just gifted them greenery for their new living room and the cash they need to buy a nice pot for it.
The secret to high-end gifting on a dime is context. A twenty-dollar bill is just twenty dollars. A twenty-dollar origami house framed in a rustic shadow box is a keepsake.
Building Inspector Tips: Troubleshooting Common Folds
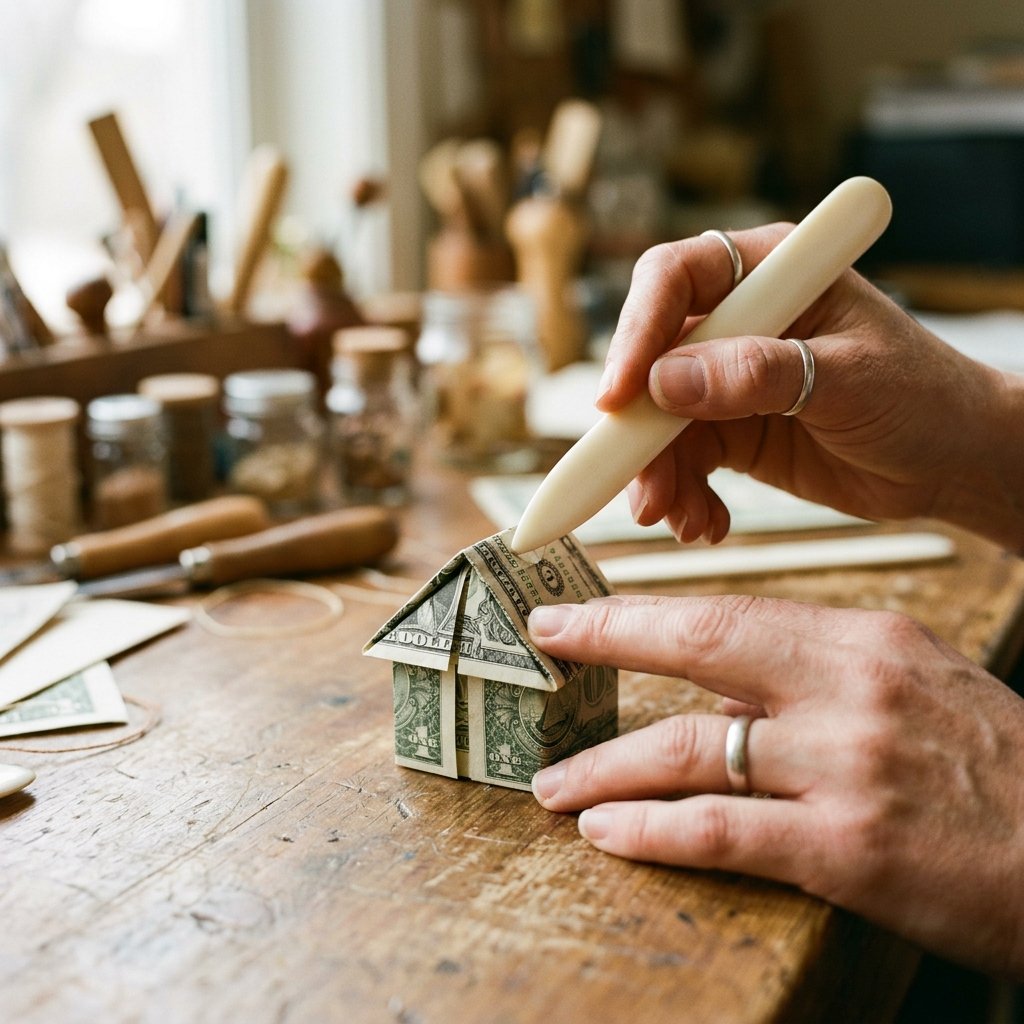
Even the most seasoned DIYers and crafters run into snags. Paper folding is an art, and sometimes the paper fights back. If your origami house is looking a little condemned, do not panic. Here are the most common structural issues and how to mend them like a master tailor fixing a hem.
- The Roof is Lopsided: This happens when your initial vertical center crease (the hamburger fold) was not perfectly in the middle, or your “double doors” are uneven. Unfold the bill back to step 3. Ensure the left and right edges meet exactly at the center line without overlapping. A fraction of a millimeter matters here!
- The Bill Keeps Springing Open: Crisp bills are great, but brand-new currency can be stubborn and “springy.” If your house won’t stay flat, place the finished folded house inside a heavy book (like an old dictionary or a thick cookbook) and leave it overnight. The sustained pressure will “train” the cotton fibers to hold the crease permanently.
- The Paper is Tearing at the Corners: Yikes! This usually happens if you are using an older, worn-out bill and you press too hard with a sharp tool. If you are using a bone folder, use the flat edge, not the pointed tip. If a bill does tear, simply unfold it, tape it neatly with invisible tape, and spend it at the grocery store. Start fresh with a new bill for the gift!
- The House Looks Too Tall and Skinny: You forgot Step 7! If you don’t fold the bottom edge up behind the house, the proportions will look like a commercial office building rather than a residential home. Fold that bottom edge up by 1/2 inch to 3/4 inch to give it that cozy, squat cottage look.
Remember, origami is forgiving if you catch mistakes early. Do not be afraid to unfold the currency, smooth it out, and try again. The beauty of money origami is that your materials are never truly wasted; worst-case scenario, you still have spendable cash!
Conclusion
Moving into a new home is one of life’s greatest adventures, but it is also one of the most expensive. By stepping away from the generic gift card rack and utilizing your skills as a frugal DIYer, you can provide the ultimate support: practical cash wrapped in a deeply thoughtful, handcrafted package. The Money Origami House is more than just a clever trick; it is a testament to the idea that the best gifts come from the hands and the heart, not just the wallet.
You have learned how to prep your materials like a pro, execute the blueprint with precision, choose the right denomination for maximum impact, and present the final piece with rugged, budget-savvy elegance. The next time a housewarming invitation arrives in the mail, you will be ready. Grab a crisp bill, clear off your workbench, and start building. Happy folding, and happy gifting!

Makenzie is the founder and lead writer at MoneyHackTips.com — a personal finance blog dedicated to delivering street-smart financial wisdom for real people on real budgets. With 300+ published articles covering everything from debt management to investing fundamentals, Makenzie’s mission is to make every dollar work harder. When not writing about money hacks, Makenzie is testing frugal living strategies, optimizing side hustles, and helping readers build financial freedom from scratch.