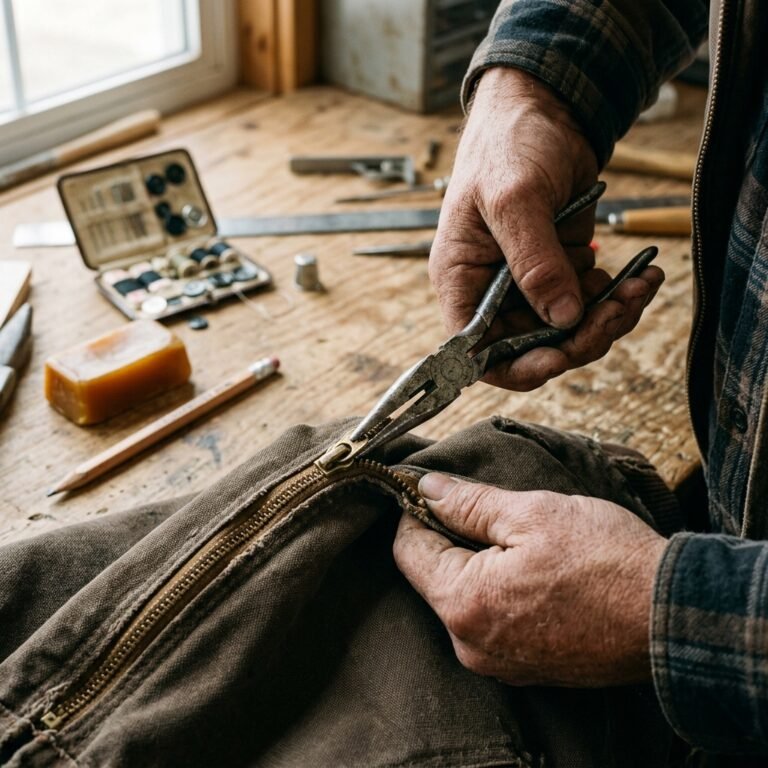
Let us talk about the ultimate wardrobe heartbreak: finding a pair of jeans that fits your thighs and hips like an absolute dream, only to discover a massive, drafty gap at the back of the waistband. For years, the standard solutions have been less than ideal. You either wear a tightly cinched belt that creates an uncomfortable, bulky ruffle of denim fabric, or you pay a professional tailor upwards of $25 to $45 to fix a pair of jeans you probably bought on clearance. As frugal DIYers and resourceful upcyclers, we know there is a better, smarter way.
Welcome to the ultimate guide on taking in your jeans waist with absolutely zero bulky gaps. Whether you are a handy parent trying to extend the life of your teenager’s hand-me-downs, a budget-savvy fashion lover, or someone who simply appreciates the rugged, practical art of hand-mending, this tutorial is for you. We are going to bypass the sewing machine entirely and rely on clever, time-tested tailoring secrets that cost next to nothing. By using items you likely already have in your mending kit, we will transform that frustrating waistband into a custom-fit masterpiece in under 30 minutes.
The Anatomy of the Waistband Gap (And the Economics of Mending)
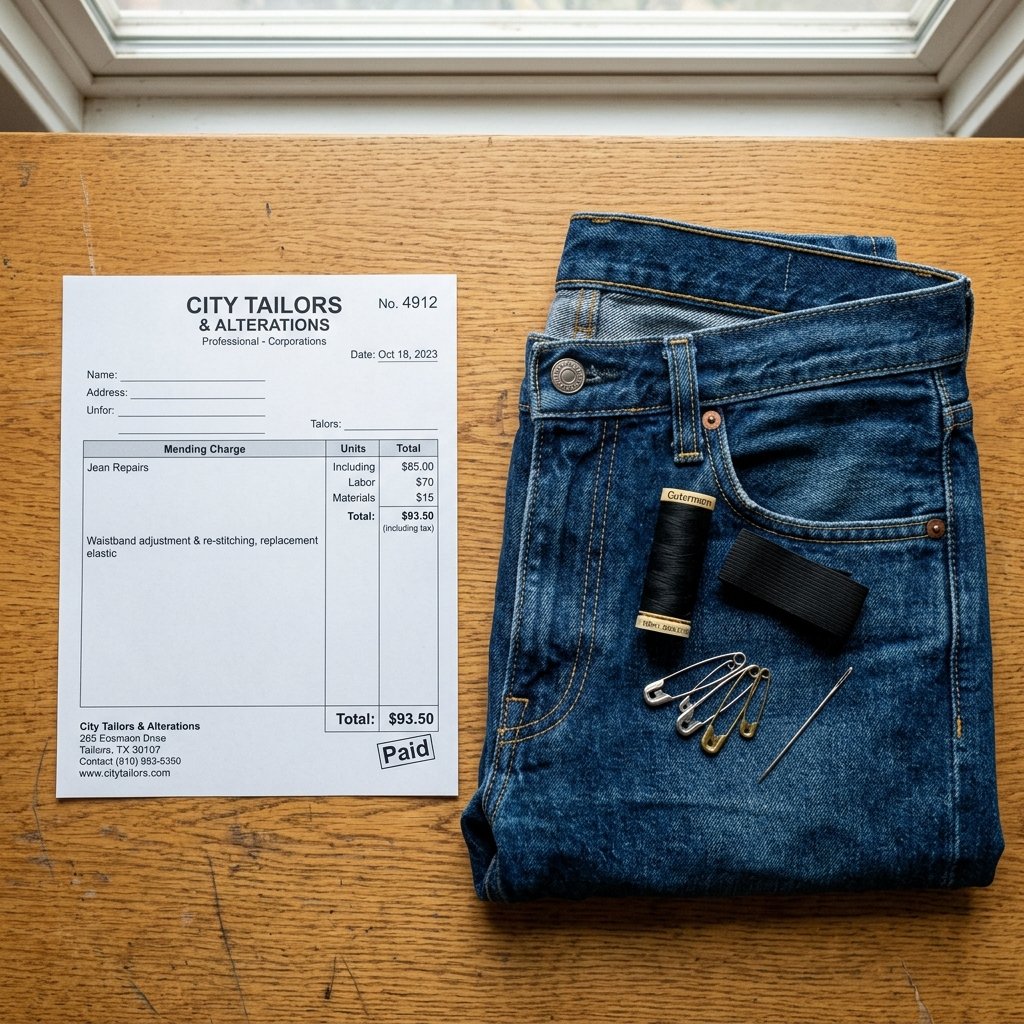
Before we dive into the needles and thread, it is essential to understand why jeans gap in the first place. Denim is a sturdy, twill-woven cotton fabric. While modern jeans incorporate elastane for stretch, the waistband is typically reinforced with interfacing or cut on a different grainline to prevent stretching. However, mass-manufactured clothing is cut for a straight, standardized block. If your hip-to-waist ratio curves inward more than the standard block, the rigid waistband stands at attention while the rest of the fabric drapes. The result? The dreaded back gap.
Many people try to fix this by simply folding the fabric over and sewing a straight line down the back seam. This creates a thick, uncomfortable lump of fabric right against your spine—a nightmare if you sit at a desk or drive for long periods. Our methods focus on distributing the excess fabric or hiding it completely. Let us look at the financial breakdown of why learning this skill is a game-changer for your wallet.
| Alteration Method | Estimated Cost | Time Required | Comfort Level (1-10) |
|---|---|---|---|
| Professional Tailor | $25 – $45 | 1 – 2 weeks | 10 |
| The ‘Belt Cinch’ | $0 | Instant | 3 (Bulky & Uncomfortable) |
| DIY Fold-and-Stitch | $0 | 10 minutes | 4 (Thick spine lump) |
| Our Hidden Elastic Hack | $1.50 | 20 minutes | 10 (Custom, flexible fit) |
| Our Invisible Hand-Dart | $0.50 | 30 minutes | 9 (Smooth, tailored look) |
By investing just a few minutes of your time and less than $2 in materials, you are not just saving money; you are reclaiming your wardrobe and mastering a timeless, practical skill.
Gathering Your Rugged Mending Arsenal
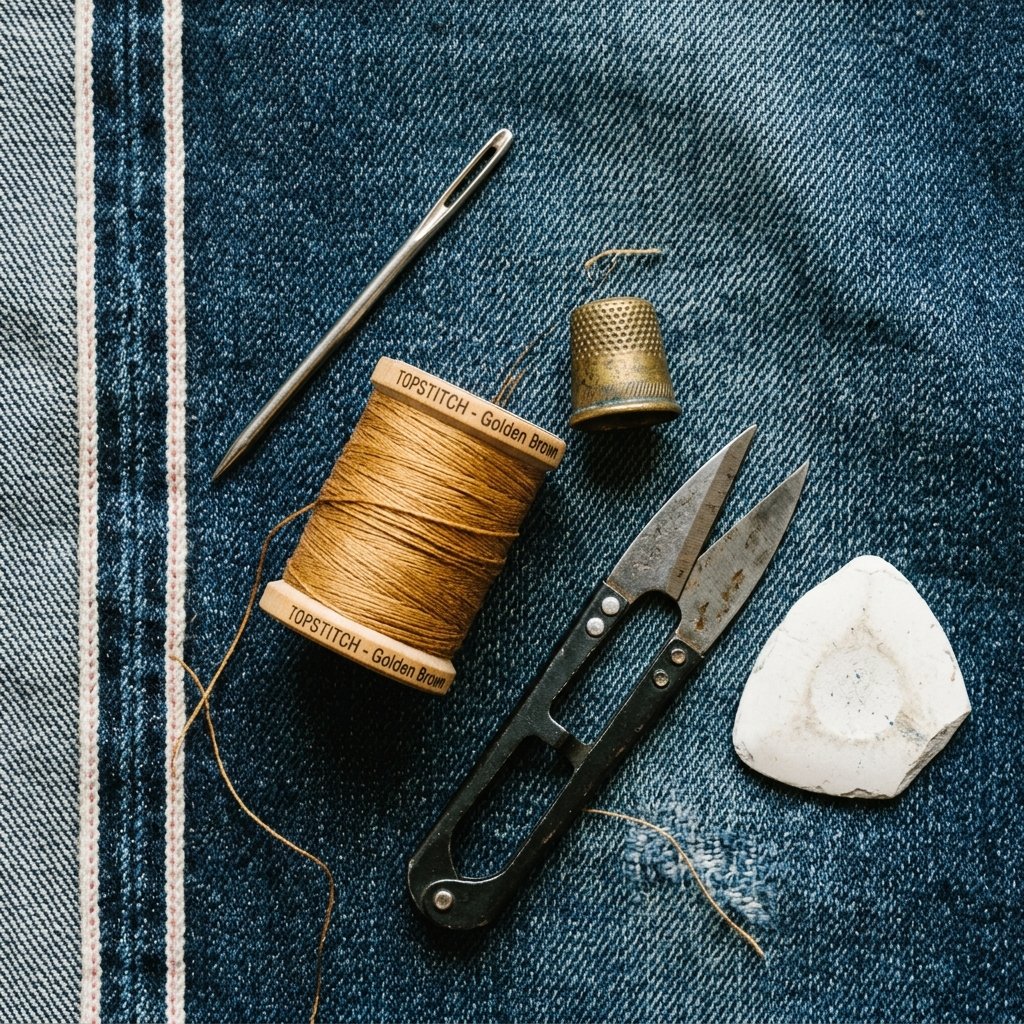
You do not need a fancy sewing machine or a dedicated craft room to pull this off. You just need a few rugged, reliable tools. Mending denim requires a bit more muscle than fixing a silk blouse, so your toolkit should reflect that.
- Heavy-Duty Thread: Standard all-purpose thread will snap under the tension of a denim waistband. Look for ‘Button and Carpet’ thread, upholstery thread, or specific denim topstitching thread.
- Sharp, Heavy Needles: A standard sharps needle might bend. Opt for a ‘Denim’ or ‘Leather’ needle. They are thicker and have sharper points designed to pierce heavy woven fabrics.
- A Brass Thimble: Do not skip this. Pushing a needle through multiple layers of denim will destroy your fingertips. A good thimble is a frugal crafter’s best friend.
- Seam Ripper or Small Snips: Essential for opening up the waistband if you choose the elastic method.
- 3/4-inch Knitted Elastic: If you are using the hidden elastic method, a small scrap of sturdy elastic (about 6 inches long) is required.
- Safety Pins & Chalk: For marking the gap and threading elastic.
Safety Note: Denim needles are incredibly sharp and rigid. Always use a thimble, and if a needle gets stuck in a thick seam, use a pair of small household pliers to pull it through rather than forcing it with your bare hands. Work smarter, not harder!
Method 1: The Hidden Elastic Hack (The Zero-Bulk Miracle)
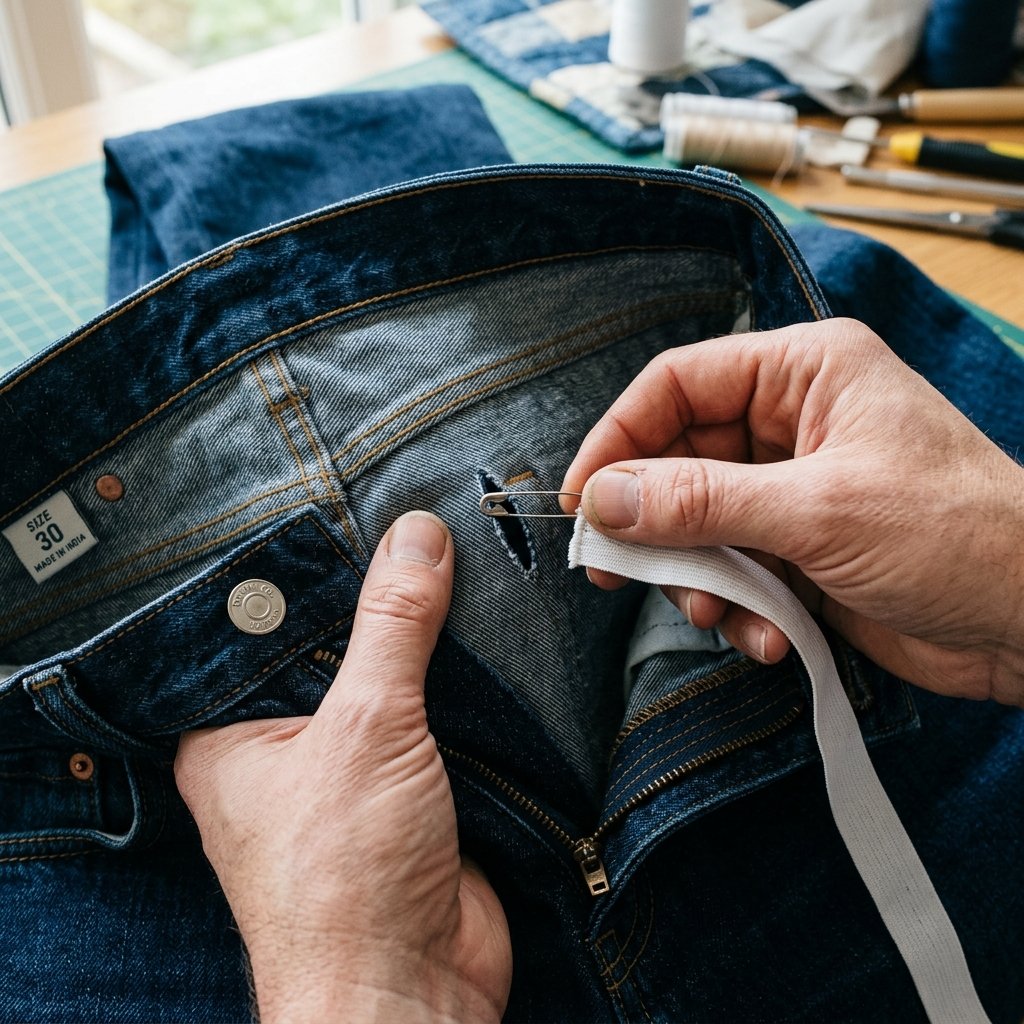
This is the holy grail of frugal denim hacks. Instead of folding fabric and creating a lump, we are going to use a piece of elastic inside the hollow tube of the back waistband to gently cinch the fabric together. This mimics the adjustable waistbands found in children’s clothing, providing a custom, flexible fit that moves with you.
Step-by-Step Instructions:
- Measure the Gap: Put the jeans on inside out. Pinch the excess fabric at the center back of the waistband. Measure how much extra fabric there is. Let us say it is 2 inches.
- Cut the Slits: Take the jeans off. Look at the inside layer of the back waistband. Using your seam ripper or small snips, carefully cut two vertical slits in the inside layer of the fabric only. Place them about 3 inches apart on either side of the center back belt loop. Do not cut through to the outside of the jeans!
- Prepare the Elastic: Cut a piece of your 3/4-inch elastic. The length should be the distance between your two slits, minus the gap measurement. (e.g., If slits are 6 inches apart, and the gap is 2 inches, cut the elastic to 4 inches).
- Thread the Elastic: Attach a sturdy safety pin to one end of the elastic. Thread it into the first slit, pushing it through the hollow waistband tunnel until it comes out the second slit. Pin the trailing end of the elastic to the fabric of the first slit so you do not lose it inside the tunnel.
- Secure the Ends: Using your heavy-duty thread and needle, sew a tight whipstitch or a few strong tacking stitches to secure the ends of the elastic to the denim at each slit. The elastic will pull the fabric together, creating a slight, comfortable gather only on the inside.
When you put the jeans on, the elastic stretches to fit your waist perfectly, pulling the outside denim taut and completely eliminating the gap. No bulky folds, no expensive tailoring, and a 100% hidden fix!
Method 2: The Invisible Hand-Sewn Dart (For Rigid Denim)
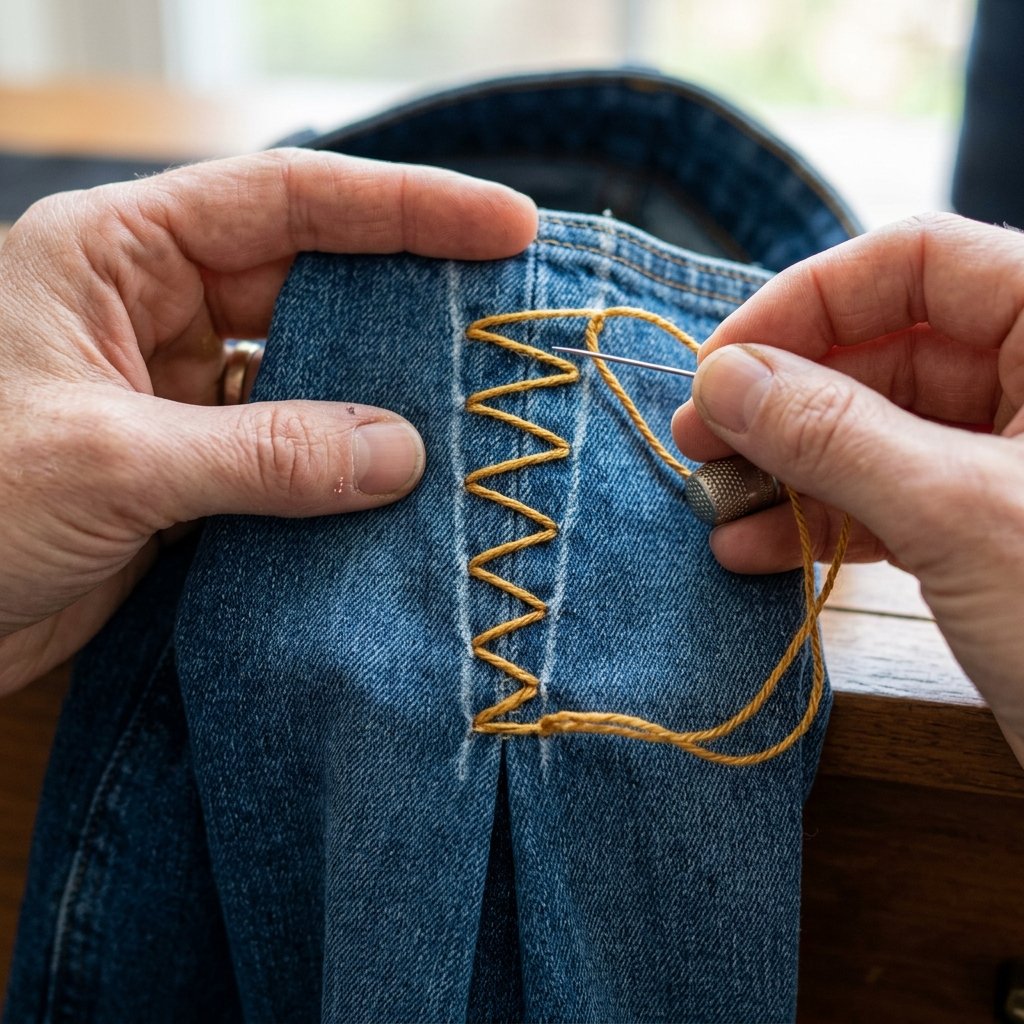
If you prefer a more traditional tailoring approach, or if your jeans are made of ultra-rigid, heavyweight raw denim where elastic might not be strong enough, the invisible hand-sewn dart is your best option. We use a specialized stitch to pinch out the excess fabric seamlessly.
Step-by-Step Instructions:
- Pin the Dart: Put the jeans on inside out. Pinch the excess fabric at the center back seam. Place a safety pin horizontally to mark exactly how much fabric needs to be taken in.
- Draw the V-Shape: Take the jeans off and lay them flat. Use your tailor’s chalk to draw a V-shape. The top of the ‘V’ should be at the top of the waistband, spanning the width of your pinned gap. The point of the ‘V’ should end just above the back pockets.
- The Ladder Stitch (Invisible Stitch): Thread your needle with a doubled-up length of heavy-duty thread and tie a strong knot. Start at the bottom point of your chalked ‘V’.
- Stitching Upward: Take a small, 1/8-inch stitch on the left line of the ‘V’. Pull the thread through. Then, take a small stitch exactly parallel on the right line of the ‘V’. Continue alternating sides, moving upward toward the waistband, resembling the rungs of a ladder.
- The Magic Pull: Every 1 inch of stitching, gently pull the thread tight. The two sides of the ‘V’ will fold inward and meet perfectly in the middle, hiding the stitches completely inside the fold.
- Tack the Waistband: When you reach the top thick part of the waistband, make several tight, looping stitches over the top edge to secure the fold flat against the inside of the jeans. Tie off with a sturdy double knot.
Frugal Crafter’s Mantra: “Measure twice, stitch once.” Always try the jeans on with the safety pins in place before you begin sewing. It is much easier to unpin than to unpick tight, heavy-duty stitches!
Fabric Compatibility & Troubleshooting Guide
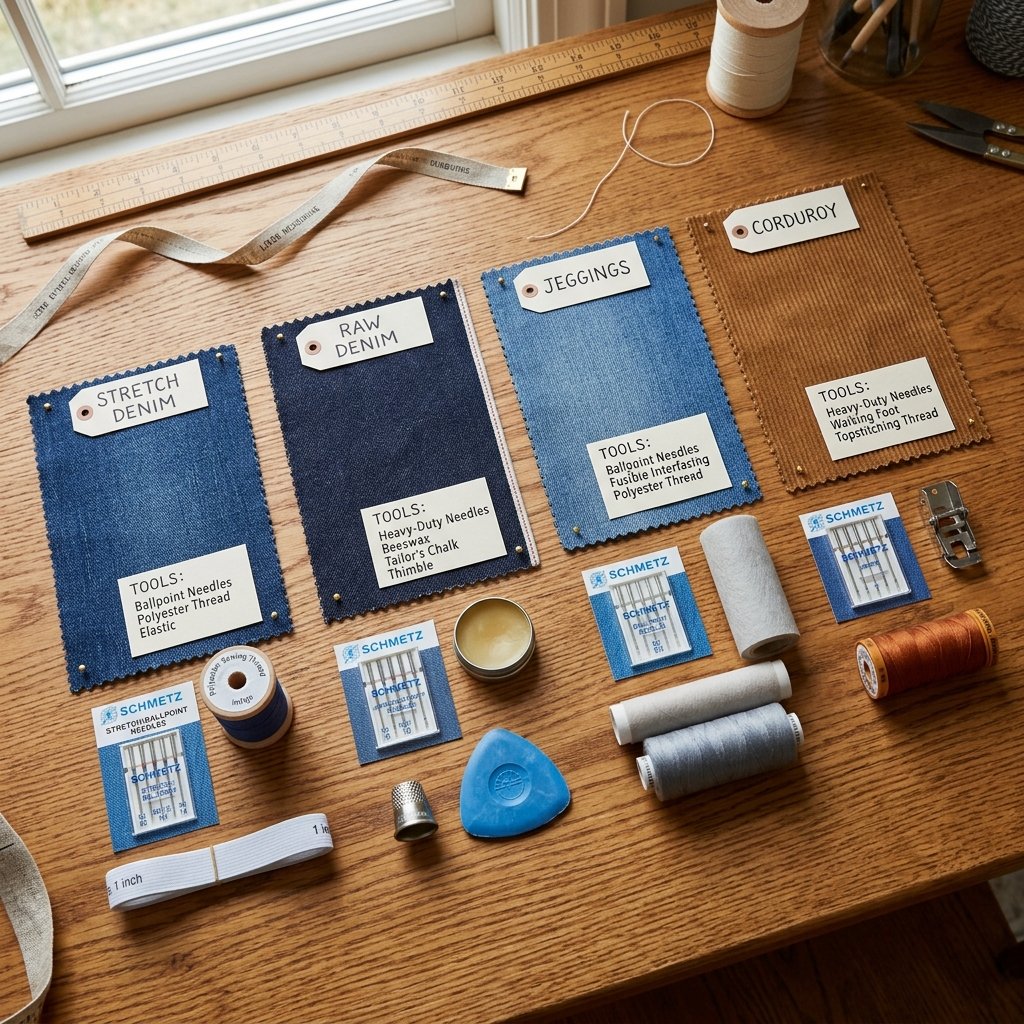
Not all denim is created equal. The method you choose should depend heavily on the fabric composition of your jeans. A lightweight summer blend will handle alterations very differently than a rugged, 14oz selvedge denim. Here is a quick guide to help you choose the right approach for your specific garment.
| Fabric Type | Characteristics | Best Alteration Method | Pro-Tip |
|---|---|---|---|
| Stretch Denim (Contains 2%+ Elastane) | Soft, forgiving, highly pliable. | Hidden Elastic Hack | Ensure the elastic you use is firmer than the stretch of the denim to hold its shape. |
| Rigid/Raw Denim (100% Cotton) | Stiff, heavy, prone to thick creases. | Invisible Hand-Dart | Use a thimble and pliers. Wax your thread with beeswax to prevent snapping against rough fibers. |
| Jeggings/Knit Denim | Very thin, extremely stretchy. | Hidden Elastic Hack | Use a ballpoint needle instead of a sharp denim needle to avoid cutting the knit fibers. |
| Corduroy/Twill | Textured, moderate weight. | Invisible Hand-Dart | Follow the vertical lines (wales) of the corduroy to hide your stitches completely. |
Troubleshooting: Snapping Threads
If you find that your thread keeps snapping when you pull the ladder stitch tight, you are likely dealing with thread rot (if the thread is old) or it simply is not thick enough. Upgrade to upholstery thread. Additionally, running your length of thread over a piece of plain beeswax before sewing coats it, adding strength and reducing friction as it passes through the heavy denim layers.
The Zero-Sew Belt Loop Shift (For Minor Gaps)
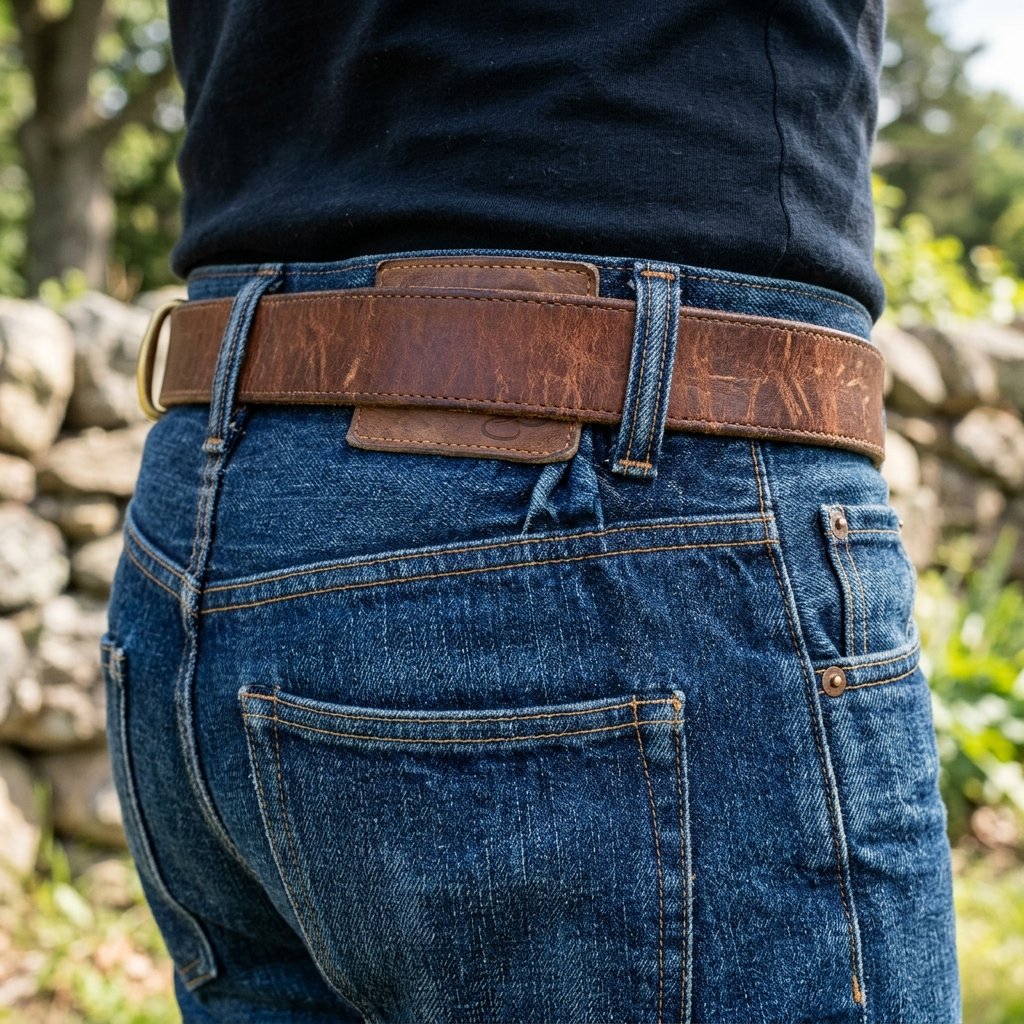
What if you are running out the door in 10 minutes and realize your jeans gap, but you have absolutely no time to sew a dart or thread elastic? Enter the clever, zero-sew (or very low-sew) belt loop shift. This is a brilliant trick for minor gaps (1 inch or less) that relies on the mechanics of a belt, but fixes the bunching problem.
Normally, when you tighten a belt over a waist gap, the fabric bunches up right at the center of your back, looking messy and feeling terrible. By simply detaching the center back belt loop at the bottom, moving it over by 1 inch, and re-tacking it (or using a heavy-duty safety pin from the inside in an emergency), you change the anchor point of the belt. When you pull the belt tight, the fabric folds neatly underneath the belt loop, creating a clean, intentional-looking pleat rather than a messy bunch. It is a rugged, practical illusion that takes mere minutes and costs exactly $0.
Conclusion
Taking control of your wardrobe does not require an expensive tailoring bill or an advanced degree in fashion design. By utilizing these clever, budget-savvy mending techniques, you can transform ill-fitting jeans into custom-tailored staples right at your kitchen table. Whether you opt for the zero-bulk hidden elastic hack or the rugged, classic invisible hand-dart, you are extending the life of your clothing, saving money, and keeping perfectly good textiles out of the landfill.
Remember, the heart of frugal DIY and upcycling is resourcefulness. Do not be afraid to grab a needle, put on a thimble, and experiment. Every stitch you make is a step toward a more sustainable, self-sufficient lifestyle. Now, dig those gapping jeans out of the back of your closet, gather your mending arsenal, and give them the custom fit they deserve!

Makenzie is the founder and lead writer at MoneyHackTips.com — a personal finance blog dedicated to delivering street-smart financial wisdom for real people on real budgets. With 300+ published articles covering everything from debt management to investing fundamentals, Makenzie’s mission is to make every dollar work harder. When not writing about money hacks, Makenzie is testing frugal living strategies, optimizing side hustles, and helping readers build financial freedom from scratch.