
The Hidden Value in Your Closet
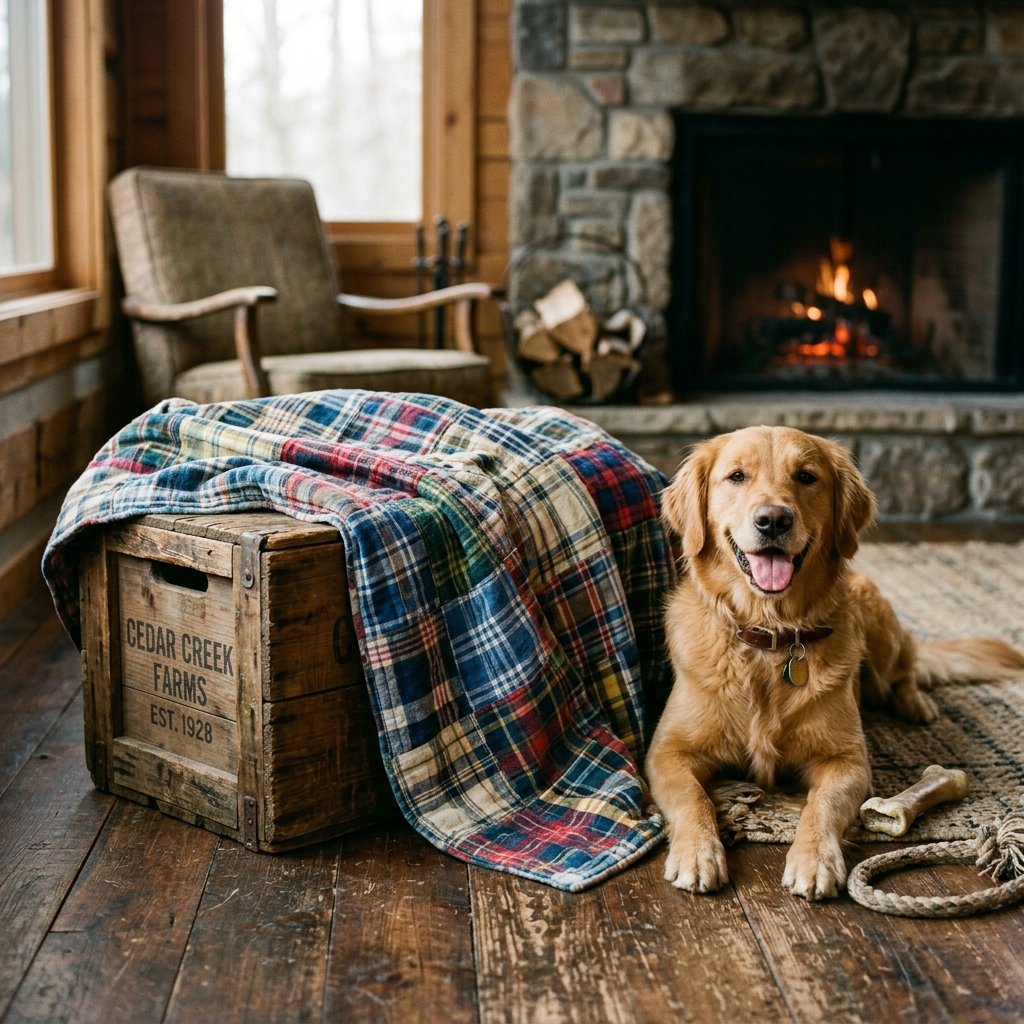
Before you toss that worn-out, frayed-collar flannel shirt into the donation bin or, heaven forbid, the trash, stop and feel the fabric. That softened, broken-in cotton is textile gold. For the frugal DIYer, an old flannel shirt isn’t waste; it’s a high-quality raw material waiting for a second act. Our pets crave comfort, and there is nothing quite as cozy as the brushed surface of a well-loved flannel. In this guide, we are going to channel our inner resourceful expert to create a rugged, masculine-elegant pet blanket that looks like a high-end boutique find but costs $0 to make.
Upcycling is more than just saving money—it is about the satisfaction of crafty problem-solving. By the time we are done, you will have a durable, machine-washable, and incredibly warm blanket that carries the scent of home, providing your furry companion with a sense of security. Whether you are a seasoned tailor or a handy parent with a basic sewing kit, this project is designed for speed and durability. Let’s get to work and turn those rags into a treasure your pet will love for years.
Mining Your Closet for Textile Gold
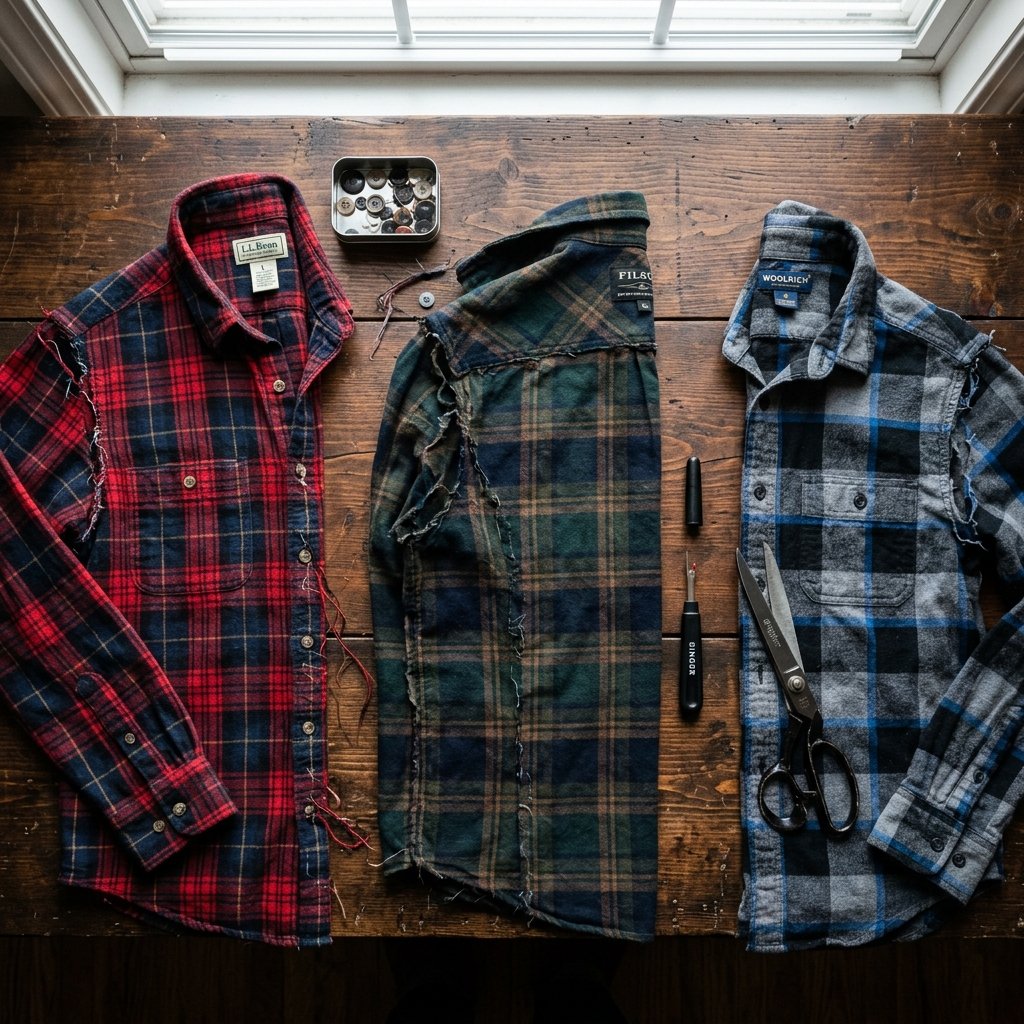
The first step in any successful upcycling project is the audit. Not all shirts are created equal. For a pet blanket that survives the ‘zoomies’ and repeated washings, you want 100% cotton flannel. Synthetic blends can sometimes pill or trap odors more easily. Look for shirts with heavy-duty weaves. Even if the elbows are blown out or the cuffs are frayed, the back panels and the fronts are usually in prime condition.
The Preparation Phase
- Deconstruct with Purpose: Use a seam ripper or sharp fabric scissors to remove the sleeves and collar. Don’t just hack at it; maximize your flat fabric surface.
- Save the Hardware: Snip off the buttons and store them in a glass jar. They are perfect for future repairs or as decorative accents on other budget-savvy crafts.
- The Pre-Wash: If the shirts have been sitting in storage, give them a hot wash. This pre-shrinks the fabric now so your finished blanket doesn’t warp later.
By harvesting fabric from 3 to 5 shirts, you can create a medium-sized blanket perfect for a crate or the foot of your bed. This is the ultimate zero-budget win.
The Zero-Budget Arsenal: What You’ll Need
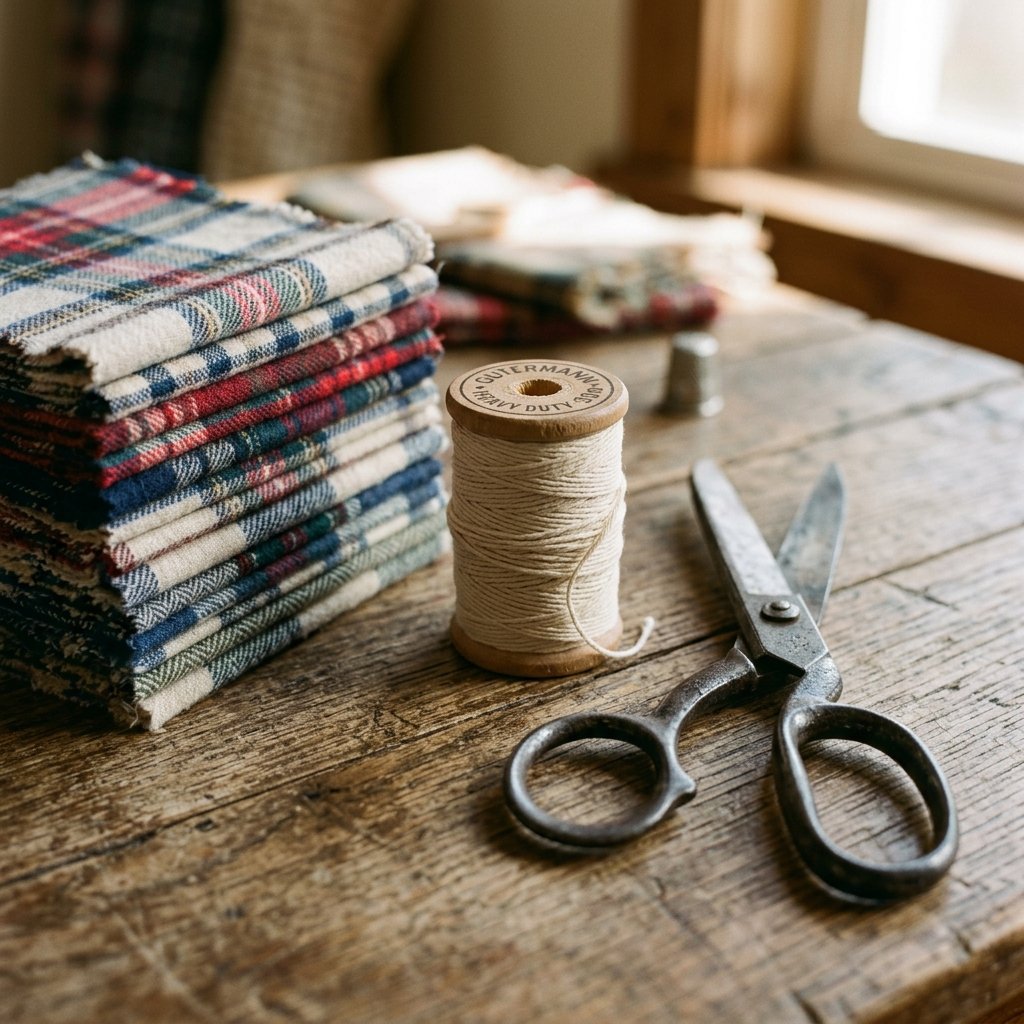
To keep this project truly frugal, we are going to use what we have. If you don’t have a sewing machine, don’t worry—this can be done with a rugged hand-stitch (like a backstitch) for extra durability. Below is the breakdown of what you’ll need to gather from your junk drawer and craft bin.
| Item | Purpose | Estimated Cost |
|---|---|---|
| 3-5 Flannel Shirts | The main body and warmth | $0.00 (Upcycled) |
| Heavy Duty Thread | Ensures the blanket stays together | $1.50 (or on hand) |
| Old Towel or Fleece Scrap | The ‘batting’ or backing for extra cushion | $0.00 (Upcycled) |
| Fabric Scissors | Clean cuts prevent fraying | $0.00 (On hand) |
| Ruler or Cardboard Template | For uniform squares | $0.00 (DIY) |
The Budget Mantra: ‘Use it up, wear it out, make it do, or do without.’ This blanket is the embodiment of that philosophy.
Mapping the Patchwork: Aesthetics Meets Utility

Now comes the creative part. We aren’t just slapping fabric together; we are designing a piece of masculine-elegant decor. The secret to a professional-looking patchwork is the layout. You want to balance the colors and the scale of the plaids.
Creating Your Template
Create a 10-inch by 10-inch square template out of a cereal box. This ensures every piece you cut is identical, making the assembly much faster. Lay your shirts flat and trace the squares. Avoid the pocket areas if they are too bulky, or keep them for a ‘secret’ treat-hiding spot on the blanket!
- Contrast is Key: Place a dark navy plaid next to a bright red Buffalo check.
- Grain Line: Try to keep the weave of the fabric running in the same direction for all squares to prevent the blanket from stretching unevenly.
- The Backing: For the underside, use an old bath towel. It provides grip so the blanket doesn’t slide on hardwood floors and adds a layer of heavy-duty comfort.
The ‘Fast-Track’ Assembly: From Rags to Riches
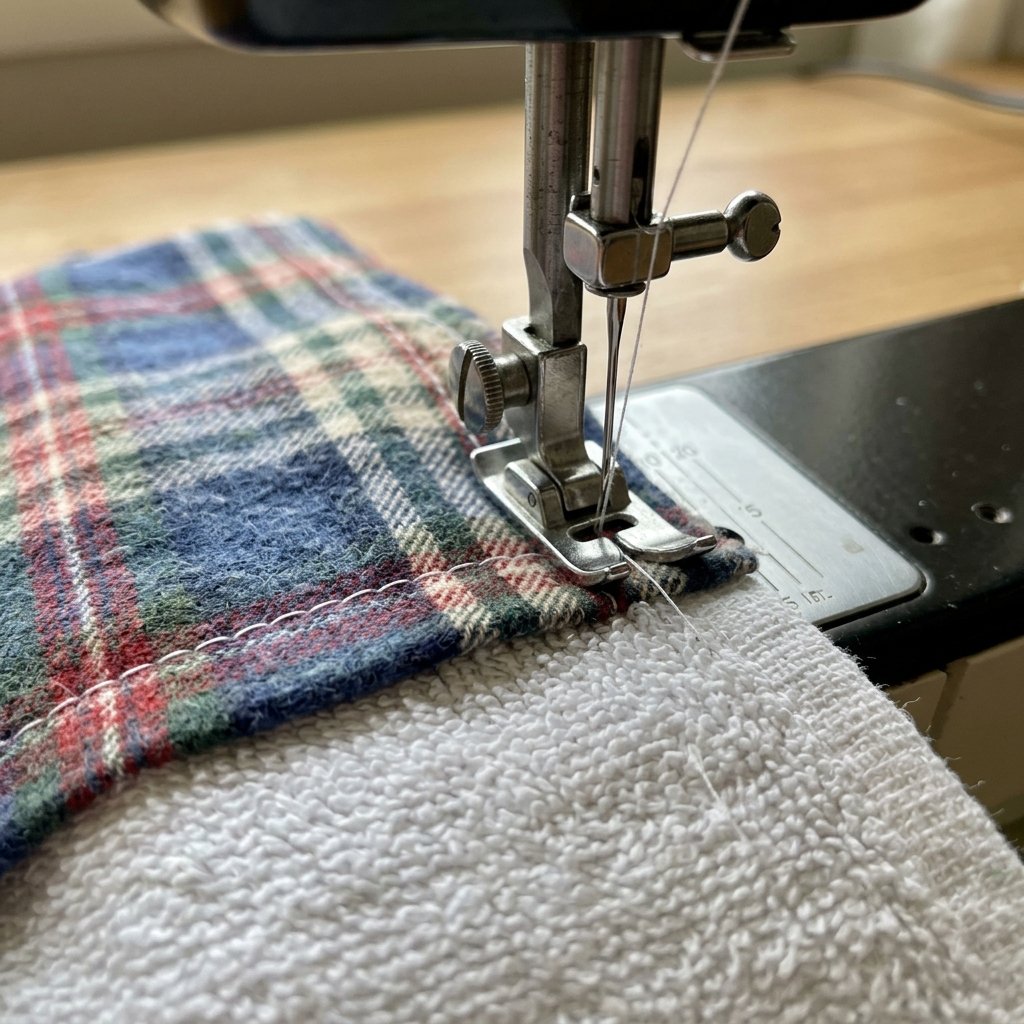
Efficiency is the goal. We are going to use the ‘Chain Piecing’ method used by professional quilters to speed things up. This method can save you 30 minutes or more on the total build time.
The Step-by-Step Build
- Sew the Rows: Take two squares, place ‘right sides’ together, and sew a 1/2 inch seam. Keep adding squares until you have a row that matches the width of your backing towel.
- Iron the Seams: This is the ‘crafty expert’ secret. Press your seams flat. It makes the final product look store-bought rather than ‘homemade.’
- Join the Rows: Sew your completed rows together to form the top panel.
- The Sandwich: Lay your towel flat, place your flannel top on it (right side up), and pin them together.
- The Top Stitch: Instead of a complex binding, simply fold the edges of the flannel over the towel and sew a straight stitch all the way around the perimeter.
Pro Tip: If your pet is a ‘nester’ who digs at their bed, add a few ‘X’ stitches in the center of the blanket to quilt the layers together. This prevents the fabric from shifting.
Pet-Proofing Your Creation: Stitches That Stand the Test of Time
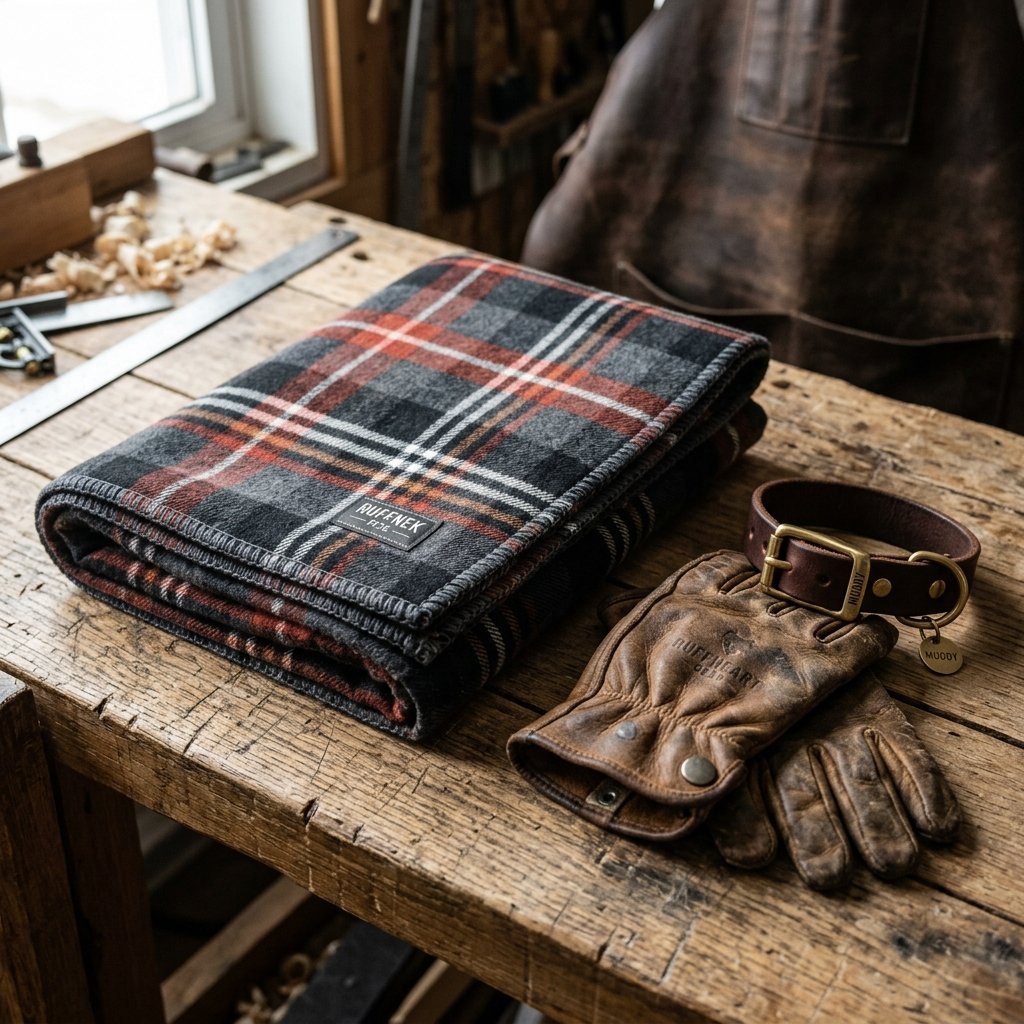
A pet blanket needs to be tougher than a standard throw. Between claws, teeth, and the washing machine, your handy work will be tested. To ensure this project remains a long-term win, follow these durability hacks.
Maintenance and Safety
- Reinforce the Corners: Backstitch at every corner. These are the high-stress points when you shake the blanket out.
- Safety Check:
Always ensure there are no loose threads longer than 1 inch. Pets can get these caught around their paws or swallow them.
- Washing Instructions: Wash on a cold, heavy-duty cycle. Because you used 100% cotton and an old towel, this blanket will actually get softer and more comfortable with every wash.
By choosing rugged materials and using smart construction techniques, you’ve created a piece of gear that is as functional as it is stylish. This isn’t just a blanket; it’s a testament to resourceful living.
Conclusion
A Legacy of Resourcefulness
Congratulations! You have successfully diverted textiles from the landfill and provided your pet with a custom, handcrafted sanctuary. This project proves that you don’t need a massive budget or brand-new materials to create something of high value. By upcycling those old flannel shirts, you’ve practiced the art of clever, budget-savvy crafting that defines a truly handy individual.
This blanket will serve as a cozy reminder of your creativity every time you see your pet curled up on it. Don’t stop here—take these same skills and apply them to old denim, sweaters, or even t-shirts. The world is full of ‘trash’ just waiting for a crafty expert like you to give it a second life. Happy crafting, and give your pup a pat on the head from one frugal DIYer to another!

Makenzie is the founder and lead writer at MoneyHackTips.com — a personal finance blog dedicated to delivering street-smart financial wisdom for real people on real budgets. With 300+ published articles covering everything from debt management to investing fundamentals, Makenzie’s mission is to make every dollar work harder. When not writing about money hacks, Makenzie is testing frugal living strategies, optimizing side hustles, and helping readers build financial freedom from scratch.