
The Tactical Shift to Zero-Waste Laundry
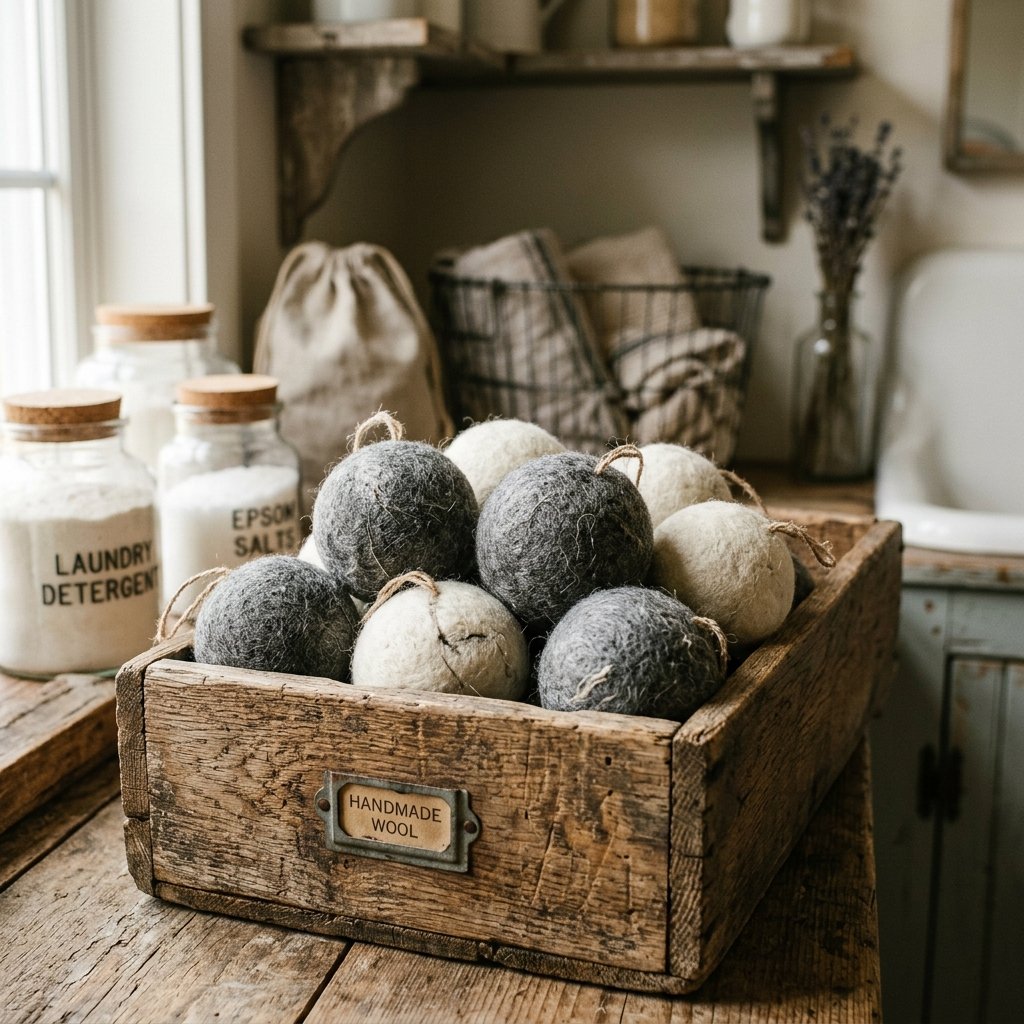
If you are tired of watching your hard-earned cash disappear into the lint trap, it is time for a laundry room revolution. Traditional dryer sheets are the ultimate budget-drain: they are single-use, packed with synthetic fragrances, and essentially coat your clothes in a thin layer of wax that reduces towel absorbency over time. As a frugal DIYer, you know there is a better way. Enter the wool dryer ball—a rugged, practical, and 100% free solution when you source your materials from the back of your closet or the bottom of a thrift store bin. By upcycling old wool sweaters, you are not just saving money; you are performing a masterclass in resourceful upcycling. These balls reduce drying time by up to 25%, soften fabrics naturally, and last for 1,000+ loads. Let’s get to work and turn that moth-eaten sweater into a high-performance laundry tool.
The Reconnaissance: Sourcing and Identifying Your Wool

The success of this project hinges on one critical factor: the fiber. To achieve a proper ‘felted’ ball that won’t unravel in the heat of the dryer, you must use 100% animal hair. This means wool, cashmere, alpaca, or mohair. Synthetic fibers like acrylic or polyester will not felt; they will simply melt or stay as a loose pile of yarn, rendering your efforts useless.
How to Spot a High-Value Target
- Check the Label: Look for ‘100% Wool’ or ‘100% Cashmere’. If it says ‘Washable Wool’ or ‘Superwash’, put it back. These are treated to prevent felting, which is exactly what we want to avoid.
- The Burn Test: If the label is missing, snip a tiny piece of the fiber. Light it with a match. If it smells like burning hair and turns to ash, it is real wool. If it smells like burning plastic and forms a hard bead, it is synthetic.
- Texture Intel: Real wool feels slightly ‘toothy’ or scratchy. If it feels exceptionally soft and slick, it might be a high-quality acrylic blend—test it carefully.
| Material Type | Felting Potential | Best Use Case |
|---|---|---|
| 100% Lambswool | Excellent | Fast-felting, durable balls |
| 100% Cashmere | Good | Ultra-soft, luxury feel |
| Wool/Acrylic Blend | Poor | Avoid; will not lock together |
| Superwash Wool | None | Avoid; chemically treated not to felt |
The Breakdown: Preparing the Sweater for Upcycling
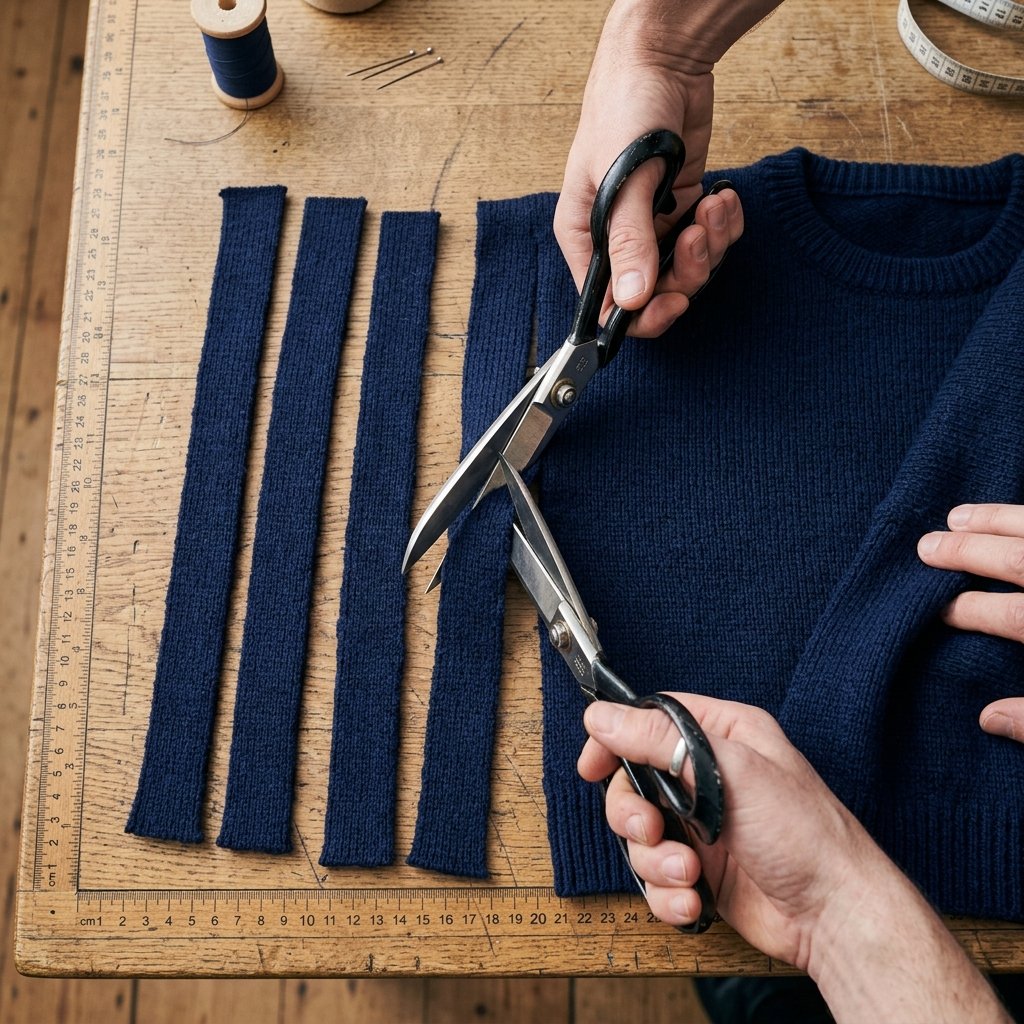
Once you have secured your 100% wool sweater, it is time to dismantle it. There are two primary methods for this: the Unraveling Method (best for knit-purists) and the Strip Method (best for the time-crunched DIYer). For this guide, we will focus on the Strip Method as it is faster and utilizes the fabric’s bulk to create a more substantial ball.
The Tactical Disassembly Process
- Launder First: Wash the sweater in hot water with high agitation before you start. This begins the felting process and makes the fabric easier to cut without excessive fraying.
- The Cut: Using sharp fabric shears, cut the sweater into long strips approximately 1 to 2 inches wide. Don’t worry about clean edges; the rougher the better for interlocking fibers.
- The Core: Start by rolling a small scrap of wool into a tight ‘pill’ shape. This will be the heart of your dryer ball.
“The tighter you wind the core, the more durable the finished ball will be. Think of it like winding a baseball—tension is your best friend here.”
The Build: Winding the Perfect Wool Sphere
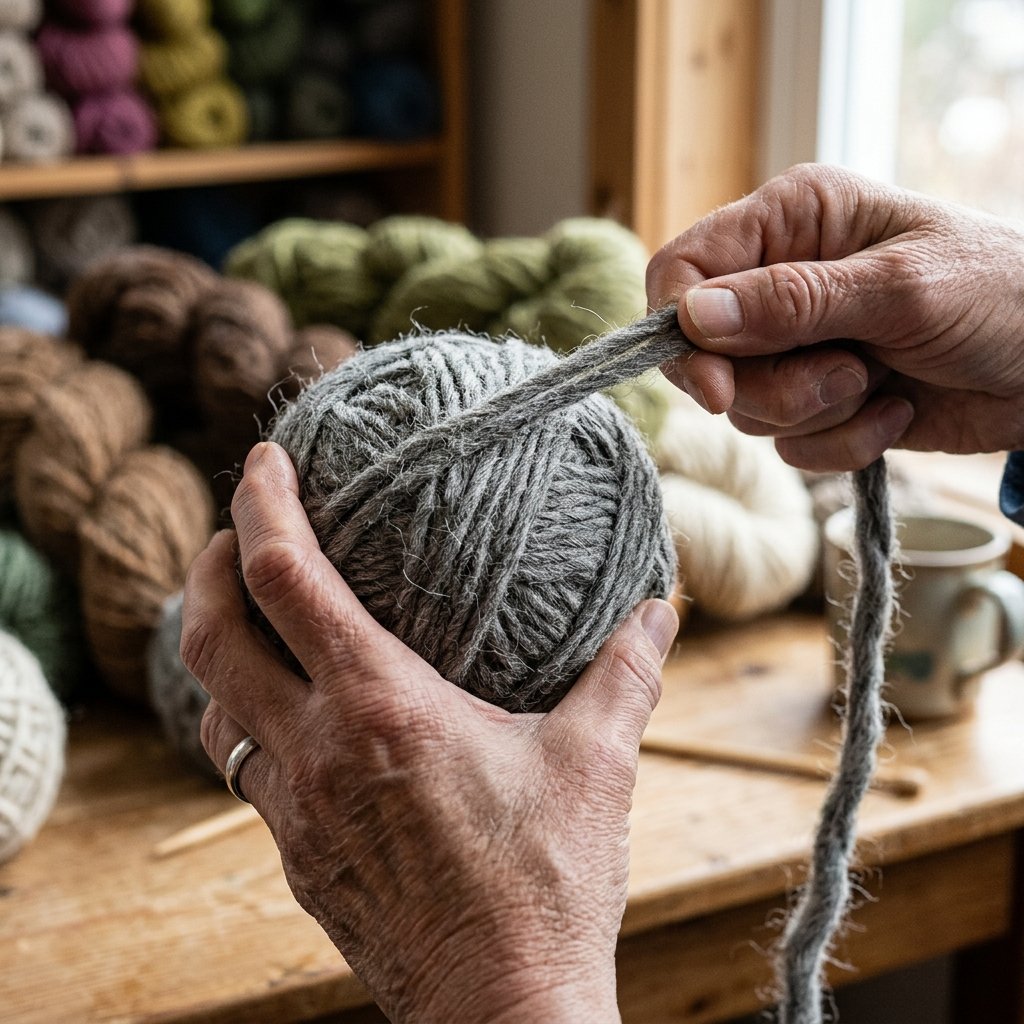
Now comes the craft-expert phase. You are going to wind your strips into a sphere roughly the size of a tennis ball. Because wool shrinks during the final felting stage, you want to aim for a size slightly larger than your desired end result—about 3 to 4 inches in diameter.
Winding Instructions
- Change Direction: As you wind the strips around your core, constantly change the axis. Move vertically, then diagonally, then horizontally. This ensures a perfectly round shape rather than an oblong one.
- Tuck the Ends: When you reach the end of a strip, tuck the tail deeply under the previous layers using a crochet hook or a blunt needle.
- Weight Check: A good dryer ball should feel dense and heavy. If it feels squishy, keep winding. You want enough mass to physically separate the clothes in the dryer, allowing hot air to circulate.
| Feature | Store-Bought Ball | DIY Sweater Ball |
|---|---|---|
| Cost | $15 – $25 (Set of 3) | $0.00 |
| Material | New Zealand Wool | Upcycled 100% Wool |
| Customization | Limited | Infinite (Size & Color) |
| Time to Make | 0 Minutes | 15 Minutes |
The Felting Forge: Locking the Fibers Forever
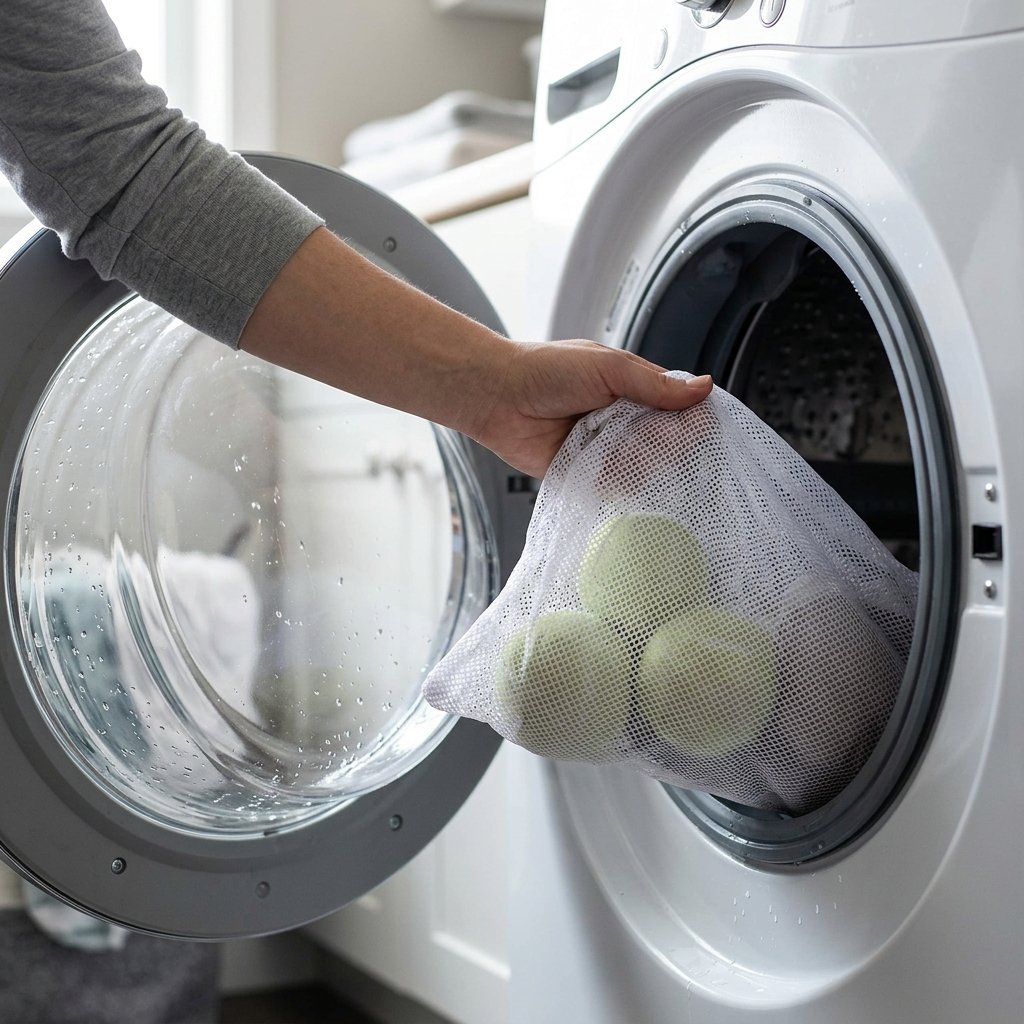
This is where the magic happens. To turn a ball of yarn into a solid, indestructible felted tool, you need heat, moisture, and agitation. This process causes the microscopic scales on the wool fibers to open up and interlock with one another.
The Pantyhose Hack
- The Sleeve: Take an old pair of pantyhose or a thin sock. Drop your wool ball into the toe.
- The Knot: Tie a knot in the pantyhose directly above the ball so it is held tightly in place.
- The Chain: If you are making multiple balls, drop the next one in and tie another knot. You will end up with a ‘caterpillar’ of wool balls.
- The Wash: Throw this caterpillar into the washing machine with a load of towels. Wash on HOT.
- The Dry: Move the entire thing (still in the pantyhose) to the dryer. Dry on HIGH HEAT. Repeat the wash/dry cycle 2 to 3 times until the balls feel like a solid piece of felt and no longer look like individual strips.
“Do not rush the felting. The more cycles they go through in the beginning, the longer they will last. Three cycles is the gold standard for a rugged, professional finish.”
Optimization: Scenting and Long-Term Maintenance
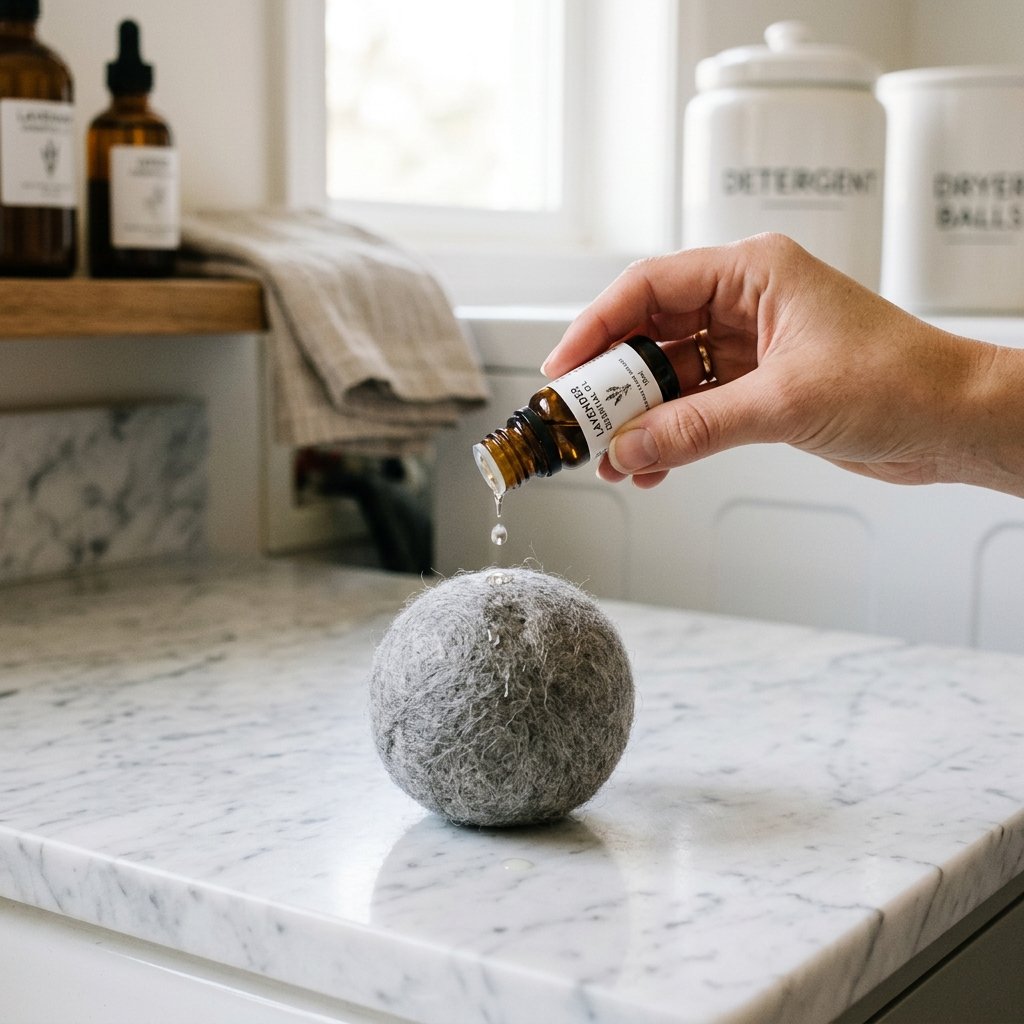
Your wool dryer balls are now ready for active duty. To use them, simply toss 3 to 6 balls into every dryer load. For heavy loads like jeans or bedding, use more; for delicates, use fewer. But why stop at just drying? Let’s add some masculine-elegant or fresh scents to the mix.
Customizing Your Load
- Essential Oils: Add 3-5 drops of essential oil (Cedarwood, Eucalyptus, or Lavender) directly onto the balls. Let them sit for 10 minutes to absorb before tossing them in with clothes to avoid oil spotting.
- Static Control: If you still experience static in winter, pin a small metal safety pin to one of the balls. The metal helps dissipate the electron buildup.
- Maintenance: Over time, your balls may become ‘pilly’. This is normal. Simply trim the pills with scissors or a sweater shaver. If they start to lose their bounce after a year, throw them back in a hot wash to re-felt them.
| Scent Profile | Essential Oil Mix | Vibe |
|---|---|---|
| The Woodsman | Cedarwood & Pine | Rugged & Earthy |
| Clean Slate | Lemon & Eucalyptus | Fresh & Energizing |
| The Gentleman | Sandalwood & Bergamot | Sophisticated & Subtle |
Conclusion
Victory Over the Disposable Economy
By taking a discarded sweater and turning it into a high-utility household tool, you have proven that being budget-savvy doesn’t mean sacrificing quality. You now have a set of wool dryer balls that will save you roughly $50 to $80 a year in dryer sheets and electricity costs, all while keeping your clothes free of synthetic chemicals. This project is the epitome of the trash-to-treasure mindset: it’s practical, it’s rugged, and it’s undeniably clever. So, the next time you see a 100% wool sweater at a garage sale for a dollar, you know what to do. Grab it, wind it, and keep that laundry room running like a well-oiled (and naturally scented) machine. Happy drying!

Makenzie is the founder and lead writer at MoneyHackTips.com — a personal finance blog dedicated to delivering street-smart financial wisdom for real people on real budgets. With 300+ published articles covering everything from debt management to investing fundamentals, Makenzie’s mission is to make every dollar work harder. When not writing about money hacks, Makenzie is testing frugal living strategies, optimizing side hustles, and helping readers build financial freedom from scratch.