
The Art of the High-End Thrift
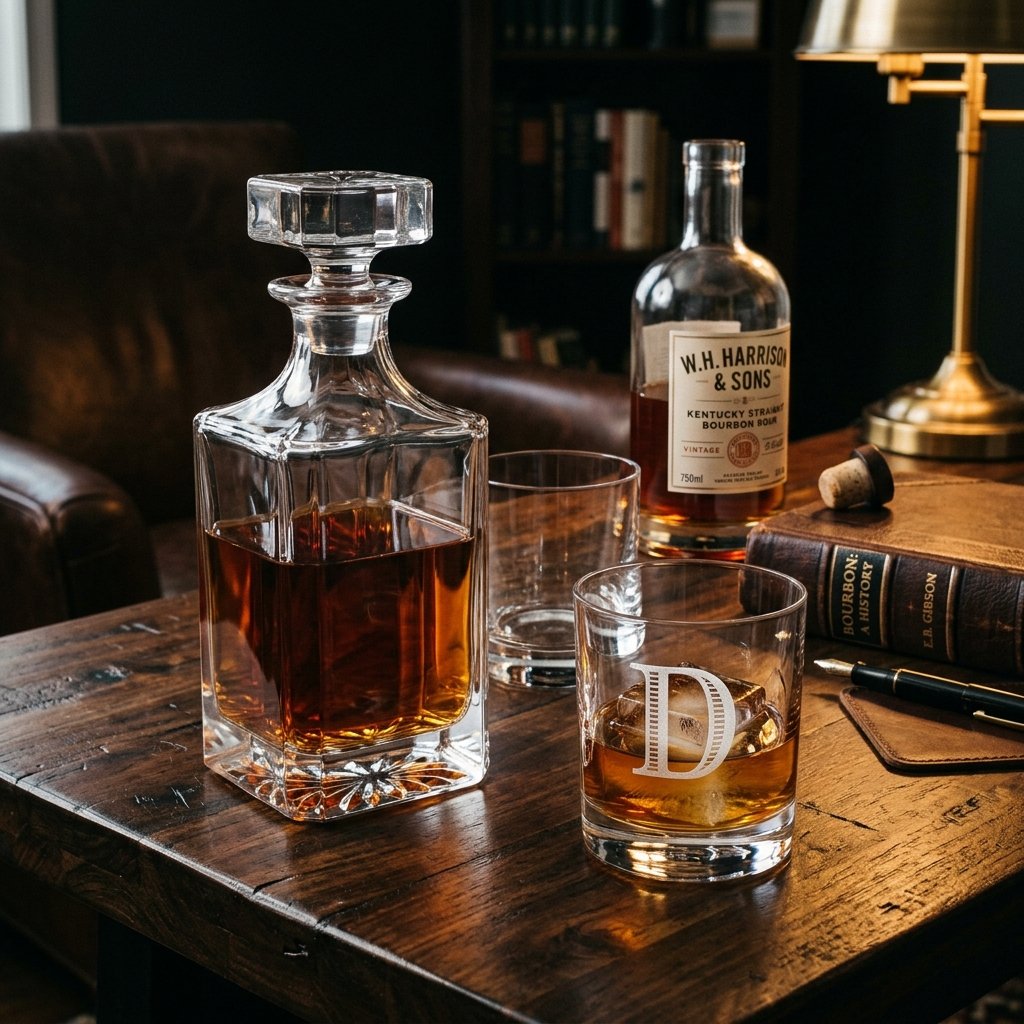
Let’s be honest: Dad doesn’t need another ‘World’s Best Father’ mug. He appreciates utility, craftsmanship, and perhaps a well-earned glass of bourbon at the end of a long week. But high-end barware from retailers like Pottery Barn or Williams Sonoma can easily set you back $100 to $200. As a resourceful DIYer, you know better. You know that with a little bit of ‘thrift-store gold mining’ and a jar of etching cream, you can create a bespoke, heirloom-quality whiskey decanter set for under $20. This project isn’t just about saving money; it’s about the rugged elegance of a gift made by hand—a piece that looks like it belongs in a mahogany-clad library but costs less than a takeout lunch. In this guide, we will master the chemical art of glass etching to turn discarded glassware into a distinguished Father’s Day centerpiece.
Scouting the Goods: How to Find ‘Top-Shelf’ Thrifted Glass

The secret to a high-end look starts with the weight of the glass. When you’re scanning the shelves at your local Goodwill or Habitat for Humanity ReStore, look for ‘weighty’ pieces. A thin, flimsy decanter will always look cheap, no matter how good the etching is. You want a vessel that feels substantial in the hand—something with a thick base and a glass stopper that fits snugly.
What to Look For:
- Solid Glass Stoppers: Avoid decanters with plastic or cork seals if you want a truly classic look. A ground-glass stopper is the hallmark of quality.
- Heavy Bases: Look for ‘rocks’ glasses or ‘lowball’ glasses with at least a half-inch of solid glass at the bottom.
- Smooth Surfaces: For etching, you need a flat or gently curved surface. Avoid heavily faceted ‘cut crystal’ patterns, as the etching won’t show up clearly against the busy design.
- Lead-Free Check: While vintage crystal is beautiful, be aware that older pieces may contain lead. If Dad plans to store whiskey long-term, stick to modern heavy glass or test for lead before gifting.
| Item | Thrift Store Price | Retail Equivalent |
|---|---|---|
| Heavy Glass Decanter | $5.00 | $85.00 |
| Set of 4 Rocks Glasses | $4.00 | $48.00 |
| Wood Serving Tray | $3.00 | $35.00 |
| Total Cost | $12.00 | $168.00 |
The Chemist’s Toolkit: Materials for Permanent Etching
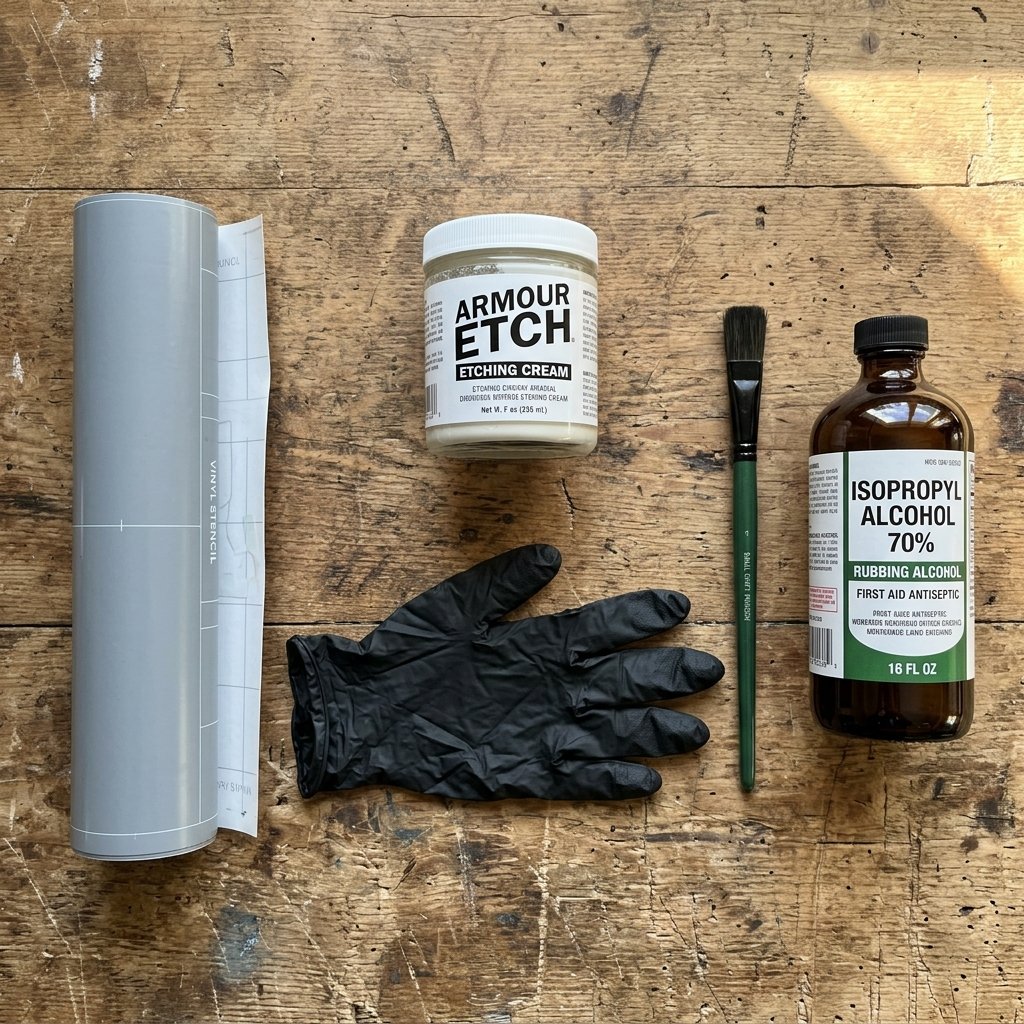
Glass etching isn’t paint; it’s a chemical reaction. We are using an etching cream (typically containing bifluorides) that microscopically eats away the surface of the glass to create a permanent, dishwasher-safe frosted finish. This is the ‘secret sauce’ that makes your DIY look like a professional sandblasted product.
Safety First: Etching cream is an acid-based compound. Always work in a well-ventilated area, wear nitrile gloves, and use eye protection. If you get it on your skin, wash it off immediately with cool water.
Essential Supplies:
- Etching Cream: Brands like Armour Etch are the gold standard. A small 2.8 oz jar will last for dozens of projects.
- Adhesive Vinyl or Stencils: You can use a Cricut machine to cut custom monograms, or buy pre-made adhesive stencils from the craft store.
- Transfer Tape: Essential for moving intricate vinyl designs onto the glass without distortion.
- Isopropyl Alcohol (70% or higher): To prep the glass surface. Any oils from your fingerprints will prevent the cream from reacting evenly.
- Small Synthetic Brush: A stiff, cheap brush works best for ‘dabbing’ the cream on.
Precision Application: The Step-by-Step Etching Process
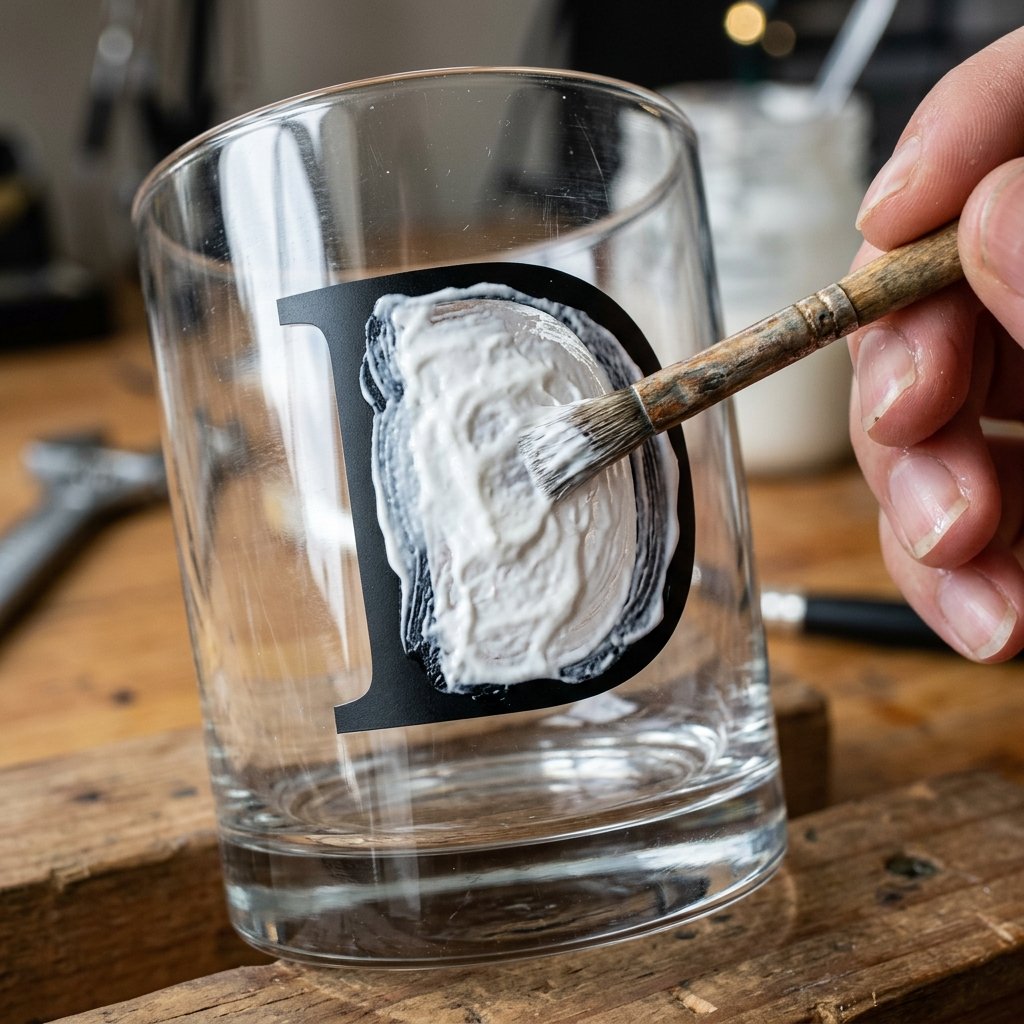
Achieving a ‘high-end’ look requires precision. If your stencil isn’t perfectly flat, the cream will bleed, resulting in fuzzy edges that scream ‘homemade.’ Follow these steps for a crisp, professional finish.
- Deep Clean: Scrub your thrifted glassware in hot soapy water to remove price tag residue. Dry it completely, then wipe the etching area with rubbing alcohol. Do not touch the area again with bare hands.
- Apply the Stencil: Center your monogram or design. Press firmly, especially around the edges of the letters. Use a credit card or a squeegee to burnish the vinyl, ensuring there are zero air bubbles.
- Tape the Borders: Use blue painter’s tape to cover the glass around the stencil. Etching cream is unforgiving; one stray drop will leave a permanent mark on the glass.
- The ‘Dab’ Technique: Apply a thick, 1/8th inch layer of etching cream. Do not brush it on like paint; instead, ‘pat’ it on so it sits heavily on top of the stencil. You shouldn’t be able to see the design through the cream.
- The Wait: Let the cream sit for exactly 15 minutes. Halfway through, use your brush to gently move the cream around (without lifting the stencil) to pop any tiny air bubbles trapped against the glass.
- The Rinse: Rinse the glassware under cool running water. Remove the stencil only after all the cream is washed away.
Design Inspiration: Masculine Motifs for Dad
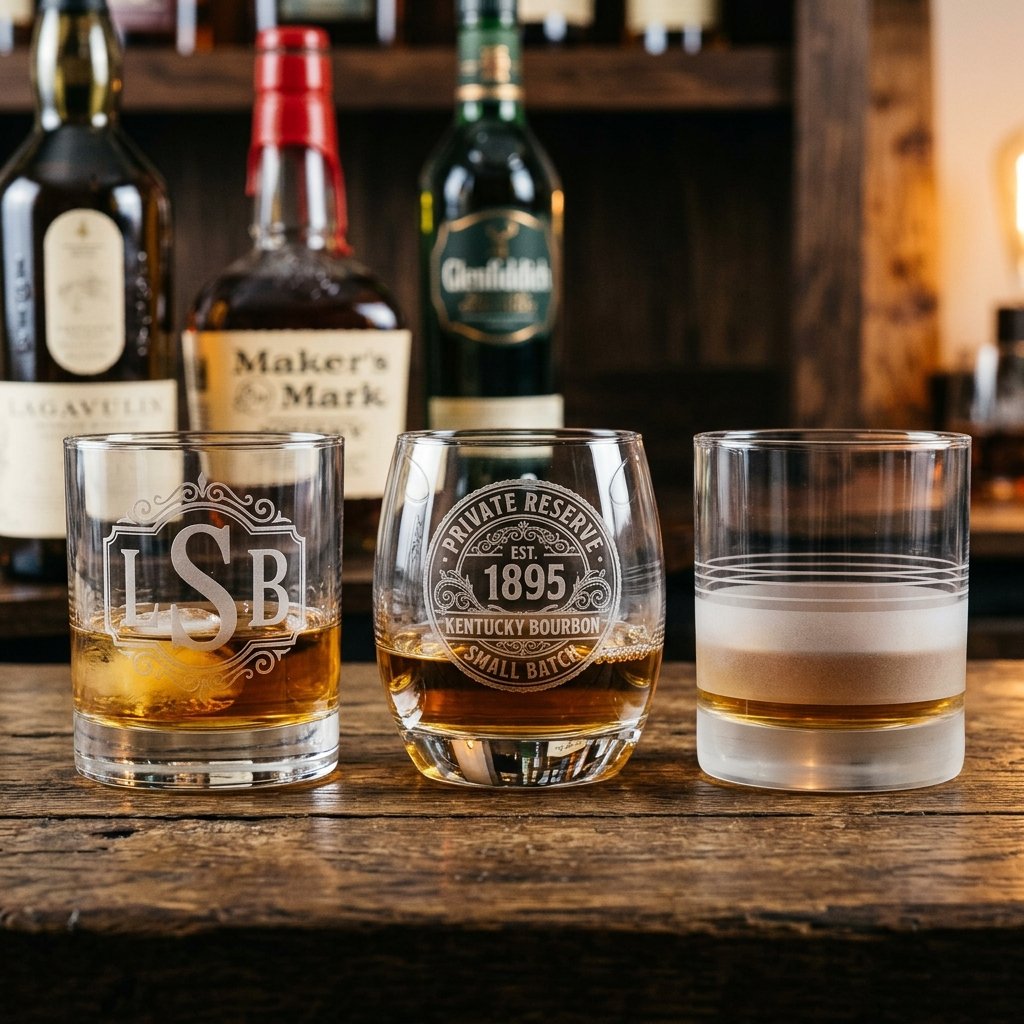
When designing the set, think about Dad’s personal style. Is he a minimalist, or does he appreciate a bit of vintage flair? The beauty of this DIY is the ability to tailor the design to his specific interests.
Monogram Styles:
- The Classic Single Initial: A large, serif-style letter (like Copperplate or Times New Roman) centered on the decanter and each glass.
- The ‘Distillery’ Look: Etch ‘EST. 1975’ (his birth year) or ‘Dad’s Private Reserve’ in a circular badge format.
- The Topographical Map: For the outdoorsy dad, etch the contour lines of his favorite mountain range or the coordinates of the family cabin.
- The Minimalist Stripe: Instead of words, etch a single 1-inch frosted band around the base of the glasses for a modern, architectural feel.
Pro Tip: If you are making a set, ensure the scale of the monogram is consistent. A 2-inch tall initial usually looks best on a decanter, while a 1-inch version is perfect for rocks glasses.
The Presentation: Elevating the Gift
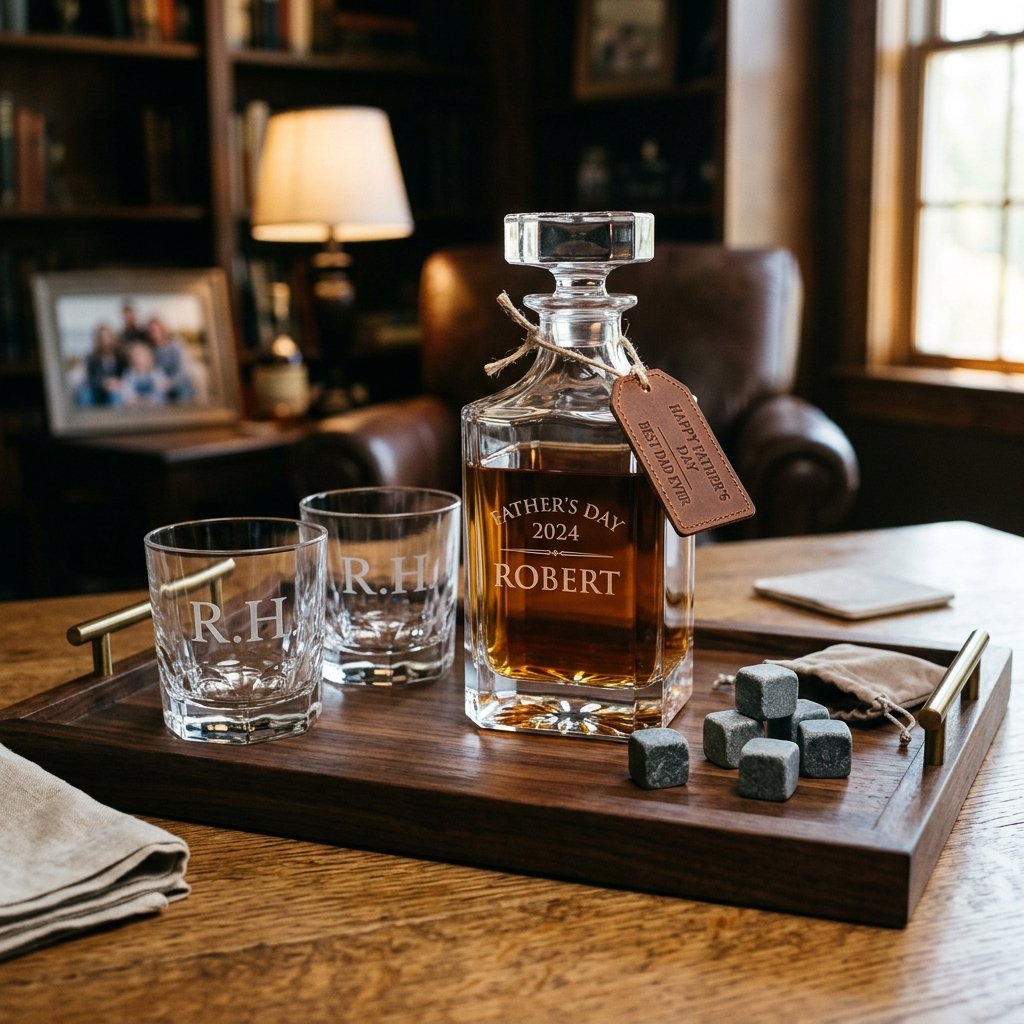
A decanter on its own is a great gift, but a ‘Whiskey Experience’ is a legendary one. To truly compete with high-end gift sets, you need to curate the presentation. This is where your budget-savvy skills shine again.
Building the Set:
- The Tray: Look for a wooden tray at the thrift store. A quick coat of dark walnut stain or even a rub-down with mineral oil can make a $3 tray look like a $40 executive accessory.
- The Stones: Add a set of stainless steel or soapstone whiskey rocks. You can often find these at discount stores like TJ Maxx or Marshalls for $5.99.
- The Spirit: Don’t leave the decanter empty. Fill it with a decent mid-range bourbon (like Buffalo Trace or Elijah Craig) so it’s ready for a pour the moment he opens it.
- The Tag: Tie a small piece of leather cord around the neck of the decanter with a handwritten note on cardstock explaining the ‘Private Reserve’ you’ve created for him.
Conclusion
The Mark of a True Craftsman
By the time you’ve finished rinsing away the last of the etching cream, you’ll realize you’ve created something far more valuable than a store-bought set. You’ve taken something discarded—a lonely decanter from a dusty thrift shelf—and given it a new life through your own labor and creativity. This Father’s Day, Dad will receive a gift that reflects his own rugged, refined character. Every time he pours a dram, he’ll be reminded that you didn’t just spend money; you spent time, thought, and effort. And that, in the world of gift-giving, is the ultimate ‘top-shelf’ move. Happy crafting, and cheers to a budget-savvy, high-end Father’s Day!

Makenzie is the founder and lead writer at MoneyHackTips.com — a personal finance blog dedicated to delivering street-smart financial wisdom for real people on real budgets. With 300+ published articles covering everything from debt management to investing fundamentals, Makenzie’s mission is to make every dollar work harder. When not writing about money hacks, Makenzie is testing frugal living strategies, optimizing side hustles, and helping readers build financial freedom from scratch.