
The Ultimate Trash-to-Treasure Gift for the Rugged Guy
Let us face a universal truth: shopping for the men in our lives—whether it is your husband, dad, brother, or that rugged friend who spends all his weekends in the woods—can be an absolute nightmare. You want to give them something thoughtful, but how many novelty grilling aprons or overpriced tactical flashlights does one guy really need? As frugal DIYers and resourceful crafters, we know that the best gifts are not bought; they are forged. They are practical, they solve a problem, and most importantly, they have that undeniable masculine-elegant touch that says, ‘I know exactly what you love.’
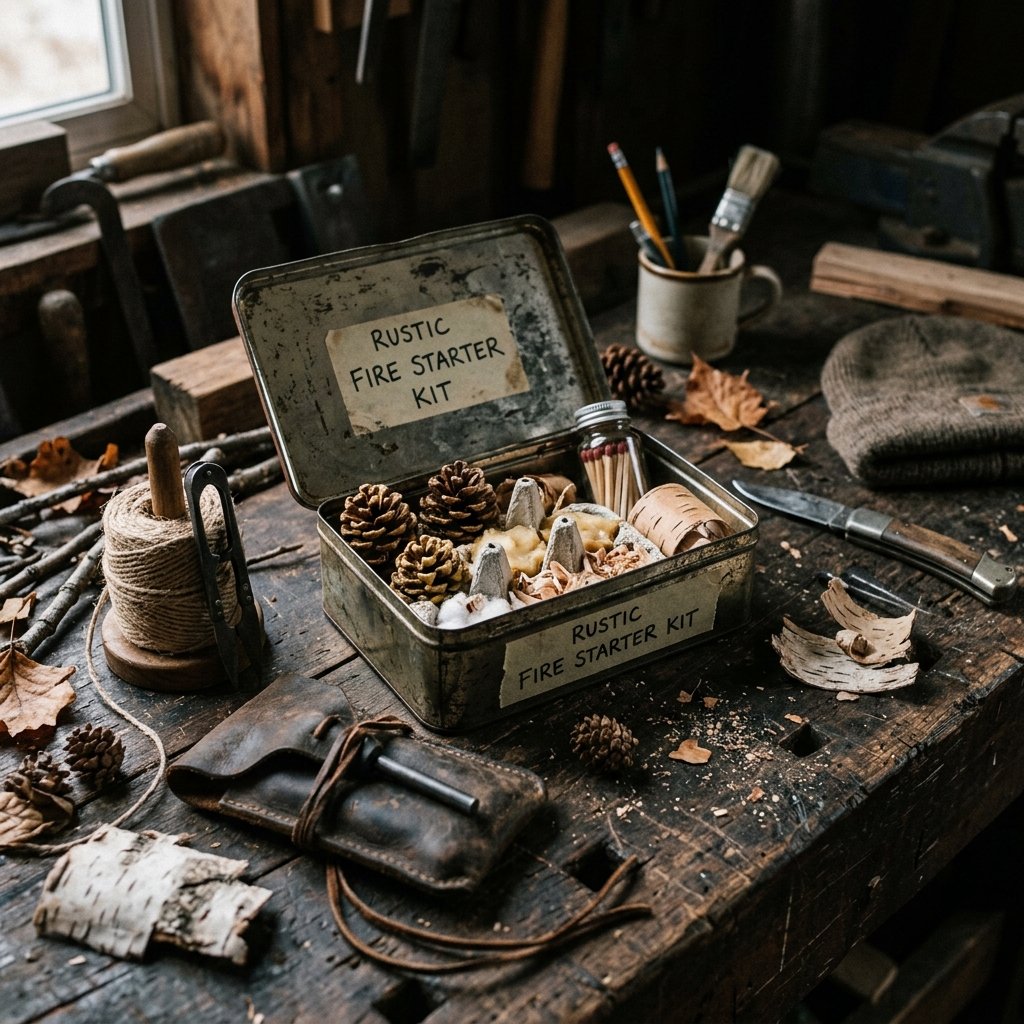
Enter the DIY Fire Starter Kit. This is not just a craft; it is a masterclass in upcycling everyday household waste into high-end, survival-grade camping gear. We are talking about taking literal trash—dryer lint, empty egg cartons, and leftover candle stubs—and transforming them into a handsome, highly functional kit that he will proudly toss into his hiking backpack or keep in his truck. It is the ultimate clever and budget-savvy gift. For less than $5 (and mostly using things you already have), you can assemble a rugged, custom-made kit that outperforms the expensive store-bought versions.
If you want to win the heart of an outdoorsman, give him the gift of fire, self-reliance, and a clever piece of gear he can actually use in the wild.
In this comprehensive guide, we are going to channel our inner survivalist and master crafter. We will break down exactly how to forage for natural combustibles, upcycle your household scraps, craft professional-grade wax-dipped fire starters, and package it all up in a way that looks like it came from an expensive outdoor boutique. Roll up your sleeves, grab your hot glue gun and your old candle wax, and let us get crafty!
Why the Upcycled Fire Starter Kit Beats Store-Bought Gear

Before we dive into the wax-melting and lint-gathering, let us talk about why this project is a total game-changer for the budget-savvy gift giver. When you walk into a premium outdoor recreation store, you will see beautifully packaged ‘survival fire kits’ selling for upwards of $30 to $50. What is inside them? Usually, it is just some wax-coated cotton, a few matches, and a piece of fatwood packed in a branded tin. As a crafty expert, you should immediately recognize that you can recreate this exact utility for pennies on the dollar.
The Frugal Breakdown
Men appreciate utility, efficiency, and ingenuity. When you hand him a rugged tin and explain that you made the high-burn-time fire starters out of the lint from his favorite flannel shirts and the wax from last year’s holiday candles, you are speaking his language. It is resourceful, it is smart, and it is incredibly thoughtful.
| Kit Component | Store-Bought Cost (Approx.) | Our Zero-Budget DIY Cost |
|---|---|---|
| Wax-Dipped Fire Starters (12 pack) | $15.00 | $0.00 (Egg carton, lint, old wax) |
| Waterproof Matches & Striker | $8.00 | $1.00 (Standard matches + clear nail polish) |
| Char Cloth & Fatwood | $12.00 | $0.00 (Old cotton t-shirt + scavenged wood) |
| Rugged Storage Tin | $10.00 | $0.00 (Upcycled Altoids or mint tin) |
| Total Investment | $45.00 | $1.00 – $2.00 Max |
As you can see, the savings are astronomical. But the real value is in the customization. You can tailor the size of the kit to fit his specific needs—whether he needs a tiny, ultra-lightweight tin for backpacking, or a large, handsome mason jar kit for the family fire pit.
Foraging & Scavenging: Gathering Your Combustible Materials

The foundation of this project is rooted in the beautiful art of upcycling. We are going to raid the recycling bin, the laundry room, and the backyard. Here is your master list of materials to gather before we start the assembly process.
1. The Almighty Dryer Lint
Dryer lint is the holy grail of free fire-starting material. It is highly flammable, takes a spark beautifully, and costs absolutely nothing. Start saving your lint in a mason jar a few weeks before you plan to make this gift. Pro-Tip: Lint from cotton towels, fleece, and flannel works best. Try to avoid lint from loads with a lot of pet hair, as burning hair does not smell great around a campfire!
2. Cardboard Egg Cartons
You need the paper/cardboard egg cartons, not the styrofoam or clear plastic ones. The cardboard acts as a slow-burning wick that will hold the wax and lint together. Each little cup will become an individual, high-powered fire starter pod.
3. Leftover Wax (The Trash-to-Treasure Binder)
Do not throw away those glass jar candles when the wick burns down! We are going to harvest that leftover wax. You can use soy wax, beeswax, or standard paraffin. If you do not have old candles, check your local thrift store; you can often find massive, ugly pillar candles for $1 that are perfect for melting down. Alternatively, broken crayons work brilliantly and can add a fun, rugged color (like dark green or black) to your fire starters.
4. Nature’s Kindling: Pinecones and Twigs
Take a walk in your local park or your own backyard. Gather small, dry pinecones, sweetgum balls, and bits of dried moss or birch bark. Pinecones are naturally coated in sap, which is highly flammable. When dipped in wax, they become beautiful, rustic fire starters that look incredibly high-end.
The Master Recipe: Crafting Wax-Dipped Egg Carton Starters

Now comes the fun part: the actual crafting! These egg carton pods are the heavy hitters of your DIY kit. A single pod can burn for 10 to 15 minutes, giving your outdoorsman plenty of time to get his larger logs catching, even in damp or windy conditions.
Safety First! Melting wax can be dangerous if done improperly. Never melt wax directly over an open flame or a hot burner, as it can ignite. Always use a makeshift double boiler and keep a close eye on your craft station.
Step-by-Step Assembly Instructions
- Prep the Carton: Take your cardboard egg carton and stuff each of the 12 cups tightly with your collected dryer lint. You want it packed in there, but leave a tiny bit of the lint sticking up at the top to act as a wick.
- Set Up the Double Boiler: Fill a medium saucepan with about two inches of water and bring it to a gentle simmer. Place a heat-safe glass bowl or an old, clean tin can into the water. Drop your chunks of scrap wax (or broken crayons) into the bowl/can.
- Melt the Wax: Stir the wax gently with a wooden skewer or a disposable chopstick until it is completely liquid. If you want to add a masculine touch, drop in a few drops of cedarwood or pine essential oil into the melted wax—it will make the campfire smell amazing!
- Pouring the Pods: Carefully pour the melted wax over the lint in each egg carton cup. You want to saturate the lint and the cardboard, but do not overfill it so much that the wax spills over the edges. Ensure the little ‘lint wick’ at the top gets a tiny coating of wax too.
- Cool and Cut: Let the carton sit undisturbed for about 30 to 45 minutes until the wax is completely hardened and cool to the touch. Once solid, use a sharp pair of scissors or a utility knife to cut the carton apart into 12 individual fire starter pods.
These little pods are rugged, waterproof (thanks to the wax seal), and incredibly reliable. They may not look like a delicate piece of art, but to a guy trying to start a fire in the freezing rain, they are a masterpiece.
Next-Level Additions: Char Cloth and Waterproof Matches
If you want to elevate this gift from ‘cool craft’ to ‘expert survival gear,’ you need to include a few specialized items. This is where your handy, resourceful skills truly shine. We are going to make DIY waterproof matches and a batch of traditional char cloth.
DIY Waterproof Matches
Standard matches are useless if they get wet in a backpack. Store-bought waterproof matches are pricey, but we can make them for pennies using a clever household hack.
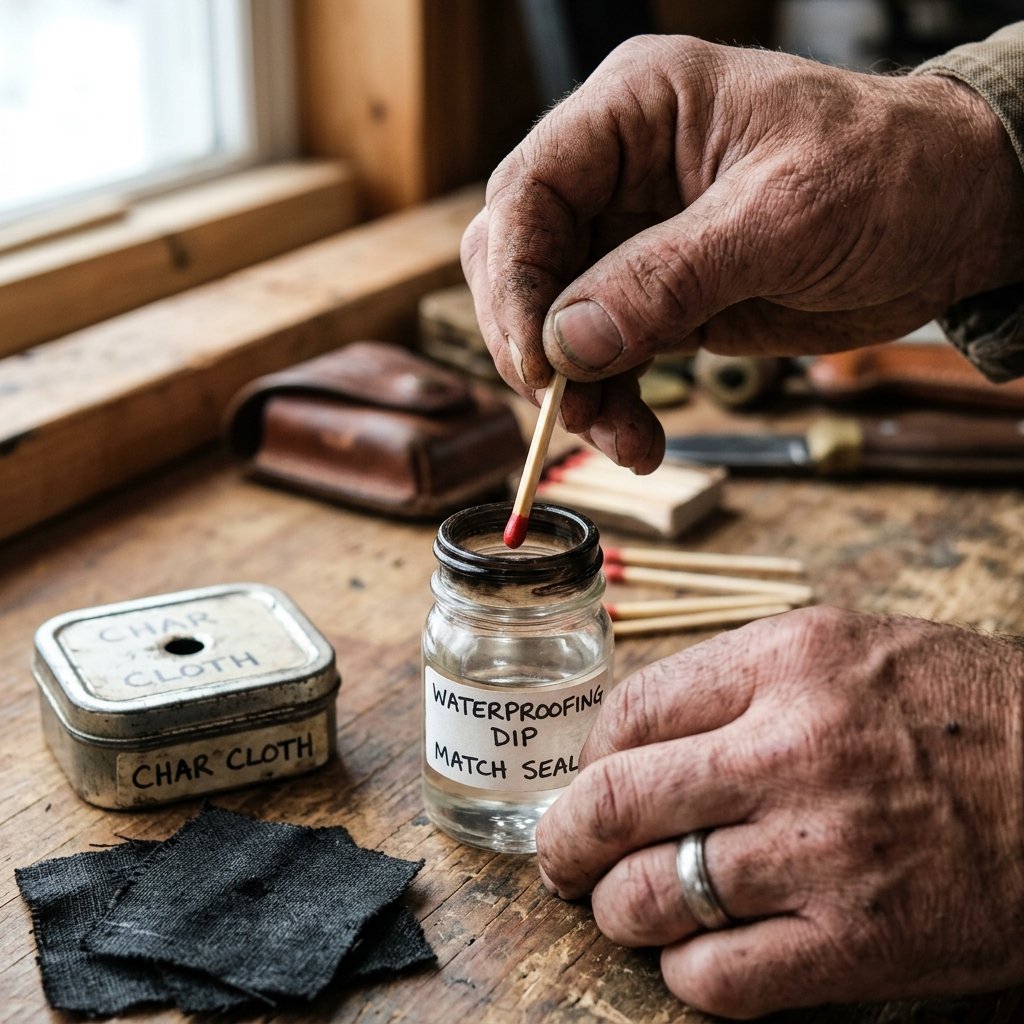
- The Materials: A box of ‘Strike Anywhere’ wooden matches and a bottle of cheap, clear nail polish (or leftover melted wax).
- The Process: Simply dip the head of each match—and about half an inch down the wooden stick—into the clear nail polish or melted wax. Shake off the excess and lay them flat on a piece of wax paper to dry.
- The Result: The polish creates an invisible, waterproof seal. When he goes to strike the match, the friction will easily break through the polish and ignite the head. It is a brilliant, budget-savvy trick!
Crafting Char Cloth
Char cloth is a staple in old-school bushcraft. It is a piece of natural fabric that has been partially combusted (pyrolysis) so that it catches a spark from a flint and steel instantly. Making it feels like a cool science experiment.
- The Tin: Take an empty, clean Altoids tin. Use a nail and a hammer to punch one small hole in the center of the lid.
- The Fabric: Cut an old, 100% cotton t-shirt or pair of worn-out denim jeans into small 2-inch squares. (Do not use synthetic blends; they will just melt!). Place the squares inside the tin and close the lid tightly.
- The Fire: Place the tin directly onto a campfire or a hot outdoor grill. Smoke will begin to billow out of the small hole in the lid. This is the impurities burning off!
- The Finish: Once the smoke stops (usually after 10 to 15 minutes), carefully remove the tin from the heat using tongs and let it cool completely. When you open it, the cloth will be pitch black and fragile. This is perfect char cloth!
Packaging and Presentation: The Masculine Aesthetic
You have crafted the ultimate survival components; now it is time to package them. Presentation is everything when it comes to DIY gifts. We want to avoid anything that looks too ‘craft-fair’ and lean heavily into the rugged, masculine-elegant aesthetic. Think leather, metal, dark woods, and heavy-duty twine.
Choosing the Right Container
Depending on how much gear you made, you have a few frugal, stylish options for housing the kit:
- The Tactical Tin: Upcycle an old mint tin or a small cigar box. Sand off the original logos to reveal the bare metal or wood. This is perfect for a compact, pocket-sized kit containing a few matches, a striker pad, and some char cloth.
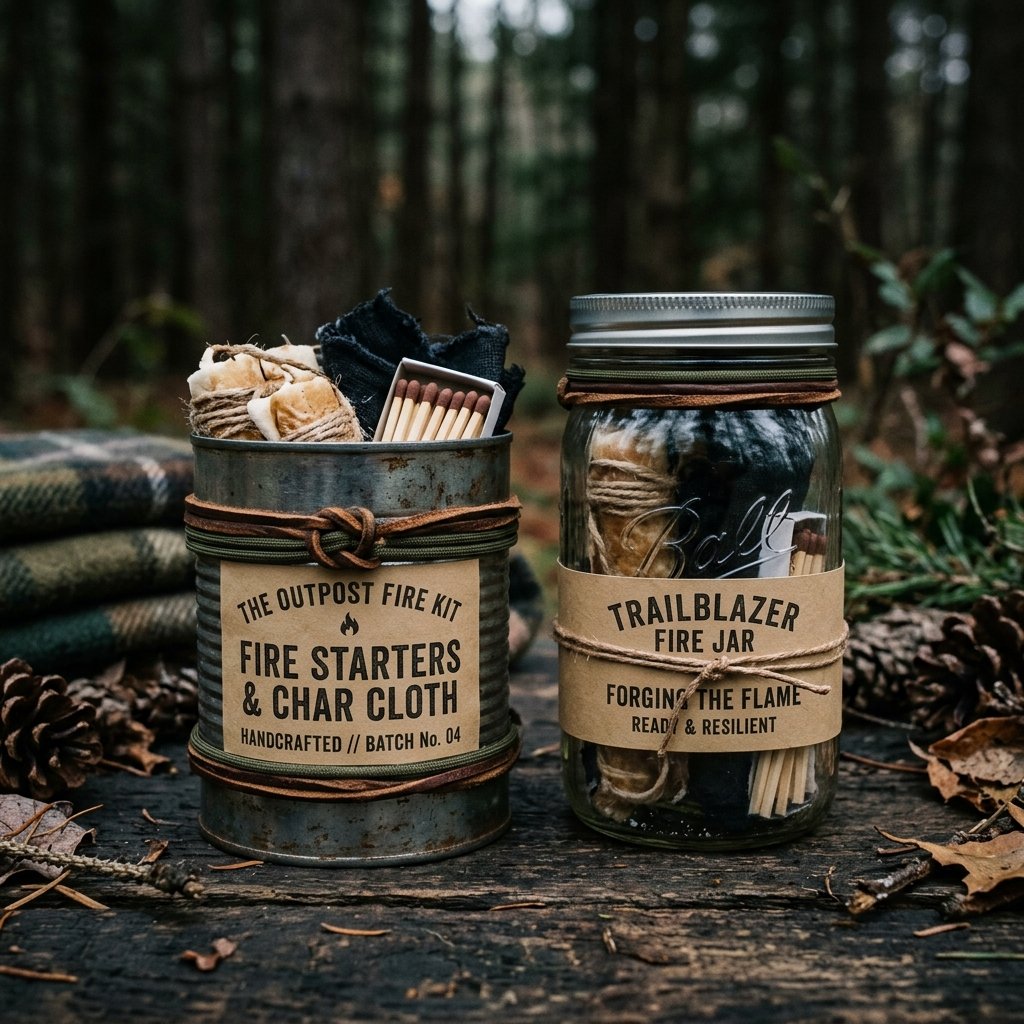
- The Mason Jar: A wide-mouth mason jar is excellent for a larger kit. It is naturally waterproof and looks great sitting on a workbench or in a camper. Pack the bottom with your wax-dipped egg cartons, layer in some wax-dipped pinecones, and slide a bundle of waterproof matches down the side.
- The Ammo Can: If you want to go all out, check your local military surplus store. You can often find small, used metal ammo cans for under $10. They are indestructible, watertight, and scream ‘outdoorsman.’
Finishing Touches and Labels
To make the kit look professional, add a striking surface. Cut the striker strip off the original matchbox and glue it directly to the inside lid of your tin or the bottom of your mason jar using heavy-duty super glue.
Next, wrap the outside of the container. Use a length of olive drab 550 paracord or a strip of scrap leather to tie a rugged knot around the jar or box. Not only does this look handsome, but the paracord itself is a useful survival tool!
Finally, create a custom label. Use a piece of kraft paper or thick cardstock. Write something clever and bold, like ‘RUGGED FIRE KIT: Handcrafted for Survival’ or ‘THE WOODSMAN’S SPARK: Guaranteed to Burn.’ Attach the label with a bit of twine or mod-podge it directly onto the tin for a weathered, vintage look.
Bonus Frugal Hacks: Customizing for His Specific Hobby
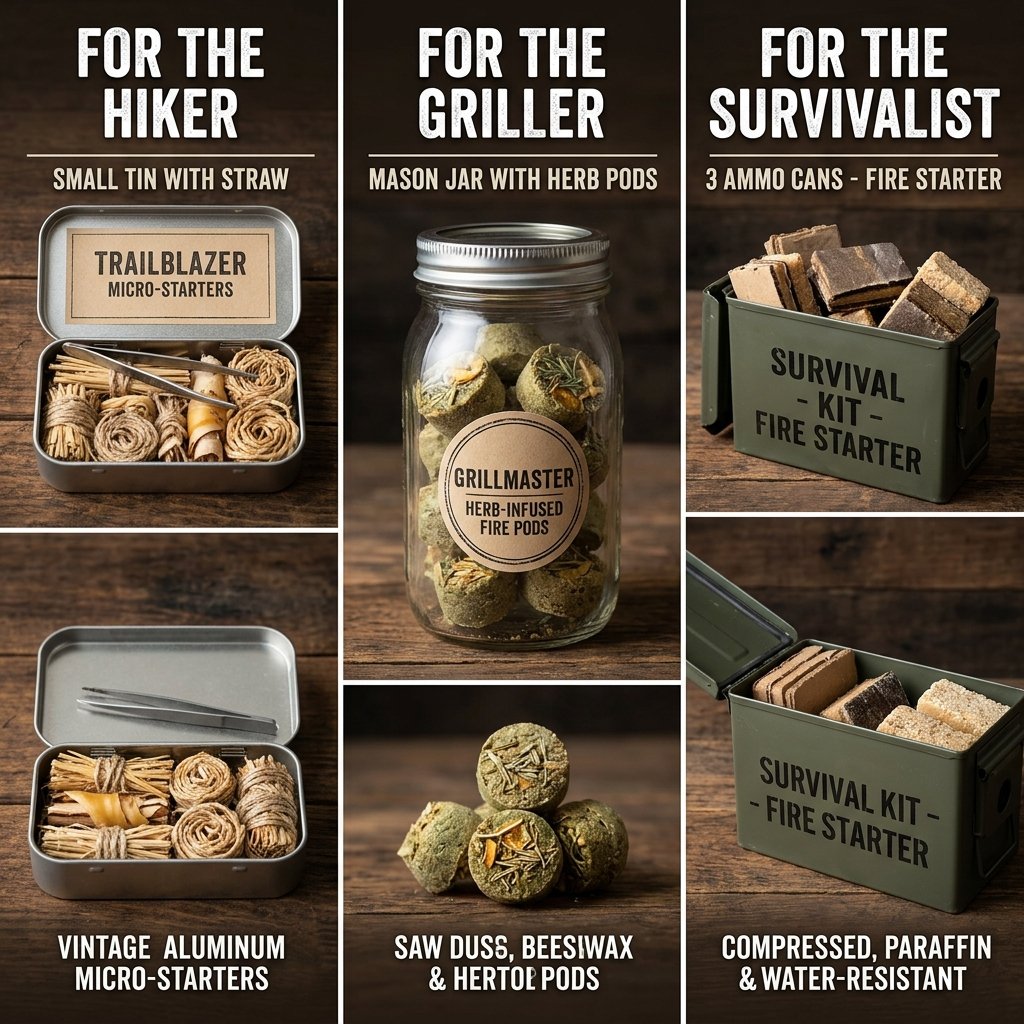
One of the greatest joys of being a crafty gift-giver is tailoring the project perfectly to the recipient. Because this DIY fire starter kit is so budget-savvy, you have the flexibility to tweak it based on exactly what kind of outdoorsman he is.
For the Backyard Pitmaster
If his idea of the great outdoors is standing next to his charcoal smoker or backyard fire pit, swap out the pinecones for dried herbs. Mix dried rosemary, thyme, or sage into the wax and lint mixture. When he uses these starters, they will release a mouth-watering, savory aroma that pairs perfectly with outdoor cooking.
For the Ultralight Backpacker
If he hikes miles into the wilderness, weight and space are his biggest concerns. Ditch the mason jar and the heavy wax pinecones. Instead, take a standard plastic drinking straw. Cut it into two-inch sections. Stuff a tiny pinch of dryer lint mixed with petroleum jelly into the straw segment, and use a pair of needle-nose pliers and a lighter to melt and seal the ends of the straw. You have just created a waterproof, micro-fire starter that weighs literally less than a gram!
| Hobby/Persona | Container Style | Special Addition |
|---|---|---|
| The Backyard Pitmaster | Large Mason Jar | Rosemary/Thyme scented wax pods |
| The Ultralight Hiker | Altoids Tin / Ziploc | Sealed straw micro-starters |
| The RV Camper | Vintage Cigar Box | Large wax-dipped pinecones & fatwood |
| The Survivalist | Waterproof Ammo Can | Flint, steel, and extra char cloth |
By putting this level of thought into the gift, you are showing him that you respect his passions. You are not just handing him a generic tool; you are handing him a custom piece of gear designed specifically for his adventures.
Conclusion
Ignite His Appreciation with Thoughtful Crafting
There you have it—a masterclass in transforming everyday household scraps into the coolest, most practical DIY gift an outdoorsman could ever ask for. By combining the frugal magic of dryer lint and old candle wax with the rugged aesthetic of upcycled tins and paracord, you have created something truly special. This fire starter kit is more than just a clever budget hack; it is a testament to your resourcefulness and your understanding of what makes a great, masculine gift.
The next time a birthday, Father’s Day, or holiday rolls around, do not stress over expensive gear or generic gift cards. Dig into your crafting stash, raid the recycling bin, and spend an afternoon making these heavy-duty fire starters. When he is out in the woods, effortlessly getting a roaring campfire going on a chilly evening, he will be thinking of you and your incredible, crafty ingenuity. Stay resourceful, stay budget-savvy, and happy crafting!

Makenzie is the founder and lead writer at MoneyHackTips.com — a personal finance blog dedicated to delivering street-smart financial wisdom for real people on real budgets. With 300+ published articles covering everything from debt management to investing fundamentals, Makenzie’s mission is to make every dollar work harder. When not writing about money hacks, Makenzie is testing frugal living strategies, optimizing side hustles, and helping readers build financial freedom from scratch.