The Art of the Sentimental Scout
There is something inherently rugged and romantic about a map. It represents more than just geography; it is a record of a journey, a memory of a hometown, or the blueprint of a dream vacation. As a frugal DIYer, I am always looking for ways to turn ‘trash’—like those dusty atlases at the back of a thrift store—into ‘treasure’ that looks like it belongs in a high-end boutique. Today, we are mastering the 15-minute vintage map coaster. This project is the ultimate trifecta of gifting: it is dirt cheap, incredibly personal, and practically indestructible. Whether you are crafting a Father’s Day set, a wedding gift for a well-traveled couple, or simply upgrading your own coffee table, these coasters bring a touch of masculine elegance and worldly charm to any room without breaking the bank.
The Blueprint: Materials and Budget Breakdown
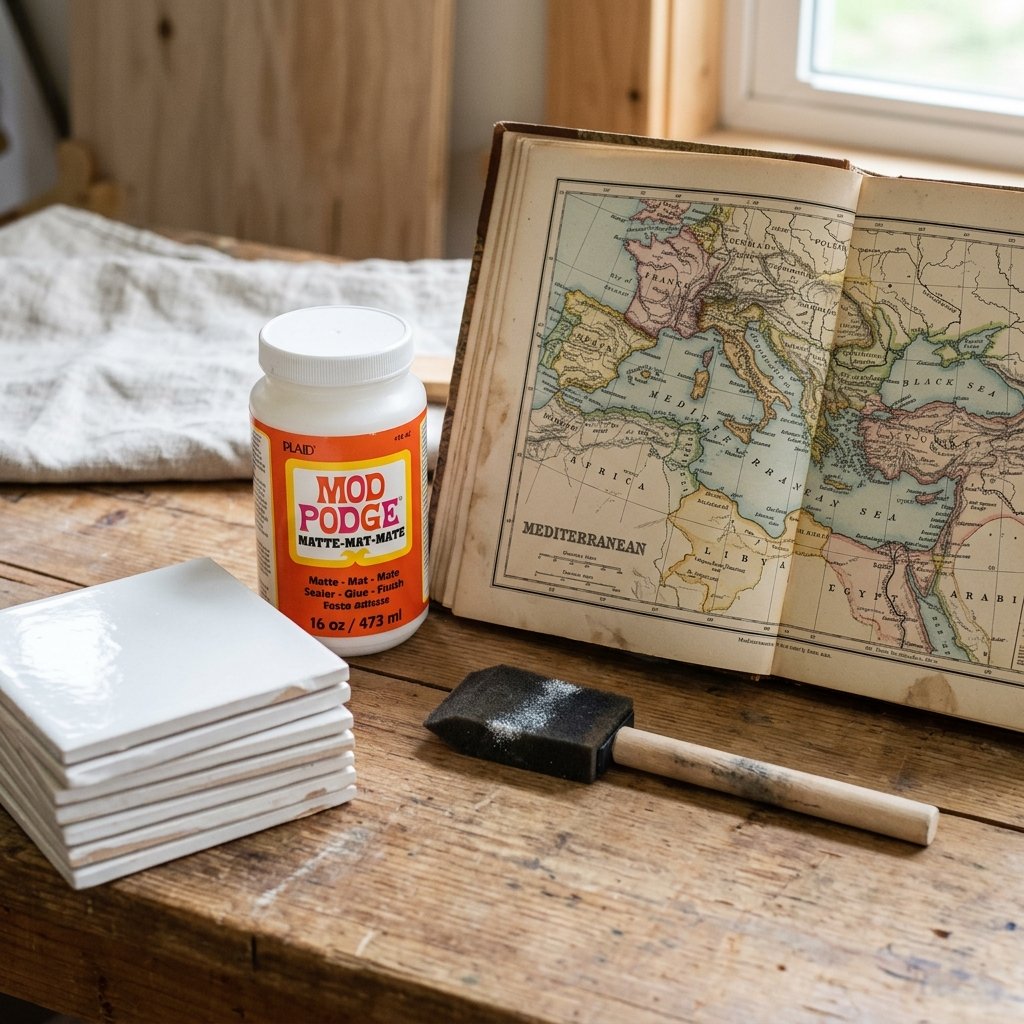
Before we dive into the assembly, let us look at the logistics. The beauty of this project lies in its accessibility. You can find 4×4 ceramic tiles at any major hardware store for less than the price of a gumball. By upcycling an old map, your primary costs are simply the adhesives and sealants, which will last you through dozens of projects.
Cost Comparison: DIY vs. Boutique Store
| Material/Item | DIY Cost (Per Set of 4) | Boutique Retail Price |
|---|---|---|
| Ceramic Tiles (4×4) | $0.64 | Included |
| Vintage Map/Atlas | $0.50 (Thrifted) | Included |
| Adhesive & Sealant | $1.50 (Pro-rated) | Included |
| Cork/Felt Backing | $0.30 | Included |
| Total Cost | $2.94 | $35.00 – $50.00 |
Budget Guru Mantra: Never pay for what you can build with a bit of glue and a sense of direction.
Scouting the Territory: Sourcing Your Maps
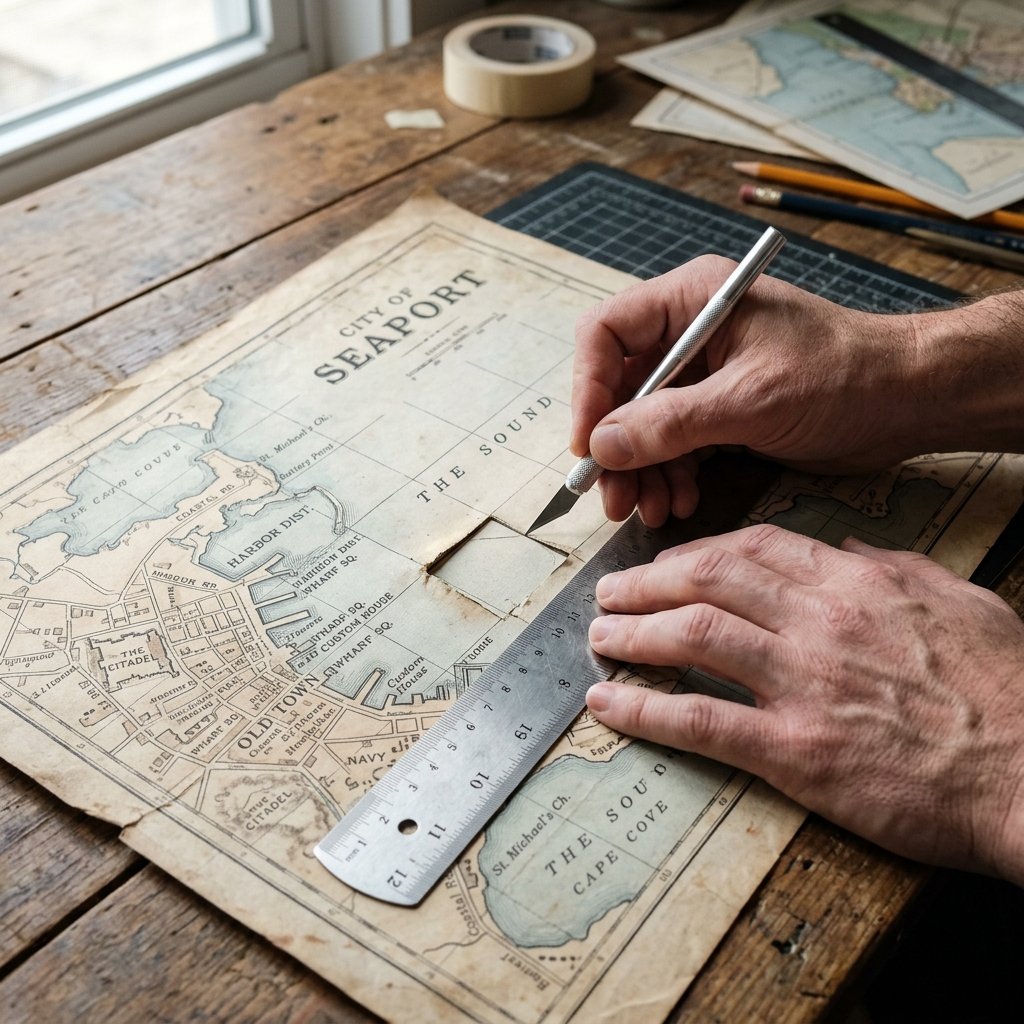
Not all maps are created equal. For that sophisticated, rugged look, you want to avoid the glossy, neon-colored maps found in modern gas station fold-outs. Instead, hunt for the following:
- Thrifted Atlases: Look for the 1970s or 80s versions with muted tones and thick paper.
- Old National Geographic Inserts: These have incredible detail and a classic aesthetic.
- Digital Prints: If you want a specific location (like a childhood street), search for ‘public domain vintage maps’ online and print them on a laser printer. Note: Inkjet prints may bleed when wet, so seal them with a light coat of hairspray before starting.
Selecting the Perfect Tile
While standard white gloss tiles work, look for ‘tumbled stone’ or ‘travertine’ tiles at the hardware store if you want a more textured, ancient feel. They are slightly more expensive (around $0.80 each) but add a heavy, premium weight to the gift.
The 15-Minute Assembly: Step-by-Step Execution

Efficiency is key. Follow these steps to ensure a bubble-free, professional finish that looks like it was factory-made.
- Measure and Cut: Trace your tile onto the map. Cut the map roughly 1/8 inch smaller than the tile on all sides. This ‘border’ prevents the paper from peeling at the edges later.
- Prep the Base: Wipe your tiles with rubbing alcohol to remove any dust or factory oils. This ensures 100% adhesion.
- The Glue Phase: Apply a thin, even layer of matte Mod Podge to the tile. Place the map centered on top.
- Smooth the Terrain: Use a brayer or the edge of a credit card to smooth out any air bubbles, working from the center outward.
- The Top Coat: After 5 minutes of drying, apply a thin layer of Mod Podge over the paper to seal it. Don’t worry—it goes on cloudy but dries crystal clear.
Crafty Expert Tip: If you notice a stubborn bubble, prick it with a tiny sewing needle and press the air out before the glue sets.
Weatherproofing: Making Them Indestructible
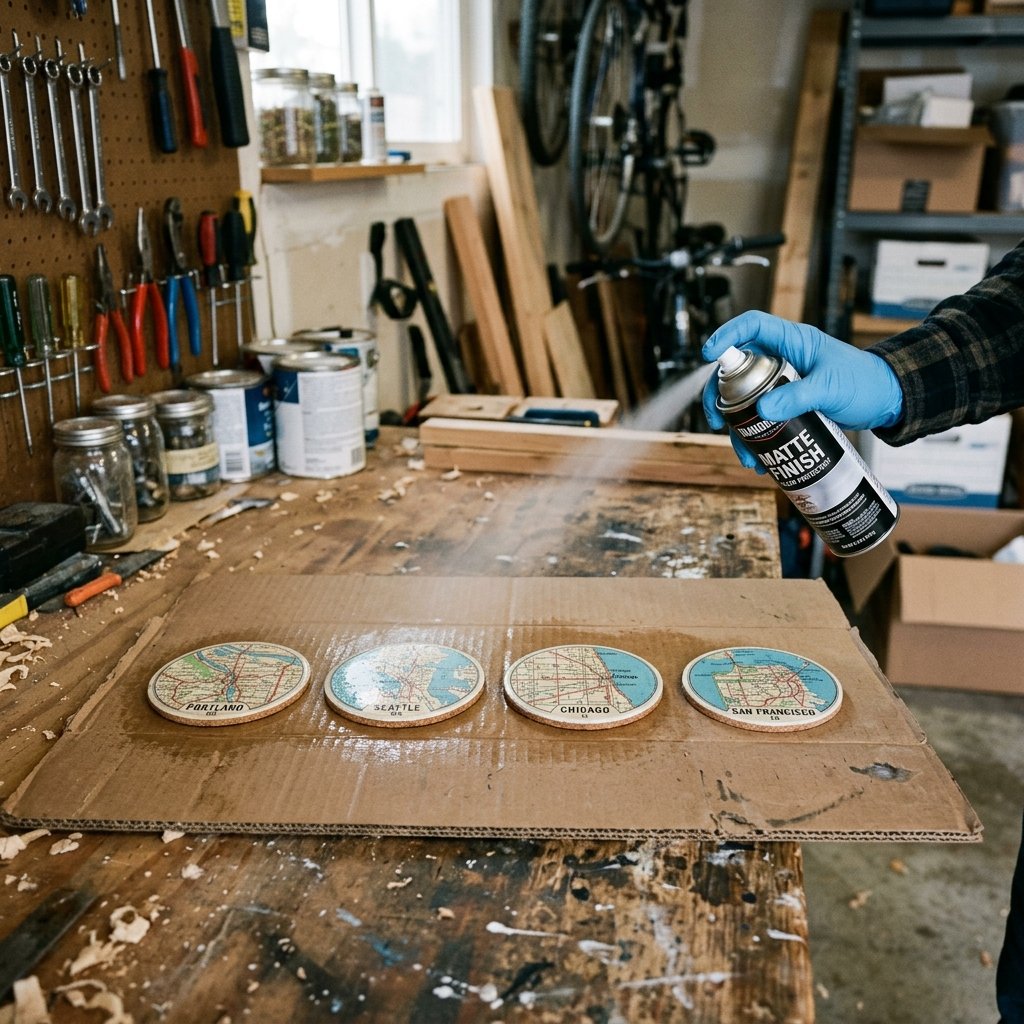
Since coasters are destined to be tortured by condensation and heat, a simple layer of Mod Podge isn’t enough. We need to ‘over-engineer’ these for maximum durability. This is where the rugged elegance meets practical utility.
The Sealing Protocol
Wait at least 2 hours (or overnight if possible) for the Mod Podge to fully cure. Then, take your coasters to a well-ventilated area for the final armor.
- Clear Acrylic Sealer: Use a spray-on Matte or Satin clear acrylic sealer. Apply 3 light coats rather than one heavy one to avoid drips.
- The Heat Test: For a truly professional finish that can handle hot coffee mugs, consider a pour-on resin, though this extends the project time. For a 15-minute active-work project, the acrylic spray is your best friend.
Safety Note: Always use aerosol sealants outdoors or in a garage with the door open. Wear a mask if you are sensitive to fumes.
The Final Touch: Bottom-Side Protection
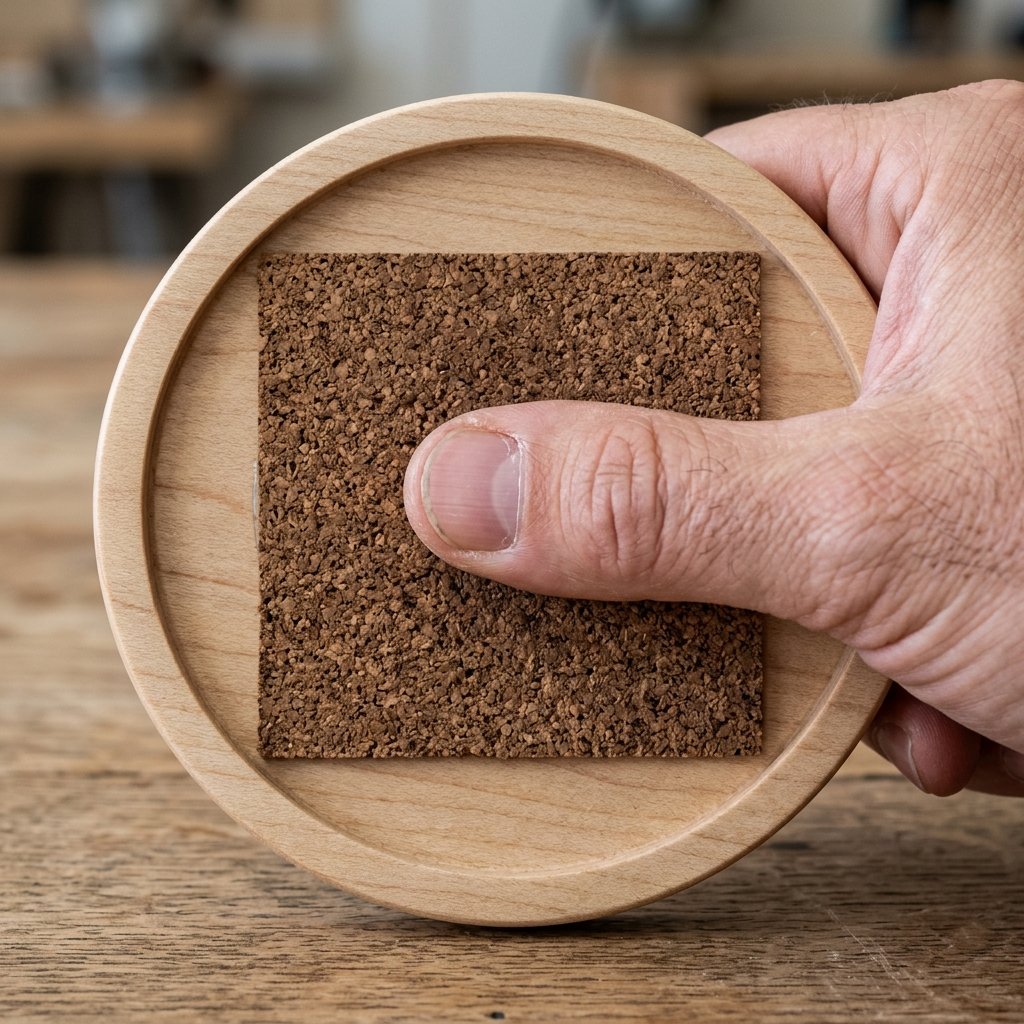
A true craftsman never leaves the bottom of a project unfinished. To protect your furniture from scratches, you must add a backing. You have three budget-savvy options:
| Material | Pros | Cons |
|---|---|---|
| Self-Adhesive Cork | Professional look, very stable. | Slightly higher cost ($1.25/sheet). |
| Felt Pads | Cheapest option, very soft. | Can make the coaster feel wobbly. |
| Full Felt Sheet | Complete coverage, great colors. | Requires manual gluing with tacky glue. |
I recommend cork. It provides a satisfying ‘clink’ when placed on a table and stays put even on slick surfaces. Cut the cork slightly smaller than the tile so it is invisible from the top down.
Conclusion
The Journey Ends, the Gifting Begins
In just 15 minutes of active work, you have transformed $3 worth of materials into a sentimental masterpiece that rivals any high-end boutique offering. These vintage map coasters are more than just drink-ware; they are conversation starters and cherished keepsakes. By choosing locations that mean something to the recipient—a first home, a favorite fishing spot, or a bucket-list destination—you are giving a gift that shows you truly know them. Remember, the best gifts don’t require a massive bank account; they require a little bit of resourcefulness and a lot of heart. Now, grab that old atlas and start scouting your next project!

Makenzie is the founder and lead writer at MoneyHackTips.com — a personal finance blog dedicated to delivering street-smart financial wisdom for real people on real budgets. With 300+ published articles covering everything from debt management to investing fundamentals, Makenzie’s mission is to make every dollar work harder. When not writing about money hacks, Makenzie is testing frugal living strategies, optimizing side hustles, and helping readers build financial freedom from scratch.