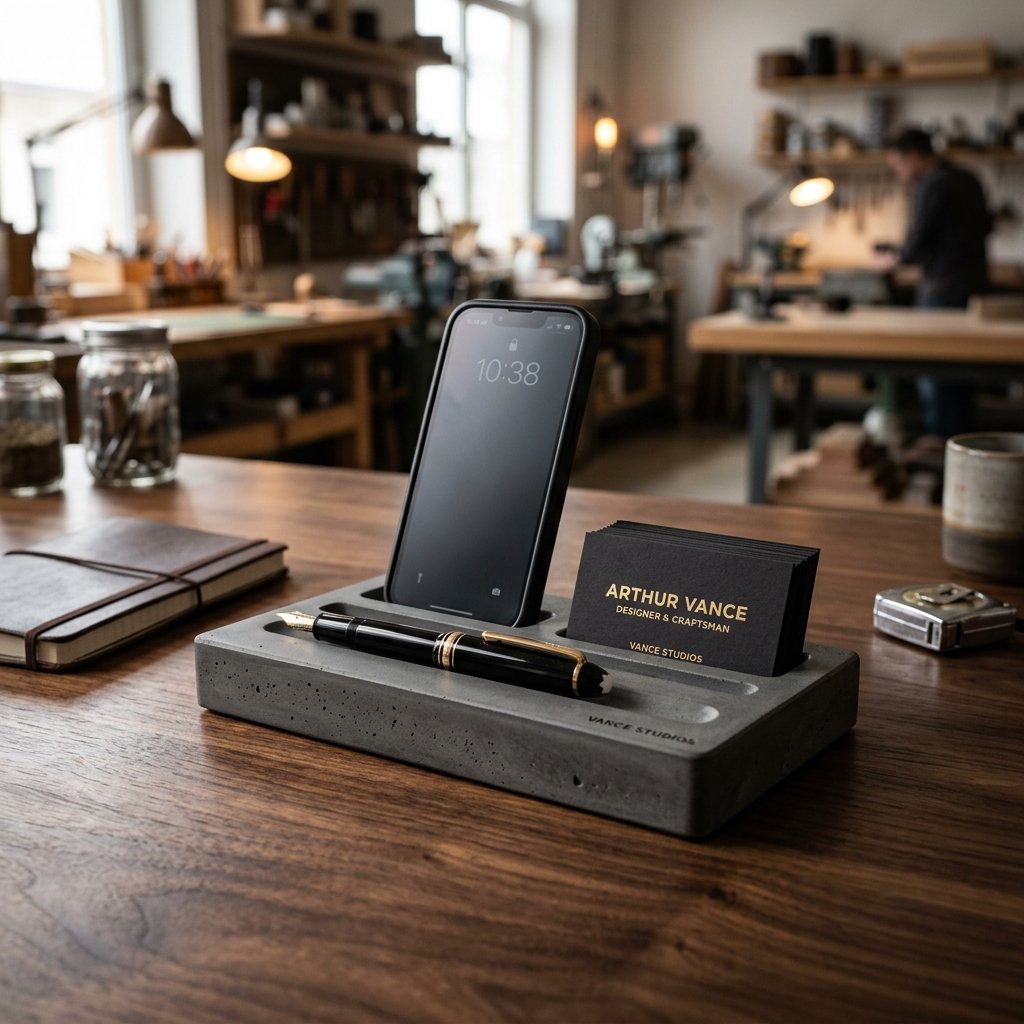

Elevate the Workspace Without Breaking the Bank
Let’s be honest: shopping for the men in our lives is notoriously difficult. They either already have everything they need, or the things they want carry a price tag that makes your wallet weep. But what if I told you that you could create a sophisticated, industrial-chic desktop organizer that looks like it belongs in a Madison Avenue boutique, all for less than the cost of a fancy latte? We are talking about the rugged elegance of concrete. It’s heavy, it’s permanent, and when handled with a bit of crafty finesse, it transforms from a sidewalk staple into a high-end designer piece. Whether you are a frugal DIYer looking for the perfect Father’s Day surprise or a budget-savvy crafter aiming to impress, this guide will walk you through the art of the ‘Trash-to-Treasure’ pour.
The Raw Materials: Sourcing Concrete and Molds on a Dime
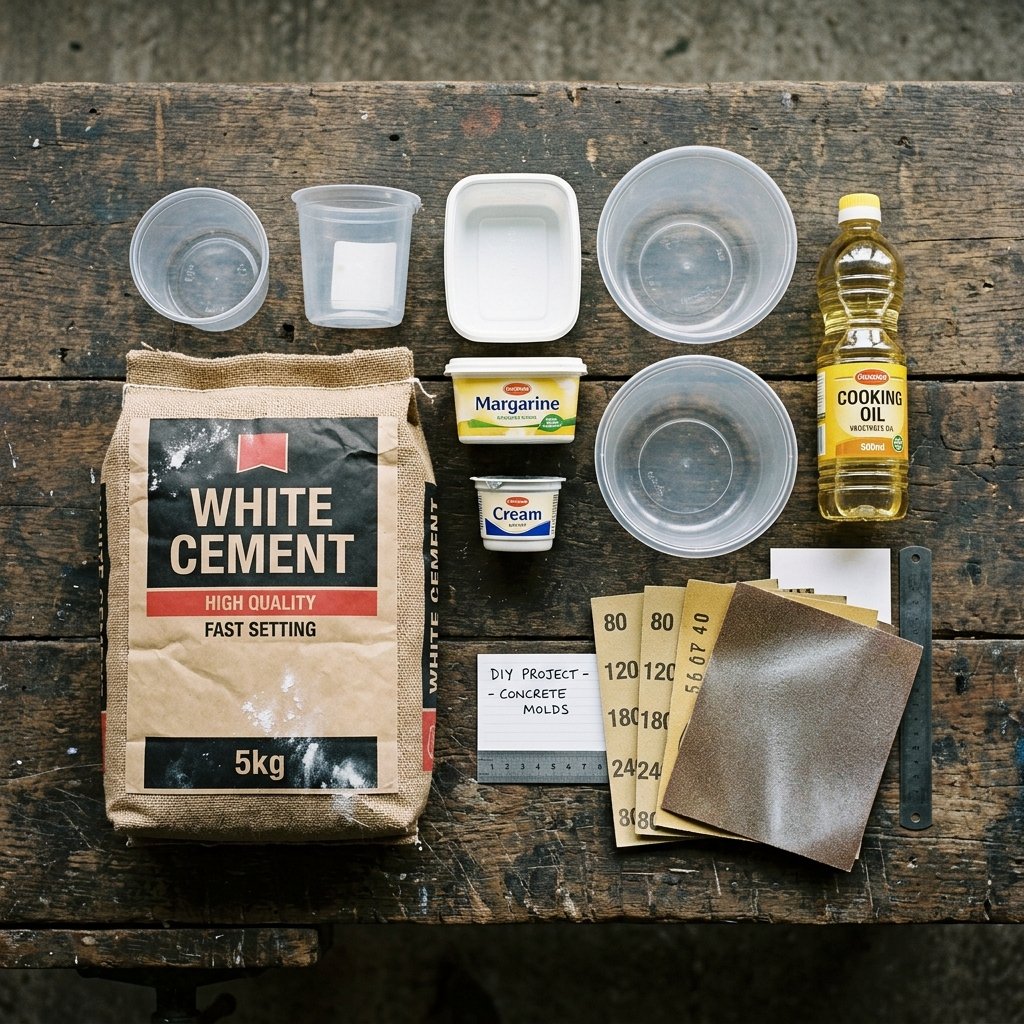
The beauty of concrete crafting lies in its accessibility. You don’t need a specialized studio; you just need the right mix and a bit of imagination. To keep this project under $10, we are going to look at our recycling bin through a new lens. Your ‘molds’ are already in your kitchen—think juice cartons, yogurt containers, and plastic delivery boxes.
The Essential Supply List
Before we get our hands dirty, let’s look at what you’ll need. Most of these items are either already in your garage or available for a few dollars at your local hardware store.
| Material | Purpose | Estimated Cost |
|---|---|---|
| Rapid-Set Cement All | The ‘gold standard’ for smooth, bubble-free finishes. | $7.00 (partial bag) |
| Recycled Plastic/Cardboard | Used as the outer and inner molds (juice boxes, etc.). | $0.00 (Free) |
| Cooking Spray or Vegetable Oil | Acts as a release agent so the concrete doesn’t stick. | $0.50 |
| Sandpaper (120 – 400 grit) | Smoothing the edges for that ‘designer’ feel. | $1.50 |
| Cork or Felt Pads | Protects the desk surface from scratches. | $1.00 |
Frugal Guru Tip: Avoid standard ‘Concrete Mix’ with large gravel chunks for this project. Look for ‘Cement All’ or ‘Mortar Mix’. These provide a much finer, buttery texture that mimics high-end stone.
Designing the Blueprint: Aesthetic & Functionality
A great gift isn’t just beautiful; it’s useful. For a desktop organizer, we want to create specific ‘zones’ for his Everyday Carry (EDC). Think about a slot for a smartphone, a deep well for pens, and a shallow tray for paperclips or a watch. The secret to a professional look is clean lines and geometric shapes.
Planning Your Mold Structure
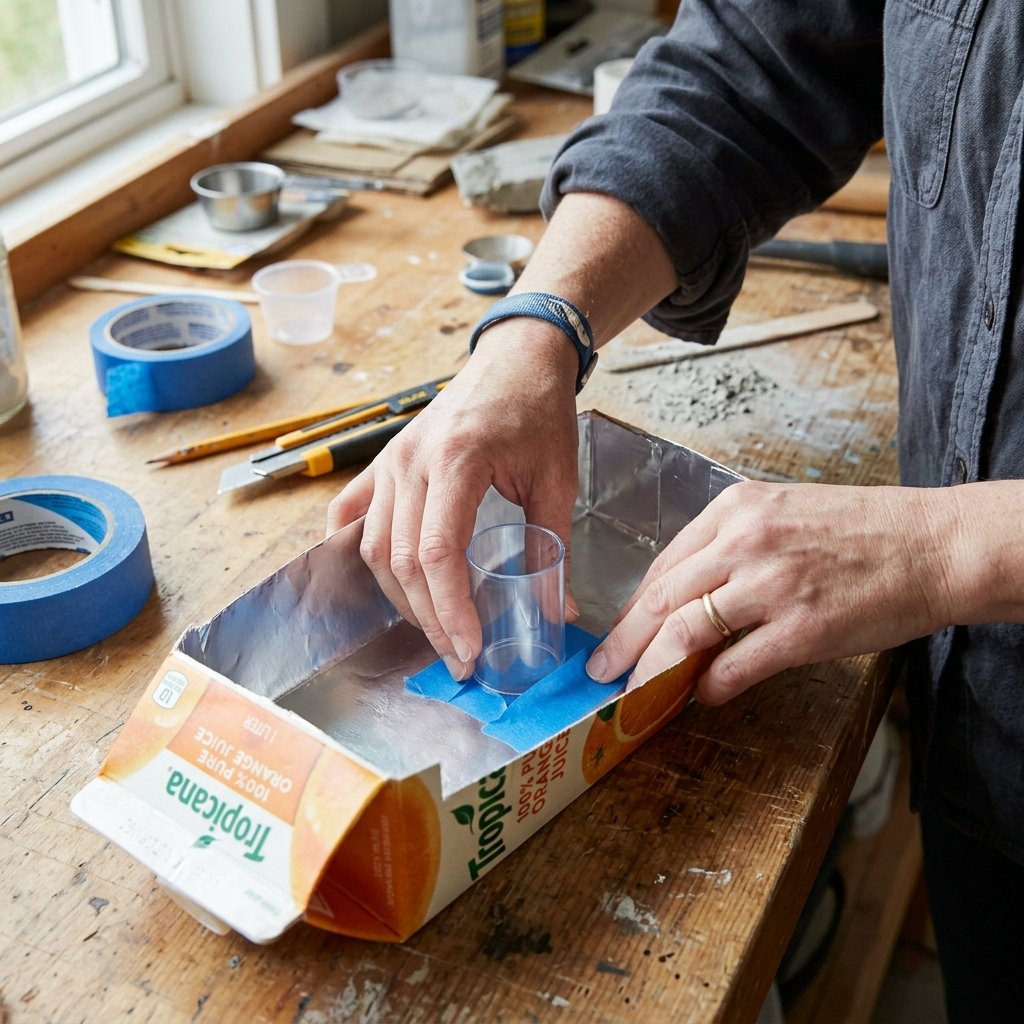
- The Outer Mold: This determines the overall size. A 1-quart milk carton is perfect for a vertical pen holder. A plastic take-out container works well for a flat valet tray.
- The Inner Molds (The Voids): These create the holes. Use medicine bottles, PVC pipe scraps, or even blocks of Styrofoam wrapped in packing tape.
- The Layout: Position your inner molds so there is at least 1/2 inch of space between them and the outer wall to prevent cracking.
By nesting a smaller container inside a larger one, you create the ‘negative space’ where his pens and tech will sit. Secure these inner molds with painter’s tape so they don’t float to the top when you pour the heavy concrete.
The Mixing Ritual: Achieving the Perfect Slurry
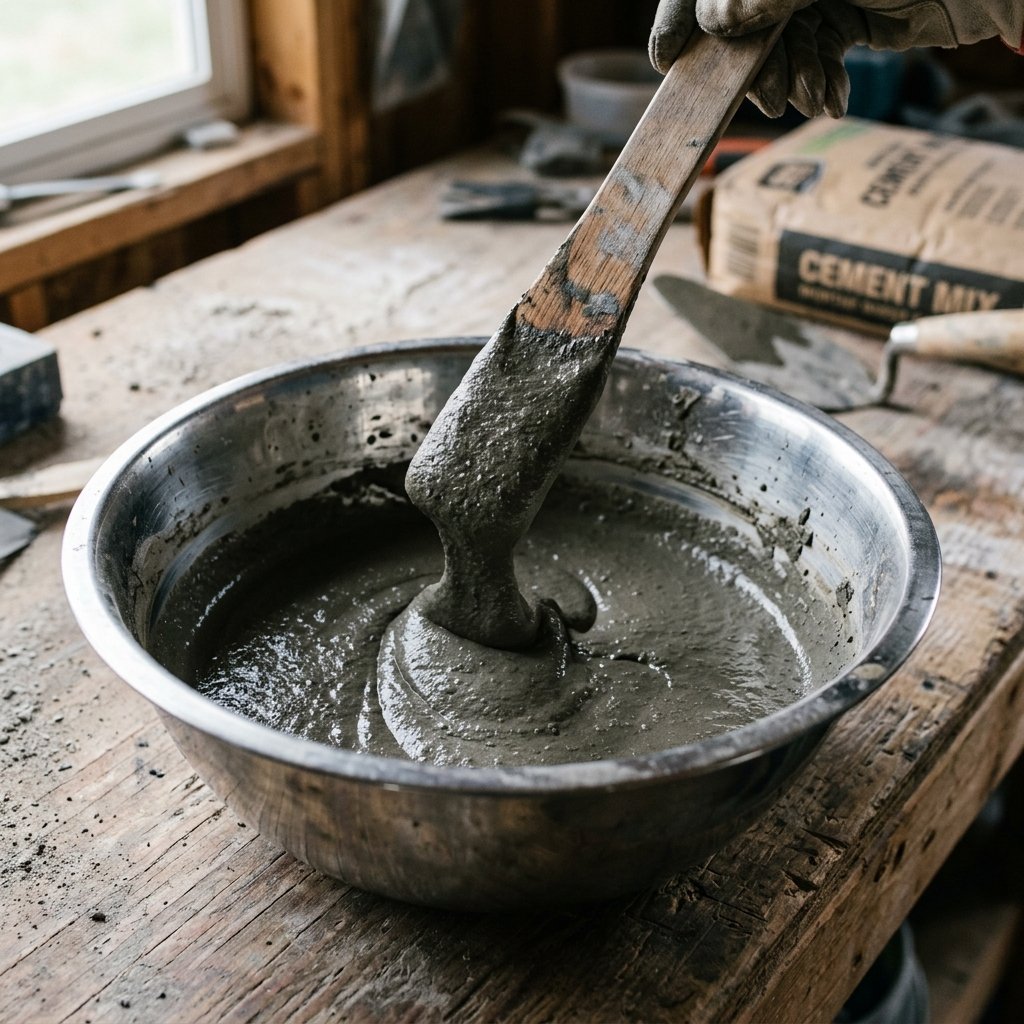
Mixing concrete is part science, part soul. You want a consistency that is thick enough to hold its shape but fluid enough to capture the detail of your mold without leaving giant air pockets. Aim for a texture similar to thick pancake batter or frosting.
The Golden Ratio Formula
Mix 4 parts concrete powder to 1 part water. Add water slowly, tablespoon by tablespoon, until the powder is fully incorporated and no dry clumps remain.
If you want to go the extra mile for a ‘designer’ look, you can add liquid cement pigment or even a dash of black acrylic paint to create a moody, charcoal finish. Stir slowly to avoid whipping air into the mixture, which causes unsightly bubbles.
| Consistency Level | Visual Cue | Resulting Strength |
|---|---|---|
| Too Dry | Crumbly, like wet sand | High risk of cracking/pitting |
| Perfect Slurry | Smooth, glossy, holds a peak | Maximum strength & finish |
| Too Wet | Water pooling on top | Weak, dusty finish when dry |
The Pour and the Cure: Patience is a Virtue
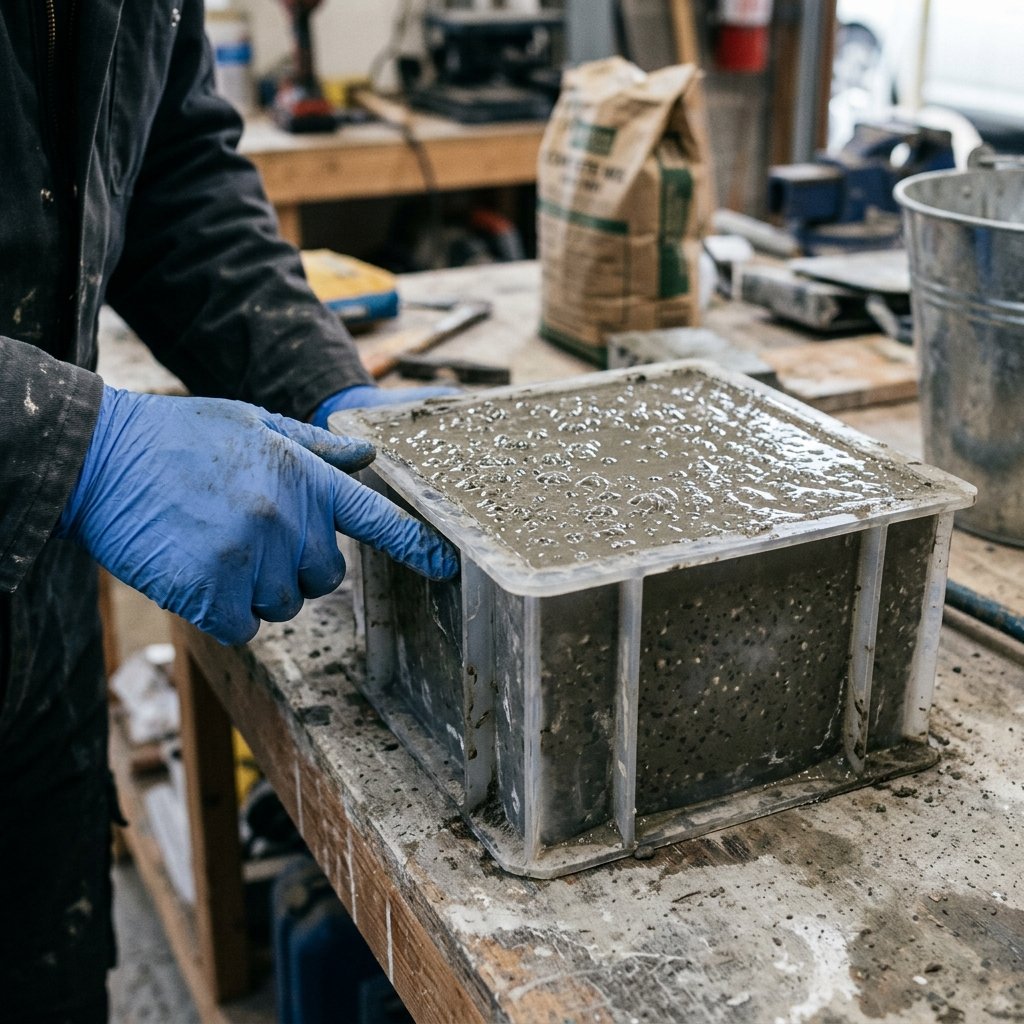
This is where the magic happens. Before pouring, lightly coat the inside of your outer mold and the outside of your inner molds with cooking oil. This ensures the concrete slides out like a dream once it’s set.
Step-by-Step Casting Instructions
- The Initial Pour: Fill the outer mold about 1/3 of the way up.
- The Vibration Technique: This is the pro secret. Tap the sides of the mold vigorously for 2 minutes. You will see tiny bubbles rising to the surface. This prevents ‘honeycombing’ on the finished face.
- Insert the Inner Molds: Press your oiled inner containers into the wet concrete. Weight them down with rocks or coins so they don’t pop out.
- The Final Top-Off: Fill the remaining gaps with concrete until it reaches your desired height.
- The Waiting Game: Let it sit undisturbed for at least 24 hours. While ‘Rapid Set’ concrete hardens in an hour, a full day ensures the structural integrity needed for de-molding.
Safety Note: Concrete is alkaline. Wear rubber gloves and eye protection to avoid skin irritation during the mixing and pouring process.
Refining the Brutalist Beauty: Sanding and Sealing
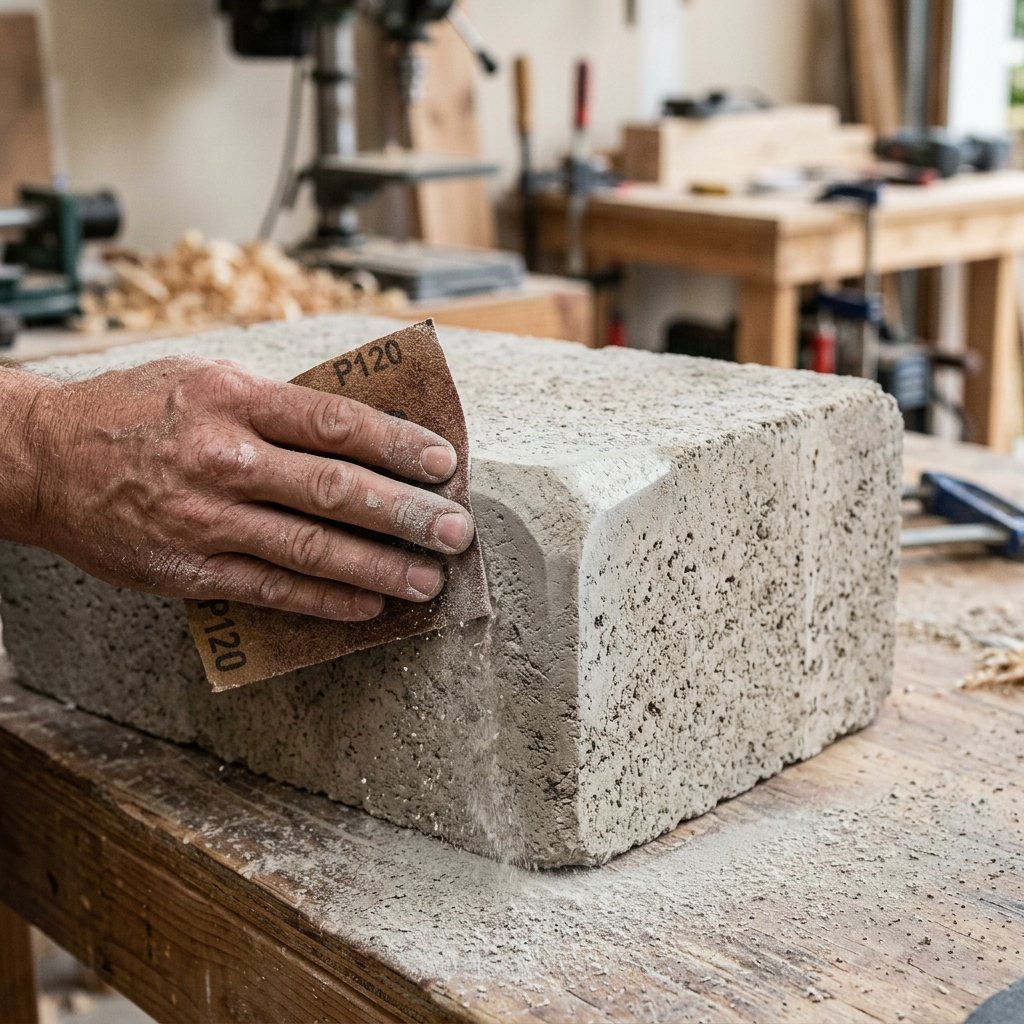
When you first pull your organizer out of the mold, it might look a bit ‘raw.’ Don’t panic! The designer finish comes in the post-processing. We are going to turn that rugged block into a silky-smooth masterpiece.
The Finishing Touch
- Sanding: Start with 120-grit sandpaper to take down any sharp edges or ‘flash’ from the mold. Once the shape is perfect, switch to 400-grit and wet-sand the surfaces. This will give the concrete a stone-like sheen that feels incredible to the touch.
- Sealing: Concrete is porous. To protect it from coffee spills or ink leaks, apply a thin coat of beeswax or a dedicated concrete sealer. It will deepen the color and add a layer of masculine elegance.
- The Bottom: To ensure this gift is ‘desk-safe,’ glue a piece of cork sheet or felt to the bottom. It adds a professional touch and prevents any scratches on expensive wood surfaces.
By spending just 15 minutes on sanding, you elevate the piece from a ‘school project’ to a ’boutique find.’
DIY vs. High-End Retail: The Budget Breakdown
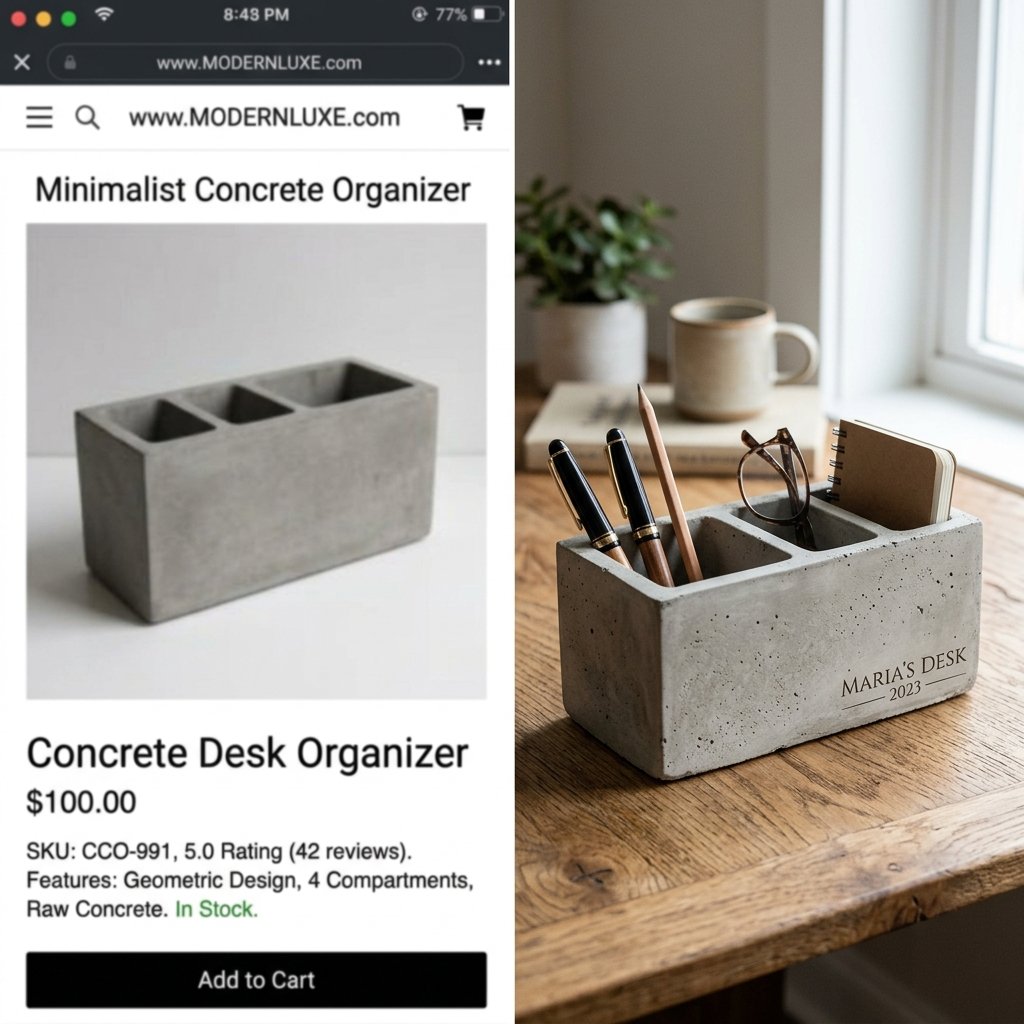
Why spend hundreds of dollars on ‘industrial’ office accessories when you can manufacture them in your kitchen? Let’s look at the staggering price difference between a store-bought designer concrete organizer and our resourceful DIY version.
| Feature | High-End Retail (e.g., Restoration Hardware) | Our DIY Masterpiece |
|---|---|---|
| Material | Cast Stone/Concrete | High-Strength Cement All |
| Customization | None (Mass Produced) | 100% Bespoke |
| Time Investment | Shipping (3-5 days) | 2 Hours (Active Work) |
| Total Cost | $85.00 – $120.00 | $8.50 |
By choosing the DIY route, you aren’t just saving over 90%; you are giving a gift that has your time, effort, and creativity poured into it. That is something money literally cannot buy.
Conclusion
The Gift of Rugged Sophistication
Creating ‘The Ultimate DIY Gift for Him’ doesn’t require a massive budget or a professional workshop. It requires a bit of clever upcycling and the willingness to get your hands a little dusty. This concrete desktop organizer is more than just a place to put pens; it’s a statement piece that celebrates industrial beauty and practical design. When he unwraps this heavy, polished stone-like object and realizes you made it by hand from a simple bag of cement and a juice carton, the ‘wow’ factor will be off the charts. So, grab some concrete, raid the recycling bin, and start pouring. Your high-end designer gift is just a 24-hour cure away!

Makenzie is the founder and lead writer at MoneyHackTips.com — a personal finance blog dedicated to delivering street-smart financial wisdom for real people on real budgets. With 300+ published articles covering everything from debt management to investing fundamentals, Makenzie’s mission is to make every dollar work harder. When not writing about money hacks, Makenzie is testing frugal living strategies, optimizing side hustles, and helping readers build financial freedom from scratch.