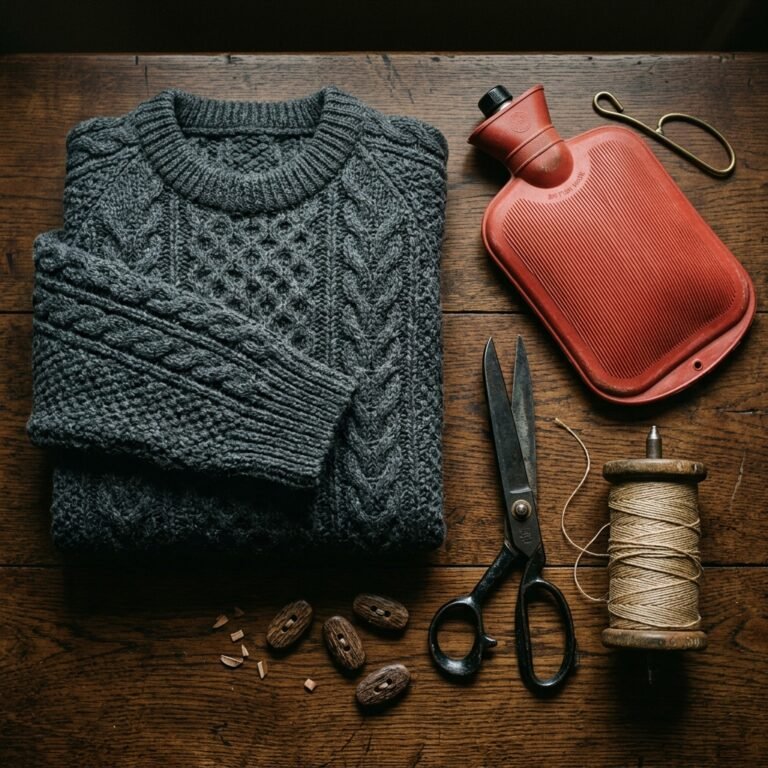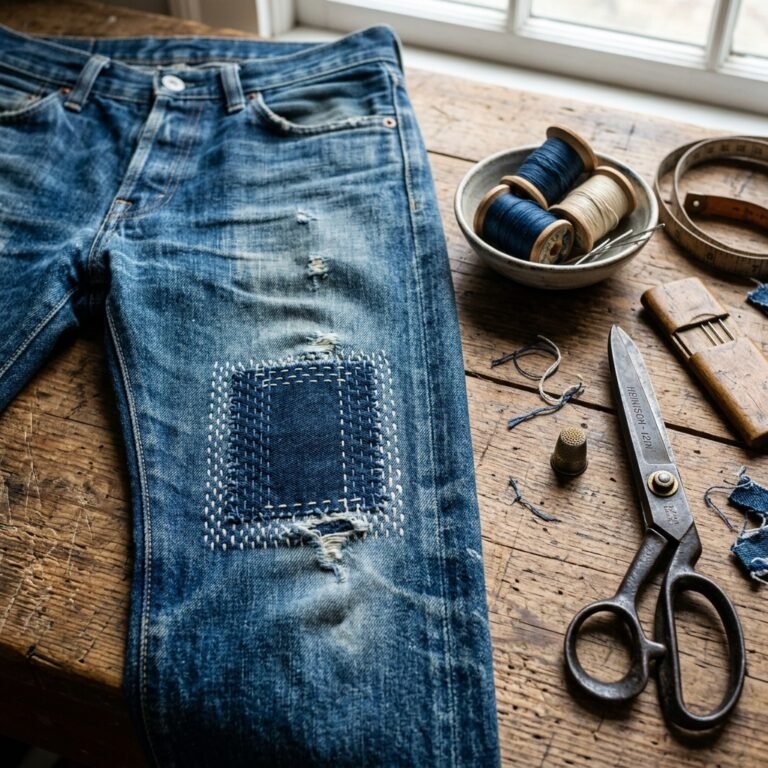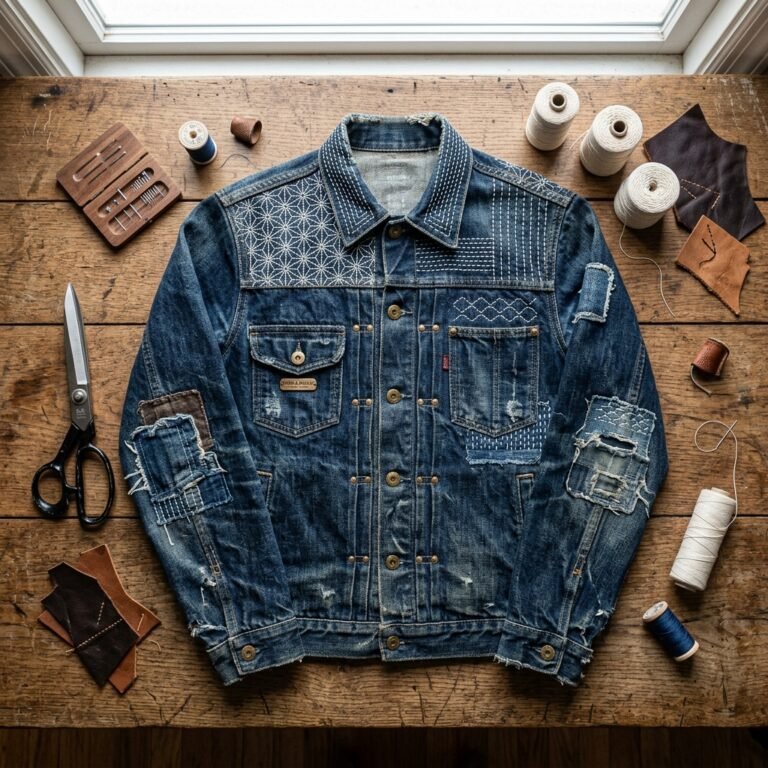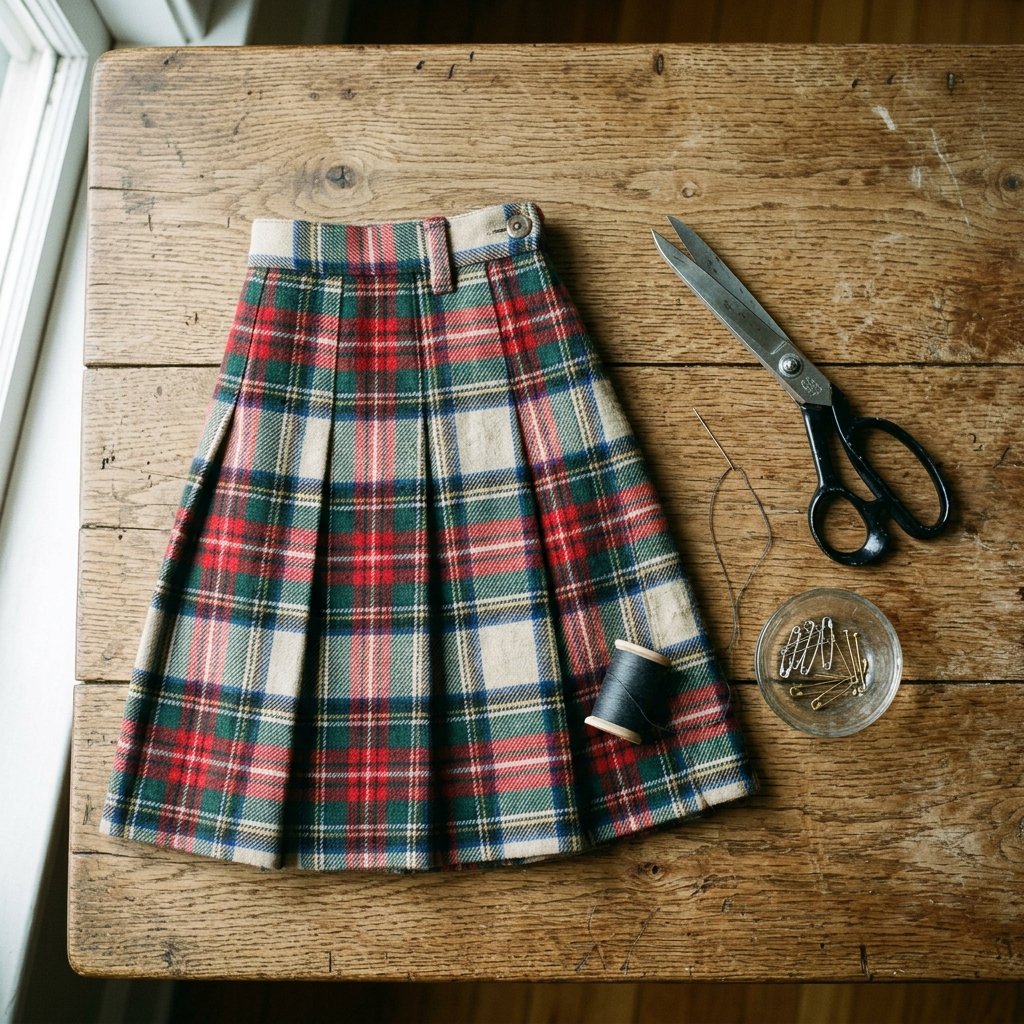

We have all been there: you are scouring the racks of your favorite local thrift shop when you spot it—the perfect wool midi skirt or a high-quality vintage denim piece. You check the price tag, and it is a steal at $4.00. But there is a catch. It is two sizes too big. In the past, you might have left that treasure behind, fearing the high cost of a professional tailor or the complexity of a sewing machine you don’t own. Well, leave those worries at the door. Today, we are reclaiming the art of the hand-stitch.
Resizing a skirt does not require a bulky machine or a degree in fashion design. With a bit of grit, a needle, and about 10 minutes of your time, you can achieve a custom-tailored fit that looks like it came straight from a high-end boutique. This guide is for the frugal warrior who values quality over fast fashion and isn’t afraid to get a little crafty to save a 100% of the tailoring fee. Let’s dive into the rugged, practical world of hand-mending and resizing.
The Anatomy of a Thrift Find: Choosing Your Canvas
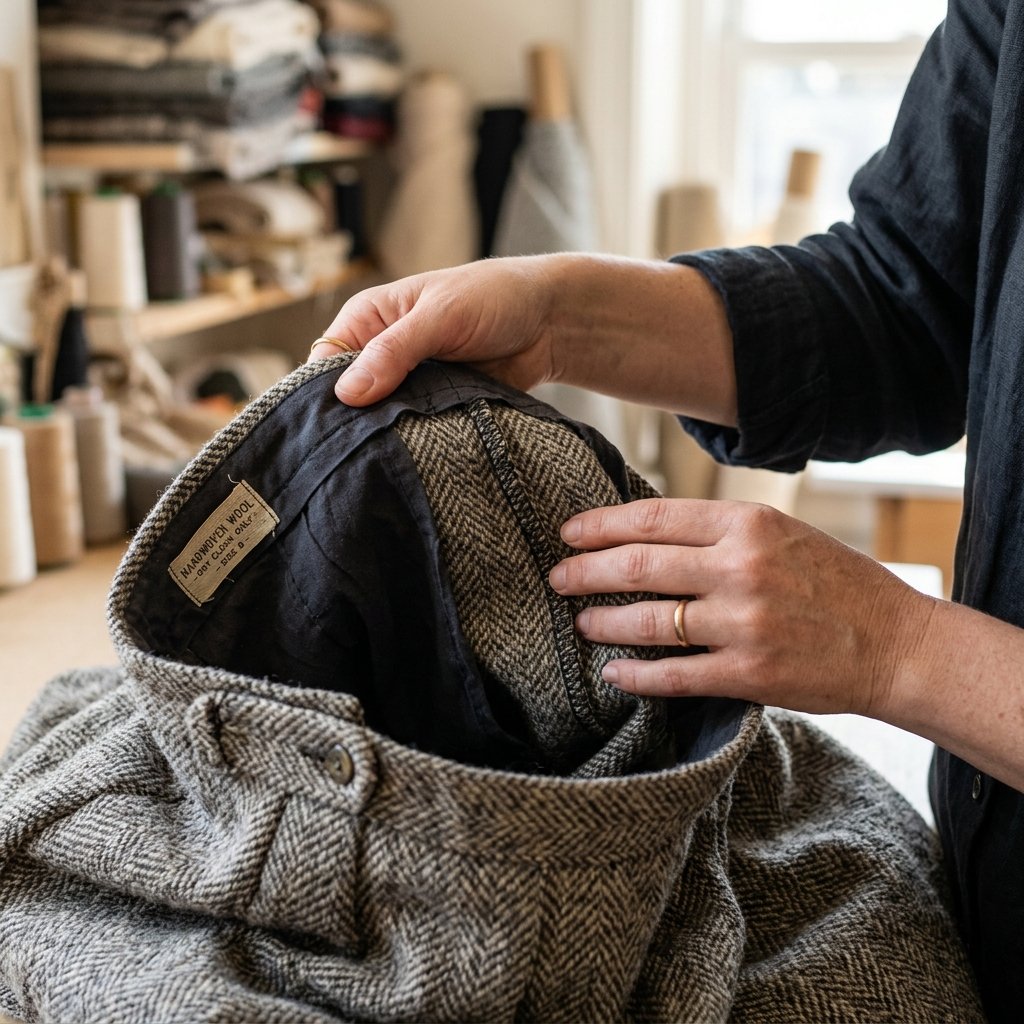
Before we pick up the needle, we need to talk strategy. Not every skirt is a candidate for a 10-minute fix. To keep your project under that crucial time limit, you want to look for specific structural elements. A skirt with a simple waistband and side seams is your best friend. Avoid skirts with complex pleating around the entire circumference or those made of extremely heavy leather unless you have a thimble and a lot of patience.
When assessing a thrifted skirt, check the seam allowance. If the skirt is too large, you are in luck—taking fabric away is much easier than adding it. Here is a quick guide to fabric compatibility for hand-resizing:
| Fabric Type | Difficulty Level | Best Stitch Method |
|---|---|---|
| Cotton/Linen | Easy | Running Stitch or Ladder Stitch |
| Denim | Moderate | Backstitch (for strength) |
| Wool/Suiting | Easy | Invisible Ladder Stitch |
| Silk/Satin | Advanced | Fine Needle / Slip Stitch |
Pro Tip: Always turn the garment inside out before you start. You want your rugged handiwork to be hidden on the interior, leaving the exterior looking professional and sleek.
The Bare-Bones Toolkit: No Machine, No Excuse
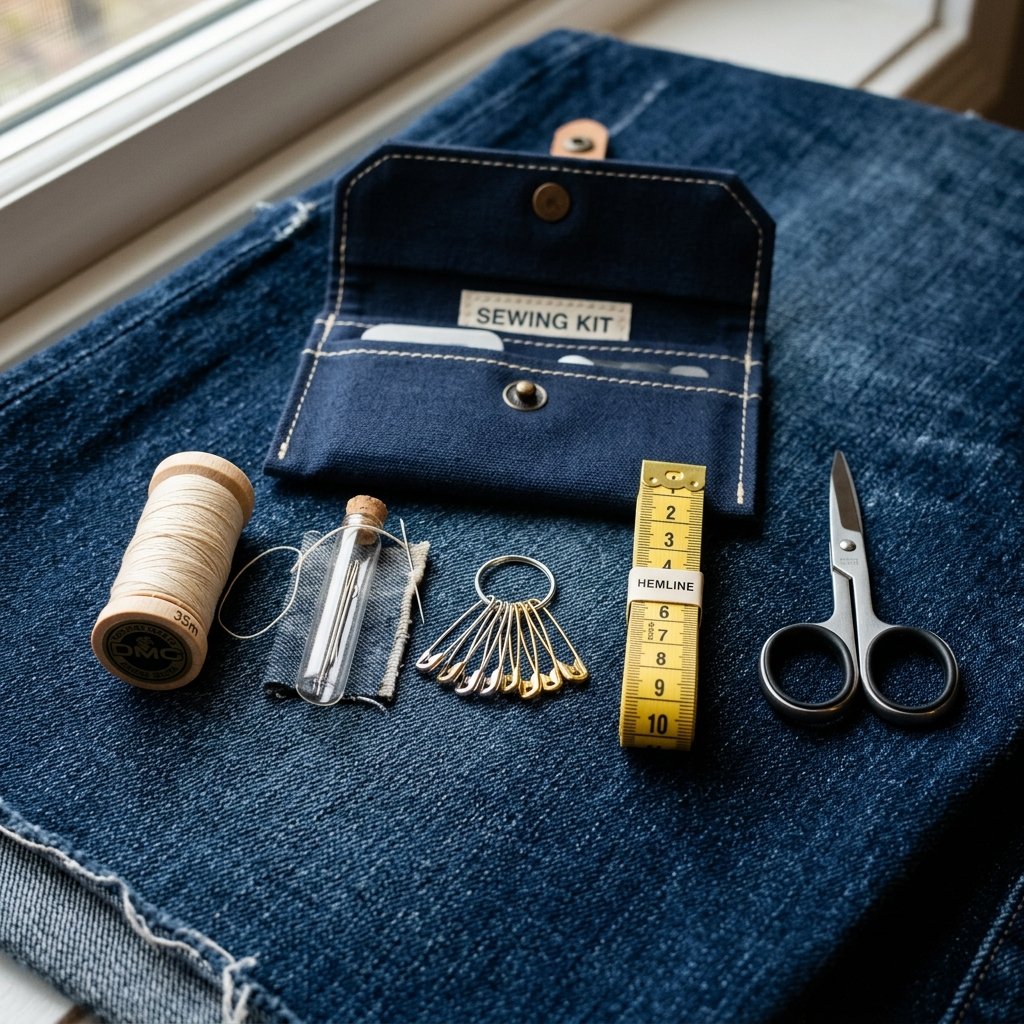
You don’t need a craft room to be a master upcycler. In fact, a minimalist kit is often more effective because it forces you to focus on the technique. To resize your skirt in under 10 minutes, you only need a handful of items that likely cost less than $5.00 total if you don’t already own them.
- Sharp Sewing Needle: Choose one that is appropriate for your fabric weight.
- Heavy-Duty Thread: Match the color to your skirt, or go one shade darker for better blending.
- Safety Pins or Tailor’s Chalk: For marking your ‘new’ waistline.
- Fabric Scissors: Sharpness is key for a clean finish.
- Measuring Tape: Accuracy saves you from having to do the job twice.
“The best tool you have is your own two hands. A machine provides speed, but hand-sewing provides the soul and the precision of a custom fit.”
The Invisible Architect: Mastering the Ladder Stitch
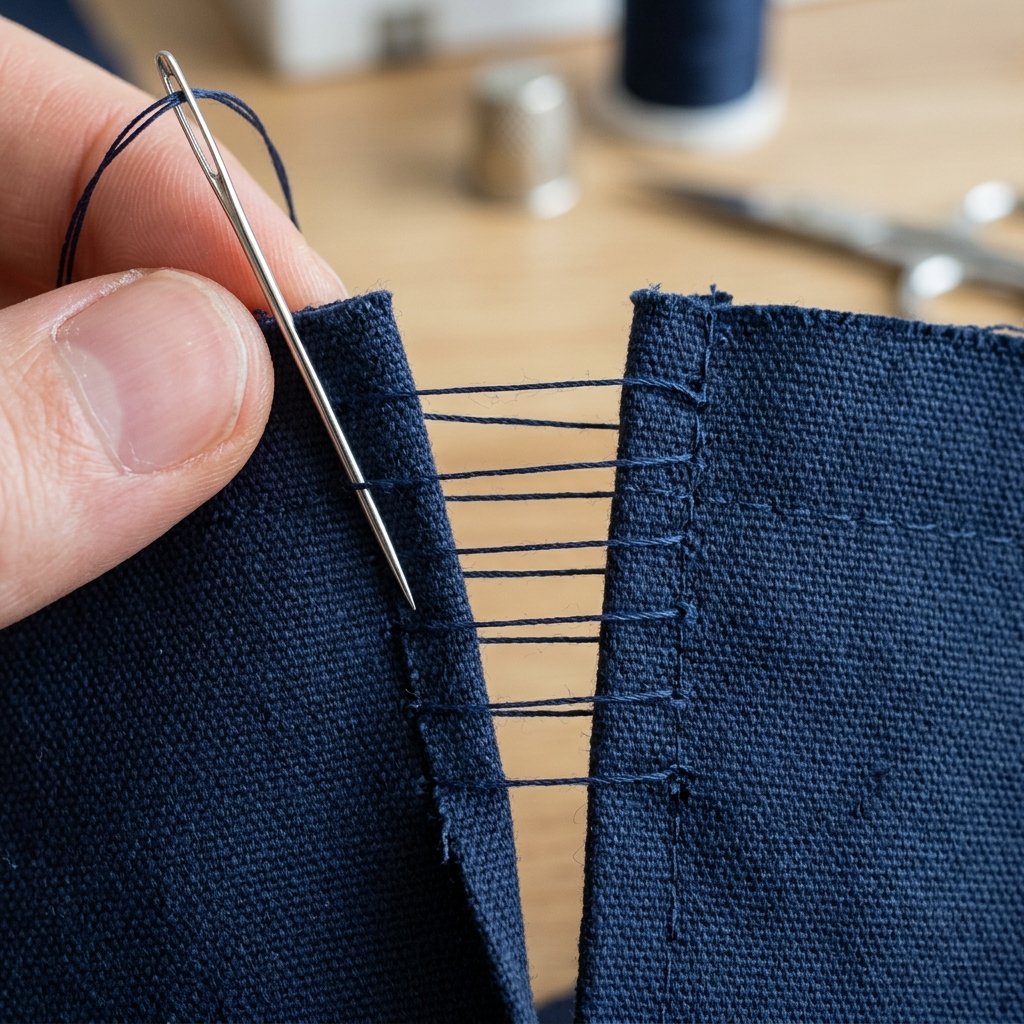
If there is one ‘secret weapon’ in the world of hand-tailoring, it is the Ladder Stitch (also known as the invisible stitch). This technique allows you to close a seam from the outside or pull two pieces of fabric together so that the thread disappears entirely. It is the key to resizing a waistband without leaving a trace.
- Anchor your thread: Knot the end of your thread and bring the needle up through the inside of the seam fold.
- The ‘Rung’: Cross over to the opposite side of the gap and take a small horizontal stitch (about 1/8 inch).
- The ‘Ladder’: Go back to the first side and take another small horizontal stitch exactly parallel to the first.
- The Reveal: After 3 or 4 stitches, gently pull the thread taut. Watch as the two sides of the fabric zip together invisibly.
This method is budget-savvy because it eliminates the need for expensive iron-on tapes or bulky patches. It uses minimal thread and provides a rugged, durable hold that withstands daily wear.
The 10-Minute Takedown: Resizing the Waistband
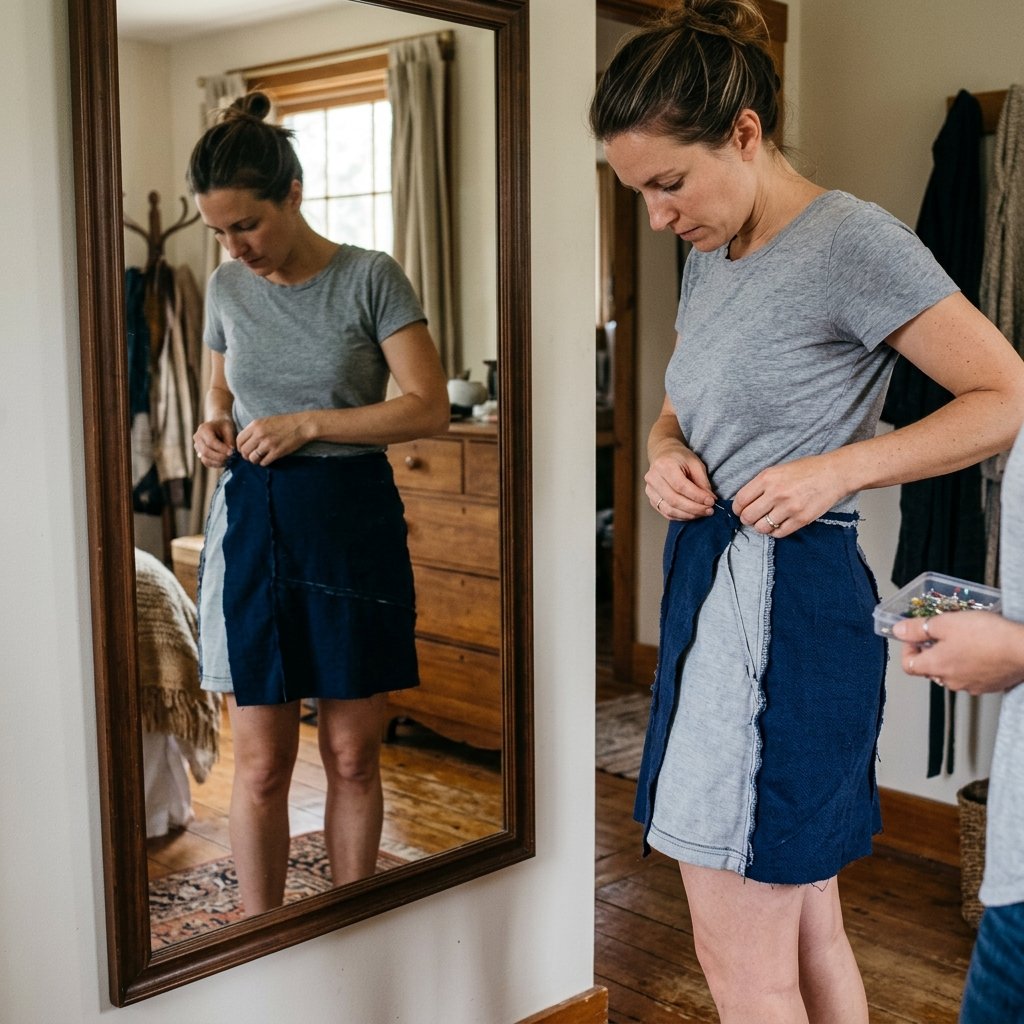
Now for the main event. Most thrifted skirts are too big in the waist. We are going to use the ‘Side Seam Intake’ method. This is the fastest way to drop a size without deconstructing the entire garment.
Step 1: The Pinch Test (2 Minutes)
Put the skirt on inside out. Pinch the excess fabric at the side seams until the waist feels comfortable. Secure these pinches with safety pins. Ensure you pinch an equal amount on both sides to keep the skirt centered.
Step 2: Marking the Path (1 Minute)
Take the skirt off and use your chalk (or a sliver of dry soap) to draw a line from your safety pin down to where the original seam meets your hip. This creates a new, tapered seam line.
Step 3: The Backstitch Power (5 Minutes)
Using a Backstitch for maximum strength, sew along your marked line. A backstitch is performed by coming up through the fabric, going back half a stitch length, and coming up a full stitch length ahead. It mimics the strength of a machine lockstitch.
Step 4: The Final Trim (2 Minutes)
Try the skirt on one last time. If the fit is perfect, trim the excess fabric, leaving about 1/2 inch of seam allowance. Use a simple overcast stitch on the raw edge to prevent fraying. Total time: 10 minutes. Total cost: $0.00.
The Frugal Tailor’s Ledger: DIY vs. Professional Costs
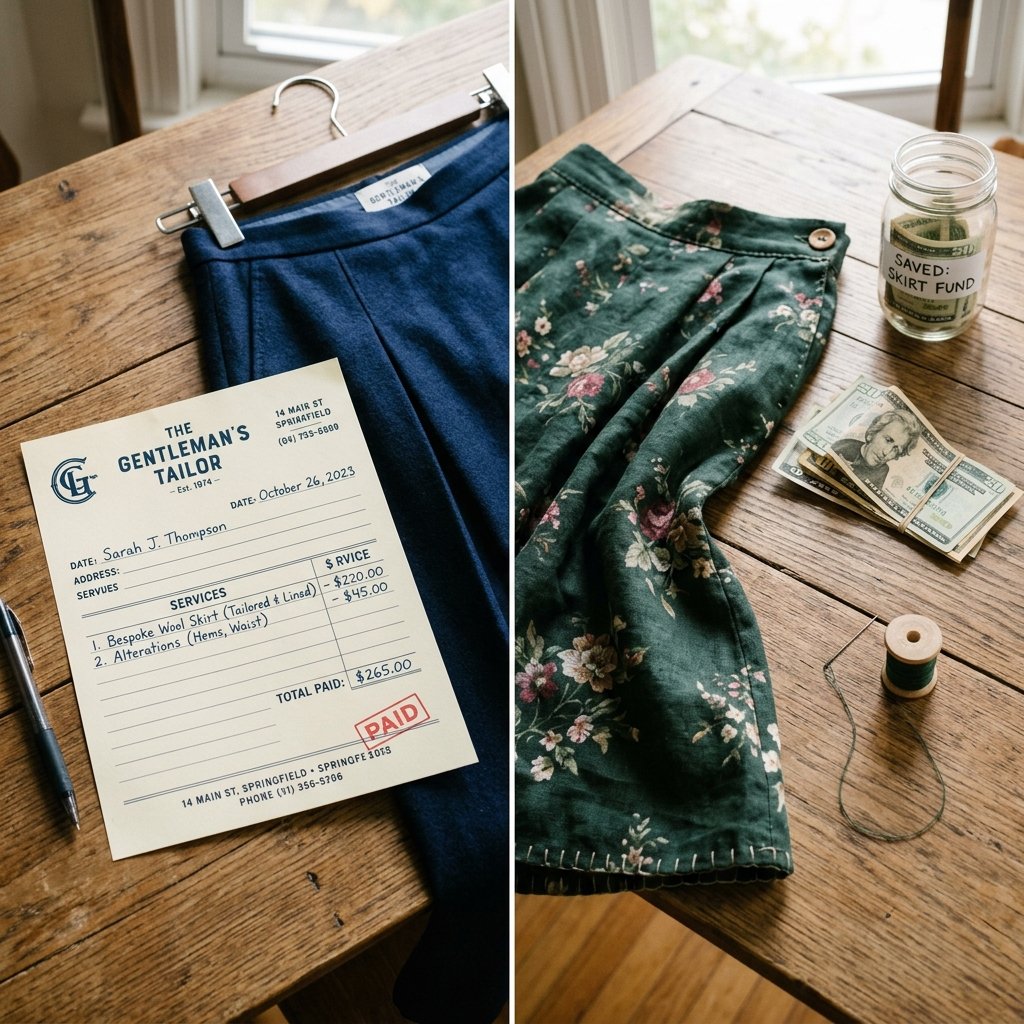
Why do we do this? Besides the creative satisfaction, the math simply makes sense. When you master these 10-minute hacks, you are essentially paying yourself a high hourly wage in savings. Let’s look at the breakdown of what you save by skipping the professional tailor for simple resizing tasks.
| Service Type | Professional Tailor Cost | DIY Hand-Sew Cost | Your Savings |
|---|---|---|---|
| Waist Intake | $25.00 – $45.00 | $0.10 (Thread) | 99% |
| Hemming | $15.00 – $25.00 | $0.05 (Thread) | 99% |
| Button Replacement | $5.00 – $10.00 | Free (Scrap) | 100% |
| Simple Mending | $10.00 – $20.00 | Free | 100% |
By investing just a few minutes of your time, you transform a $4.00 thrift find into a garment that looks and fits like a $100.00 piece. That is the definition of being resourcefully creative.
Conclusion
Resizing a thrifted skirt without a sewing machine isn’t just a craft project; it is an act of rebellion against a throwaway culture. It proves that with a little cleverness and a few basic stitches, you can curate a wardrobe that is both budget-savvy and perfectly tailored to your body. You don’t need fancy equipment to look elegant and feel confident. All you need is the willingness to try.
Next time you find yourself in a thrift store, don’t look at the sizes on the labels—look at the quality of the fabric and the potential of the piece. You now have the skills to make it yours in under 10 minutes. Go forth, find those treasures, and happy mending!

Makenzie is the founder and lead writer at MoneyHackTips.com — a personal finance blog dedicated to delivering street-smart financial wisdom for real people on real budgets. With 300+ published articles covering everything from debt management to investing fundamentals, Makenzie’s mission is to make every dollar work harder. When not writing about money hacks, Makenzie is testing frugal living strategies, optimizing side hustles, and helping readers build financial freedom from scratch.