
The Heartbreak of the Denim Blowout
We have all been there. You reach for your favorite pair of broken-in, perfectly faded jeans—the ones that fit like a second skin—only to realize the dreaded ‘inner thigh thinning’ has finally progressed into a full-blown hole. In the world of fast fashion, most people would simply toss these in the bin and head to the mall to spend another $60 to $120 on a replacement. But you? You are a resourceful, budget-savvy crafter who knows that a blowout isn’t the end; it is an opportunity for a rugged, invisible reinforcement that will make your jeans even stronger than the day you bought them. This guide will walk you through the ‘Grandma’s Secret’ of invisible darning and structural patching, ensuring you can save your wardrobe and your wallet simultaneously. We are talking about a professional-grade repair for a total cost of approximately $0.05 in thread and scrap fabric.
Assessing the Damage: Thinning vs. The Blowout
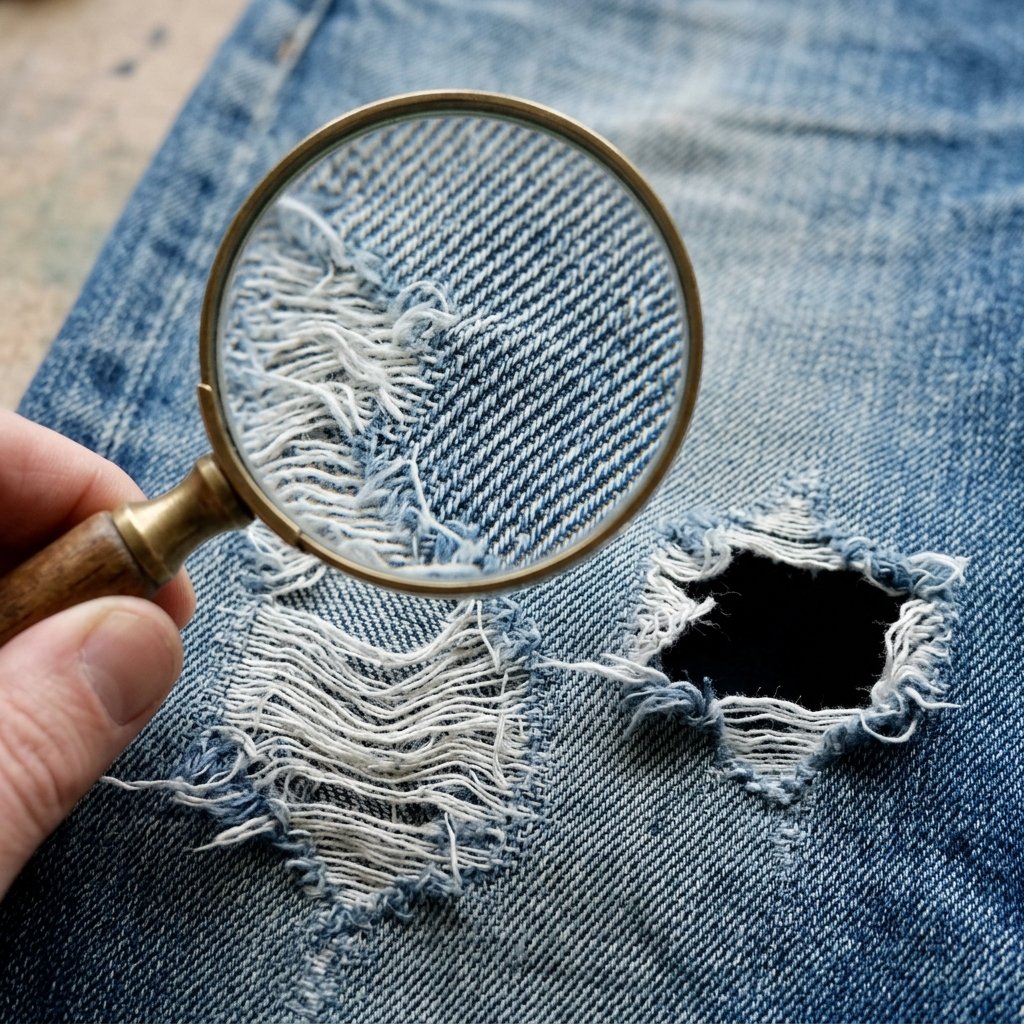
Before you pick up a needle, you must understand the anatomy of denim failure. Inner thigh wear, often colloquially called ‘chub rub,’ is caused by constant friction that grinds the cotton fibers together until the ‘weft’ (the white horizontal threads) snaps, leaving only the ‘warp’ (the blue vertical threads) or a gaping hole. If your jeans are merely ‘thinning’ and look translucent when held up to the light, you are in the perfect position for a preventative reinforcement. If they have already blown out, don’t panic—we can still fix it.
Fabric Compatibility Guide
| Denim Type | Stitch Strategy | Difficulty Level |
|---|---|---|
| 100% Raw Cotton | Heavy-duty Darning | Medium |
| Stretch Denim (2-5% Spandex) | Flexible Zig-Zag or Jersey Patch | High |
| Lightweight Summer Denim | Fine Silk-Thread Darning | Low |
The goal is to match the weight of your patch to the weight of your jeans. Using a heavy work-boot denim patch on thin jeggings will create a ‘stress point’ that causes the fabric to tear right next to the patch. Always aim for a 1:1 weight ratio.
The Frugal Mender’s Toolkit: Essentials Under $10
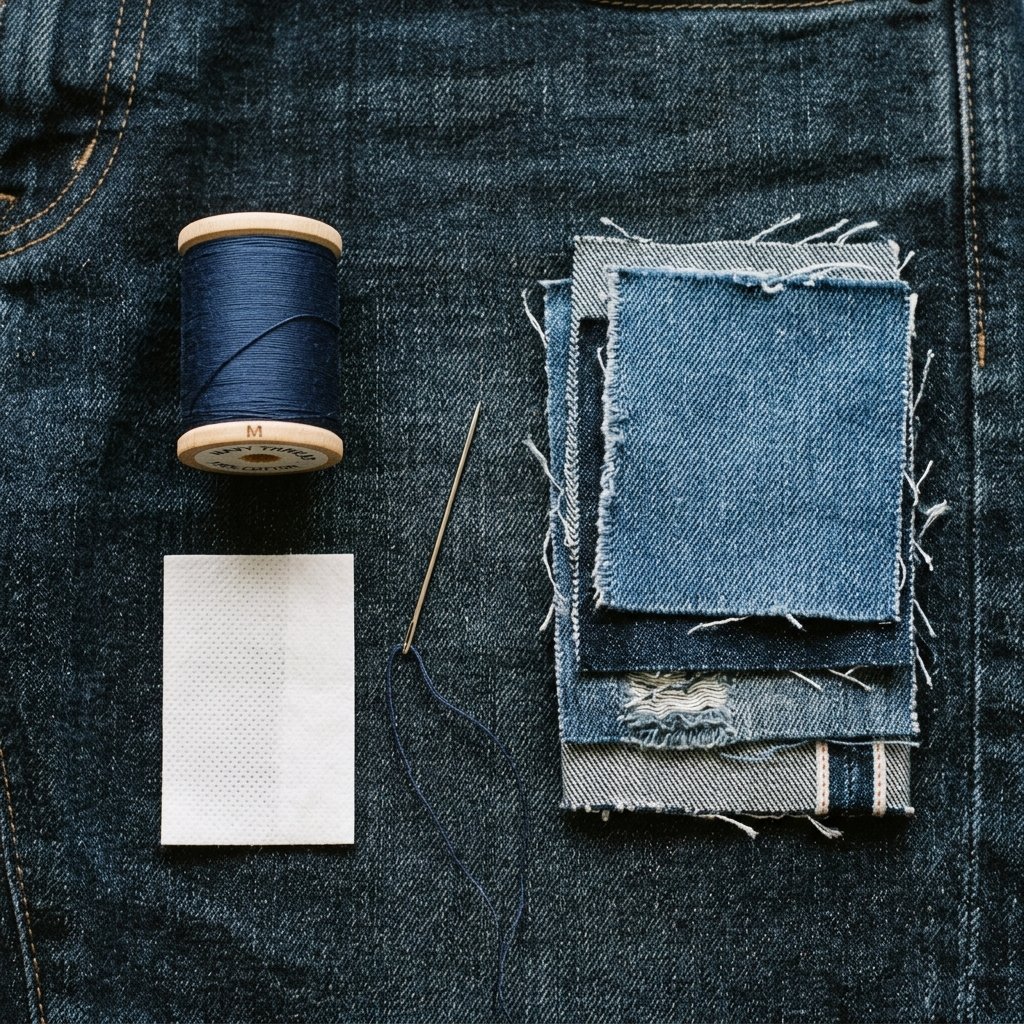
You do not need an expensive sewing machine to achieve an invisible result. In fact, hand-mending often provides a more flexible, ‘natural’ movement that prevents future tears. Most of these items can be found in a basic household kit or salvaged for free.
- Indigo/Navy Thread: Select a high-quality polyester thread like Gutermann or Coats & Clark. Polyester has a slight stretch and higher tensile strength than 100% cotton, making it ideal for high-friction areas.
- Denim Scraps: Never throw away old, unrepairable jeans! Cut them up and save the scraps in a ‘patch jar.’
- Fusible Interfacing (The Secret Weapon): A small pack costs $2.00 and acts as a temporary ‘glue’ to hold your patch in place while you sew.
- Sharp Needles: Use a ‘Sharps’ size 7 or 9.
| Item | Store Bought Cost | Frugal DIY Alternative |
|---|---|---|
| Thread | $4.50 | $0.50 (Thrift store bulk bags) |
| Patch Material | $8.00 (Pre-cut) | $0.00 (Upcycled scraps) |
| Stabilizer | $5.00 | $0.00 (Old cotton t-shirt scrap) |
Pro Tip: To make the repair truly invisible, try to harvest thread from the hem of the same jeans. If you have extra length, unpick the hem, pull out the long indigo threads, and use them for your darning!
Step-by-Step: The Invisible Under-Patch Method

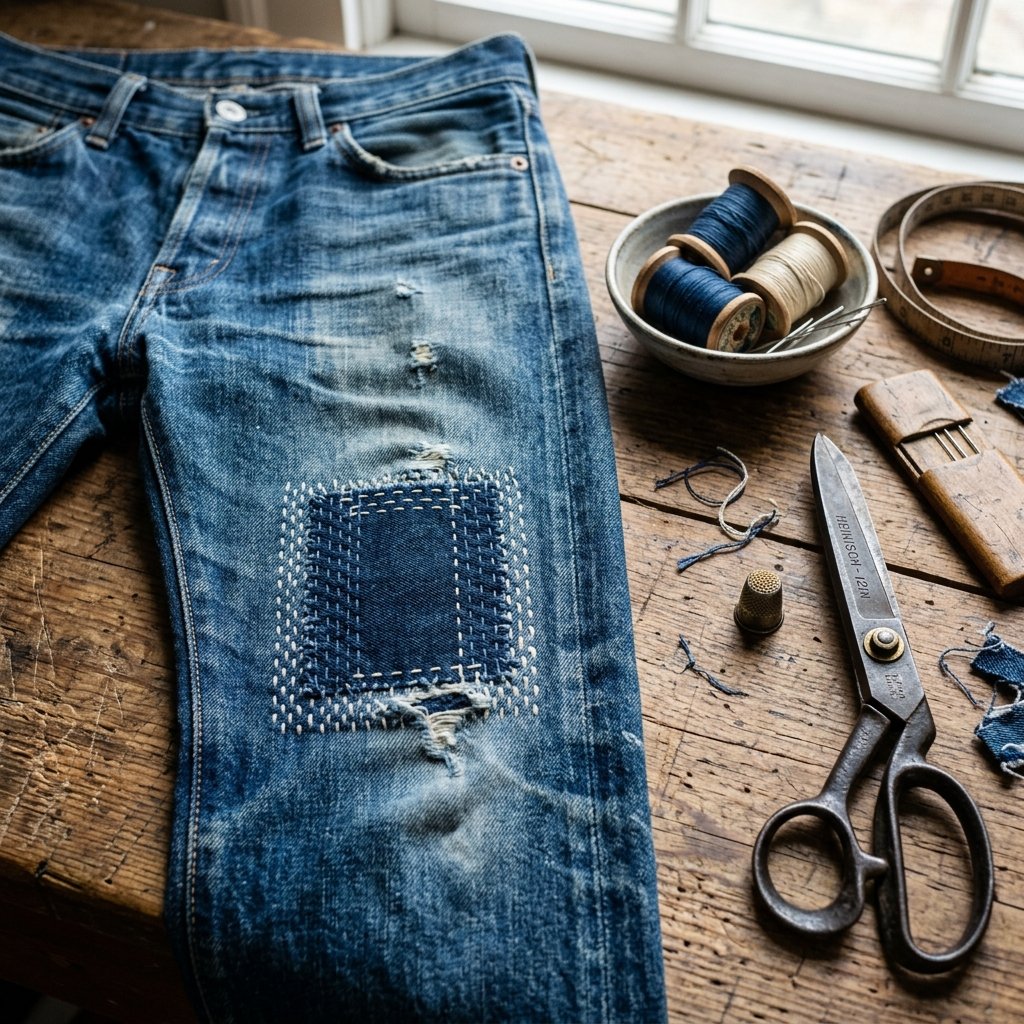
This is the gold standard for inner-thigh repair. By placing the patch on the inside of the garment, we maintain the original look of the denim while adding a secondary ‘skin’ of protection.
- Clean the Area: Trim any long, frayed white threads with sharp scissors. Do not cut away too much; we want to keep as much original blue fiber as possible.
- Cut the Patch: Cut a piece of scrap denim or heavy cotton 1 inch larger than the hole on all sides. Round the corners of the patch—square corners tend to peel and poke.
- Stabilize: Place a piece of lightweight fusible interfacing over the hole on the inside. Iron it down for 10 seconds. This ‘locks’ the frayed edges so they don’t migrate while you work.
- Position the Patch: Place your denim scrap behind the interfacing. Pin it securely.
- The Running Stitch: Using a single strand of matching thread, sew tiny parallel lines across the hole, following the ‘grain’ or diagonal ribs (twill) of the denim.
Safety Note: When sewing through multiple layers of denim, use a thimble to protect your middle finger. Pushing a needle through 14oz denim repeatedly can lead to bruising or punctures.
Mastering the Invisible Darning Stitch
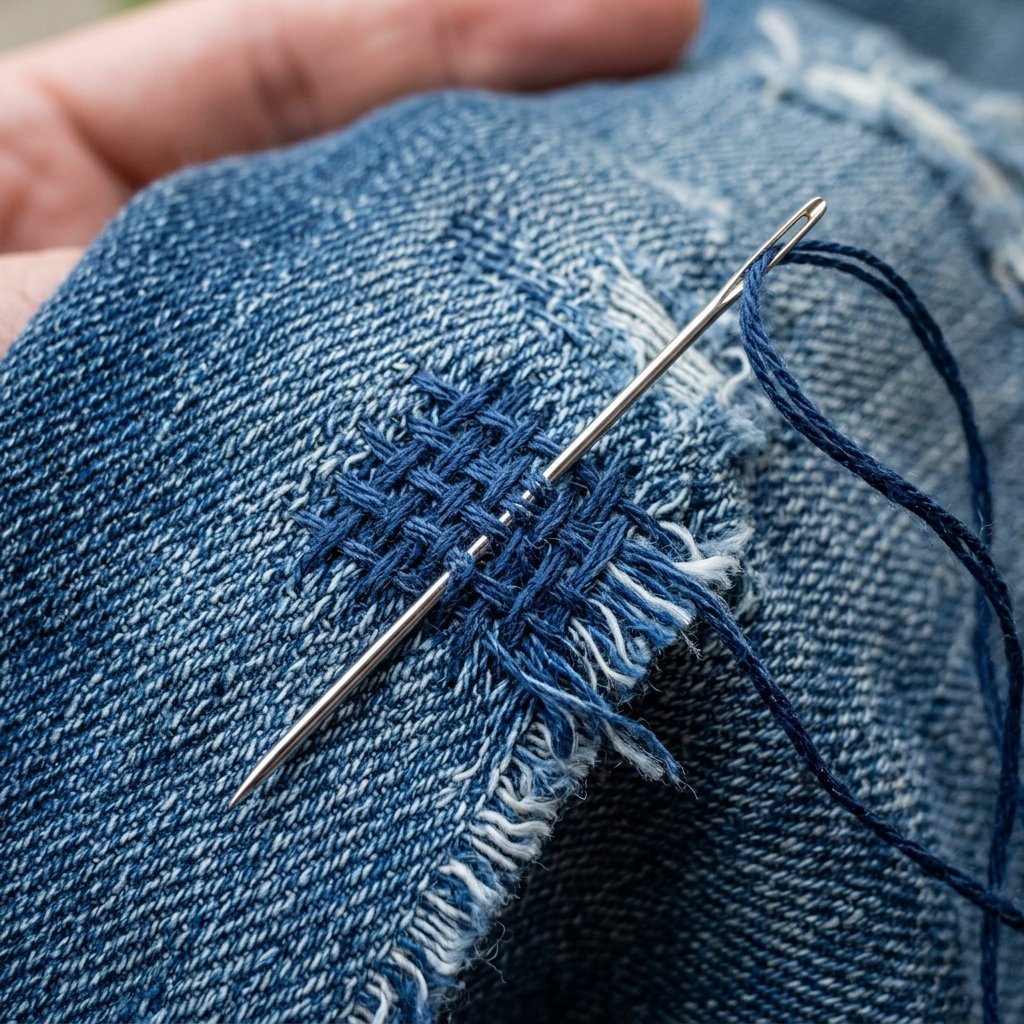
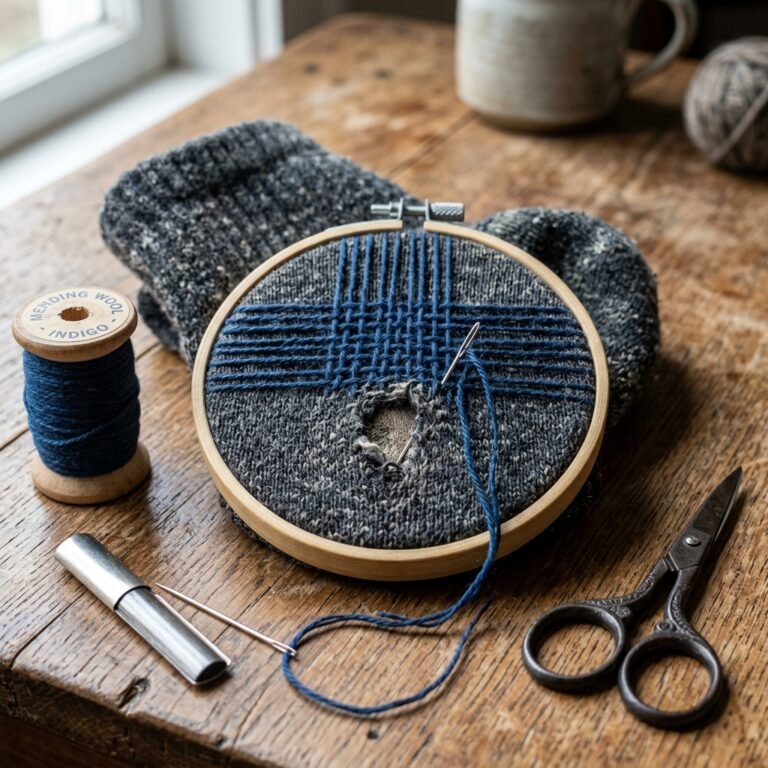
Darning is essentially ‘re-weaving’ the fabric. To make it invisible, you must mimic the diagonal twill of the denim. This is where your cleverness pays off—by matching the angle of the original weave, the human eye will skip right over the repair.
The Weaving Technique
- Vertical Foundation: Start by sewing vertical lines across the hole, anchoring them 1/2 inch into the strong, non-damaged fabric.
- Horizontal Interweaving: Turn your work 90 degrees and weave your needle over and under the vertical threads you just created.
- Tension Control: Keep your stitches firm but not tight. If you pull too hard, the denim will ‘pucker,’ making the repair obvious.
By the time you finish, you will have created a new piece of fabric where the hole used to be. This manual ‘re-weaving’ takes about 30 minutes per hole, but it saves a $100 garment—that is a ‘wage’ of $200/hour in savings!
The Sashiko Alternative: Rugged & Visible
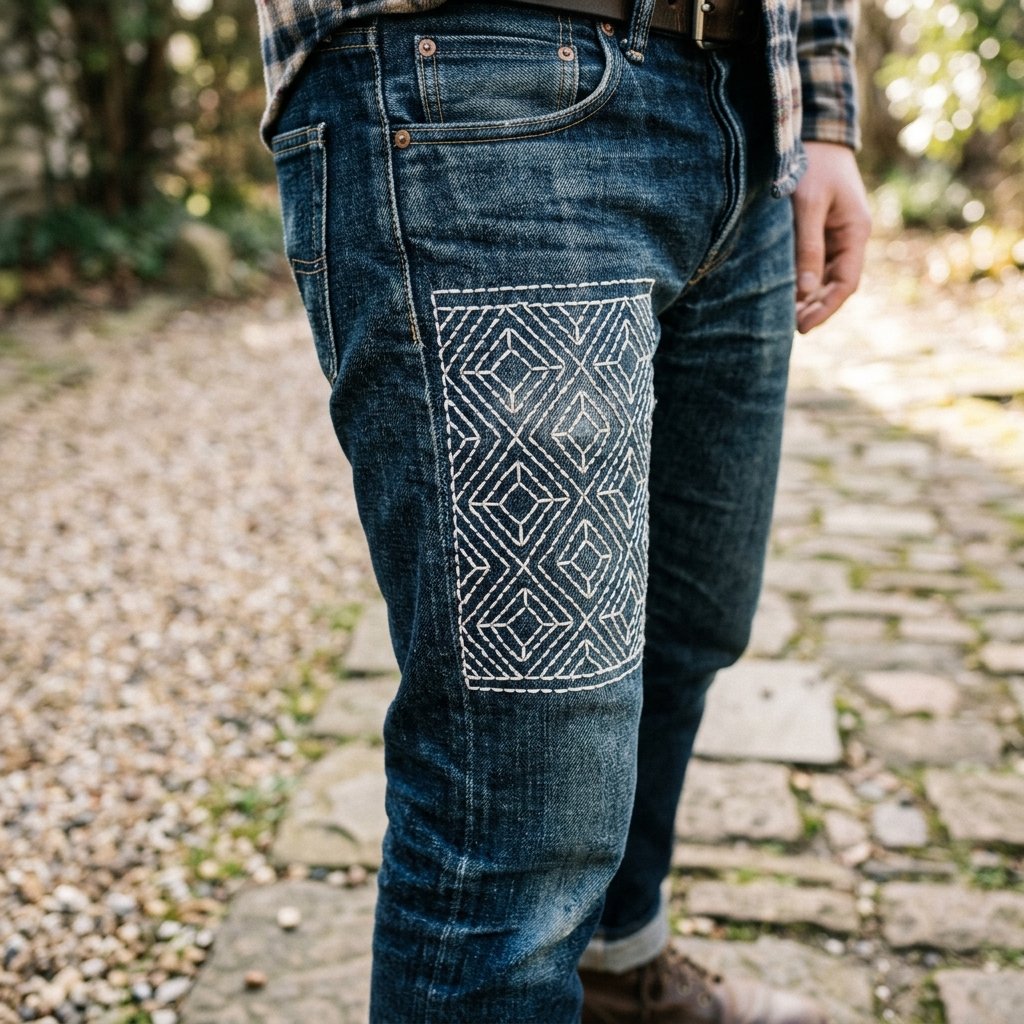
Sometimes, the damage is too large for an invisible fix, or perhaps you want to embrace the ‘Wabi-Sabi’ philosophy of finding beauty in imperfection. Sashiko is a Japanese folk-embroidery technique that uses a simple running stitch to create beautiful, geometric patterns that reinforce the fabric.
Sashiko Ratios for Strength
| Pattern Type | Thread Usage | Durability Rating |
|---|---|---|
| Rice Grain (Simple dots) | Low | Good |
| Hishi-mon (Diamonds) | Medium | Excellent |
| Asa-no-ha (Hemp Leaf) | High | Indestructible |
Use a contrasting white or cream embroidery floss for a classic look, or stick to indigo for a more subtle ‘rugged’ aesthetic. This method is particularly popular for ‘Handy Parents’ who want to make their kids’ jeans last through a season of playground slides and tree climbing.
Preventative Maintenance: Stop the Next Hole
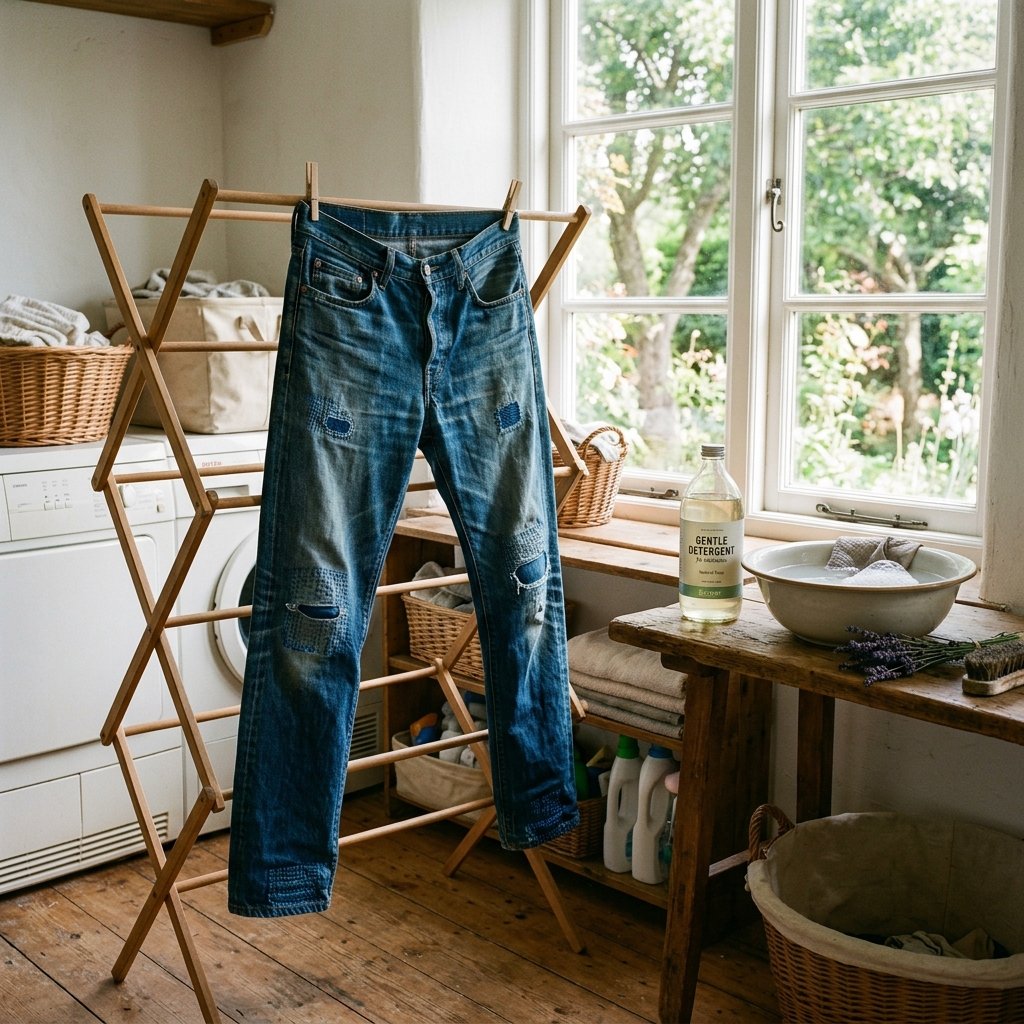
Once you have mended your jeans, you want to ensure the repair lasts. Friction is the enemy, but heat is the silent killer of denim fibers. Follow these rules to double the life of your repair:
- Wash Less: Only wash your jeans every 5-10 wears. Spot clean small stains with a damp cloth.
- Cold Water Only: Heat breaks down the elastane in stretch denim and weakens cotton fibers.
- Air Dry: The dryer is a ‘friction chamber.’ If you see lint in your dryer trap, that is literally your clothes disintegrating. Hang dry to keep your patches secure.
- Lubricate the Friction: Some hikers use a small amount of clear paraffin wax or specialized fabric glide on the inner thighs of their trousers to reduce the ‘drag’ that causes blowouts.
Conclusion
Wear Your Repairs with Pride
In a world of disposable everything, choosing to mend is a radical act of resourcefulness. By mastering the invisible inner-thigh patch, you have not only saved $80+ on a new pair of jeans, but you have also preserved a garment that carries your history and your ‘fit.’ Whether you choose the stealthy invisible darning method or the rugged artistry of Sashiko, you are proving that you have the skills to maintain and improve what you own. So, the next time you feel that thinning fabric, don’t throw them out—grab your needle, find a scrap of denim, and give those jeans a second life. Happy mending!

Makenzie is the founder and lead writer at MoneyHackTips.com — a personal finance blog dedicated to delivering street-smart financial wisdom for real people on real budgets. With 300+ published articles covering everything from debt management to investing fundamentals, Makenzie’s mission is to make every dollar work harder. When not writing about money hacks, Makenzie is testing frugal living strategies, optimizing side hustles, and helping readers build financial freedom from scratch.