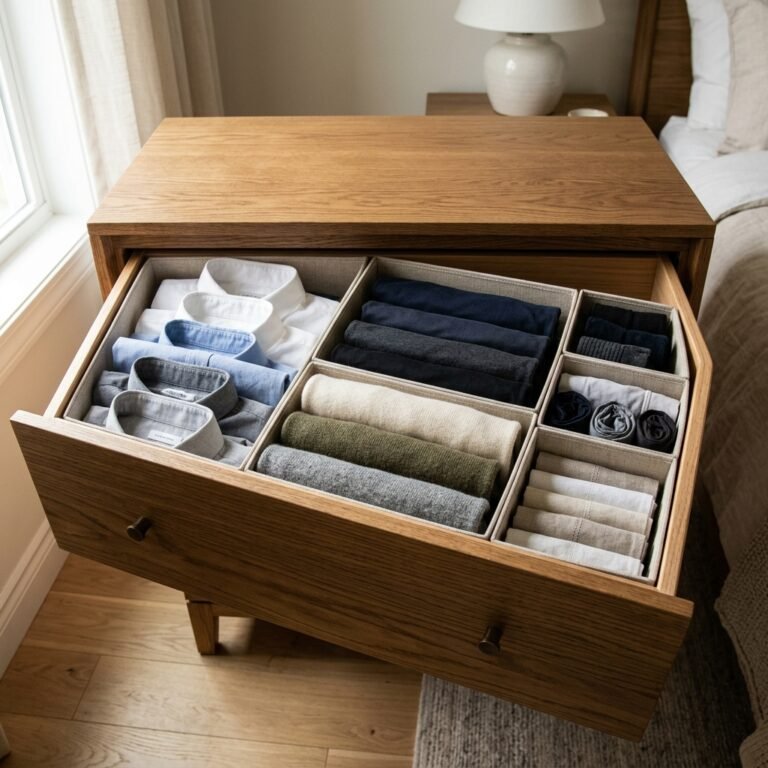

Unlock the Secret to High-End Organization on a Shoestring Budget
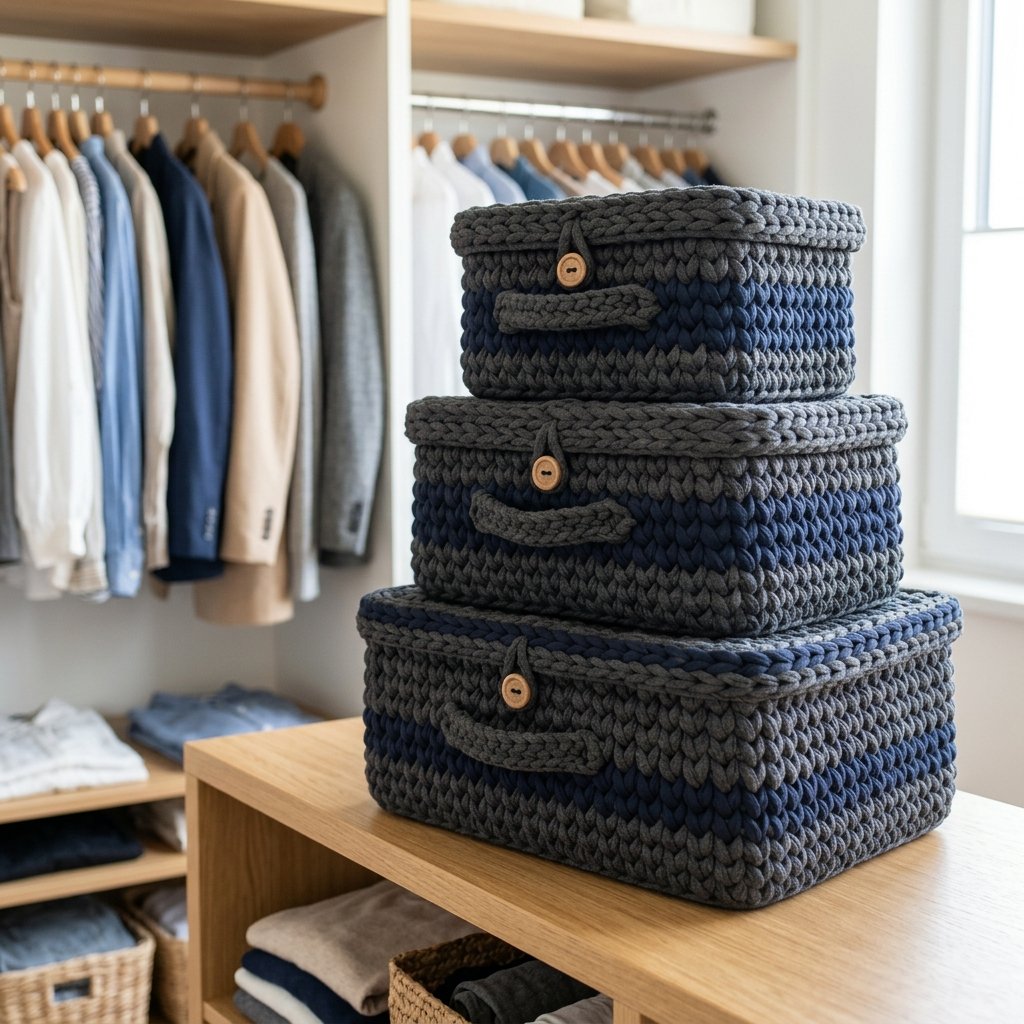
We’ve all been there: staring at a closet that looks like a textile factory exploded. The solution usually involves a trip to a big-box store to drop $20 or $30 on a single ‘designer’ storage bin. But as a savvy crafter, you know better. Why buy plastic when you can upcycle the very clothes that are causing the clutter? Today, we are diving deep into the world of T-shirt yarn (or ‘Tarn’) and structural cardboard to create rugged, masculine-elegant storage boxes that look like they belong in a high-end boutique.
This isn’t just about cleaning up; it’s about the resourceful satisfaction of turning literal trash into functional art. Whether you are a handy dad looking to organize your tool accessories or a budget-savvy decorator, these boxes provide a custom, textured look that plastic bins simply can’t match. Grab those old, stained cotton tees and that pile of Amazon boxes—we’re about to build something incredible.
The Raw Materials: Mining Your Own Closet
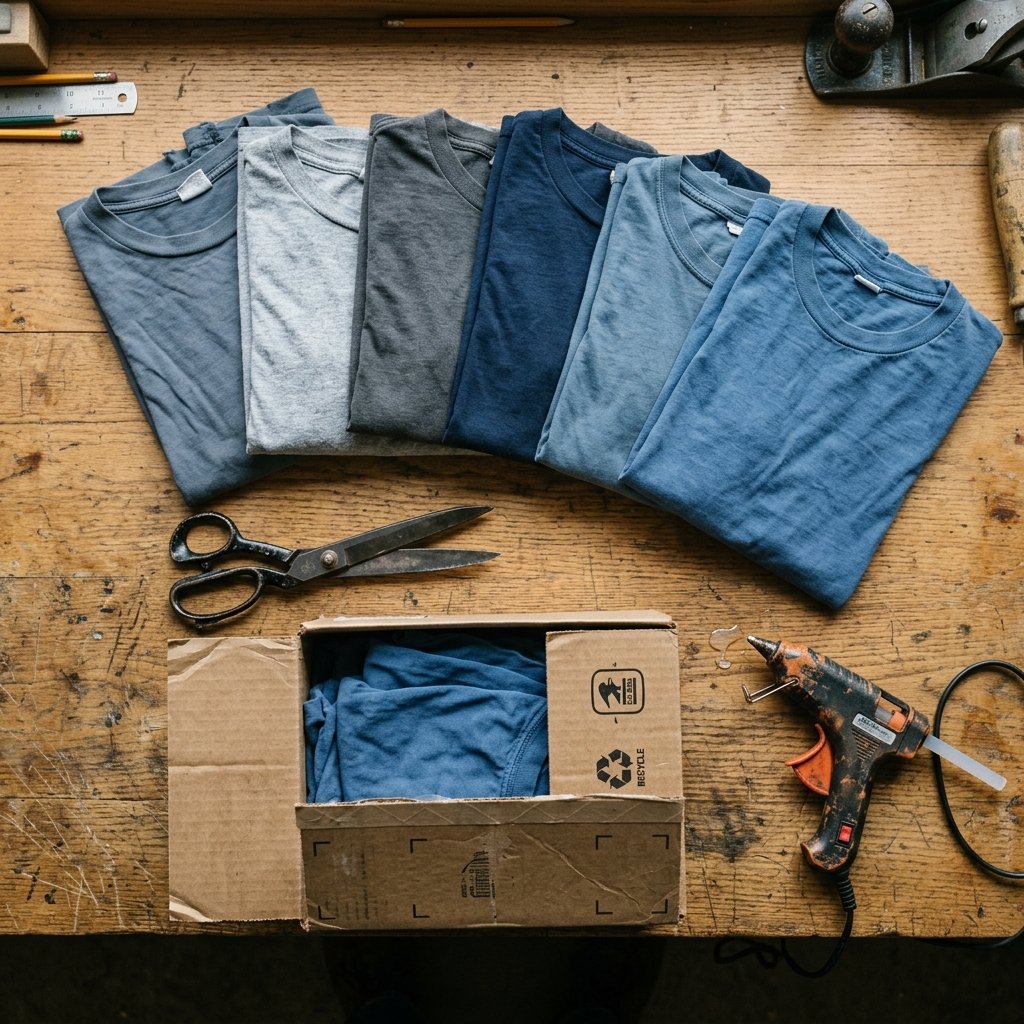
The beauty of this project lies in its zero-waste philosophy. Before you reach for your wallet, reach for that ‘to-be-donated’ pile. For a standard-sized storage box, you will need approximately 3 to 5 large T-shirts and one sturdy shipping box. Look for 100% cotton jersey shirts; they provide the best stretch and ‘curl’ for the yarn.
Essential Supply List
- Old T-shirts: Cotton jersey works best (avoid side seams if possible).
- Cardboard Boxes: Heavy-duty, double-walled boxes provide the best structural integrity.
- Sharp Fabric Scissors: Or a rotary cutter if you have a steady hand.
- Hot Glue Gun: For securing the ‘warp’ threads of your weave.
- Measuring Tape: To ensure your boxes fit your specific shelving.
Let’s look at how much you’re actually saving by choosing the DIY route over a retail solution.
| Item | Retail Designer Bin | DIY T-Shirt Yarn Box |
|---|---|---|
| Material Cost | $18.00 – $45.00 | $0.00 – $2.50 |
| Customization | Limited Colors/Sizes | Unlimited |
| Durability | Rigid Plastic/Flimsy Fabric | Reinforced Cardboard |
| Eco-Impact | High (New Plastic) | Zero (Upcycled) |
“The goal isn’t just to save money; it’s to master your environment with the tools you already possess. Every old shirt is a spool of potential.”
Mastering the ‘Tarn’: From Rags to Rugged Rope
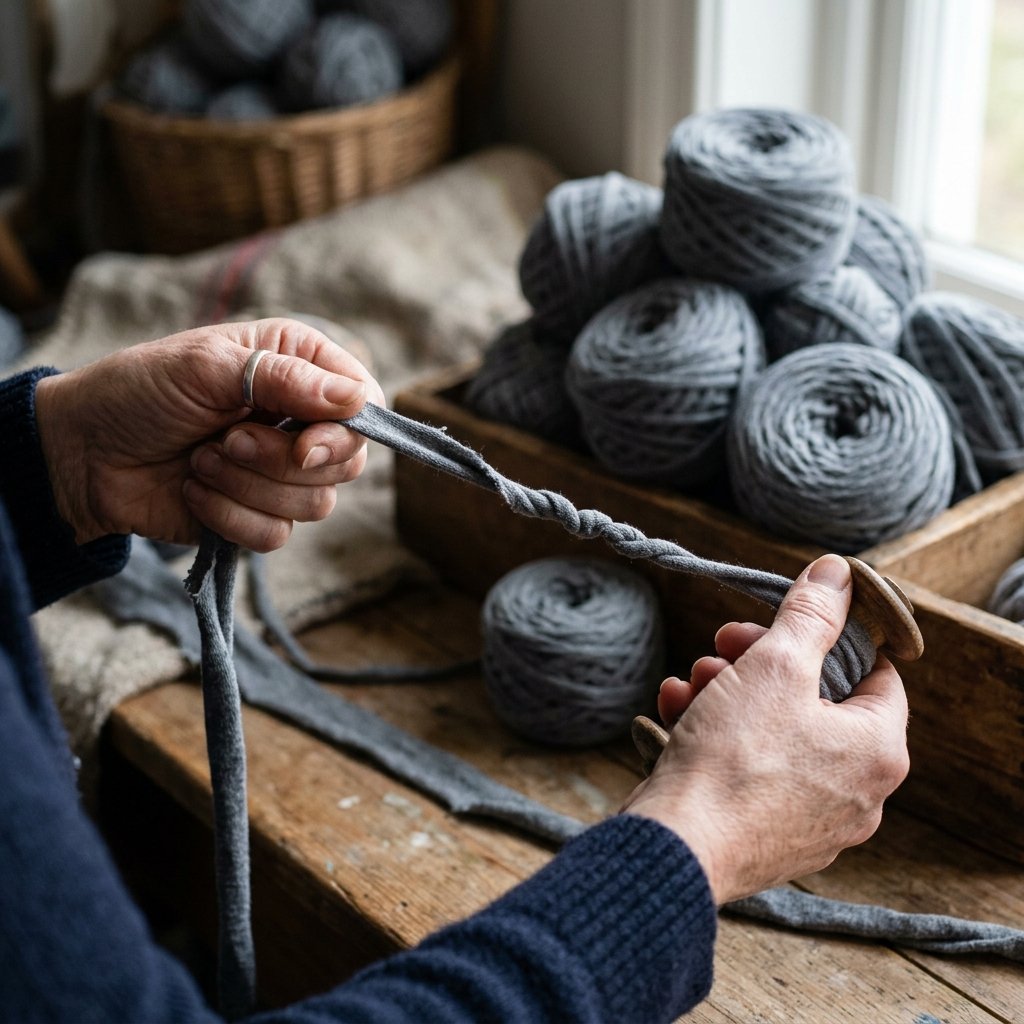
Creating T-shirt yarn is a foundational skill for the frugal crafter. The goal is to create one continuous strand of fabric from a single shirt to minimize knots. This process is tactile, satisfying, and surprisingly fast once you find your rhythm.
Step-by-Step Continuous Yarn Cutting
- Prep the Shirt: Lay the shirt flat and cut off the bottom hem and the top section (from the armpits up). You are left with a large rectangle of double-layered fabric.
- The Slit Method: Fold the rectangle in half, but leave about 1 inch of the bottom layer protruding past the top layer.
- The Fringe Cut: Cut strips approximately 1.5 inches wide from the folded edge toward the protruding edge, stopping just before you hit the very top of the protruding layer.
- The Diagonal Connection: Open the shirt so the uncut 1-inch strip is in the center. Cut diagonally from the first slit to the second, the second to the third, and so on. This creates one long, unbroken spiral.
- The Stretch: Pull the long strip through your hands. The edges will curl inward, creating a rounded cord that hides the raw edges.
Pro Tip: Use shirts without side seams (tubular knit) for the smoothest yarn. If your shirt has seams, just snip them at a 45-degree angle to keep the yarn flowing smoothly.
The Cardboard Skeleton: Building a Foundation That Lasts
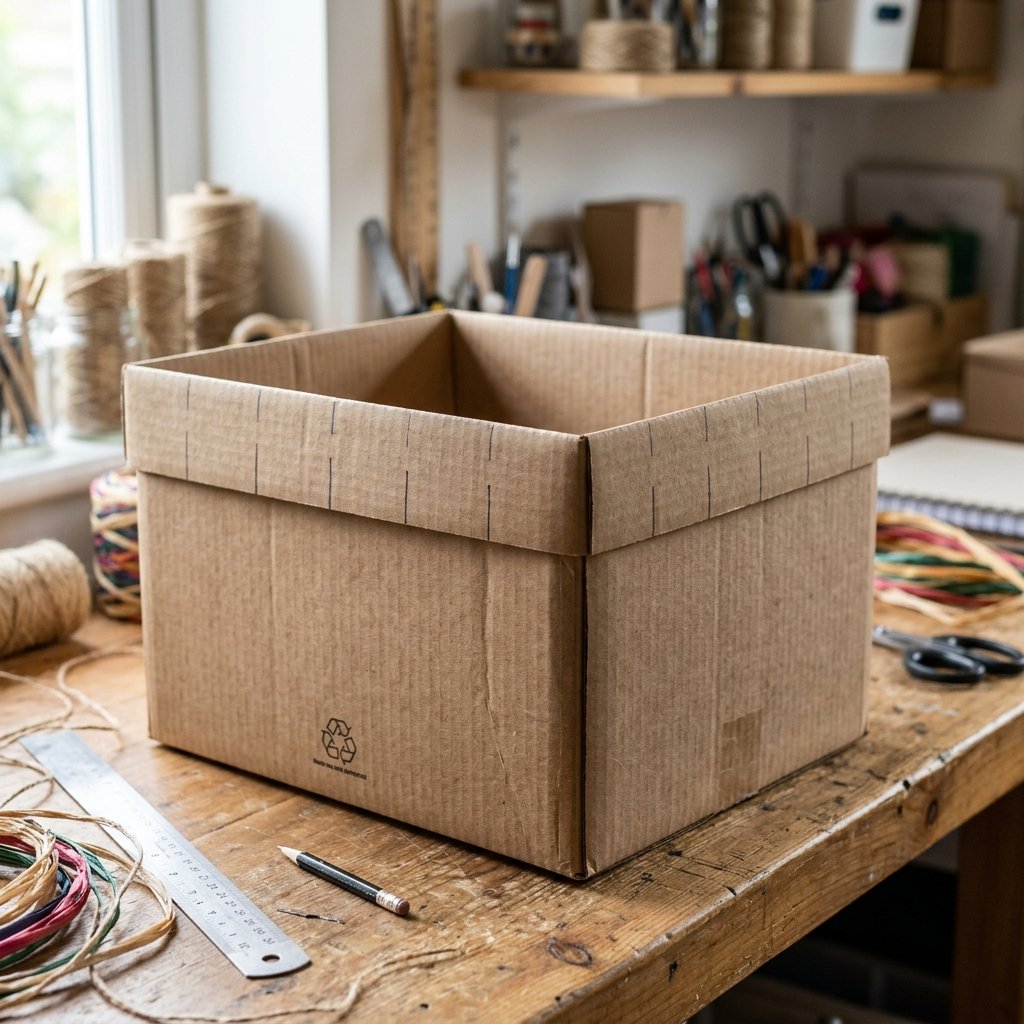
A storage box is only as good as its frame. To ensure these boxes don’t buckle under the weight of your items, we need to reinforce the cardboard base. This is where the ‘rugged’ part of the design comes in.
Reinforcement Techniques
- Double the Bottom: Cut a second piece of cardboard the exact size of the box floor and glue it inside. This prevents ‘sagging’ over time.
- The Flap Fold: Instead of cutting off the top flaps of your box, fold them inward and glue them to the interior walls. This doubles the thickness of the top rim, which takes the most stress during weaving.
- The Vertical Struts: If you are making a very large bin, glue vertical cardboard ‘ribs’ into the corners for extra compression strength.
Once your box is prepped, you need to create the ‘warp’ for your weaving. Use a utility knife to cut small slits every 2 inches around the top rim of the box. These will hold your vertical yarn supports in place.
The Weave: Transforming Scraps into Texture
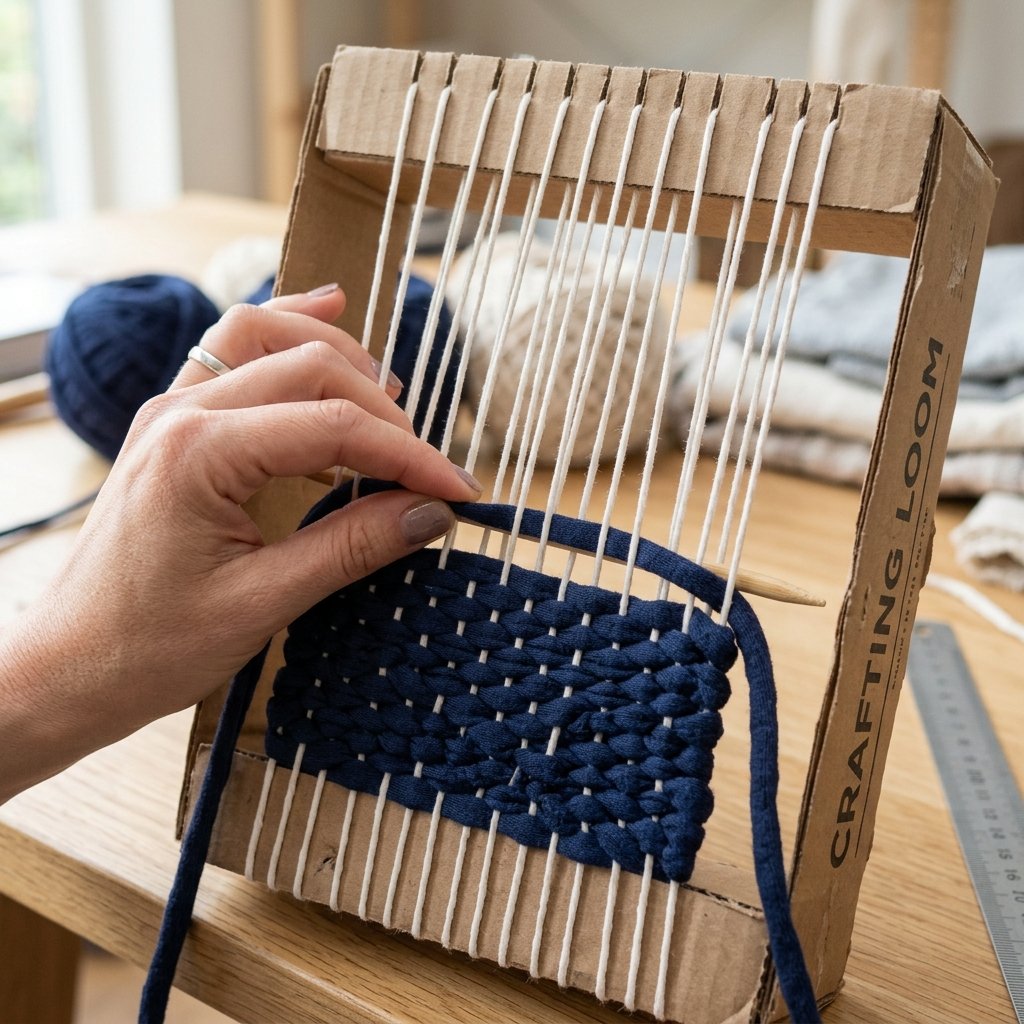
This is where the magic happens. We will use a simple over-under weaving technique that creates a thick, durable fabric skin over the cardboard. It hides the ‘trash’ origins of the box and provides a sophisticated, tactile finish.
The Weaving Process
- Setting the Warp: Take a long piece of yarn and wrap it vertically around the box, threading it through the slits you cut in the previous step. Ensure these are tight and secure.
- Starting the Weft: Knot your horizontal yarn (the weft) to a corner warp thread at the bottom of the box.
- Over-Under Rhythm: Guide your yarn horizontally around the box, going over one vertical thread and under the next.
- Pack the Rows: Every few rows, use your fingers to push the yarn down toward the bottom. This ensures a dense, professional-looking weave with no cardboard peeking through.
- Changing Colors: To switch colors, simply tie the new strand to the old one using a fisherman’s knot, hiding the knot on the inside of the box.
| Weaving Style | Look & Feel | Difficulty |
|---|---|---|
| Single Weave | Clean, Minimalist | Easy |
| Double-Strand | Chunky, Rugged | Medium |
| Braid-In | Intricate, High-End | Advanced |
Elevating the Aesthetic: Masculine-Elegant Details
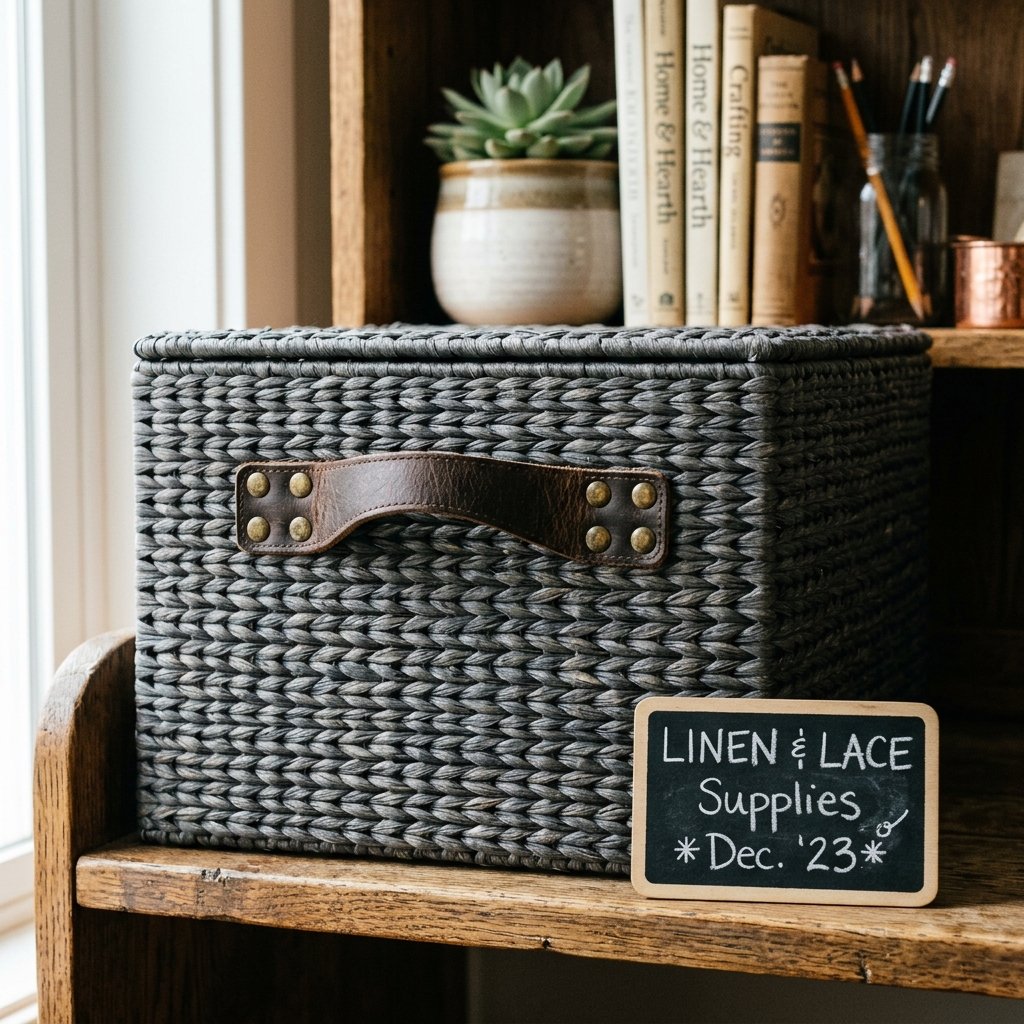
To take your boxes from ‘craft project’ to ‘designer decor,’ the details matter. Adding a handle or a label can drastically change the vibe of the finished piece.
The Finishing Touches
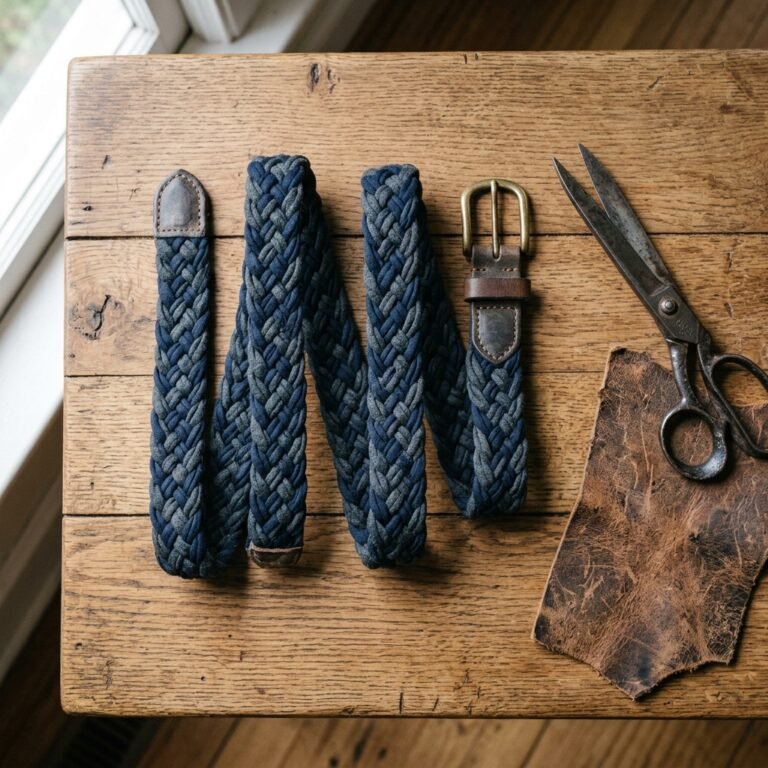
- Leather Scraps: Use an old leather belt or scrap leather to create handles. Rivet or sew them onto the sides for a rugged, sophisticated look.
- Rope Accents: If you don’t have leather, a thick jute rope handle provides a great contrast to the soft T-shirt yarn.
- Chalkboard Labels: Use a small piece of wood painted with chalkboard paint to label your bins (e.g., ‘Cables,’ ‘Winter Gear,’ ‘Tools’).
Safety Note: When using a hot glue gun or utility knife for these finishing touches, always work on a stable surface and keep your fingers away from the path of the blade or the hot nozzle.
By the time you finish, you’ll have a set of storage containers that are stronger than fabric bins and much more attractive than plastic tubs. Best of all, they cost you almost $0.
Conclusion
Your Closet, Reimagined
Organizing your home doesn’t have to be an expensive endeavor fueled by plastic consumption. By mastering the art of the DIY T-shirt yarn storage box, you’ve proven that resourcefulness and creativity are the ultimate tools for a beautiful home. You’ve saved money, kept fabric out of the landfill, and created a custom storage system that fits your style perfectly.
Now, take a look at that closet. It’s no longer a source of stress—it’s a showcase of your crafty expertise. Keep that momentum going! What else in your ‘trash’ pile is just waiting to become a treasure? Happy crafting, and enjoy your beautifully organized, clutter-free space!

Makenzie is the founder and lead writer at MoneyHackTips.com — a personal finance blog dedicated to delivering street-smart financial wisdom for real people on real budgets. With 300+ published articles covering everything from debt management to investing fundamentals, Makenzie’s mission is to make every dollar work harder. When not writing about money hacks, Makenzie is testing frugal living strategies, optimizing side hustles, and helping readers build financial freedom from scratch.