
The Art of the Permanent Bloom
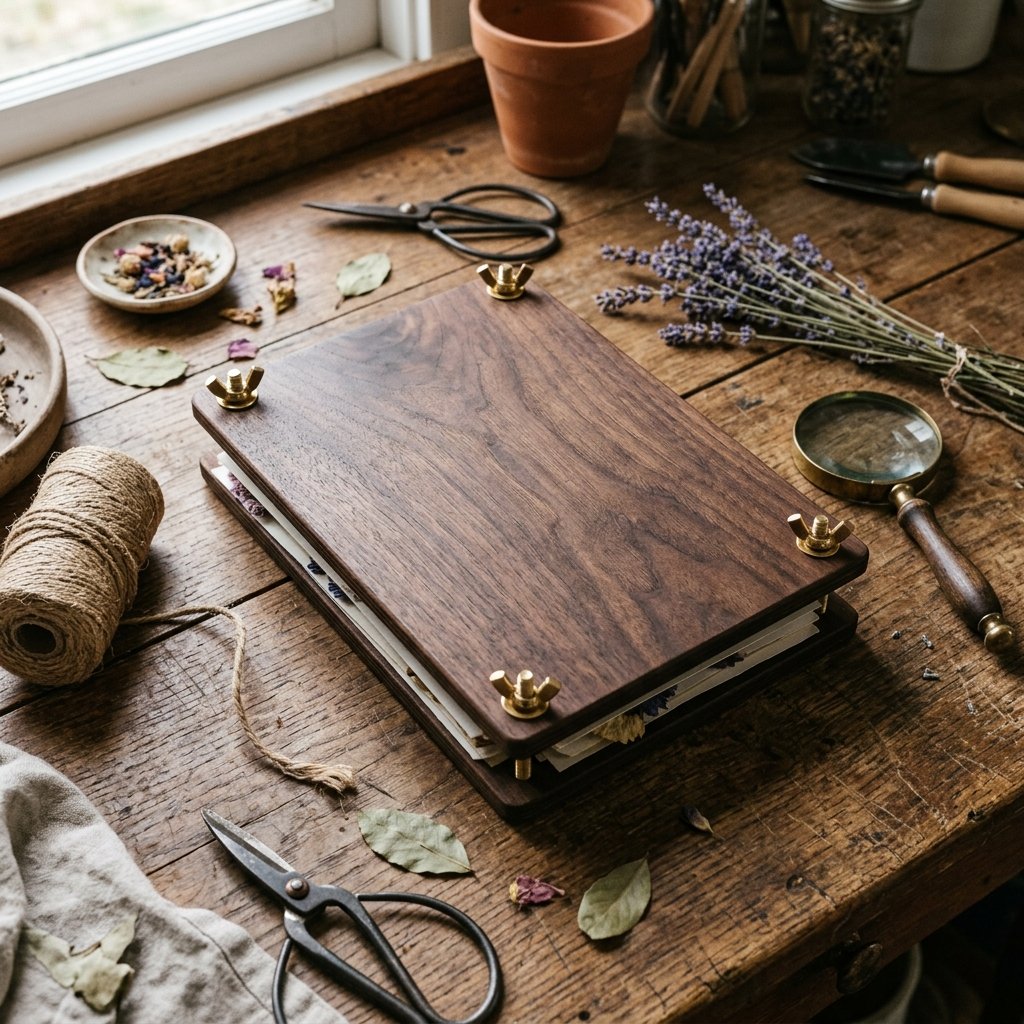
In a world of digital snapshots and fleeting moments, there is something profoundly masculine-elegant and resourcefully-creative about the art of botanical preservation. A flower press isn’t just a tool; it is a time machine. Whether you are a frugal DIYer looking to save a wedding bouquet or a handy parent teaching your children the quiet science of nature, building your own press is the ultimate ‘trash-to-treasure’ victory. By using scrap wood and basic hardware store finds, we are going to construct a professional-grade kit that rivals $80 boutique versions for a mere $5 to $10. This guide is designed for those who appreciate rugged utility and the clever satisfaction of a project well-built.
The Scavenger’s Manifesto: Materials and Budget Breakdown
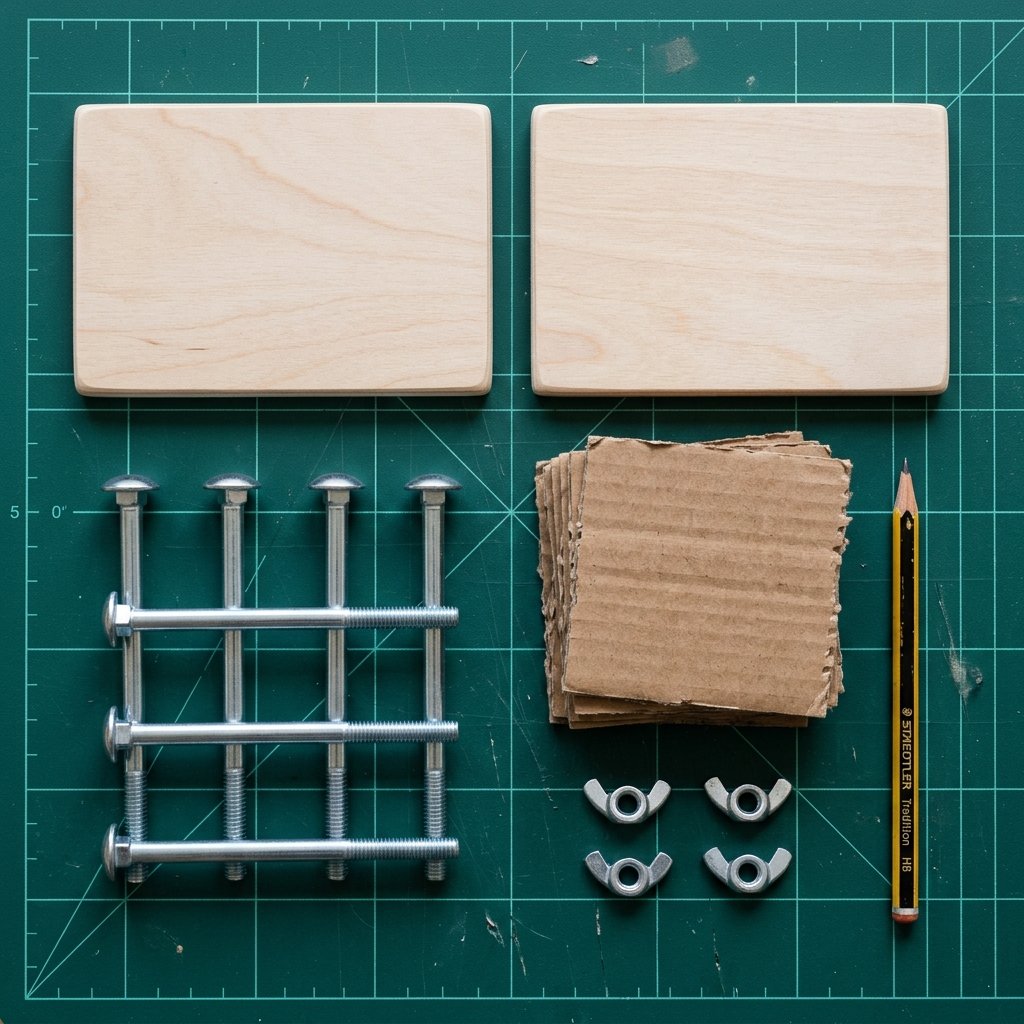
Before we touch a saw, we must gather our supplies. A truly budget-savvy crafter knows that the best wood is often the wood you already have. Look for 3/4-inch plywood scraps or even a sturdy old cutting board. The goal is rigidity; we need the wood to apply even pressure without bowing.
The Essential Supply List
| Item | Source | Estimated Cost |
|---|---|---|
| 2 Wood Planks (approx. 9×12″) | Scrap pile / Pallet | $0.00 |
| 4 Carriage Bolts (1/4″ x 4″) | Hardware Store | $2.40 |
| 4 Wing Nuts & 4 Washers | Hardware Store | $1.50 |
| Corrugated Cardboard | Recycling Bin | $0.00 |
| Blotting Paper or Parchment | Kitchen Pantry | $0.00 |
| Total Investment | – | $3.90 |
The Budget Mantra: Never buy new what you can reclaim. A piece of weathered oak from a discarded fence post has more character than any store-bought pine.
Engineering the Squeeze: Precision Cutting and Drilling

The secret to a perfect press is symmetry. If your holes don’t align, your wing nuts will bind, and your flowers will dry unevenly. We are aiming for a rugged, practical design that can withstand years of tightening.
- Step 1: Cut two identical pieces of wood. A standard 9×12 inch size is perfect for most wildflowers and ferns.
- Step 2: Clamp the two boards together. This ensures that when you drill, the holes will be perfectly mirrored.
- Step 3: Mark a point 1 inch in from every corner.
- Step 4: Using a 1/4-inch drill bit, bore through both boards simultaneously. Pro Tip: Place a scrap piece of wood underneath to prevent ‘blowout’ on the bottom side.
- Step 5: Sand all edges vigorously. We want a smooth, ‘masculine-elegant’ finish that feels good in the hand. Start with 80-grit and finish with 220-grit sandpaper.
The Heirloom Finish: Staining and Personalization
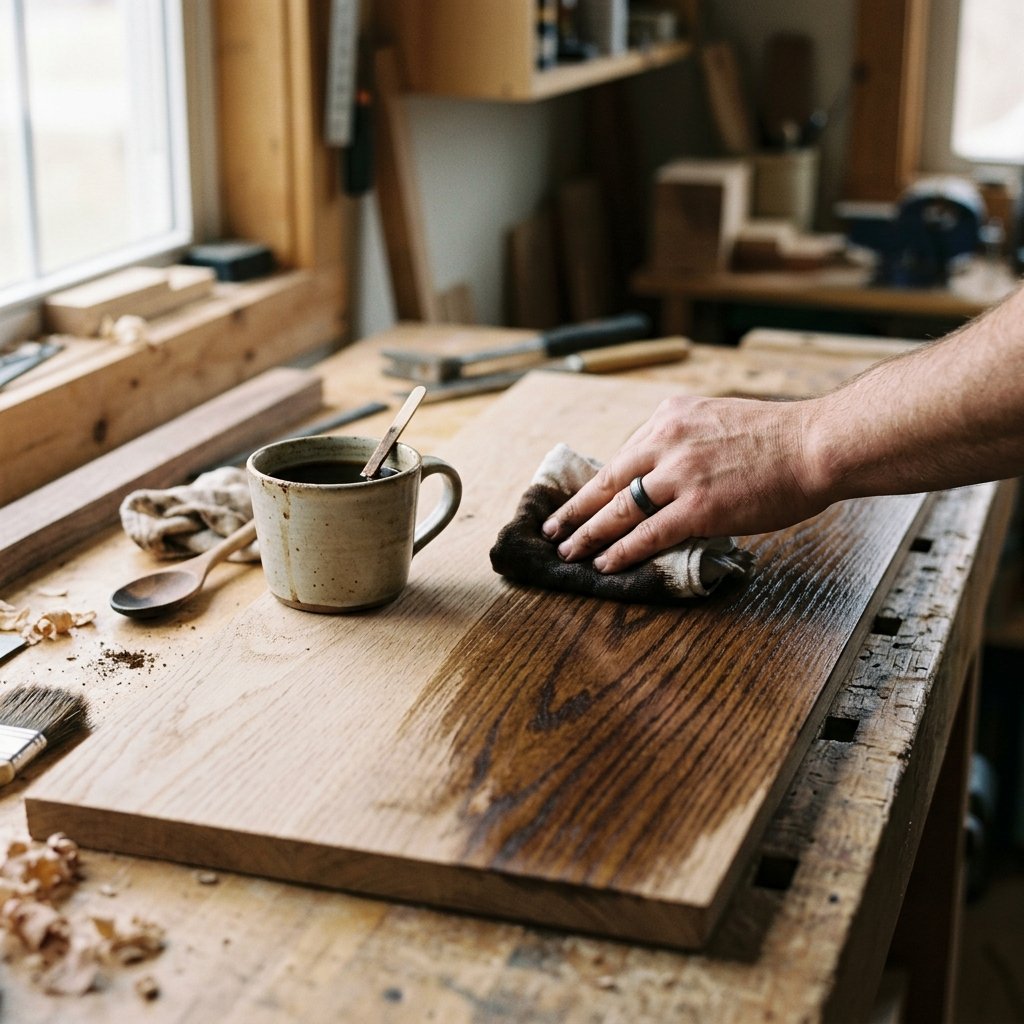
Elevating the Aesthetic
We don’t want this to look like a school project; we want it to look like a high-end boutique find. A clever trick for a budget-savvy finish is using household items to stain the wood.
Natural Stain Options
- Coffee/Tea Soak: Brew a very strong pot of black coffee. Apply 3-4 coats for a warm, aged oak look.
- Steel Wool & Vinegar: Soak a pad of steel wool in apple cider vinegar for 24 hours. The resulting liquid creates a rugged, weathered grey ‘barn wood’ effect on tannins-rich wood.
- Beeswax Polish: If you prefer the natural wood grain, rub the surface with a mixture of melted beeswax and olive oil for a food-safe, silky sheen.
For the creative gift-giver, this is the moment to personalize. Use a wood-burning tool or a simple stencil to add the recipient’s initials or a botanical illustration to the top plate.
The Internal Engine: Creating the Drying Layers
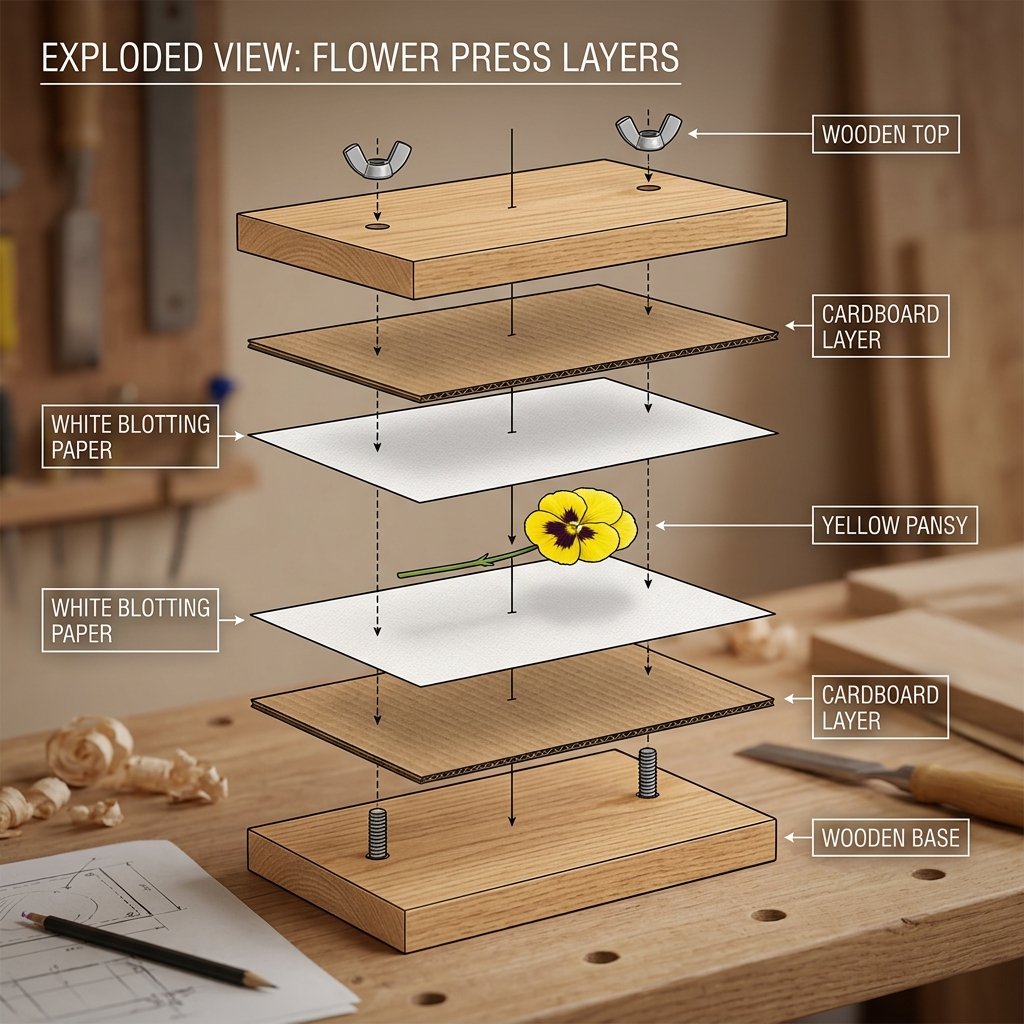
The wood provides the pressure, but the internal layers do the heavy lifting of moisture removal. This is where most frugal DIYers fail by using the wrong materials. You need a combination of ‘breathing’ and ‘wicking’ layers.
The Layering Formula
- The Foundation: A piece of corrugated cardboard. The ‘corrugation’ (the wavy middle part) allows air to circulate, preventing mold.
- The Blotter: Two sheets of untextured blotting paper or plain white paper towels (avoid patterns, as they can emboss the flower).
- The Specimen: Place your flower here.
- The Cap: Another two sheets of blotting paper and another piece of cardboard.
| Material | Function | Reusability |
|---|---|---|
| Cardboard | Airflow & Rigidity | 10-15 uses |
| Parchment Paper | Prevents Sticking | Single use |
| Blotting Paper | Moisture Absorption | 3-5 uses |
Crafty Expert Tip: If you are pressing succulents or thick-stemmed lilies, double up on the cardboard layers to increase the ‘breathability’ of the stack.
The Masterclass: How to Press Like a Pro

Selecting the Specimens
Not all flowers are created equal. To ensure your handmade gift is a success, you must understand the ‘Squeeze Science.’ Handy parents can turn this into a wonderful nature lesson for kids.
Best Practices for Botanicals
- Timing: Pick flowers in the morning after the dew has evaporated but before the sun is at its peak.
- Flatness: Choose flowers that naturally lay flat (pansies, daisies, ferns). For thicker flowers like roses, use a craft knife to slice them in half vertically before pressing.
- The Tightening: Insert your bolts through the bottom, stack your layers, and place the top board. Thread the wing nuts and tighten them finger-tight. Every 2 days, give them another half-turn as the flowers shrink and lose moisture.
- Patience: Most specimens require 2 to 3 weeks to fully cure. Do not peek! Opening the press early can cause the petals to curl.
Presentation: Turning a Tool into a ‘Beautiful Gift’
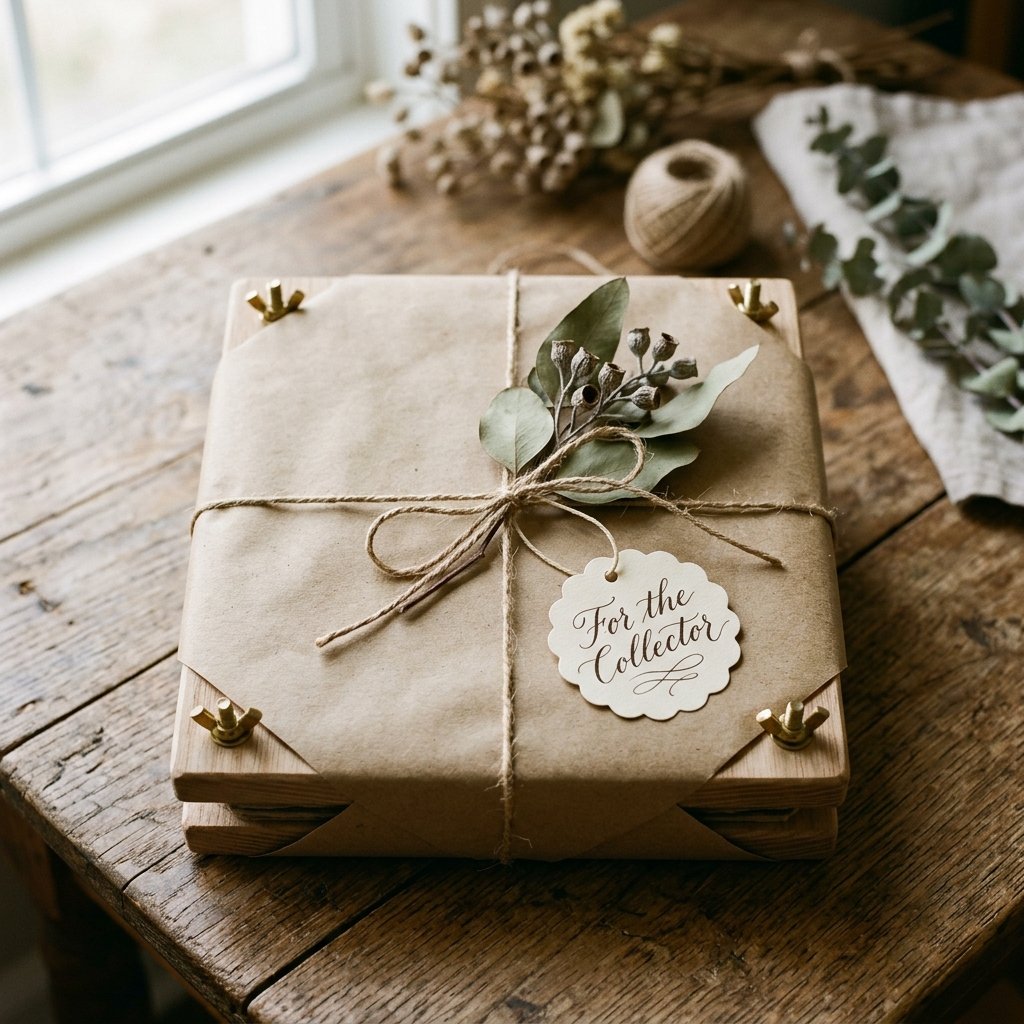
A thoughtful DIY gift is 50% product and 50% presentation. To make this the ‘most beautiful gift,’ we need to package it with the masculine-elegant flair of a professional curator.
The Ultimate Gift Kit Assembly
- Wrap the finished press in brown butcher paper and tie it with jute twine.
- Tuck a small ‘Field Guide’ (a few printed pages of local wildflowers) into the twine.
- Include a small tin of acid-free glue and a set of fine-tip tweezers.
- Pre-load the press with one beautiful dried specimen so the recipient sees the potential immediately.
By providing the tools and the first ‘inspiration’ piece, you aren’t just giving a wooden box; you are giving a new hobby and a way to preserve memories.
Conclusion
The Legacy of the Pressed Petal
Building a DIY Wooden Flower Press Kit is a masterclass in resourceful creativity. For less than the price of a fancy latte, you have engineered a tool that can preserve the fleeting beauty of a summer garden for decades. Whether you are gifting this to a bride to save her bouquet, a child to start their first herbarium, or keeping it for your own rugged botanical studies, you have proven that trash-to-treasure isn’t just about saving money—it’s about adding value to the world. Now, go forth, scavenge some wood, and start pressing!

Makenzie is the founder and lead writer at MoneyHackTips.com — a personal finance blog dedicated to delivering street-smart financial wisdom for real people on real budgets. With 300+ published articles covering everything from debt management to investing fundamentals, Makenzie’s mission is to make every dollar work harder. When not writing about money hacks, Makenzie is testing frugal living strategies, optimizing side hustles, and helping readers build financial freedom from scratch.