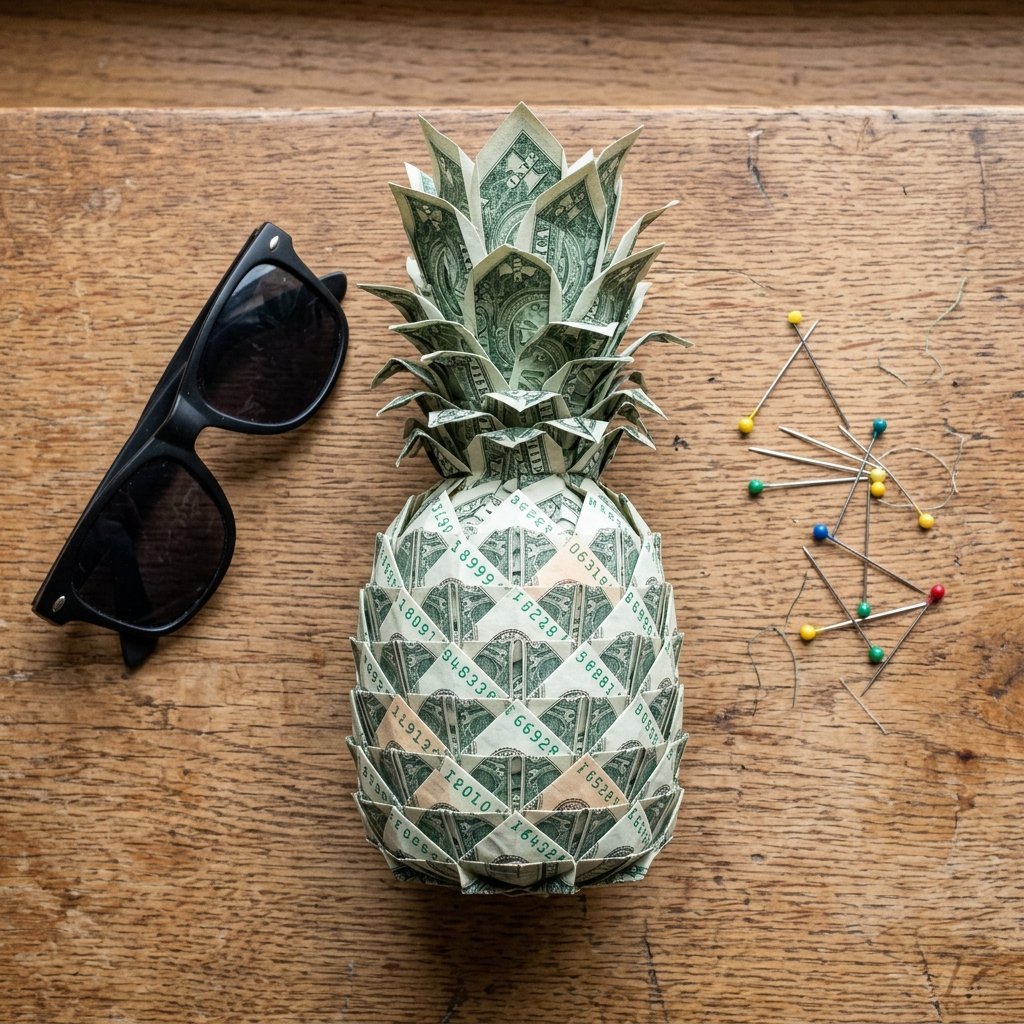

Let us face the cold, hard truth: handing over a flat, white envelope with a twenty-dollar bill inside is practical, but it lacks a certain… rugged, creative flair. You are a crafty gift-giver, a frugal DIYer who knows that presentation is half the present. Whether you are attending a graduation, a budget-savvy beach wedding, or celebrating a handy dad on Father’s Day, you need a gift that stands out. Enter the viral money origami pineapple. This is not just a cash gift; it is a hilarious, spiky, tropical masterpiece that says, “I care enough to spend 45 minutes folding my hard-earned cash into a fruit.” Plus, it is a brilliant way to disguise a practical gift as a memorable piece of table decor.
By utilizing basic origami folds, a cheap styrofoam base, and a little bit of patience, you can transform ordinary banknotes into a laugh-out-loud presentation. We are going to break down the exact step-by-step process to ensure your pineapple looks sharp, expensive, and structurally sound. Grab your crispest bills, channel your inner professional crafter, and let us build the ultimate tropical cash drop!
Gathering Your Tropical Tools: The Supply List
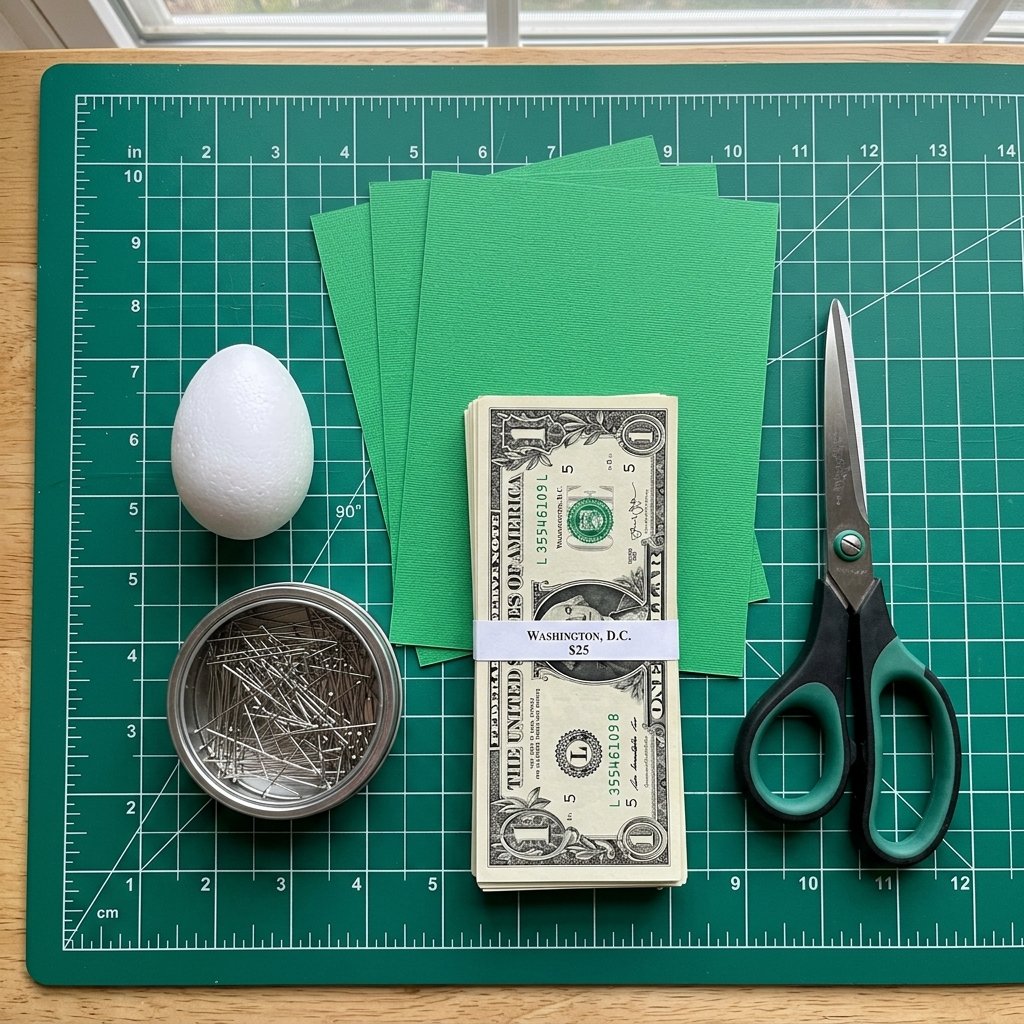
Before we start folding, we need to gather our raw materials. As a resourceful upcycler, you might already have some of these in your craft arsenal. The goal here is to keep the structural costs as close to $0 as possible so the actual budget goes entirely toward the cash gift itself.
- Crisp Banknotes: You will need approximately 40 to 60 bills depending on the size of your base. Newer, stiffer bills hold folds much better than soft, worn ones.
- Styrofoam Base: A small styrofoam egg or a rounded cone (roughly 4 to 5 inches tall). You can often find these at the Dollar Tree in the floral section.
- Straight Pins: About 100 to 150 pins. Use the classic dressmaker pins with the small flat metal heads, not the bulky plastic pearl ones, as they need to hide beneath the overlapping bills.
- Green Cardstock: A few sheets of thick green paper for crafting the leafy crown.
- Double-Sided Tape & Scissors: Essential for shaping and securing the foliage.
Crafty Safety Warning: We are using a massive amount of sharp straight pins for this project. Keep the materials out of reach of small children and pets during assembly. When gifting, be sure to clearly warn the recipient that the pineapple is literally armed and dangerous!
The Fruitful Budget: Choosing Your Denominations
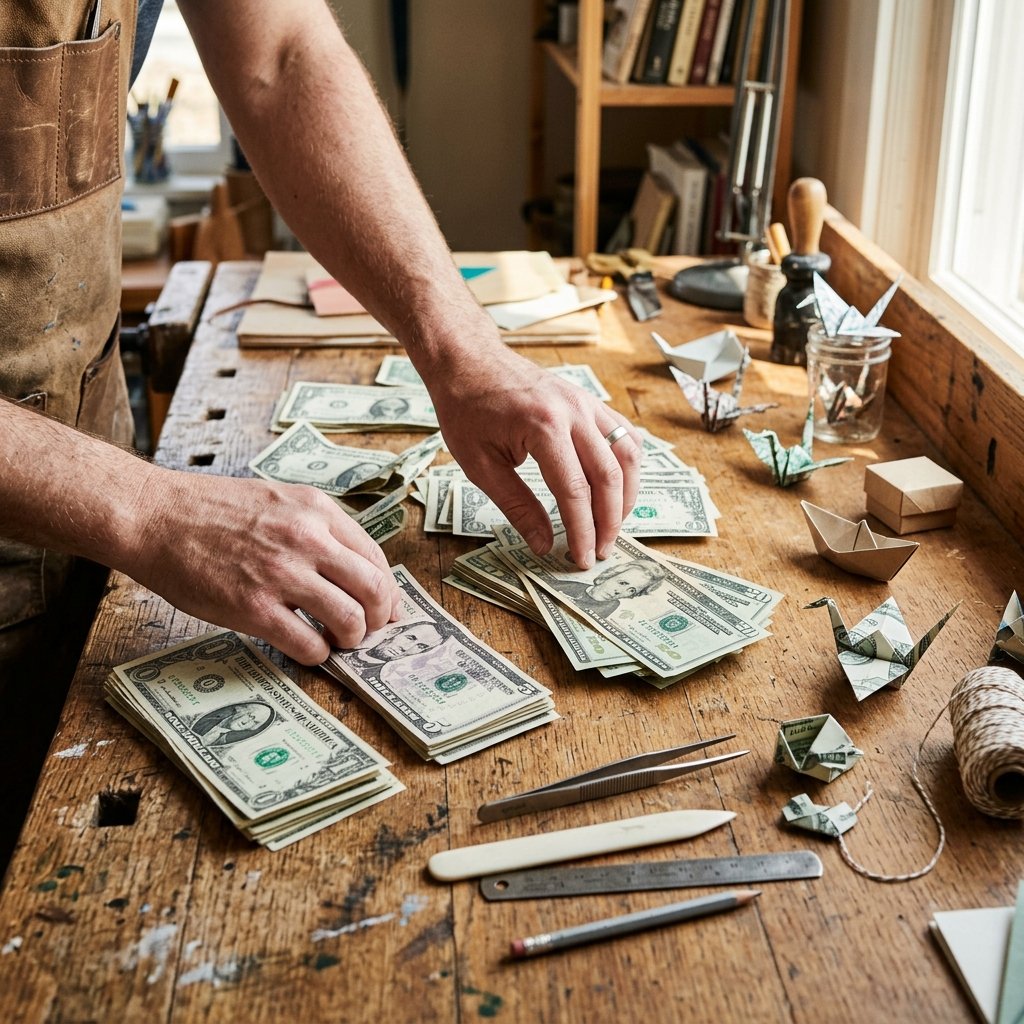
The absolute beauty of this project is its total scalability. You can make a modest $50 pineapple for a teenage nephew or a massive $500 centerpiece for a wedding. It is all about how you mix and match your denominations. Here is a handy breakdown of how different bills impact the final look and budget.
| Bill Denomination | Total Bills Needed (Approx) | Total Gift Value | Visual Impact & Vibe |
|---|---|---|---|
| $1 Bills | 50 | $50 | The Budget-Savvy Classic. Impressive volume and spiky texture without breaking the bank. |
| $5 Bills | 50 | $250 | The Generous Graduate. A hefty, exciting gift with a great pop of pink/purple color from the modern fives. |
| Mixed ($1s & $20s) | 40 ($1s) + 10 ($20s) | $240 | The Tropical Surprise. Hide the big bills near the top crown for an escalating, high-value reveal! |
| $100 Bills | 50 | $5,000 | The High-Roller Wedding. Pure, unadulterated luxury. Use extreme caution and maybe a safe. |
If you are struggling to get crisp bills from the bank teller, here is a classic handy-mom trick: you can carefully iron your crumpled bills on a very low heat setting (no steam) to flatten them out. Just do not burn your money!
The Golden Triangle: Master the Origami Fold
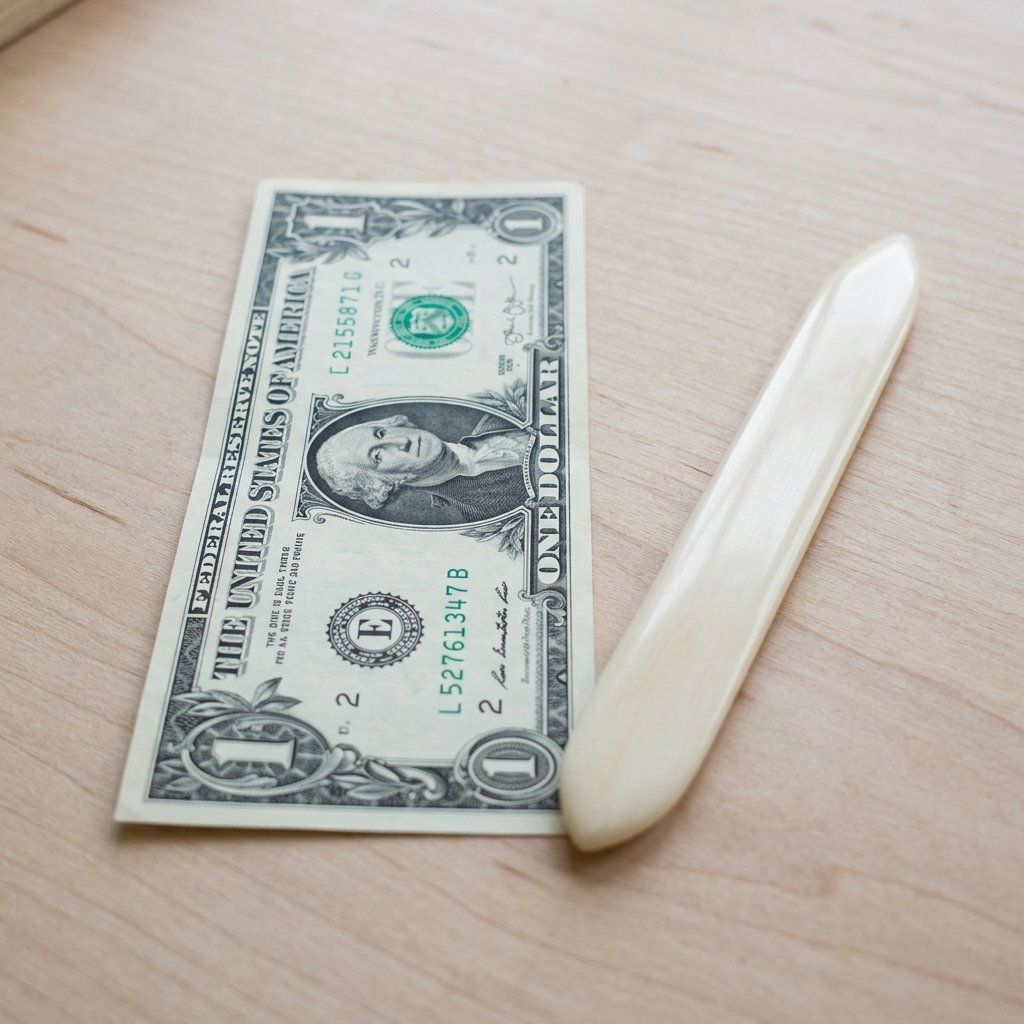
Here is where your hands do the heavy lifting. The secret to a perfect money pineapple is absolute consistency. You are going to repeat this exact fold dozens of times. Put on your favorite podcast, crack your knuckles, and let us get folding.
- Flatten the Bill: Start with the bill face down on a hard, smooth surface.
- Fold in Half: Fold the bill in half horizontally (hotdog style) to create a sharp center crease, then unfold it so it lays flat again.
- Fold the Corners: Bring all four corners into that center crease, creating pointed ends on both the left and right sides.
- Fold the Edges: Fold the top and bottom long edges into the center crease once more. The bill will now look like a long, narrow hexagon.
- The Final Fold: Fold the entire piece in half along that original center crease. You should now have a sturdy trapezoid shape with two distinct, sharp points sticking up.
Origami Mantra: “A crisp crease is a happy crease.” Run your thumbnail or a bone folder firmly along every single fold to ensure the bills lay flat against the styrofoam base. The sharper the fold, the spikier and more realistic your pineapple will look.
Planting the Seeds: Assembling the Spiky Fruit
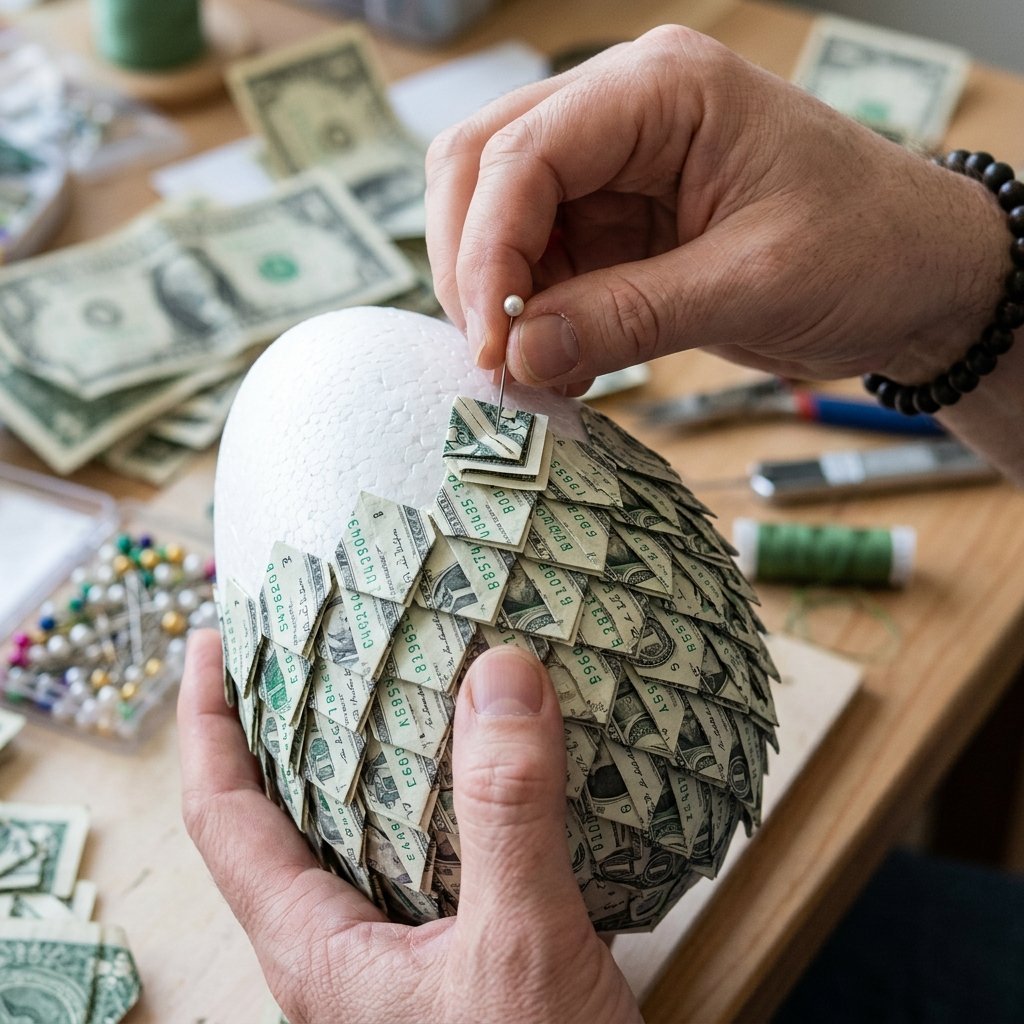
Now that you have an impressive pile of folded cash, it is time to build the fruit. This process requires a bit of spatial awareness and architectural planning, but it is incredibly satisfying to watch it come together.
Step 1: The Foundation Ring
Start at the very bottom of your styrofoam base. Take your first folded bill and wrap it around the curve of the base so the two points are sticking outward and slightly upward. Insert a straight pin directly through the center of the folded bill, driving it deep into the styrofoam to lock it in place.
Step 2: Layering the Scales
Continue pinning bills around the bottom edge to complete the first ring. For the second ring, you must stagger the bills so they sit perfectly between the points of the first ring—just like laying shingles on a roof or building a sturdy brick wall. Overlapping is crucial; it hides the stark white styrofoam underneath and creates that dense, scaly pineapple texture.
Step 3: Working Your Way Up
Keep working in concentric rings, moving upward. As you reach the top of the egg or cone, the circumference will shrink, and you may need to overlap the bills more tightly. Leave a small bare circle at the absolute top—this is where our leafy crown will be planted.
The Crowning Glory: Crafting the Pineapple Leaves
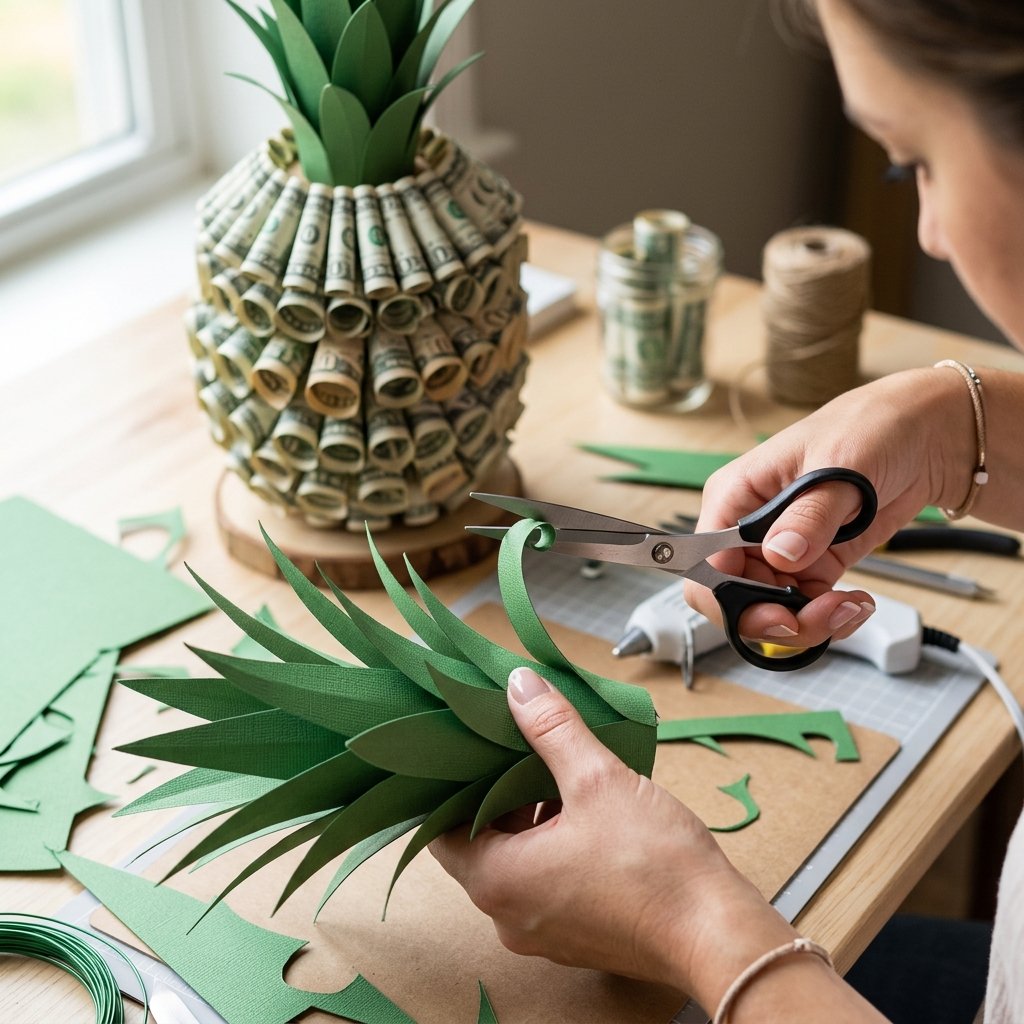
A pineapple without its crown is just a scaly, expensive potato. Let us craft some realistic foliage using budget-friendly cardstock to bring this tropical illusion to life.
First, cut out 10 to 15 long, spiky leaf shapes from your green cardstock. Vary the lengths to make it look organic—make some 3 inches long for the center and others 5 inches long for the outer drape. To give them that natural, tropical droop, gently pull each leaf over the dull edge of a pair of scissors (exactly like curling gift ribbon). Do not pull too hard, or the cardstock will tear.
Take the longest, straightest leaves and pin them directly to the top center of your styrofoam base. Layer the shorter, curlier leaves around the outside of the tall ones, fanning them out in a circle. Use double-sided tape or extra pins to secure everything tightly at the base. The green crown should cascade perfectly over the top row of your cash scales, hiding any remaining styrofoam.
Tropical Presentation: Pro-Tips for Safe Travel and Gifting
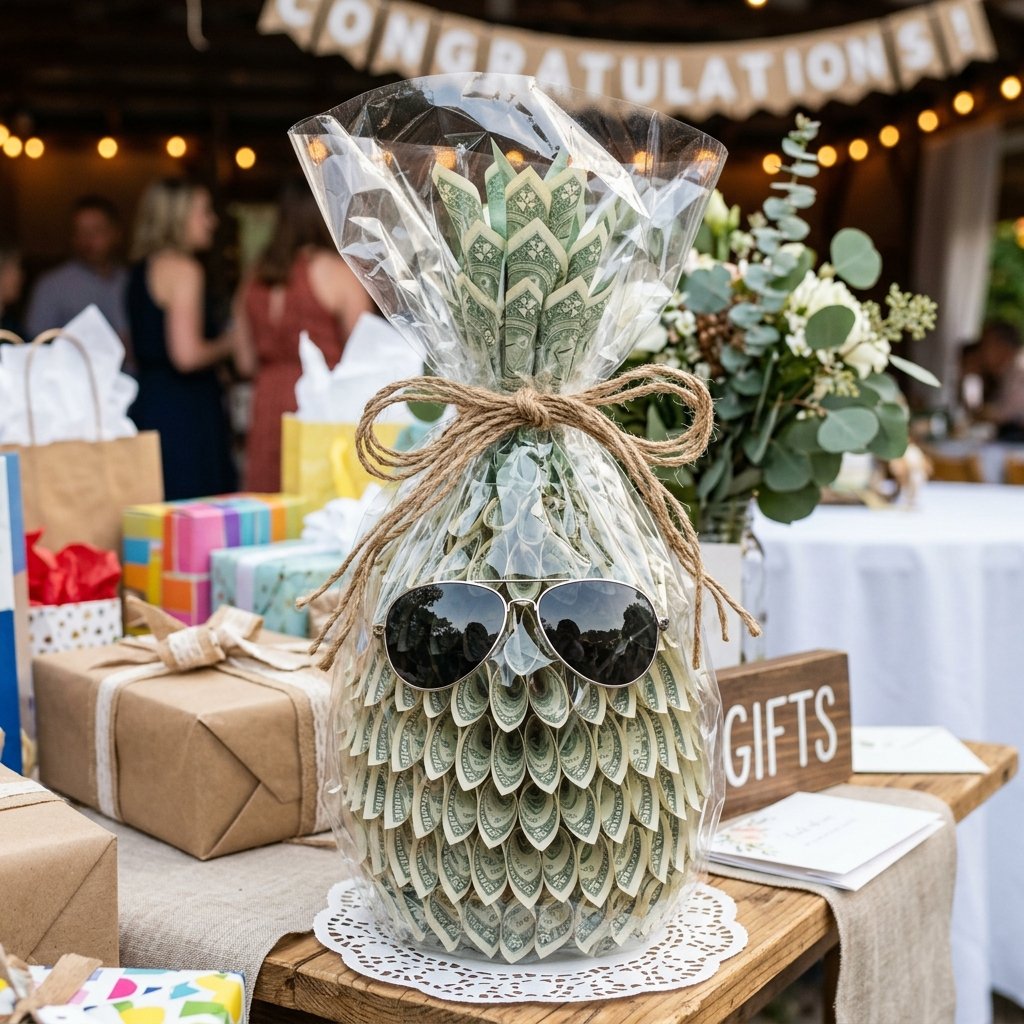
You have spent over an hour meticulously folding and pinning. Now, how do you hand this masterpiece over without it falling apart in the car or unexpectedly poking the recipient?
- The Cellophane Wrap: Place the finished pineapple on a small, sturdy cardboard base (a repurposed drink coaster or a mason jar lid works great). Wrap the entire thing in clear cellophane and tie it tightly at the top with a rugged jute twine or a bright yellow ribbon. This keeps the pins secure during transit.
- The Cool Factor: For maximum humor, buy a pair of cheap Dollar Tree aviator sunglasses and pin them right onto the front of the pineapple. It gives the fruit a laid-back, vacation vibe that is guaranteed to get a massive laugh at the gift table.
- The Unboxing Instructions: Include a small, clever handmade tag that says, “In case of emergency, pull pins. (Seriously, there are over 100 sharp pins in here, please dismantle with caution!)” It is a funny but necessary safety warning.
By treating the presentation with as much care as the folding, you elevate a simple cash gift into a highly memorable, Instagram-worthy event.
Conclusion
The viral money origami pineapple is more than just a fleeting internet trend; it is a brilliant testament to the fact that frugal, budget-savvy gifting can still be incredibly generous, deeply thoughtful, and wildly entertaining. You have taken a stack of ordinary bills and transformed them into a memorable, laugh-out-loud piece of art that requires no expensive store-bought packaging. Whether it is for a high school graduation, a beach-themed wedding, or a clever birthday surprise for a hard-to-shop-for guy, this spiky cash fruit will undoubtedly be the talk of the party. So keep your creases crisp, your pins sharp, and your creative upcycling spirit flowing. Happy folding, and enjoy the priceless reaction when you hand over the most creative cash gift of the year!

Makenzie is the founder and lead writer at MoneyHackTips.com — a personal finance blog dedicated to delivering street-smart financial wisdom for real people on real budgets. With 300+ published articles covering everything from debt management to investing fundamentals, Makenzie’s mission is to make every dollar work harder. When not writing about money hacks, Makenzie is testing frugal living strategies, optimizing side hustles, and helping readers build financial freedom from scratch.