The Art of the Elevated Tip
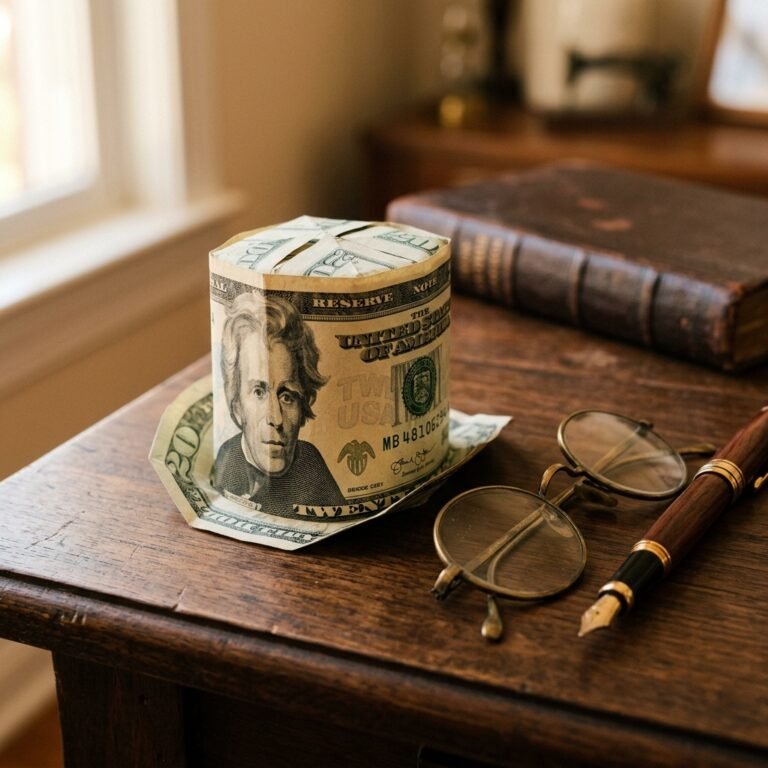
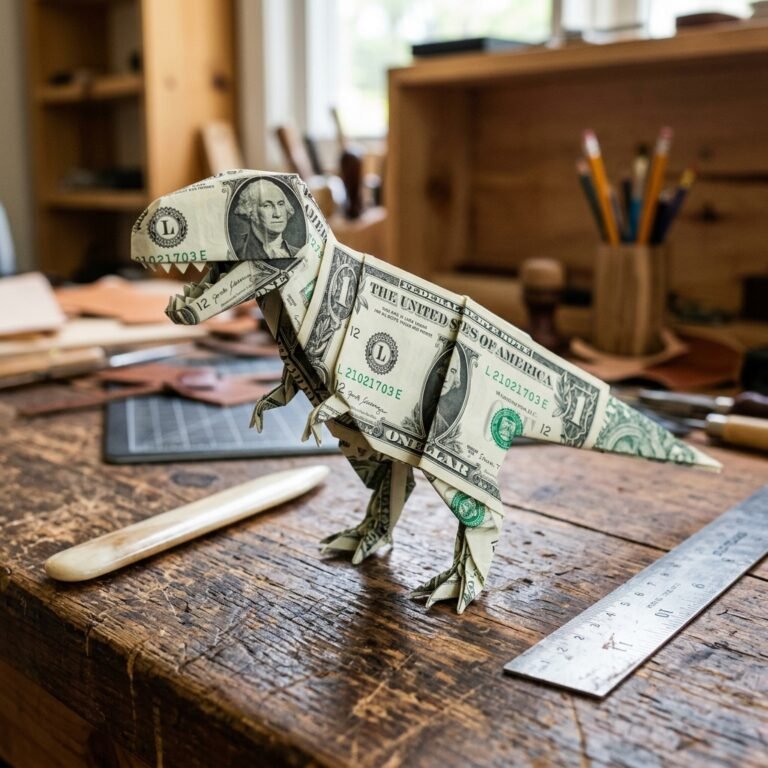
We’ve all been there: standing at the counter of our favorite local coffee haunt, watching the master of the espresso machine work their magic. They know your order before you speak, they remember your name, and they provide that essential morning fuel with a smile. While a standard tip is always appreciated, there is something profoundly rugged and resourceful about transforming a simple piece of currency into a physical representation of the craft they provide. Money origami is the ultimate budget-savvy way to add a ‘thank you’ card’s sentiment without spending an extra $5.00 on a piece of cardstock that will eventually hit the recycling bin.
By using your hands to fold a crisp bill into a miniature coffee cup, you aren’t just giving money; you are giving time, effort, and a bit of creative flair. This guide will walk you through the precise, masculine-elegant folds required to turn a flat bill into a sturdy, recognizable coffee cup that will likely sit on the barista’s back counter as a trophy of a job well done.
The Bill Denomination & Visual Impact Matrix
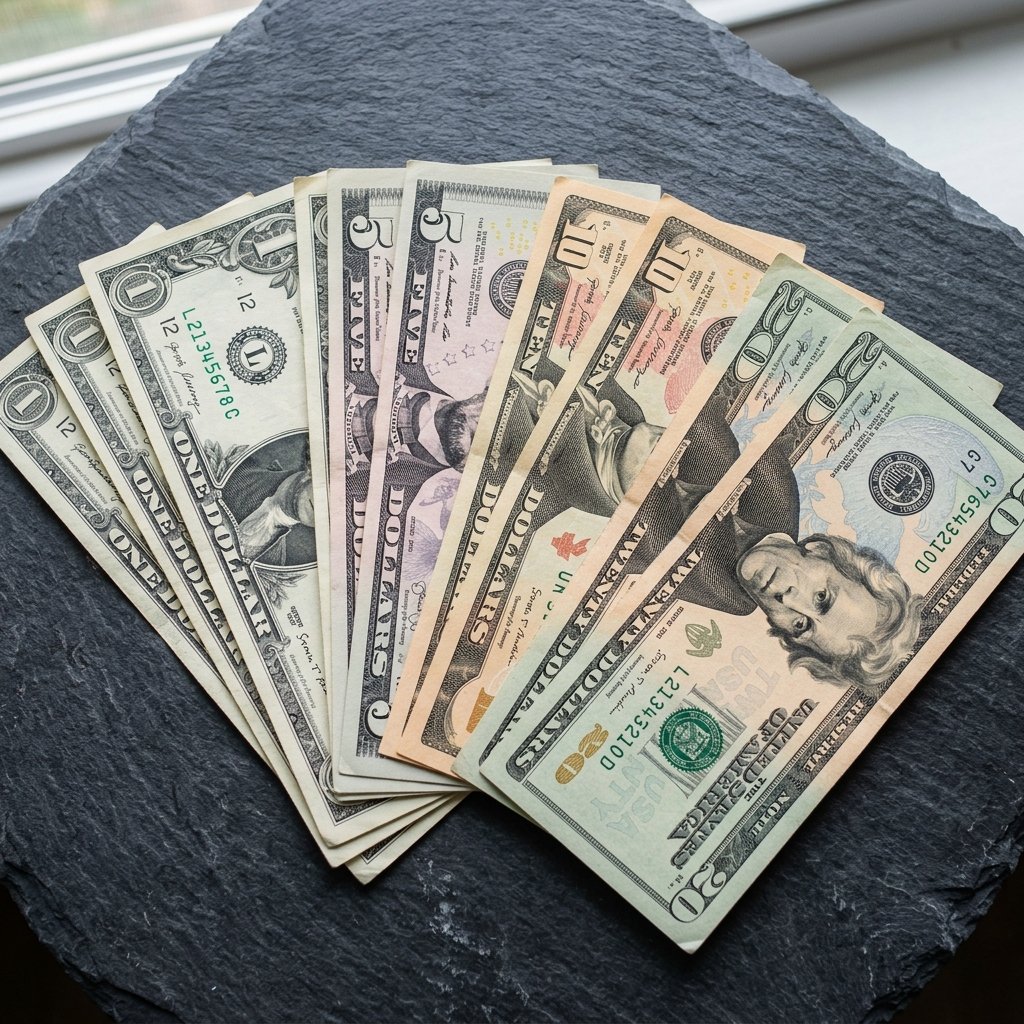
Before you begin your first fold, you need to decide which ‘flavor’ of coffee cup you are serving up. The color and denomination of the bill change the final aesthetic of the origami piece. A $1 bill offers that classic green-and-white look, while a $10 bill provides a sophisticated gold-and-red hue that really pops. Use the table below to decide which bill fits your tipping goals and the visual impact you want to achieve.
| Bill Denomination | Color Palette | Visual Impact | Occasion Recommendation |
|---|---|---|---|
| $1.00 | Classic Green/White | Subtle & Friendly | Daily morning routine tip. |
| $5.00 | Muted Pink/Purple/Green | Sophisticated & Noticed | End of a long work week. |
| $10.00 | Gold/Yellow/Orange | High-End & Bold | Holiday or ‘Thank You’ for a favor. |
| $20.00 | Bright Green/Blue | Premium & Impactful | Special occasions or massive orders. |
“The secret to great money origami isn’t just the fold; it’s the crispness of the currency. A limp bill won’t hold its structural integrity, much like a bad espresso shot won’t hold its crema.”
Essential Tools for the Precision Folder
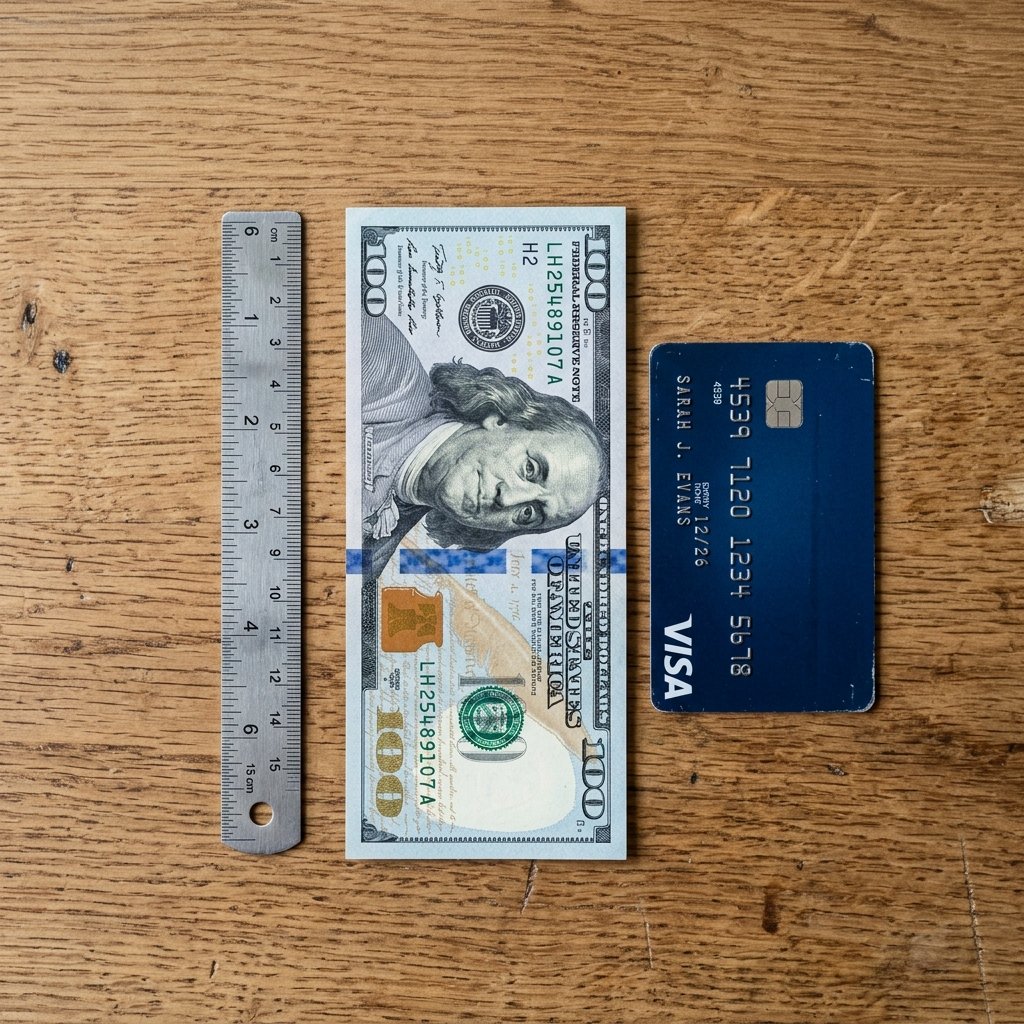
While you can certainly fold a coffee cup with nothing but your bare hands and a bit of grit, the crafty expert knows that a few simple tools can make the difference between a ‘crumpled buck’ and a ‘masterpiece.’ If you are at home preparing these in advance, gather these items to ensure your folds are as sharp as a tailor’s crease.
- A Crisp Bill: The newer, the better. If your bill is wrinkled, you can actually lightly iron it on a low, dry heat setting to flatten the fibers.
- A Bone Folder or Credit Card: Use the edge of a plastic card to ‘burnish’ your folds. This ensures the paper stays flat and the cup doesn’t spring open.
- Clean Hands: Oils from your skin can smudge the ink on a fresh bill. Wash and dry your hands thoroughly before starting.
- A Flat Surface: Avoid folding in the air. A hard table or a sturdy book is essential for 100% precision.
Step-by-Step: Crafting the Money Coffee Cup
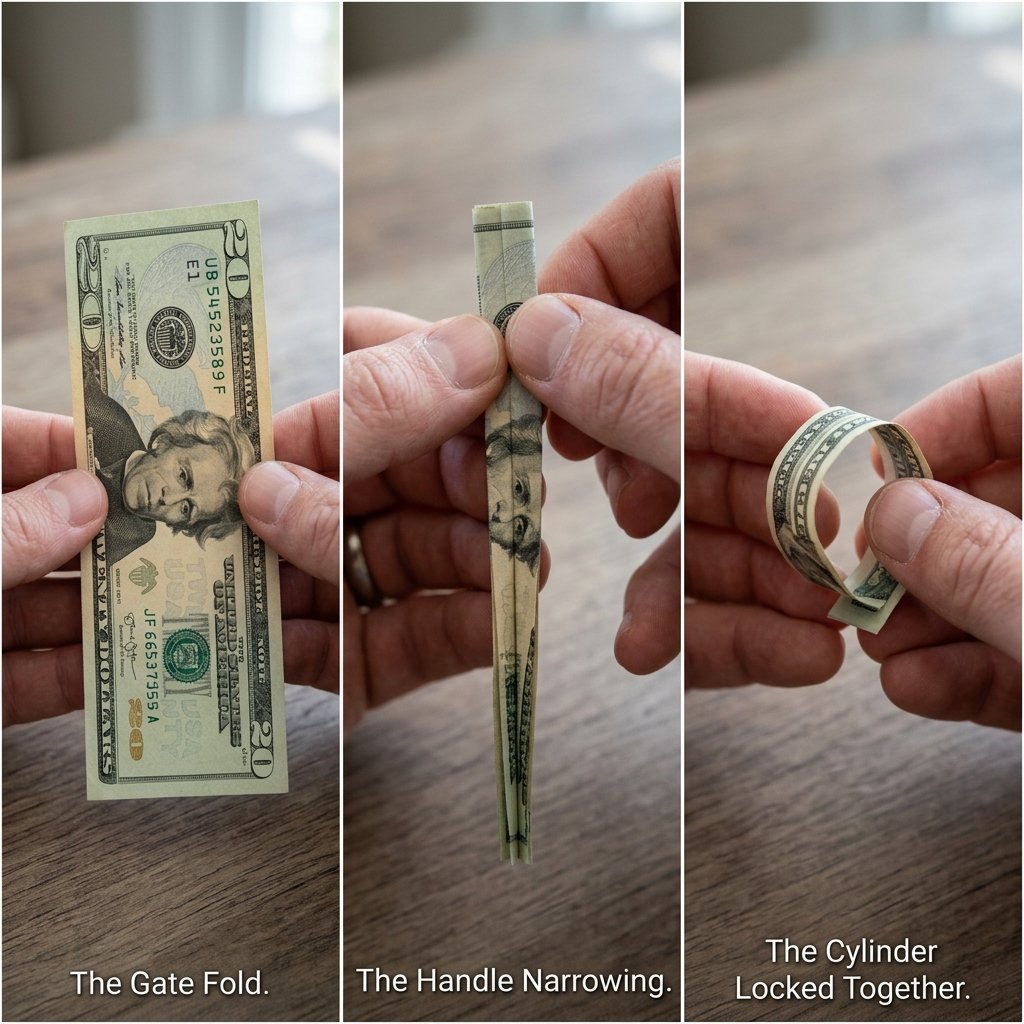
Follow these steps carefully. Origami is a game of patience and resourceful geometry. If a fold feels forced, back up and realign. We are aiming for a 3D cup with a defined handle.
- The Foundation: Lay the bill flat on the table, face up. Fold the bill in half lengthwise, creating a sharp center crease. Unfold it.
- The Side Walls: Fold both long edges inward to meet at that center crease you just made. This is called a ‘gate fold.’
- The Height Adjustment: Fold the entire bill in half widthwise (short end to short end). Unfold. Now, fold each short end into that new center crease.
- The Cup Base: On one of the short ends, fold the corners inward to create a pointed ‘V’ shape. This will eventually become the bottom of your cup.
- The Handle Creation: This is the clever part. On the opposite end, fold a thin strip (about 1/4 inch) back. Then, narrow that strip by folding it in on itself twice. This creates a sturdy ‘arm’ that will become the handle.
- The Wrap Around: Curve the bill into a circle. Tuck the non-handle end into the folds of the handle-end to lock the cylinder in place.
- The Final Shaping: Gently push the ‘V’ shaped bottom pieces inward to create a flat base so the cup can stand on its own. Curve the handle outward with your fingernail to give it that ‘C’ shape.
“Precision is the hallmark of the craftsman. Ensure every corner meets perfectly; a 1-millimeter gap at the start becomes a 1-centimeter gap at the finish.”
The DIY Advantage: Cost & Value Comparison
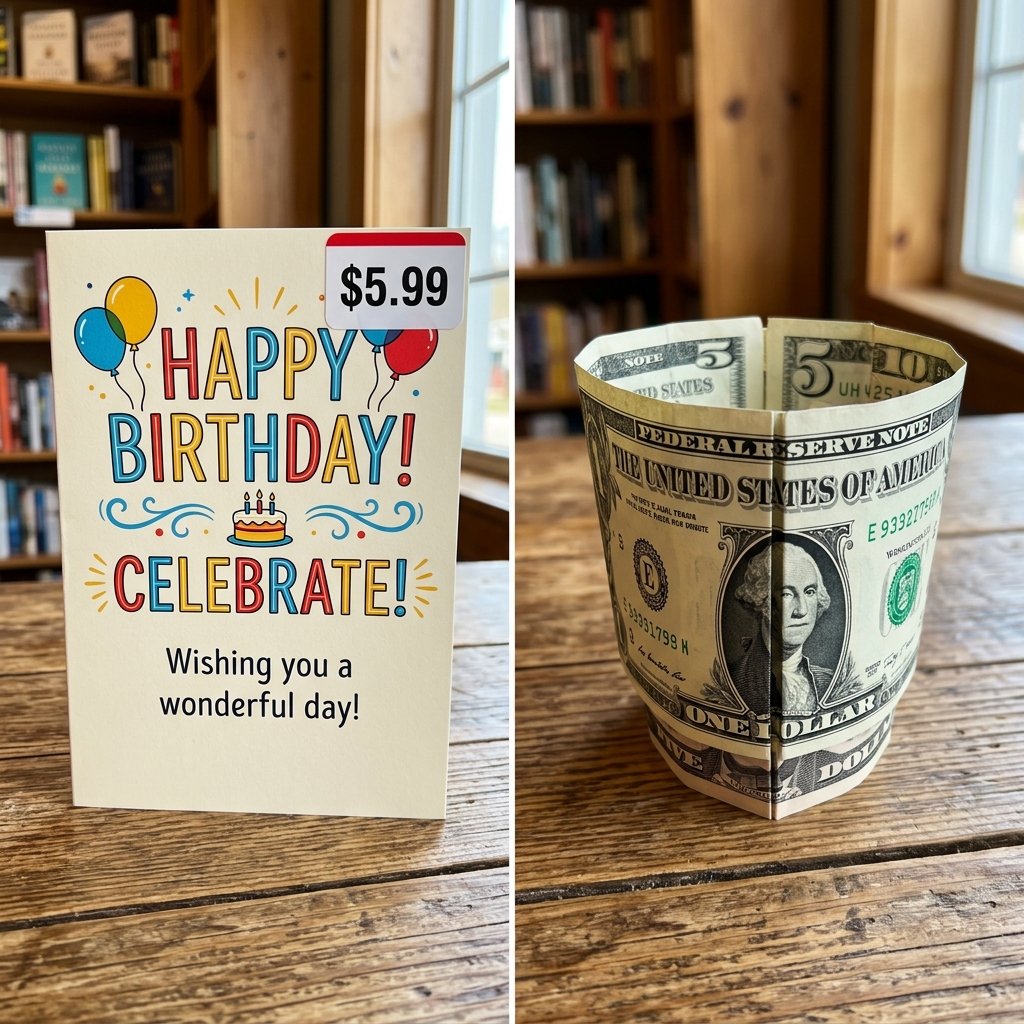
Why bother folding money when you could just buy a card? As a budget-savvy individual, you know that the ‘hidden costs’ of gifting add up. When you use the money itself as the art, you eliminate waste and maximize the value of your hard-earned cash. Let’s look at how the DIY origami method stacks up against the traditional store-bought route.
| Feature | Store-Bought ‘Thank You’ Card | DIY Money Origami Cup |
|---|---|---|
| Material Cost | $4.00 – $7.00 | $0.00 (The gift is the material) |
| Time Investment | 10 mins (Driving/Buying) | 5 mins (Folding) |
| Personal Touch | Generic Printed Message | Hand-crafted & Unique |
| Environmental Impact | High (Paper waste/glitter) | Zero Waste (Money is reused) |
| Barista Reaction | Standard smile | Immediate ‘Wow’ factor |
As you can see, the resourceful crafter saves both time and money while delivering a gift that carries significantly more ‘cool factor’ than a mass-produced card from a pharmacy aisle.
Pro-Tips for the ‘Masculine-Elegant’ Presentation
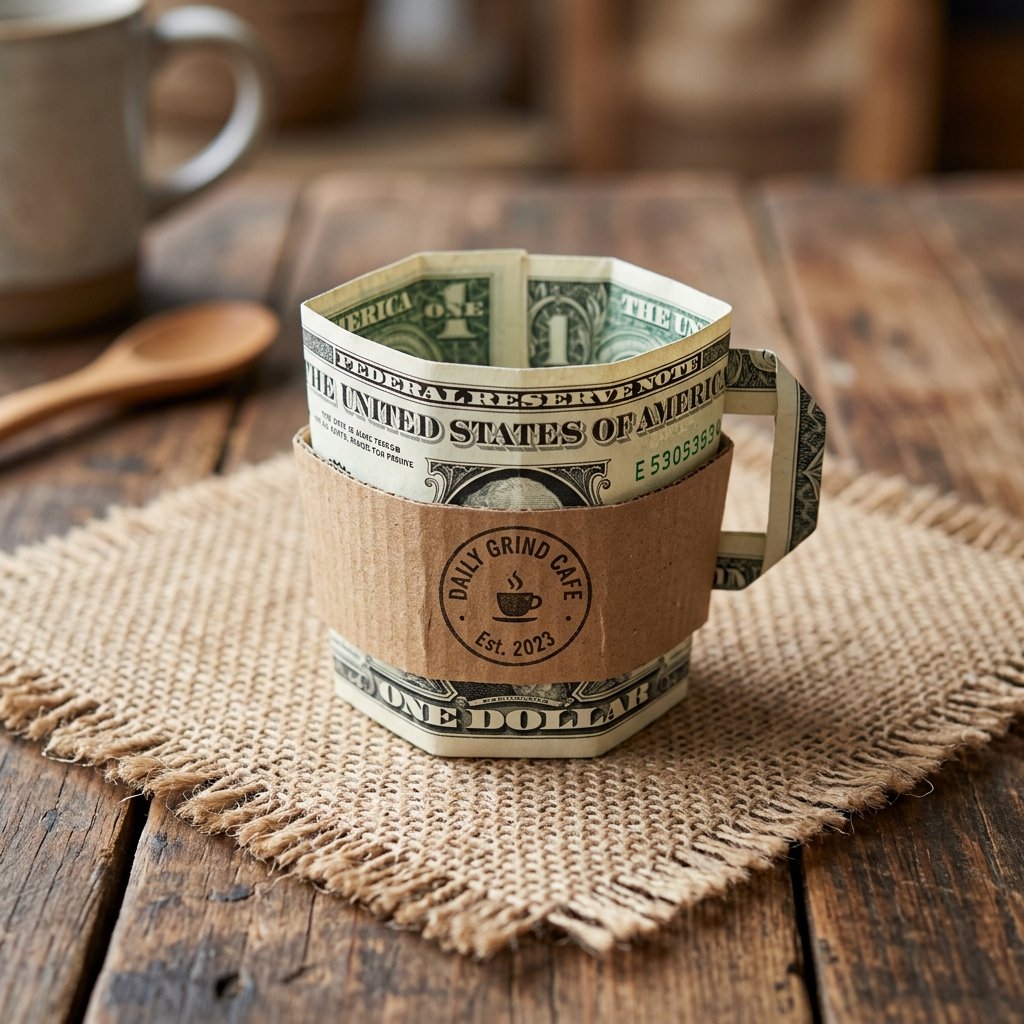
To truly master the ‘Trash-to-Treasure’ ethos, consider how you present your folded masterpiece. A rugged yet elegant presentation makes the gift feel like a curated experience rather than just a tip. Here are three ways to level up your delivery:
- The ‘Sleeve’ Trick: Grab an extra cardboard coffee sleeve from the condiment stand. Cut a small 1-inch section of it and slide it onto your money cup. It adds a realistic texture and structural stability.
- The Steam Effect: Use a tiny scrap of white tissue paper or a cotton ball wisped out to look like ‘steam’ rising from the top of the folded bill.
- The ‘Tab’ Method: If the cup feels loose, use a tiny, invisible piece of removable tape on the inside of the handle. It keeps the shape perfect even if the barista moves it around.
“A gift is 50% the item and 50% the story you tell with its presentation. Make your story one of creativity and respect for the craft.”
Conclusion
The Final Pour
Folding a money origami coffee cup is more than just a clever way to tip; it’s a testament to the fact that frugal DIYers can create high-impact moments without high-end budgets. You’ve taken a standard, everyday object and transformed it into a conversation piece that honors the skill of your favorite barista. Whether you’re using a single dollar or a twenty, the message remains the same: you value their work enough to put your own hands to work.
Next time you head to the cafe, keep a crisp bill in your wallet and five minutes of patience in your schedule. You’ll find that the smiles you receive in return are worth far more than the face value of the currency. Stay crafty, stay resourceful, and keep brewing up kindness!

Makenzie is the founder and lead writer at MoneyHackTips.com — a personal finance blog dedicated to delivering street-smart financial wisdom for real people on real budgets. With 300+ published articles covering everything from debt management to investing fundamentals, Makenzie’s mission is to make every dollar work harder. When not writing about money hacks, Makenzie is testing frugal living strategies, optimizing side hustles, and helping readers build financial freedom from scratch.