The Death of the Five-Dollar Greeting Card
Let’s be honest: nobody actually keeps the card. We spend $5.99 on a piece of cardstock with a generic poem, only for the graduate to rip it open, grab the cash, and toss the sentiment into the recycling bin before the cake is even cut. As a resourceful DIYer, you know there’s a better way to show you care without wasting your hard-earned dollars on temporary paper. Enter the Money Origami Scroll. This isn’t just a gift; it’s a tactile, handcrafted experience that mirrors the very diploma the graduate just walked across the stage to receive. By using the currency itself as the medium, you’re providing a gift that is both practical and profoundly memorable. This guide will teach you how to master the art of the ‘Cash Diploma,’ ensuring your gift is the one they talk about long after the tassels have been turned.
Strategic Selection: Choosing Your Denominations

Before we start folding, we need to talk strategy. Not all bills are created equal when it comes to origami. For a scroll, you want bills that are as crisp as possible. If you have limp, wrinkled currency, a quick trick is to lightly mist them with water and press them under a heavy book—or even a low-heat iron—to restore their structural integrity. The denomination you choose dictates the ‘visual volume’ of the gift. A single $100 bill is impressive, but a bundle of ten $10 bills folded into a ‘scroll library’ looks like a fortune.
| Bill Denomination | Visual Impact | Best Use Case |
|---|---|---|
| $1 Bills | High Volume | Creating a large ‘bundle’ of scrolls for a dramatic effect. |
| $5 or $10 Bills | Moderate | A ‘mid-tier’ gift that looks substantial when paired with a ribbon. |
| $20 or $50 Bills | High Value | The classic ‘Diploma’ look; best for single, high-impact scrolls. |
| $100 Bills | Elite | The ‘Golden Scroll’; usually presented solo in a high-end box. |
The secret to a rugged, professional-looking scroll is the ‘snap’ of the paper. Always visit the bank and request ‘uncirculated’ bills. It makes the folding process 100% easier and the final result look like a work of art.
The Master’s Toolkit: Materials for the Modern Maker
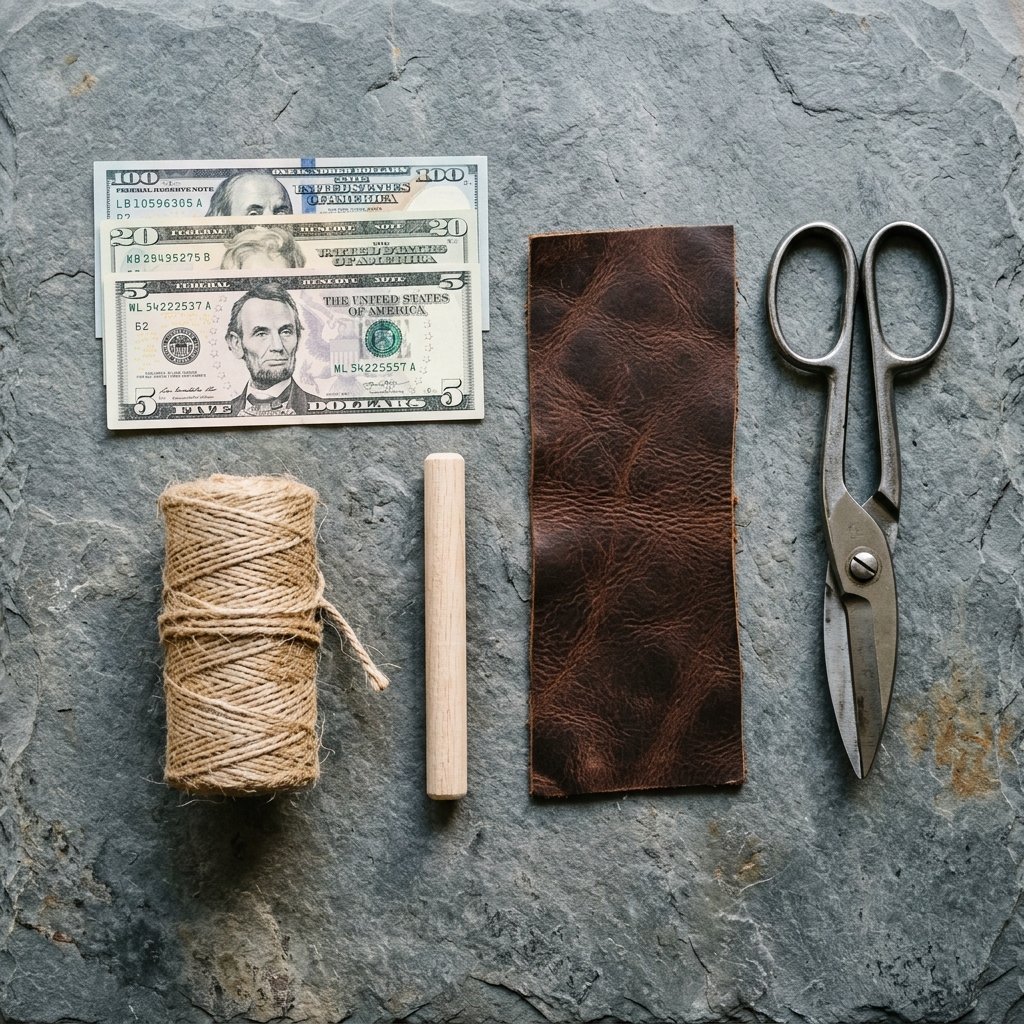
You don’t need a craft store’s entire inventory to pull this off. In fact, a true budget-savvy expert looks for items already in the junk drawer or the tool shed. To turn a bill into a scroll, you only need a few structural supports and aesthetic flourishes. We are aiming for a Masculine-Elegant aesthetic: think leather, twine, gold, and deep ink colors.
- Crisp Currency: The foundation of your project.
- Thin Ribbon or Twine: 1/8-inch width is ideal. Use navy blue, forest green, or the graduate’s school colors.
- A Small Dowel or Skewer: Used only for the initial roll to ensure a tight, uniform diameter.
- Repurposed Packaging: A clean cigar box, a glass test tube, or even a small cardboard jewelry box lined with dark felt.
By avoiding the ‘gift wrap’ aisle, you can save upwards of $15 on presentation alone. A master upcycler knows that a free scrap of leather cord looks more sophisticated than a $4 plastic bow.
Fold-by-Fold: Engineering the Perfect Money Scroll
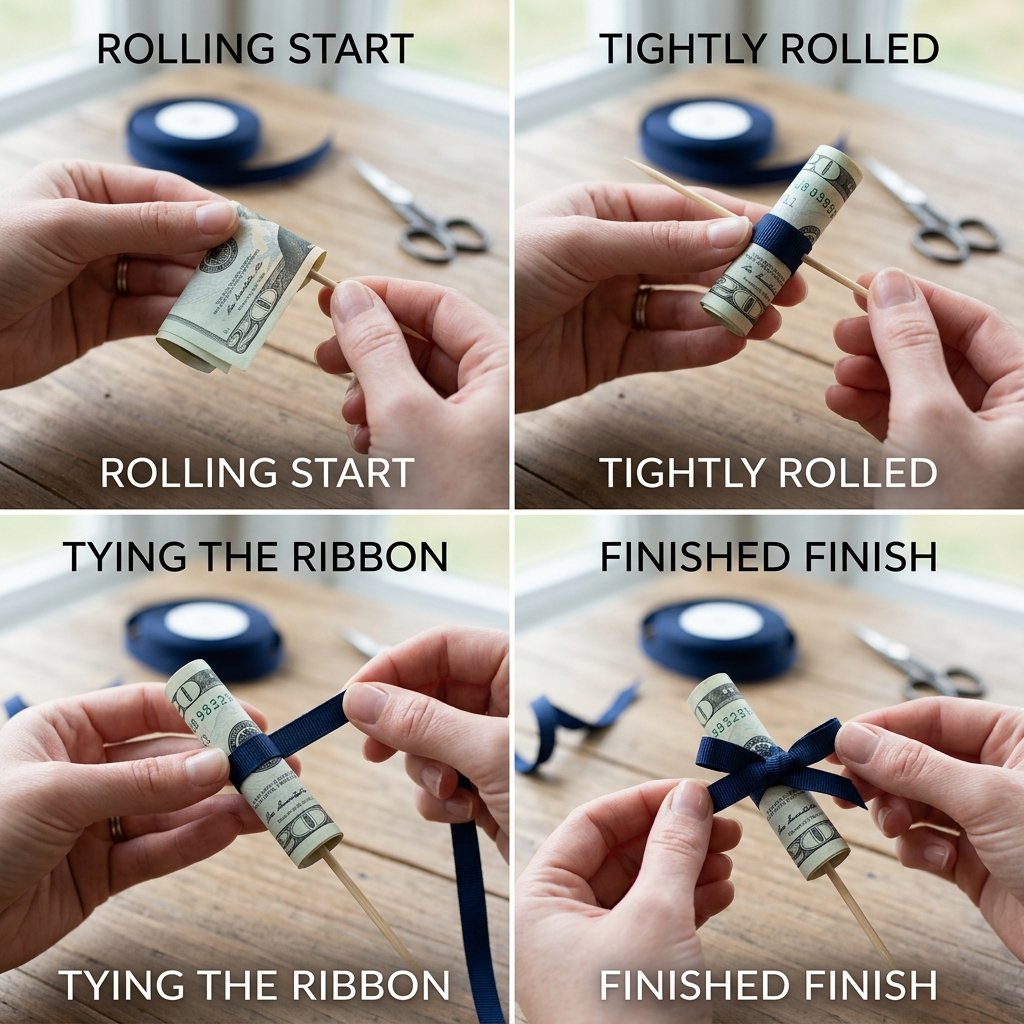
Precision is key. Follow these steps to ensure your scroll doesn’t unravel or look like a crumpled receipt. We are creating the ‘Double-Sided Scroll’ which provides the most surface area for the ribbon to grip.
- The Foundation: Lay the bill flat on a hard surface. If using a dowel, place it at the short edge of the bill.
- The Tight Roll: Begin rolling the bill around the dowel. Ensure the edges remain perfectly aligned. If the edges start to ‘telescope’ (slide outward), stop and restart.
- The Halfway Mark: Roll until you reach the center of the bill. Remove the dowel carefully.
- The Counter-Roll: Repeat the process from the opposite short edge, rolling toward the center until the two rolls meet in the middle.
- The Tension Set: Once both sides are rolled, gently squeeze the entire bill in your palm for 10 seconds. The heat from your hand helps the fibers ‘remember’ the new shape.
- The Binding: Take your 6-inch piece of twine or ribbon. Wrap it twice around the center where the two rolls meet. Tie a square knot—keep it tight but don’t tear the paper.
Pro-Tip: For a ‘Diploma’ look, leave 1 inch of ribbon tail on each side of the knot and cut the ends at a 45-degree angle for a professional finish.
High-End Presentation: The ‘Cigar Box’ Upcycle
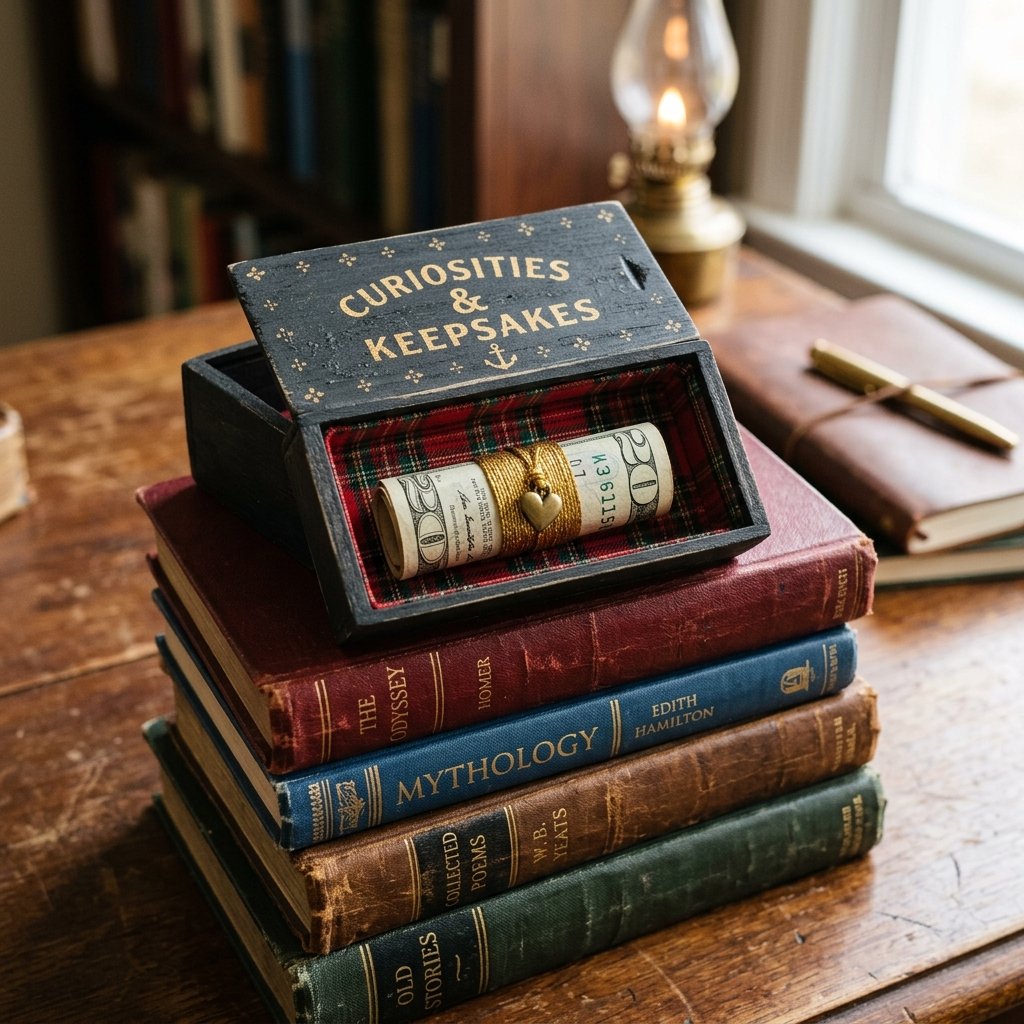
A scroll sitting alone on a table looks like an accident. A scroll presented in a custom-fitted vessel looks like a $100 boutique gift. This is where your ‘Trash-to-Treasure’ skills shine. Instead of buying a gift box, we are going to upcycle household items to create a ‘Graduation Vault.’
The Glass Tube Method
If you have an old spice jar (cleaned thoroughly) or a glass cigar tube, these make incredible ‘time capsule’ containers for the money scroll. It protects the bill and allows the graduate to see the gift without touching it immediately.
The Matchbox Suitcase
For a clever, whimsical touch, take a large kitchen matchbox. Paint the exterior with a matte black or deep mahogany acrylic paint. Line the inside with a scrap of velvet or even a piece of an old flannel shirt. Place the scroll inside. It’s compact, rugged, and feels like a secret treasure.
| Presentation Method | Cost | Aesthetic Style |
|---|---|---|
| Glass Tube | $0 (Upcycled) | Modern/Scientific/Clean |
| Cigar Box | $2 – $5 | Vintage/Masculine/Rugged |
| Kraft Paper Wrap | $0.50 | Minimalist/Organic/Eco-Friendly |
The Economics of Gifting: Why DIY Wins Every Time
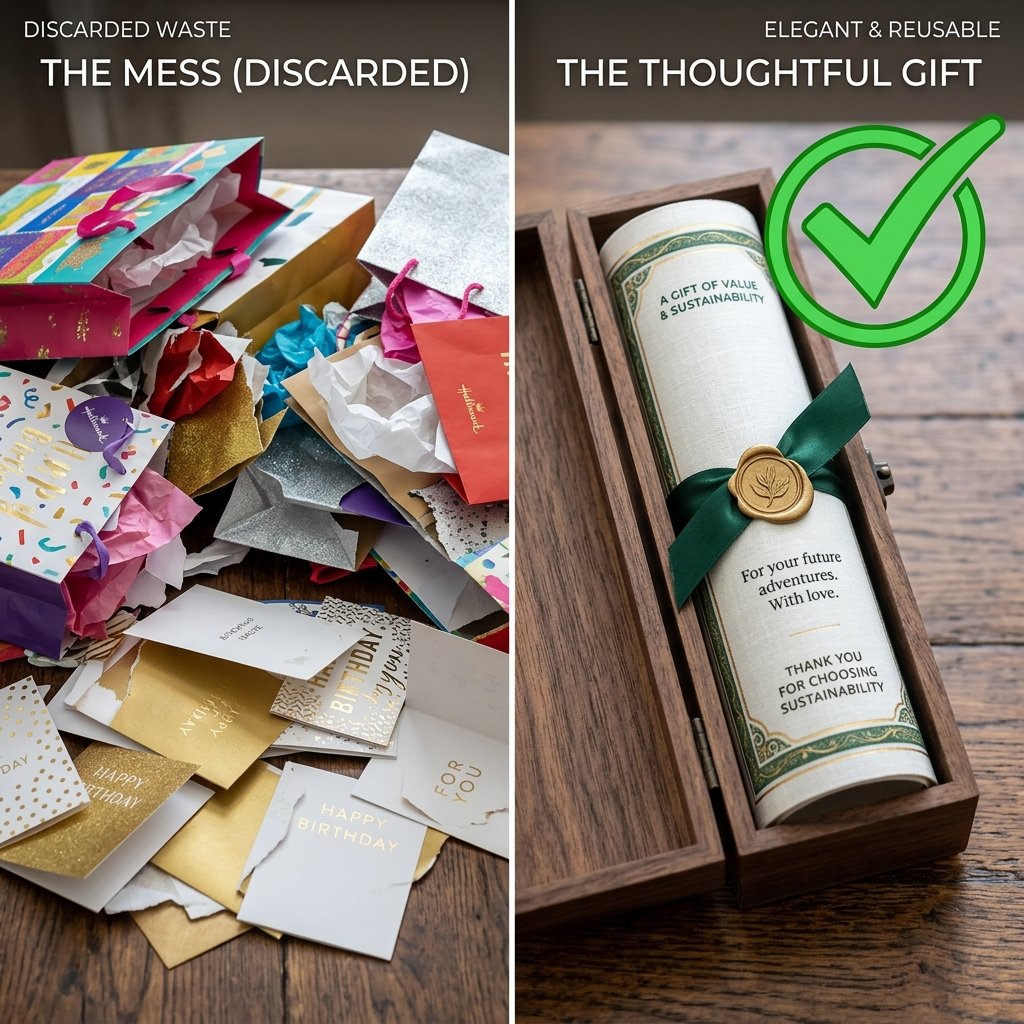
Let’s look at the cold, hard numbers. When you choose to make a Money Origami Scroll instead of buying a traditional gift setup, you aren’t just being ‘cheap’—you’re being fiscally brilliant. Every dollar you don’t spend on ‘the fluff’ (cards, bags, tissue paper) is a dollar that could have gone into the graduate’s pocket or stayed in yours.
| Expense Item | Store-Bought Route | DIY Money Scroll Route |
|---|---|---|
| Greeting Card | $6.50 | $0.00 |
| Gift Bag & Tissue | $5.00 | $0.00 |
| Plastic Gift Card Holder | $3.00 | $0.00 |
| Total ‘Waste’ Cost | $14.50 | $0.00 |
By saving that $14.50, you could literally add an extra $10 bill to the scroll itself. The graduate gets more money, and you get the satisfaction of knowing you didn’t contribute to the 2.5 million tons of greeting card waste produced annually. That is the definition of a win-win for the frugal crafter.
Conclusion
The Gift of Effort and Equity
At the end of the day, a graduation gift is a gesture of support for the next chapter of someone’s life. While a check is useful, a Money Origami Scroll proves that you put in the time, the precision, and the creative thought to make that support tangible. You’ve taken a common item—currency—and elevated it into a symbol of achievement. So, the next time you find yourself standing in the card aisle, staring at a wall of glitter and bad puns, put the card back. Grab a crisp bill, find a scrap of ribbon, and start rolling. Your wallet, the planet, and the graduate will thank you. Happy crafting!

Makenzie is the founder and lead writer at MoneyHackTips.com — a personal finance blog dedicated to delivering street-smart financial wisdom for real people on real budgets. With 300+ published articles covering everything from debt management to investing fundamentals, Makenzie’s mission is to make every dollar work harder. When not writing about money hacks, Makenzie is testing frugal living strategies, optimizing side hustles, and helping readers build financial freedom from scratch.