
The Art of the Thoughtful Cash Gift
Let us face a practical truth: cash is the ultimate gift. It is ruggedly versatile, infinitely useful, and guarantees the recipient gets exactly what they want. Whether you are a handy dad rewarding a recent grad, a budget-savvy bride organizing a wishing well, or a crafty gift-giver looking to elevate a simple birthday present, cash is king. However, simply slipping a flat, lifeless twenty-dollar bill into a store-bought greeting card feels remarkably uninspired. It lacks the warmth, the effort, and the clever, resourceful touch that defines a truly memorable gift. That is exactly where the art of money origami steps in to save the day, bridging the gap between practical utility and handcrafted elegance.
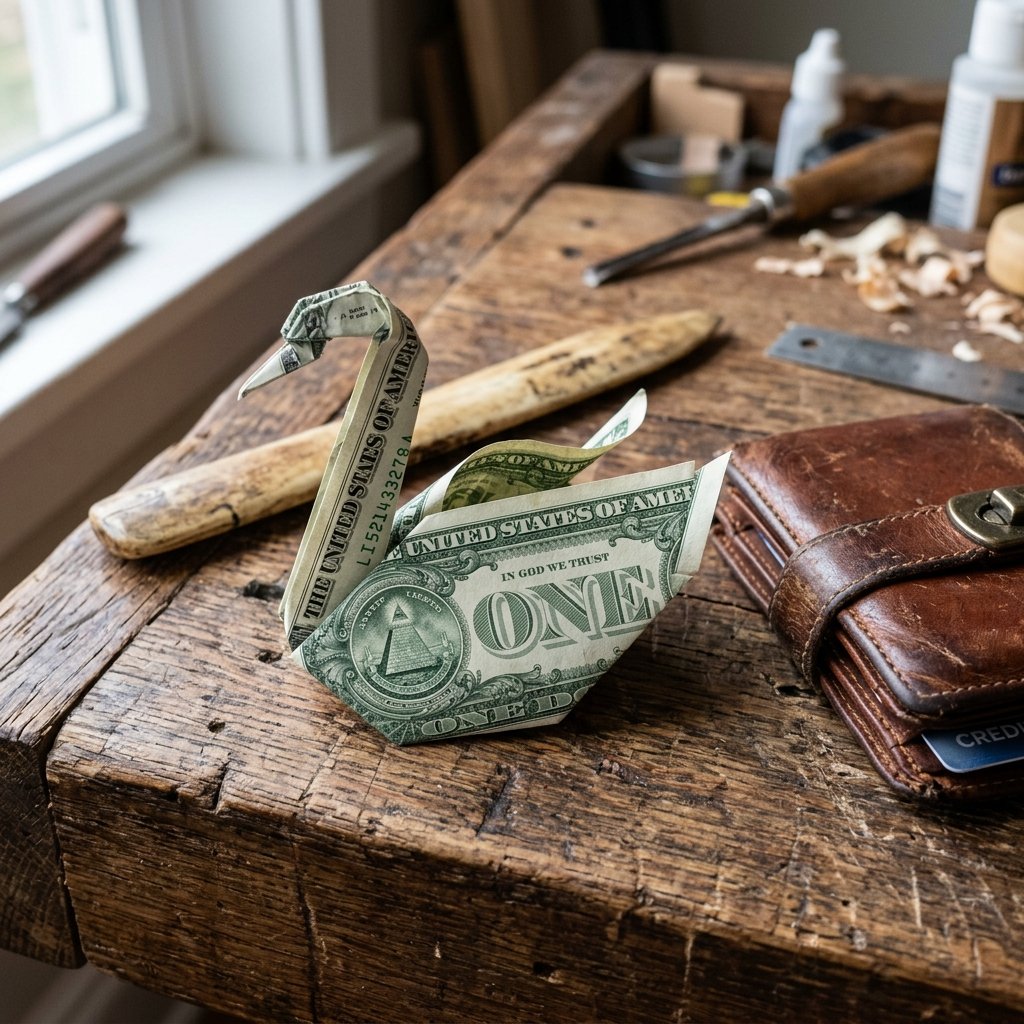
In this comprehensive masterclass, we are going to transform a piece of everyday currency into a stunning symbol of grace and prosperity. By investing just 5 minutes of your time, you can turn a standard bank note into a beautiful origami swan. This is not just a craft; it is a clever hack for the frugal DIYer who wants to give a high-impact gift without spending an extra dime on packaging. The origami swan is a classic—it is elegant enough to sit proudly on a wedding gift table, yet straightforward enough that any handy parent can master it at the kitchen counter. Grab a crisp bill, roll up your sleeves, and let us dive into the resourceful, highly rewarding world of money origami.
Preparing Your Canvas: Selecting and Crisping the Perfect Bill
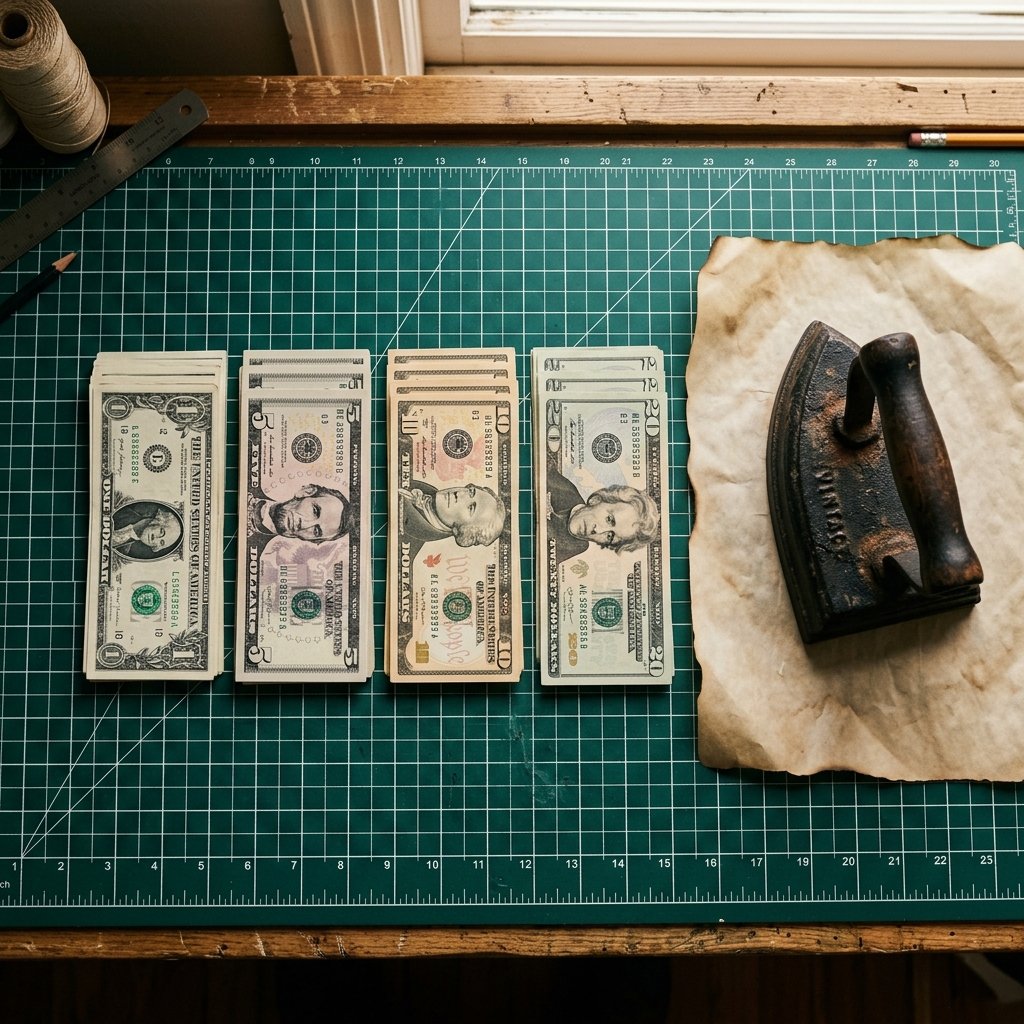
Before we make a single fold, we must talk about materials. In the world of money origami, your paper is your foundation, and a crumpled, wallet-worn bill simply will not hold the sharp, architectural creases required for a handsome swan. A true craftsman knows that preparation is half the battle. You need crispness. You need structural integrity. If you are heading to the bank, politely ask the teller for uncirculated bills. They are stiff, clean, and fold with a satisfying snap.
The Ironing Hack for Worn Currency
If you cannot get to the bank and are stuck with slightly soft currency, do not panic. You can resourcefully restore a bill’s crispness using tools you already have in your utility room or laundry closet.
Safety Note: Currency is made of a cotton-linen blend, not standard wood-pulp paper. It can withstand heat, but you must be cautious. Never use a soaking wet bill or iron directly over high heat without a protective barrier.
To crisp a limp bill, place it flat on an ironing board. Lightly mist it with a tiny amount of spray starch—the same kind you might use on a dress shirt collar. Cover the bill with a thin, clean cotton cloth or a piece of parchment paper. Press a dry iron (set to a low-medium heat) firmly over the cloth for about 5 to 10 seconds. The result? A perfectly stiff, rejuvenated canvas ready for geometric precision.
Choosing Your Denomination
The beauty of the money origami swan is that it costs exactly as much as you want to give. However, different denominations offer different visual aesthetics based on their ink colors and watermarks. Here is a handy breakdown to help you choose the right bill for your occasion:
| Bill Denomination | Visual Impact & Best Occasion |
|---|---|
| $1 Bill | Classic green. Perfect for practice, kids’ tooth fairy gifts, or creating a massive ‘flock’ of swans for a budget wedding centerpiece. |
| $2 Bill | Rare and unique. The intricate back design makes for beautifully patterned wings. Excellent for graduation milestones or good luck charms. |
| $5 Bill | Subtle purple and gray hues. The large, modern portrait placement creates an abstract, modern look on the finished swan’s body. |
| $10 Bill | Warm orange and red undertones. Ideal for autumn weddings or pairing with a rugged leather wallet for Father’s Day. |
| $20 Bill | Vibrant green and peach. The gold standard for standard birthday gifting. The color palette looks incredibly rich when folded. |
| $50 Bill | Striking blue and red elements. A substantial, premium gift for major anniversaries. The crispness of higher denominations is usually excellent. |
| $100 Bill | The ultimate flex. The blue 3D security ribbon creates a stunning, high-tech stripe across the swan’s wings. Perfect for weddings. |
The Geometry of the Dollar: Essential Tools and Folding Techniques
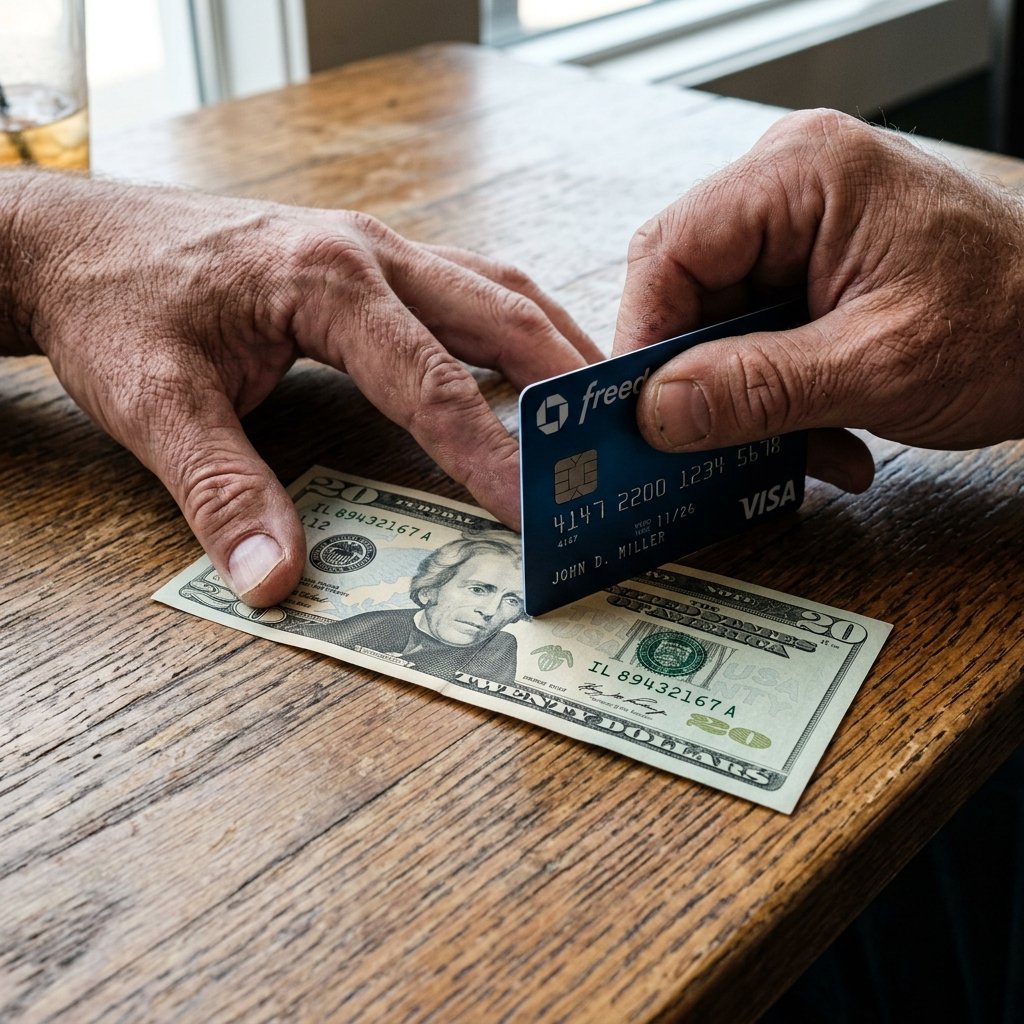
You do not need a workshop full of expensive tools to create a masterpiece. The frugal DIYer thrives on using what is readily available. However, relying solely on your fingertips will result in soft, pillowy folds that cause your swan to gradually unfold like a cheap lawn chair. To achieve masculine-elegant precision, you need a creasing tool.
The Crafty Expert’s Tool Kit
- A Bone Folder: The gold standard for paper crafting. If you have one in your craft bin, use it.
- A Clean Credit Card: The ultimate budget-savvy alternative. The hard plastic edge is perfect for running along a fold to compress the cotton-linen fibers of the bill.
- A Guitar Pick or Popsicle Stick: Resourceful substitutes that provide excellent leverage for micro-folds.
Understanding the Folds
Money origami relies on two fundamental maneuvers. Mastering these before you start will save you from frustrating mistakes and torn currency.
- The Valley Fold: You fold the paper toward you, creating a “V” shape or a valley. The crease sits at the bottom.
- The Mountain Fold: You fold the paper away from you, creating an inverted “V” or a mountain peak. The crease sits at the top.
Crafting Mantra: “Measure twice, crease once.” US currency does not have the perfect square dimensions of traditional origami paper. It is a rectangle with a ratio of approximately 2.35 to 1. This means alignment is critical. Take an extra 3 seconds to line up your corners perfectly before applying your credit card edge to make the crease.
The Masterclass: Step-by-Step Instructions to Fold Your Swan
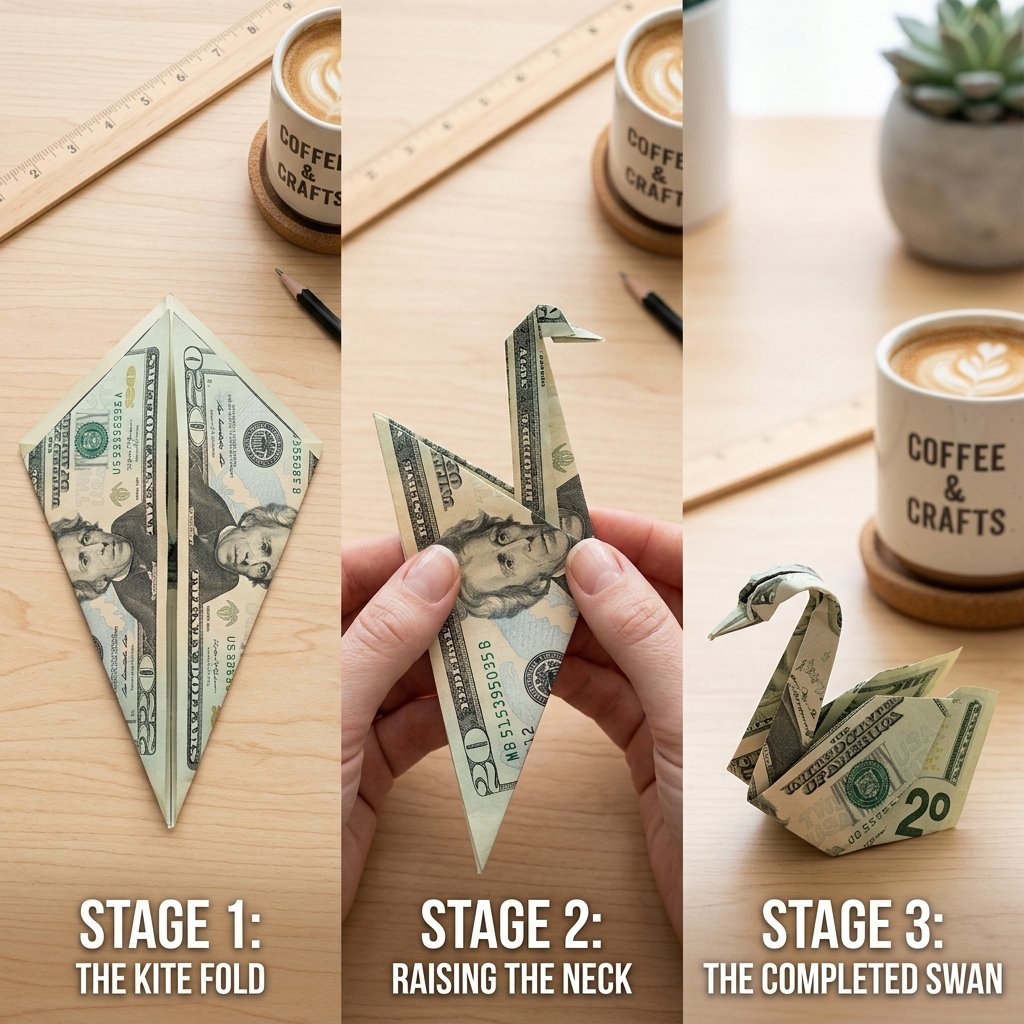
Now comes the fun part. Clear off your workbench, sit down with good lighting, and let us turn that rectangular cash into a soaring piece of art. Follow these steps meticulously. Do not rush; a steady hand yields a superior result.
- Establish the Centerline: Lay your crisp bill flat on the table, face up (the portrait side facing you). Fold the bill exactly in half lengthwise (hotdog style). Press firmly along the crease with your credit card, then unfold it completely. You now have a sharp, central valley fold to act as your guide.
- The Initial Taper (Kite Fold): Take the top left corner and fold it down so the top edge aligns perfectly with your center crease. Repeat this with the bottom left corner, folding it up to meet the center. Your bill should now look like an asymmetrical arrow or a sideways kite pointing to the left.
- The Second Taper (Sharpening the Beak): We need to make the point even sharper. Take the newly formed diagonal edge on the top left and fold it down to meet the center crease again. Repeat with the bottom left diagonal edge, folding it up to the center. The left side of your bill is now a very sharp, narrow point. This will eventually become the swan’s elegant neck and beak.
- The Tail Fold: Turn your attention to the right side of the bill (the flat, unfolded edge). Fold this straight, vertical edge inward toward the left by about 1 inch. This creates a mountain fold that will serve as the base of the swan’s tail feathers.
- Fold the Body in Half: Now, fold the entire model in half along that original horizontal center crease you made in Step 1. You should be folding the model backward (a mountain fold) so the smooth, folded edges are on the outside. Your shape now resembles a sleek, narrow triangle with a blunt right end.
- Raising the Neck: Hold the body of the swan (the thicker right side) firmly in your left hand. With your right hand, grasp the sharp, narrow point (the left side). Gently but firmly pull the narrow point upward to an angle of about 45 to 60 degrees. Once you have the neck at a proud, elegant angle, pinch the base of the neck tightly to set the new crease.
- Forming the Head and Beak: Go to the very tip of the narrow neck you just raised. Fold the top 1/2 inch of the point downward to create the head. Pinch it sharply. To give the beak a more realistic, detailed look, you can make a tiny reverse fold right at the tip, tucking a millimeter of the point back inside itself.
- Deploying the Wings: The swan’s body is currently flat. To give it three-dimensional volume and allow it to stand on its own, peel the top layer of the “body” (the flaps pointing backward) up and outward. Repeat on the other side. Angle these wings slightly upward to mimic a swan in mid-glide.
- The Final Adjustments: Set your swan on a flat surface. If it tips forward, adjust the angle of the neck slightly backward. If it tips sideways, ensure your wing folds are symmetrical. Use your bone folder or fingernail to gently curl the tips of the wings outward for a touch of organic realism.
Congratulations! In under 5 minutes, you have engineered a beautiful, freestanding money origami swan. You have successfully upcycled a standard bank note into a premium, handcrafted gift.
Troubleshooting the Flock: Fixing Common Folding Errors
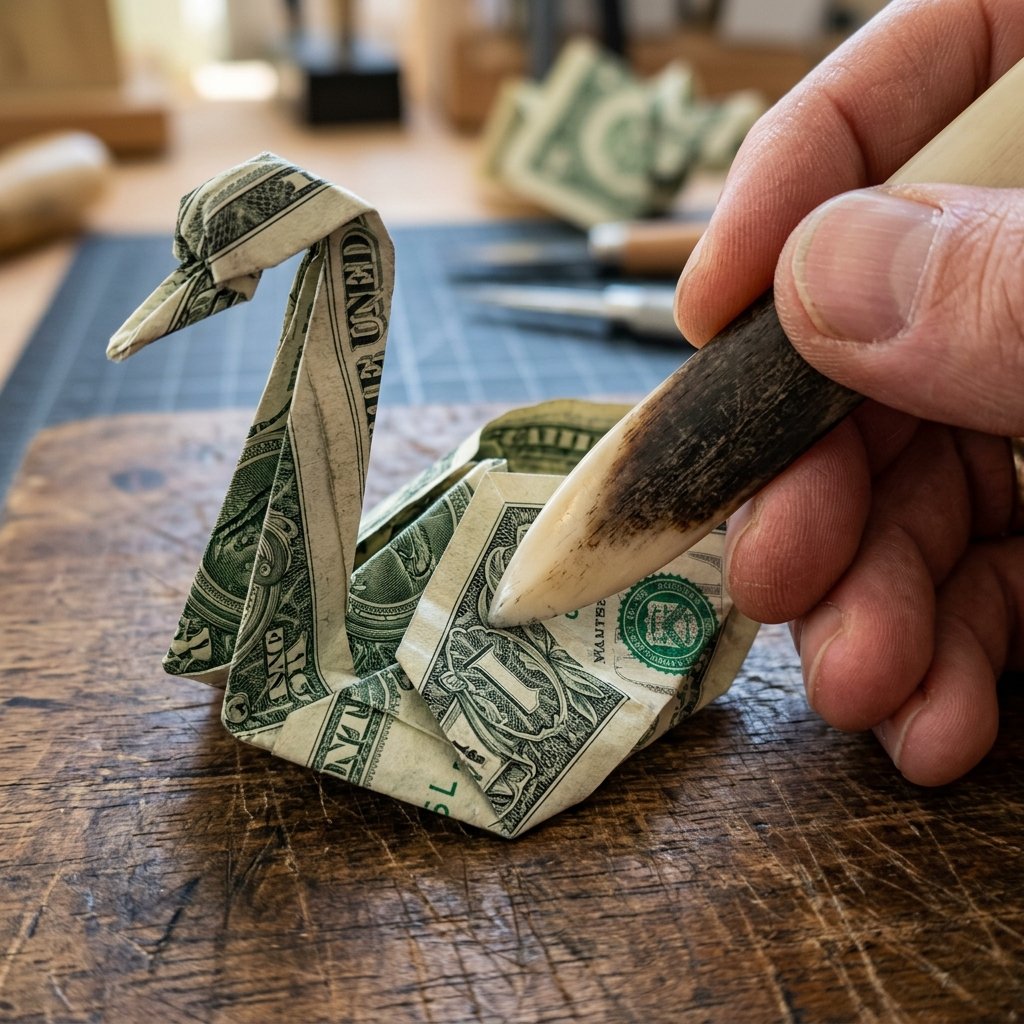
Even the most seasoned handy parents and crafty upcyclers run into structural issues from time to time. Money origami requires precision, and slight misalignments can compound as you progress through the steps. Here is your rugged troubleshooting guide to fixing a swan that refuses to cooperate.
Problem: The Swan Keeps Tipping Over (Nose Dive)
The Fix: A nose-diving swan means the center of gravity is too far forward. This usually happens if you made the neck too thick or angled it too far forward in Step 6. To fix this, gently unfold the neck, shift the angle back by about 10 degrees, and re-crease the base. Additionally, make sure the wings are pulled out wide enough to act as stabilizing outriggers.
Problem: The Neck Keeps Springing Open
The Fix: This is a classic symptom of using a soft, heavily circulated bill. The cotton fibers have lost their memory. If you cannot iron the bill as described in our preparation section, you can use a tiny, budget-savvy cheat: a microscopic piece of double-sided tape or a tiny dab of removable poster putty hidden inside the neck fold. Do not use liquid glue, as it will ruin the currency and frustrate the recipient when they try to spend it!
Problem: Asymmetrical or Lopsided Wings
The Fix: This originates all the way back in Step 2. If your initial kite folds did not meet perfectly at the center crease, one side of your swan will be larger than the other. Unfold the model back to the kite stage and ensure the edges are flush against the centerline without overlapping. Overlapping causes bulky, uneven wings.
Next-Level Presentation: Displaying Your Cash Gift with Style
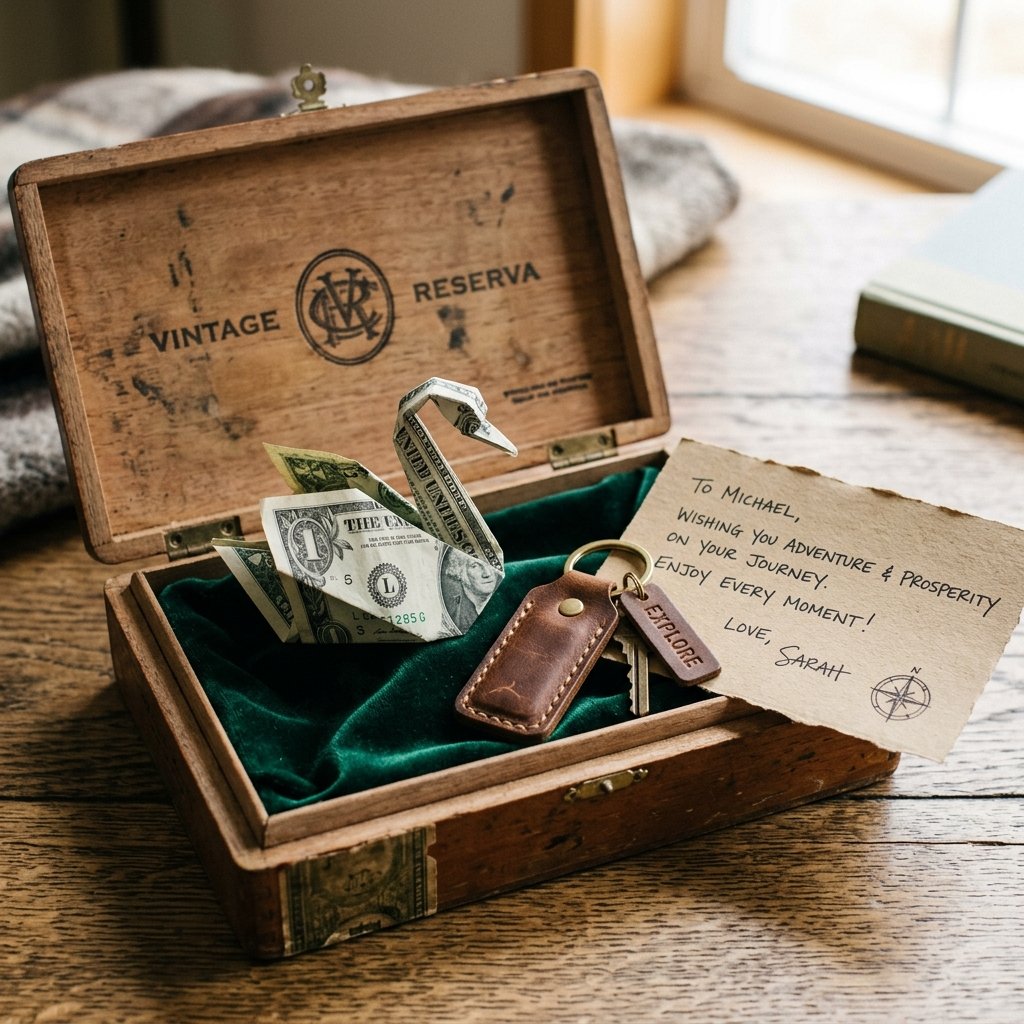
You have folded a masterpiece; now do not ruin the impact by tossing it loosely into a generic gift bag. The presentation is where the clever, budget-savvy gift-giver truly shines. By pairing your origami swan with inexpensive or upcycled items, you can create a high-end, boutique-style gift experience for pennies.
The Dollar Tree Diorama
Head to your local dollar store and pick up a small, clear acrylic display box or a glass mason jar. Fill the bottom with $1.25 worth of blue glass marbles or decorative river stones to simulate water. Place your money swan gently on top of the “water.” Tie a piece of rustic twine or a masculine leather cord around the neck of the jar with a handwritten tag. You have just created a stunning, self-contained display piece for under $3.
The Wedding Wishing Tree
If you are attending a wedding and want to give a substantial cash gift, do not just write a check. Fold ten $10 bills into a flock of swans. Forage a beautiful, bare branch from your yard (100% free), spray paint it gold or silver, and anchor it in a small pot with some concrete or floral foam. Use tiny wooden clothespins or clear fishing line to perch the swans throughout the branches. It is a jaw-dropping, sculptural centerpiece that doubles as a generous gift.
The Rugged Grooming Pair
For Father’s Day or a groomsman gift, pair the elegance of the swan with rugged practicality. Place a $50 swan inside a newly crafted DIY leather valet tray, or tuck it into the pocket of a handmade waxed-canvas tool roll. The contrast between the delicate origami and the heavy-duty, masculine materials creates a highly sophisticated, thoughtful aesthetic that any man will appreciate.
Conclusion
Fold, Gift, and Impress
Transforming a simple piece of currency into an origami swan is the ultimate intersection of thrift, creativity, and thoughtfulness. It proves that you do not need to spend exorbitant amounts of money on luxury packaging to make a lasting impression. With just a crisp bill, a straight edge, and 5 minutes of focused craftsmanship, you have elevated a standard cash gift into a memorable, handmade keepsake. Whether you are gifting a newlywed couple, rewarding a graduate, or treating a handy dad to a little extra pocket money, this elegant fold speaks volumes about your resourcefulness and care. Keep practicing your creases, experiment with different denominations, and never settle for a boring greeting card again. Happy folding, and may your budget-savvy creativity continue to soar!

Makenzie is the founder and lead writer at MoneyHackTips.com — a personal finance blog dedicated to delivering street-smart financial wisdom for real people on real budgets. With 300+ published articles covering everything from debt management to investing fundamentals, Makenzie’s mission is to make every dollar work harder. When not writing about money hacks, Makenzie is testing frugal living strategies, optimizing side hustles, and helping readers build financial freedom from scratch.