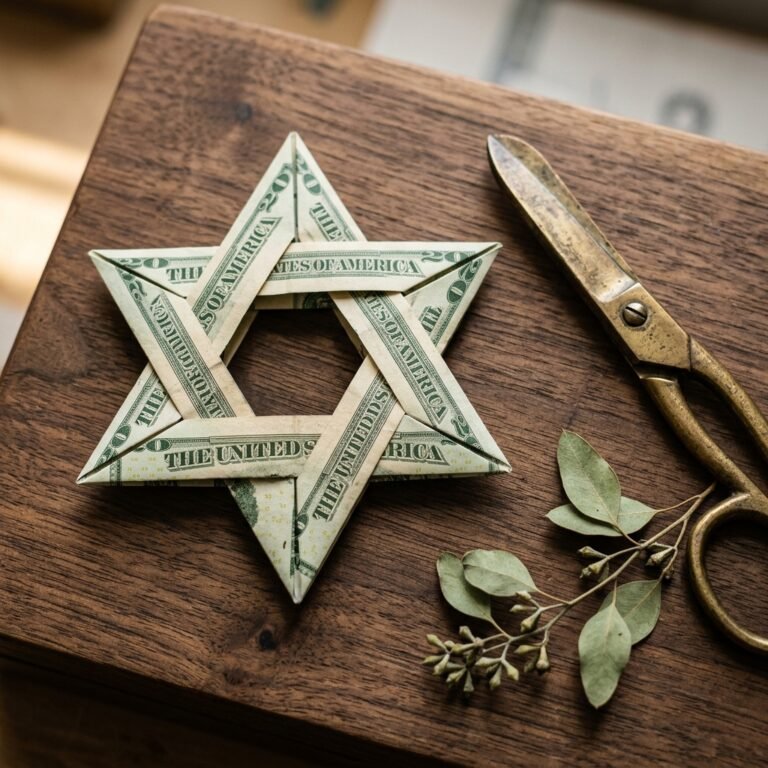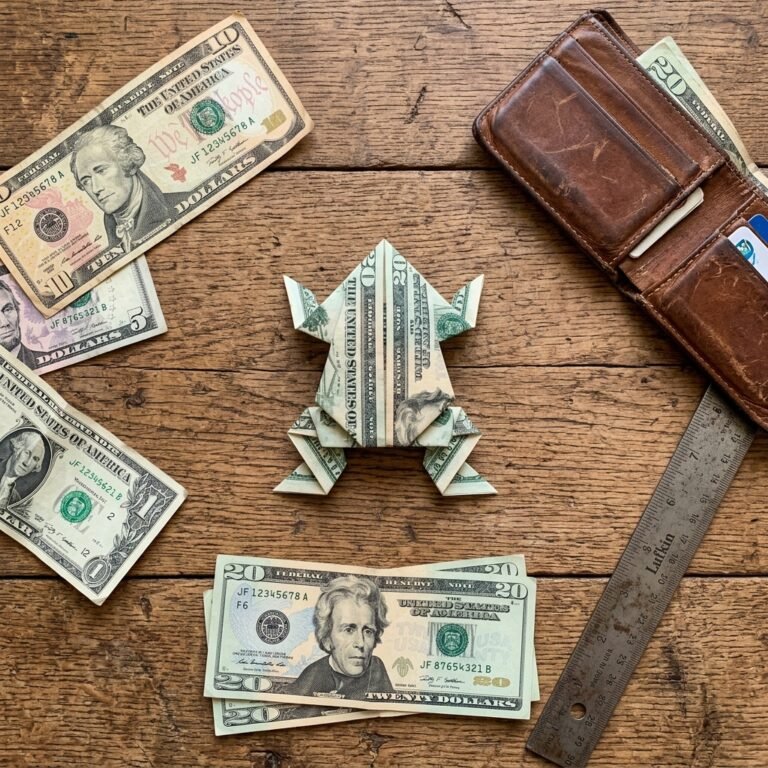

Let us face a universal truth: cash is the ultimate gift. Whether you are celebrating a recent high school graduate, trying to find the perfect Father’s Day present for a rugged outdoorsman, or acting as the crafty gift-giver for a hard-to-please teenager, cold hard cash is always appreciated. But for the frugal DIYers, resourceful makers, and creative upcyclers among us, slipping a crisp twenty-dollar bill into a generic, store-bought, five-dollar paper greeting card feels entirely counter-intuitive. It lacks imagination, it eats into your budget, and frankly, it is a bit boring. You want your gift to have impact, personality, and that undeniable handmade charm.
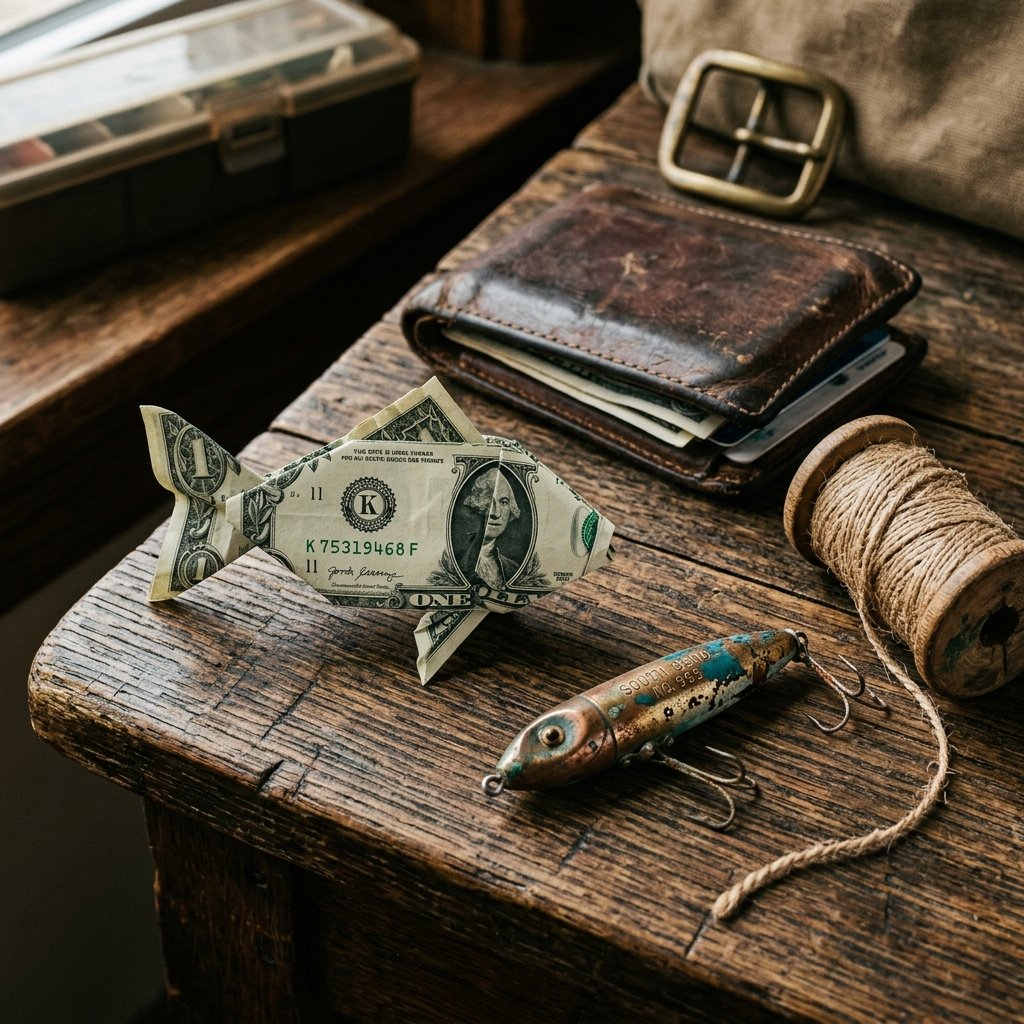
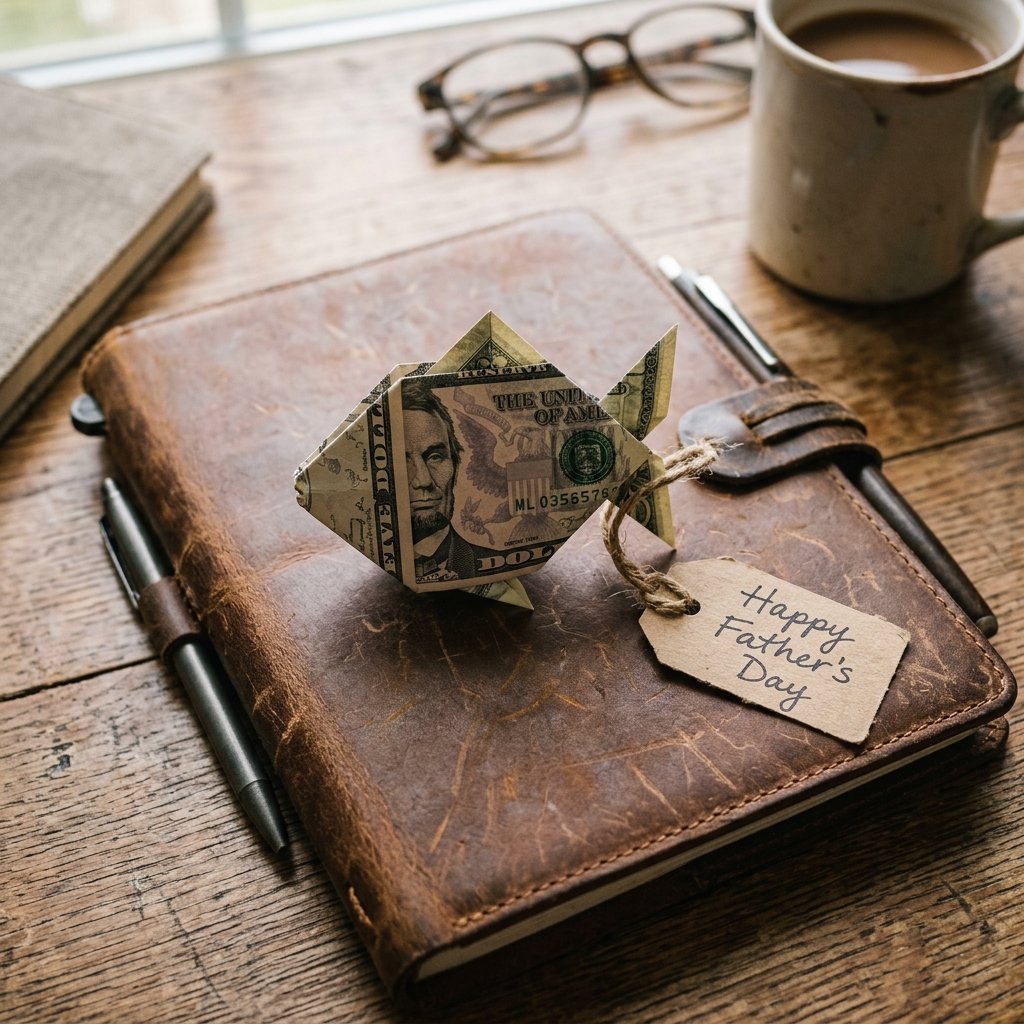
Enter the art of money origami. Specifically, the Money Origami Fish. This clever, budget-savvy technique transforms standard currency into a memorable, three-dimensional piece of art. It is the coolest way to gift cash ever, blending the practical utility of money with the thoughtful, hands-on touch of a custom craft. Best of all? It costs absolutely nothing extra to make. You are taking the gift itself and turning it into the packaging. This is the ultimate zero-budget DIY presentation.
In this comprehensive masterclass, we are going to dive deep into the world of currency folding. We will walk you through the precise, step-by-step instructions to turn any denomination into a sleek, recognizable fish. Whether you are a handy dad looking to surprise your fishing buddy, a budget bride making unique groomsmen gifts, or a frugal crafter wanting to elevate your tipping game, this guide is your tackle box for success. Grab a crisp bill, clear off your workbench, and let us get folding!
The Art of the Catch: Why Cash Origami Beats Boring Gift Cards
When you hand someone a flat bill, the transaction is over in seconds. The money goes straight into a wallet, and the moment is forgotten. But when you present someone with a meticulously folded money origami fish, you are giving them an experience. You are engaging their curiosity. You are showing them that you took the time to craft something unique just for them.
For the masculine, outdoorsy types—the dads, grandpas, and uncles who spend their weekends at the lake—a money fish is a rugged, clever nod to their hobbies. It says, I know what you love, and I put effort into this. Furthermore, from a purely frugal standpoint, learning money origami saves you a fortune over time. Stop spending $5 to $8 on greeting cards that end up in the recycling bin. By utilizing the currency itself as the decorative element, your entire gifting budget goes directly to the recipient.
Choosing Your Bait: Which Bill Works Best?
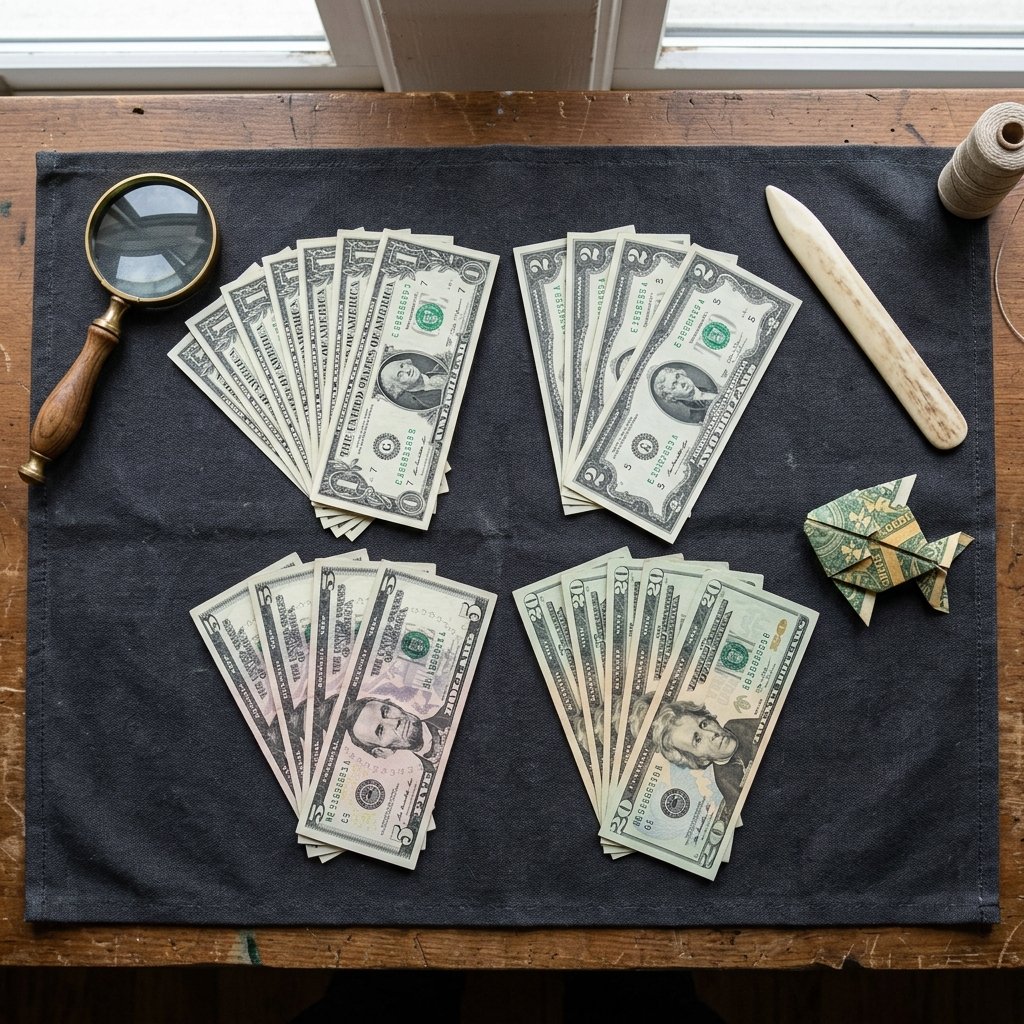
Not all bills are created equal when it comes to the visual impact of your origami fish. The denomination you choose will change the color palette, the visible numbers, and the overall vibe of your gift. Below is a handy guide to help you select the perfect bill for your recipient.
| Bill Denomination | Visual Impact & Best Use Case |
|---|---|
| $1 Bill | Excellent for practice. The heavy green ink gives the fish a realistic bass or trout vibe. Perfect for tipping your local fishing guide or making a school of small fish for a kid’s birthday. |
| $2 Bill | The ultimate conversation starter. Rare and unique, the $2 bill makes the origami feel even more special and vintage. |
| $5 Bill | Features a subtle purple/gray hue. Great for creating a varied, colorful school of fish in a larger cash gift display. |
| $20 Bill | The classic, generous gift amount. The modern $20 has subtle peach and green tones that look fantastic when folded into the fins and tail. |
| $100 Bill | The Big Catch. Use extreme care and precise folds. The blue security ribbon adds an incredible, high-end, high-tech look to the finished fish. |
Prepping Your Tackle: Securing and Smoothing the Perfect Bill
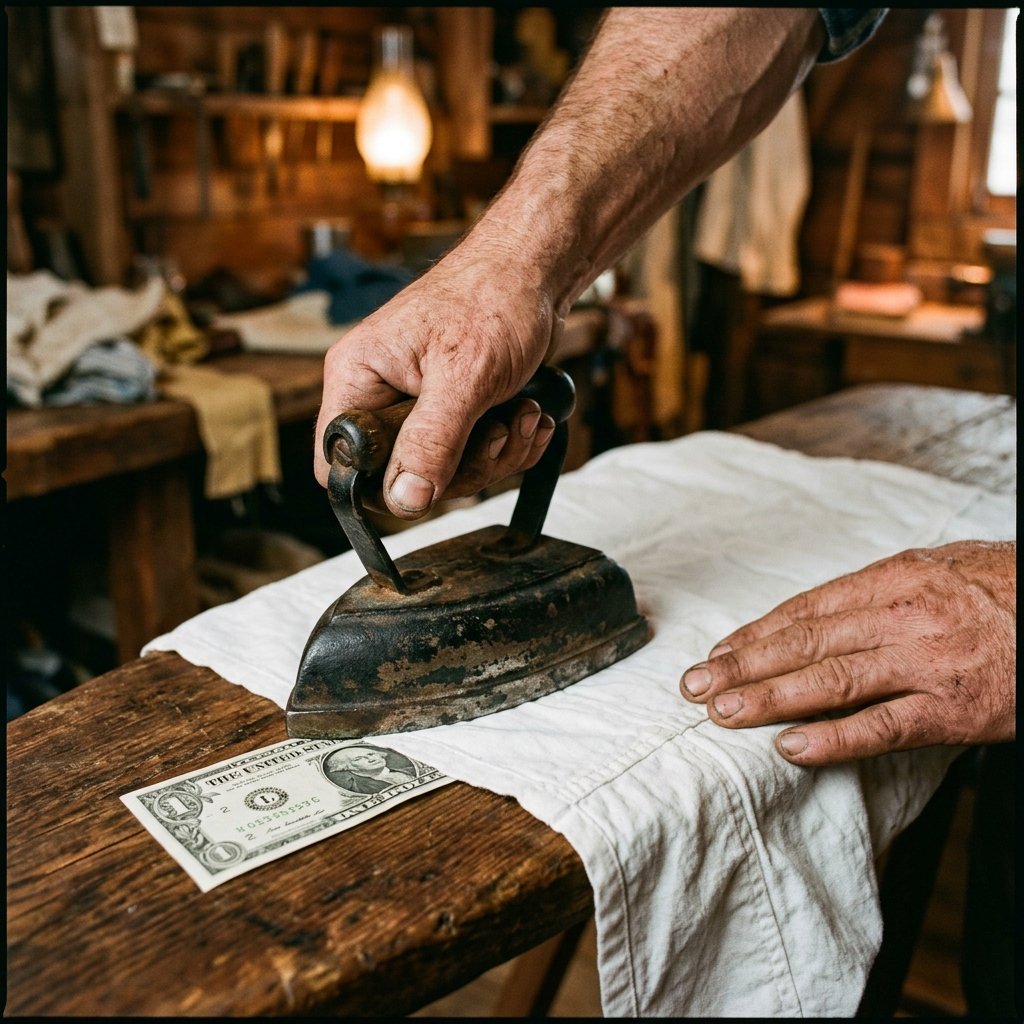
Any seasoned crafter or tailor will tell you that the secret to a flawless finished product lies in the preparation. You cannot build a sturdy house on a weak foundation, and you cannot fold a crisp, elegant origami fish with a crumpled, soft, heavily circulated dollar bill. The fibers in the cotton/linen blend of US currency break down over time, making old bills floppy and unable to hold a sharp crease.
How to Source Crisp Bills
Your first step is acquiring the right material. Head to your local bank branch and politely ask the teller for uncirculated bills. Tell them you are doing an origami project; tellers love fulfilling these requests and will often dig into their fresh stacks to find you the stiffest, newest currency available. A brand-new bill has a distinct snap to it and will hold a crease like a dream, making your folding process infinitely easier.
The Ironing Trick for Circulated Bills
If you are in a pinch and only have circulated bills on hand, do not panic. You can employ a classic tailor’s trick to restore some of the bill’s former glory. You will need a standard clothes iron, a clean cotton pressing cloth (a flour sack towel or an old, clean t-shirt works perfectly), and a flat ironing board.
Safety Warning & Frugal Disclaimer: US currency is made of a blend of 75% cotton and 25% linen. It can withstand heat, but you must be careful not to scorch it. Never iron a bill directly, and never use steam, as moisture can warp the fibers further. Always use a pressing cloth and keep the iron moving.
- Step 1: Turn your iron to a low-medium heat setting (the silk or wool setting). Ensure the steam function is completely turned off.
- Step 2: Lay your wrinkled bill flat on the ironing board. Use your fingers to gently smooth out any major dog-ears or folded corners.
- Step 3: Place your clean cotton pressing cloth entirely over the bill.
- Step 4: Press the iron down onto the cloth, keeping it moving in smooth, even strokes for about 5 to 10 seconds.
- Step 5: Remove the iron, lift the cloth, and flip the bill over. Repeat the process on the other side.
- Step 6: Allow the bill to cool completely on a flat surface. It should now be significantly stiffer and ready for precision folding.
The Master Guide: Step-by-Step Instructions to Fold Your Money Fish
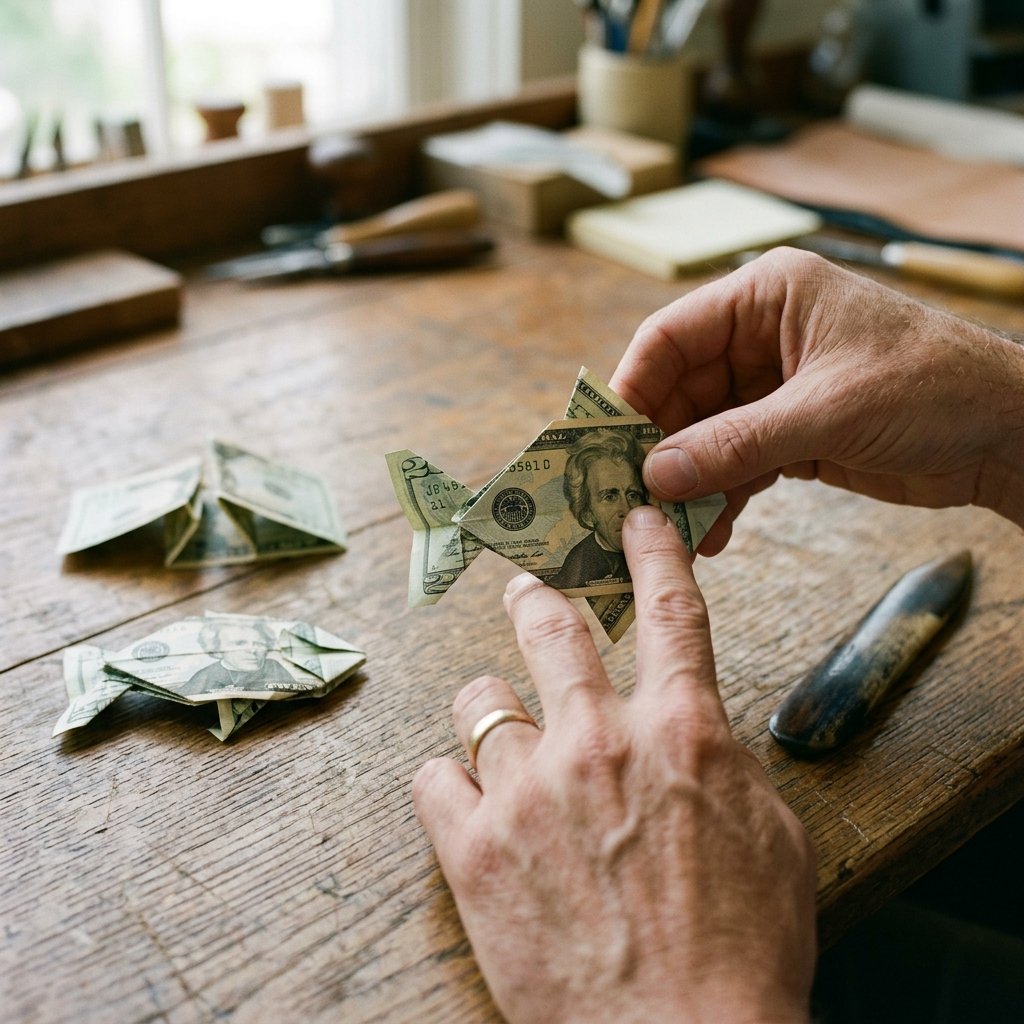
Now comes the fun part. Clear your workspace, ensure you have good lighting, and take a deep breath. Origami is an exercise in patience and precision. For the best results, make sure every fold is sharp. You can use your thumbnail, the edge of a credit card, or a dedicated bone folder tool to press your creases firmly. This specific design creates a beautiful, streamlined fish with distinct fins and a prominent tail.
Phase 1: Creating the Base
- Position the Bill: Lay your crisp bill flat on the table in front of you, horizontally, with the President’s face looking up at you.
- The Center Crease: Fold the bill exactly in half from left to right, bringing the two short edges together. Press the crease firmly, then unfold it completely. You should now have a vertical crease running down the exact center of the bill.
- The Horizontal Crease: Next, fold the bill in half lengthwise, bringing the top long edge down to meet the bottom long edge. Crease it sharply and unfold. You now have a crosshair of creases in the center of your bill.
- Folding the Corners: Take the top left corner and fold it down so that the top edge aligns perfectly with the horizontal center crease you just made. Repeat this with the bottom left corner, folding it up to meet the center crease. Your bill should now have a point on the left side, resembling the nose of a paper airplane.
- Matching the Right Side: Repeat step 4 on the right side of the bill. Fold the top right corner down to the center, and the bottom right corner up to the center. You now have a shape that looks like a diamond with a rectangular middle.
Phase 2: Shaping the Body and Fins
- The Diamond Fold: Look at the left side of your bill (the pointed end). Take the very tip of the point and fold it inward to meet the exact center intersection of your creases. Crease firmly.
- Creating the Gills: Now, take the folded edge you just created on the left side and fold it back out towards the left, but leave a small gap (about 1/4 inch) from the center. This creates a pleat that will serve as the gills and pectoral fins of the fish.
- The Tail Prep: Move your attention to the right side of the bill (the other pointed end). We are going to create the tail. Fold the top right diagonal edge down to meet the horizontal center line. Fold the bottom right diagonal edge up to meet the horizontal center line. This makes the right point much sharper and longer.
- Folding the Body in Half: Carefully fold the entire model in half along the original horizontal center line. The pleat you made for the gills should be on the outside. The model is now starting to look like a streamlined fish silhouette.
Phase 3: The Final Details
- Shaping the Dorsal Fin: Hold the fish by its belly (the straight folded edge at the bottom). Look at the top edge. About a third of the way back from the nose, pinch the top layer of paper and pull it slightly upward and forward, creating a small triangular point. Pinch it firmly to set the crease. This is your dorsal fin.
- Fanning the Tail: The long, sharp point at the back is currently too straight. To make it look like a real fish tail, fold the point upward at a slight angle. Unfold it, open the layers slightly, and push the point inside and up along the crease you just made (this is known in origami as an inside reverse fold).
- The Tail Fin Split: To give the tail more volume, gently separate the two layers of the tail point you just folded up. Curl them slightly outward with your fingers to give the fish a sense of motion.
- Final Adjustments: Inspect your fish. Ensure the nose is sharp, the pleats are tight, and the fins are standing proud. You have successfully crafted a money origami fish!
Hook, Line, and Sinker: Clever, Rugged Presentation Ideas
You have folded a masterpiece. But handing over a bare origami fish, while cool, is a missed opportunity for a truly legendary gift presentation. Frugal DIYers know that the packaging is half the magic. By upcycling items you likely already have in your garage, kitchen, or craft bin, you can create a stunning, thematic display that costs pennies but looks like a million bucks.
Idea 1: The Mason Jar Aquarium
This is a fantastic, visually striking way to present your cash gift, especially if you have folded multiple fish in different denominations. It is perfect for graduations or birthdays.
- Materials Needed: A clean, empty glass jar (mason jar or upcycled pickle jar), a handful of clean gravel or small pebbles from the driveway, a small twig or piece of faux aquarium plant, and some clear fishing line.
- The Setup: Wash and dry the jar thoroughly. Pour about an inch of gravel into the bottom. Stick the twig or faux plant into the gravel so it stands upright.
- The Suspension: Cut a small piece of clear fishing line. Gently loop it through the gills or around the body of your origami fish. Tie the other end of the line to the underside of the jar lid.
- The Reveal: When you screw the lid onto the jar, the money fish will dangle perfectly in the center of the jar, looking exactly like it is swimming in a miniature aquarium. Add a tag that says, “Wishing you oceans of success!”
Idea 2: The Vintage Tackle Box Surprise
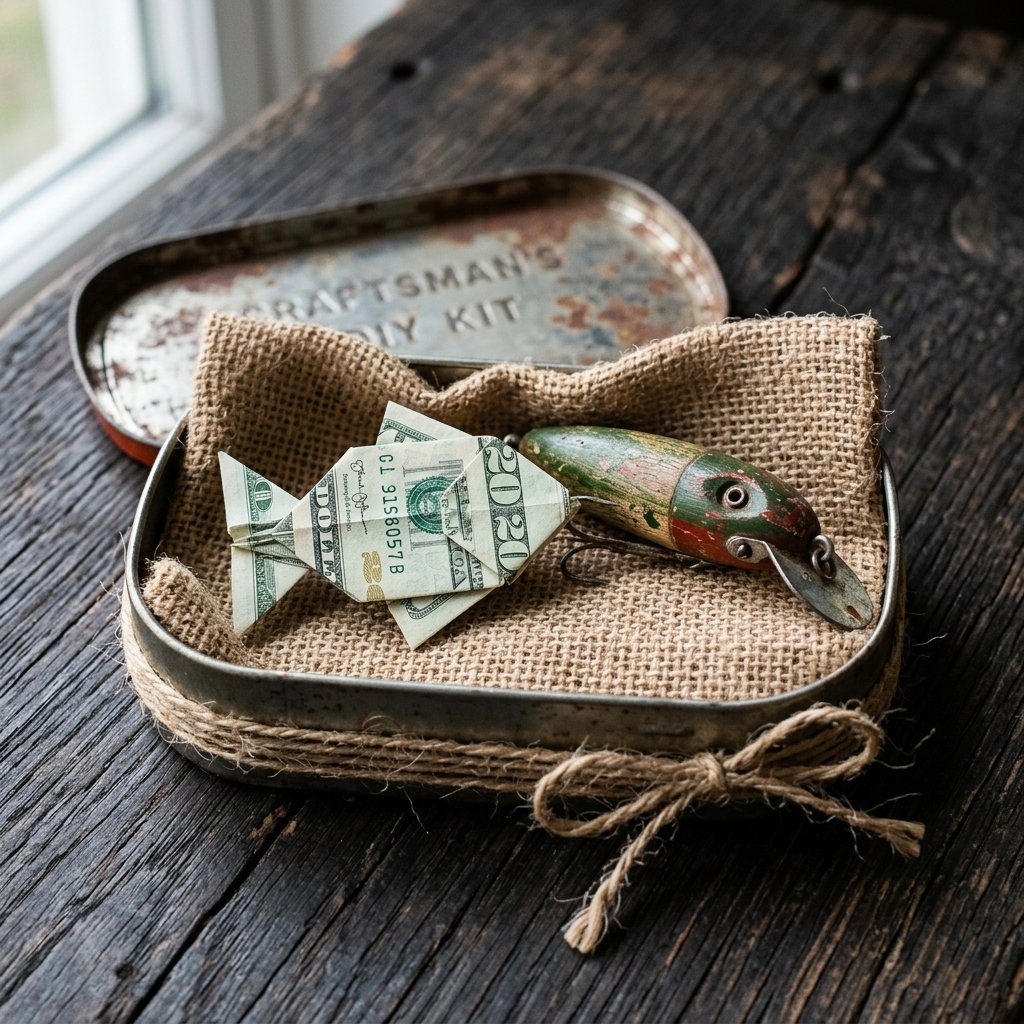
If you are gifting this to a dad, grandpa, or fishing enthusiast, this presentation is unmatched in its rugged, practical appeal. It upcycles old mint tins into a functional piece of gear.
| Presentation Element | Store-Bought Cost | Frugal DIY Alternative & Cost |
|---|---|---|
| Gift Box | $6.00 (Generic Cardboard Box) | $0.00 (Upcycled Altoids Tin) |
| Decorative Padding | $3.00 (Tissue Paper) | $0.00 (Scrap burlap or moss from the yard) |
| The “Lure” Attachment | $5.00 (Fake novelty lure) | $0.00 (An old, hookless spoon lure from the garage) |
| Total Cost | $14.00 | $0.00 (100% Free) |
Clean out an old Altoids tin or small metal box. Line the bottom with a small scrap of burlap, felt, or even dried moss. Carefully place your money origami fish inside. If you have an old, clean fishing lure (ensure you remove the sharp treble hooks for safety!), nestle it next to the fish. Tie the tin shut with a piece of rough jute twine. It looks incredibly masculine, thoughtful, and entirely custom.
Idea 3: The “Catch of the Day” Plaque
For a truly humorous and crafty approach, mount the fish like a prized trophy catch. Cut a small shield shape out of scrap cardboard or thin scrap wood. Paint it brown or stain it to look like a classic wood mounting plaque. Use a small loop of double-sided tape to stick the money fish to the center of the plaque. Add a small label underneath that reads, “The $20 Bass – Caught on [Date]”. It is a hilarious, budget-savvy display that guarantees a laugh.
Crafty Troubleshooting: Fixing Floppy Fins and Wonky Folds
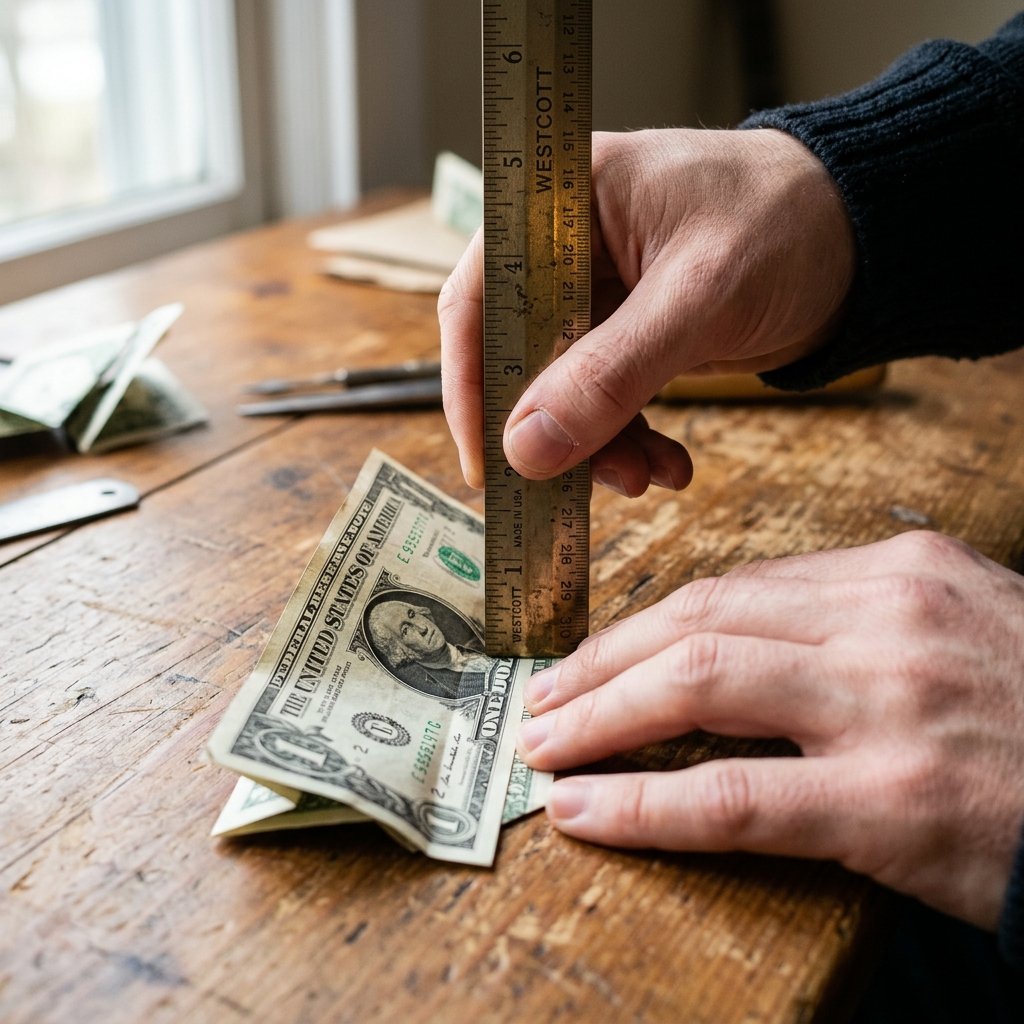
Even the most experienced crafters run into snags. Origami is a forgiving art if you know how to correct your mistakes. If your money fish is looking a little more like a sad tadpole than a prized marlin, do not throw in the towel. Here is the master mender’s guide to troubleshooting common origami issues without ruining the bill.
Problem: The Folds Won’t Stay Flat
The Frugal Fix: This is almost always due to a bill that is too soft or folds that were not creased sharply enough. First, ensure you are using a hard, flat surface (a glass table or a cutting mat) rather than a soft tablecloth or your lap. Go back over every single fold with a bone folder, the back of a spoon, or the smooth edge of a plastic ruler. Apply firm, even pressure. If the bill is simply too worn out, refer back to our ironing trick in Section 2, or carefully use a tiny dab of removable poster putty (sticky tack) hidden inside the folds to hold stubborn flaps together. Never use glue or permanent tape on currency!
Problem: The Nose is Blunt and Messy
The Frugal Fix: A blunt nose happens when the initial diagonal folds (Phase 1, Steps 4 and 5) do not meet perfectly at the center line, causing the paper to bunch up when folded in half. Unfold the fish back to the diamond stage. Look closely at the center line. If the edges overlap, they will bind. Adjust the folds so there is a microscopic gap (the thickness of a hair) between the two edges at the center line. When you fold the model in half again, the nose will be razor-sharp.
Problem: The Fish Won’t Stand Up/Lays Flat
The Frugal Fix: If you want your fish to have a 3D, lifelike quality rather than lying completely flat, you need to adjust the belly. Hold the fish and gently push your thumbs inside the bottom opening (the belly). Spread the two halves slightly apart, creating a subtle V-shape. Pinch the top ridge (the spine) tightly while doing this. This gives the fish a triangular cross-section, allowing it to stand upright on a table. You can also gently curl the tail fin outward to act as a kickstand.
Frequently Asked Questions About Money Origami
When you start gifting money origami, people will inevitably ask you how you did it and if it is safe. Here are some of the most common questions frugal crafters receive about the art of currency folding.
Is it illegal to fold money into origami?
No, it is entirely legal! According to the US Treasury, it is only illegal to deface currency if your intent is to render it unfit to be reissued or to commit fraud. Folding, bending, and creasing a bill does not damage it permanently. The recipient can simply unfold the fish, smooth it out, and spend it at the hardware store or bait shop without any issues.
Can I use a larger bill, like a $50 or $100?
Absolutely. The dimensions of all US paper currency are identical (2.61 inches wide by 6.14 inches long). The folding instructions remain exactly the same whether you are using a $1 bill or a $100 bill. However, as mentioned earlier, higher denomination bills are often newer and stiffer, which actually makes them easier to fold but requires more precision to avoid permanent, harsh creases on the faces.
How long does it take to fold a money fish?
For your very first attempt, budget about 10 to 15 minutes. You will want to take your time, read the instructions carefully, and ensure your creases are accurate. Once you have the muscle memory down, a seasoned crafter can whip up a perfect money fish in under 3 minutes. It is a fantastic, rapid-fire craft to deploy when you need a last-minute gift that still looks incredibly thoughtful.
Do I need special origami tools?
Not at all. While a bone folder is a nice luxury for getting crisp edges, the frugal DIYer’s toolkit is all about using what you have. A clean thumbnail, a guitar pick, the back of a butter knife, or an old hotel key card work just as well for pressing creases. The only mandatory requirement is clean hands—oils and dirt from your fingers will transfer to the bill quickly, leaving dark smudges on your beautiful craft.
Conclusion
Gifting cash does not have to be a lazy, last-minute resort. By embracing the resourceful, crafty spirit of the frugal DIYer, you can transform a simple piece of currency into a memorable, personalized piece of art. The money origami fish is more than just a clever trick; it is a testament to the fact that thoughtfulness and budget-savvy creativity can outshine expensive store-bought presents any day of the week.
Whether you are tucking this little cash catch into an upcycled tackle box for your dad, suspending it in a mason jar aquarium for a graduate, or just handing it over as a legendary tip to a fishing guide, the reaction will always be the same: pure delight. You have taken the time to craft an experience, proving that the best gifts are not just about the monetary value, but the hands-on effort and rugged elegance you put into the presentation.
So, the next time you are reaching for a boring, overpriced greeting card, stop. Grab a crisp bill, clear off your workbench, and start folding. You have the skills, you have the guide, and you have the creativity to make your next cash gift the coolest one they have ever received. Happy crafting, and happy gifting!

Makenzie is the founder and lead writer at MoneyHackTips.com — a personal finance blog dedicated to delivering street-smart financial wisdom for real people on real budgets. With 300+ published articles covering everything from debt management to investing fundamentals, Makenzie’s mission is to make every dollar work harder. When not writing about money hacks, Makenzie is testing frugal living strategies, optimizing side hustles, and helping readers build financial freedom from scratch.