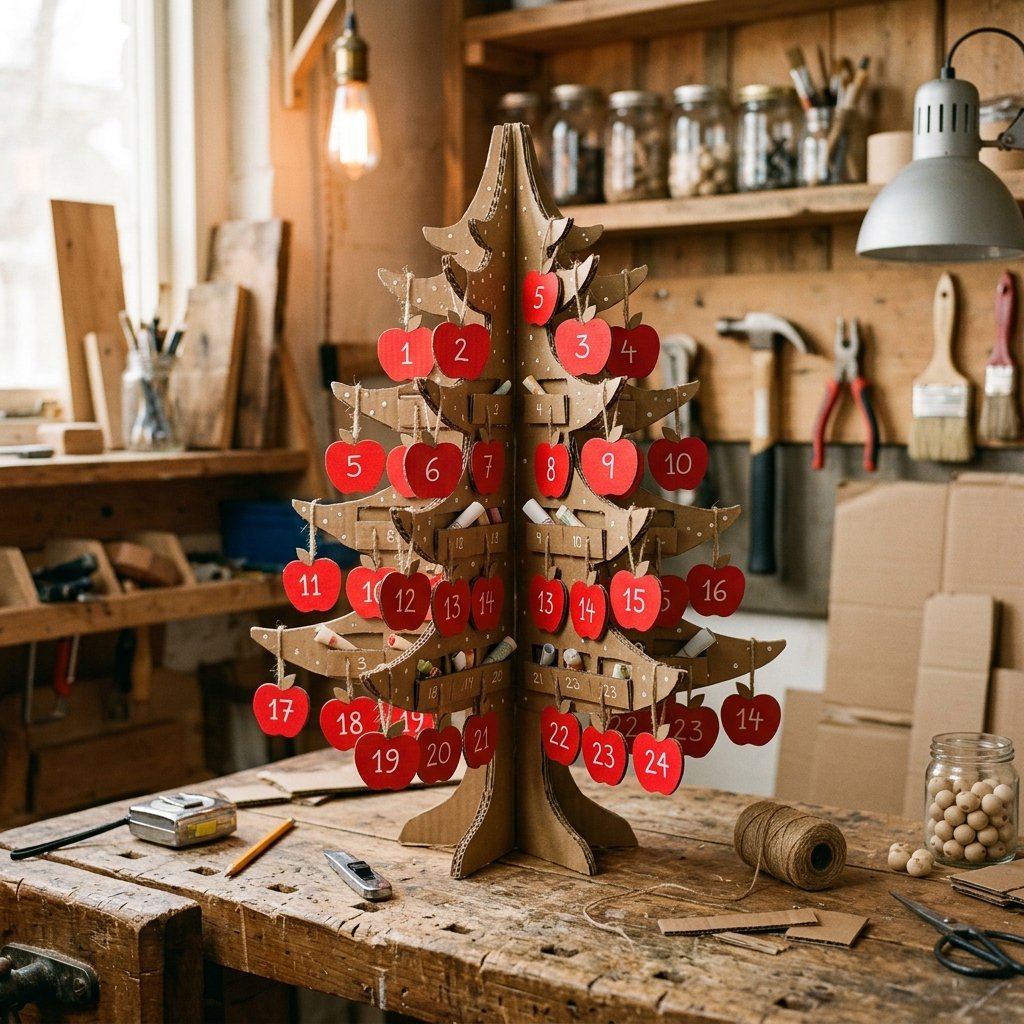

Let us talk about the ‘Montessori Tax.’ If you have ever browsed the aisles of high-end educational toy stores or scrolled through beautifully curated social media feeds, you have seen them: gorgeous, minimalist wooden toys promising to turn your toddler into the next Einstein. They are beautiful, they are effective, and they cost an absolute fortune. But here is the rugged, budget-savvy truth that the toy industry does not want you to know: your toddler does not care about the price tag. They care about the interaction, the challenge, and the bright colors. You can build a highly effective, developmentally appropriate math and counting tool using the exact same boxes those expensive toys are shipped in.
Welcome to the ultimate trash-to-treasure masterclass for handy parents and crafty upcyclers. Today, we are taking a standard corrugated shipping box and transforming it into a heavy-duty, interactive 3D Cardboard Counting Tree. This project requires zero dollars, basic workshop tools you already own, and a little bit of sweat equity. Not only will you save $30 to $50, but you will also build a custom, durable learning station that teaches one-to-one correspondence, numeral recognition, and fine motor skills. Roll up your sleeves, grab your utility knife, and let us build something brilliant.
The Anatomy of a Zero-Dollar Educational Masterpiece
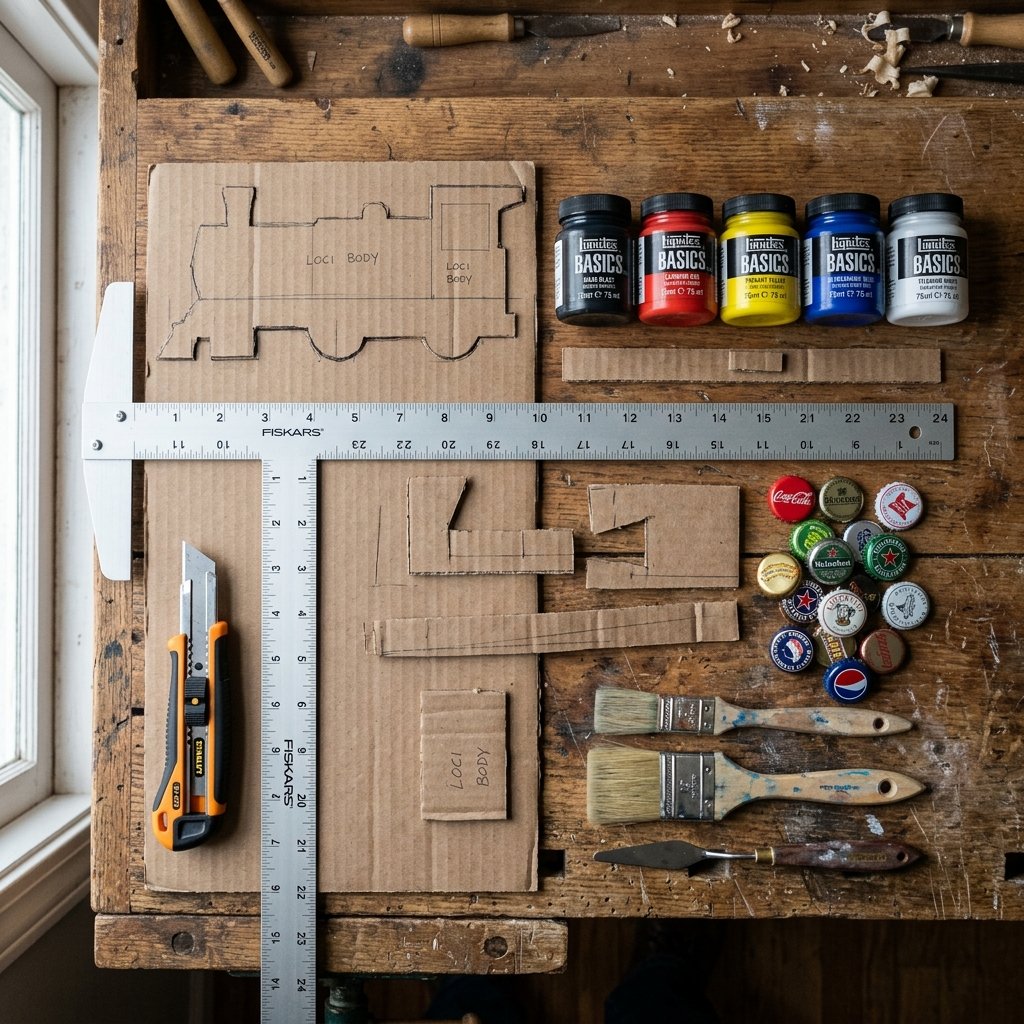
Before we start cutting, we need to gather our materials. The beauty of this project lies in its absolute frugality. We are utilizing items that are destined for the recycling bin, giving them a second life as a rugged, educational centerpiece for your playroom. The key to making this look like a deliberate, masculine-elegant craft rather than a pile of trash is precision and finishing.
Materials and Tools You Will Need:
- Heavy-Duty Corrugated Cardboard: Look for double-walled boxes (like appliance or heavy shipping boxes) for maximum structural integrity.
- A Sharp Utility Knife or Box Cutter: A dull blade will crush the corrugation. Use a fresh blade for crisp, clean edges.
- A Metal Ruler or T-Square: Essential for straight cuts and measuring slots.
- Non-Toxic Acrylic Paints or Heavy-Duty Markers: For adding color to the trunk, leaves, and apples.
- Bottle Caps or Extra Cardboard Scraps: These will serve as our counting ‘apples’ or tokens.
- Hot Glue Gun: For reinforcing joints (optional, but recommended for toddlers who play hard).
Let us look at the raw numbers. Building this yourself is not just a fun afternoon project; it is a smart financial decision.
| Item / Feature | Store-Bought Wooden Math Tree | DIY Upcycled Cardboard Tree |
|---|---|---|
| Base Material Cost | $35.00 – $60.00 | $0.00 (Recycled Box) |
| Tokens / Apples | Included (But costly to replace if lost) | $0.00 (Scrap cardboard/bottle caps) |
| Customizability | None | Infinite (Paint, size, seasonal changes) |
| Replacement Cost | Full Price | $0.00 + 15 minutes of labor |
| Total Estimated Cost | $45.00 (Average) | $0.00 |
Safety Warning: Utility knives and box cutters are incredibly sharp and should be used by adults only. Always cut away from your body, use a self-healing cutting mat or scrap wood underneath, and keep all blades out of reach of your little workshop assistants.
Constructing the Trunk and Branches: Engineering the Base
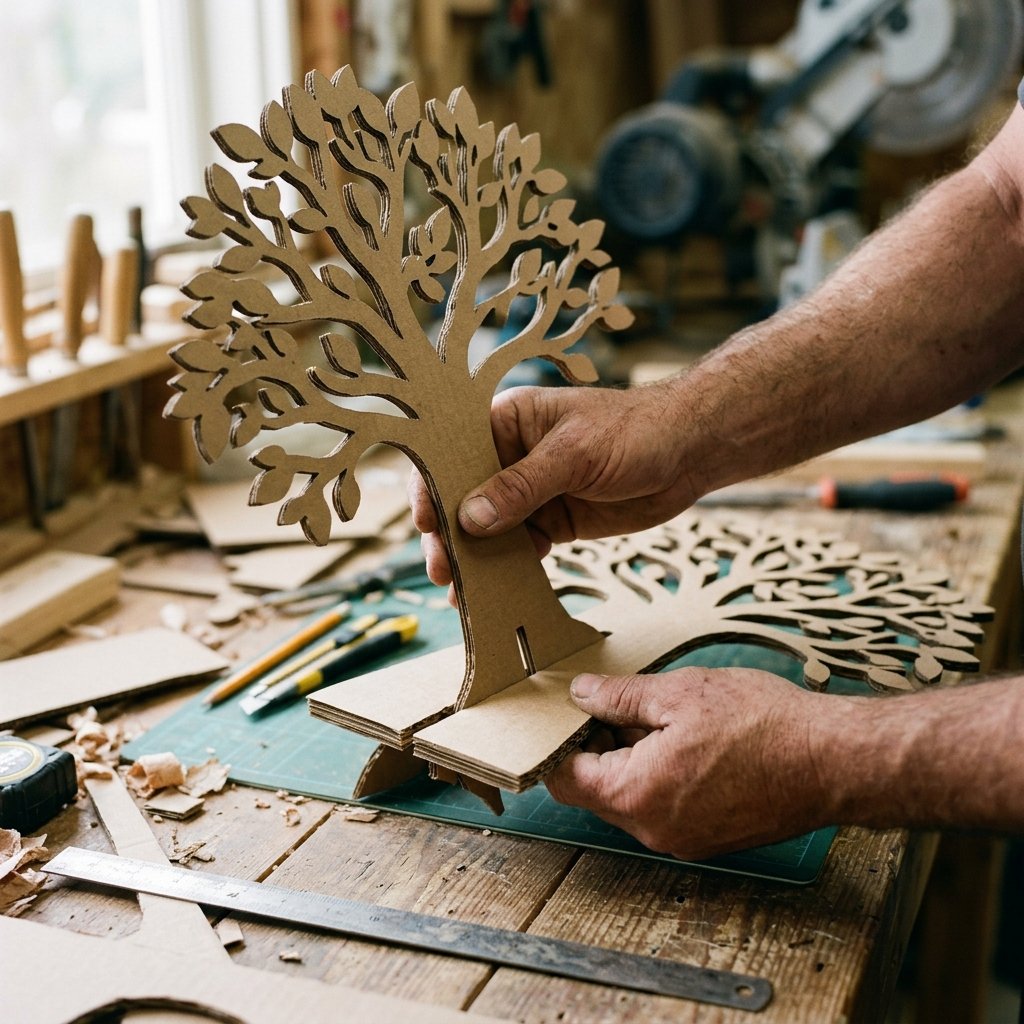
The foundation of our counting tree needs to be stable enough to withstand the enthusiastic, sometimes clumsy hands of a toddler. We are going to use a simple but highly effective slotted cross-section design. This allows the tree to stand freely in 3D without needing a massive base plate.
Step-by-Step Construction:
- Draft the Silhouettes: Take your heavy-duty cardboard and draw two identical, large tree silhouettes. Aim for about 18 inches tall and 12 inches wide at the branches. Ensure the trunk is wide and sturdy—at least 4 inches wide at the base.
- Cut with Precision: Using your metal ruler and utility knife, carefully cut out both tree shapes. Pro-Tip: Do not try to cut all the way through double-walled cardboard in one pass. Score the top layer first, then make a second and third pass. This prevents the cardboard from tearing and leaves a clean, professional edge.
- Create the Interlocking Slots: On Tree Piece A, cut a vertical slit from the top center down to the exact middle of the tree. On Tree Piece B, cut a vertical slit from the bottom center up to the exact middle. The slits should be exactly the width of your cardboard’s thickness (usually about 1/8 to 1/4 inch).
- Assemble the 3D Structure: Slide Tree Piece B down into Tree Piece A. If your measurements are correct, they will lock together tightly, creating a four-sided, freestanding tree. If it feels slightly loose, run a bead of hot glue down the interior seams for rugged durability.
- Punch the Counting Holes: On the branches, use a hole punch or your craft knife to cut small, uniform circles. These are where your toddler will place the ‘apples.’ Aim for 10 to 15 holes total, distributed evenly across the canopy.
Craftsman’s Mantra: Measure twice, cut once. The stability of your 3D tree relies entirely on the precision of your center slots. Take your time, use your ruler, and ensure the cut width matches the cardboard thickness perfectly.
Crafting the Apples and Number Tokens: The Interactive Elements

A counting tree is nothing without its fruit. The tokens are the interactive element that will drive the mathematical learning. We need these to be durable, easy for small fingers to grasp, and visually distinct.
Option 1: The Scrap Cardboard Method
If you want to keep this project 100% free, grab your leftover cardboard scraps. Trace a small circular object (like a coin or a glue stick cap) to create your apples. You will need at least 20 of these. Cut them out, paint them a vibrant, glossy red, and let them dry. Once dry, use a bold black permanent marker to write numbers 1 through 10 on half of them, and leave the other half blank or draw tiny apple seeds on them. To make them indestructible, cover both sides with a layer of clear packing tape—a budget-savvy laminating hack that costs pennies.
Option 2: The Upcycled Bottle Cap Method
For an incredibly tactile and rugged alternative, raid your recycling bin for plastic milk jug caps or metal bottle caps (ensure there are no sharp edges). These are naturally the perfect size for toddler hands to practice their pincer grasp. Paint the inside of the caps red, or simply write the numbers directly on the top with a heavy-duty paint pen. The added weight of the caps gives a satisfying ‘clack’ when dropped into a sorting bowl, adding an auditory sensory element to the learning process.
Adding the Fasteners
How do the apples stay on the tree? You have a few resourceful options:
- The Slotted Branch Method: Cut tiny V-shaped notches into the branches of your tree. The cardboard apples can simply be wedged into these slots.
- The Velcro Hack: If you have $2.00 to spare, pick up a strip of adhesive hook-and-loop fastener (Velcro) from the dollar store. Put the ‘hook’ side on the tree branches and the ‘loop’ side on the back of your apples. This provides fantastic tactile resistance that toddlers love pulling apart.
- The Peg Method: Glue small wooden dowels or golf tees into the branches, and punch holes in your cardboard apples so they can be hung like real fruit.
The Math Magic: How to Play, Teach, and Engage
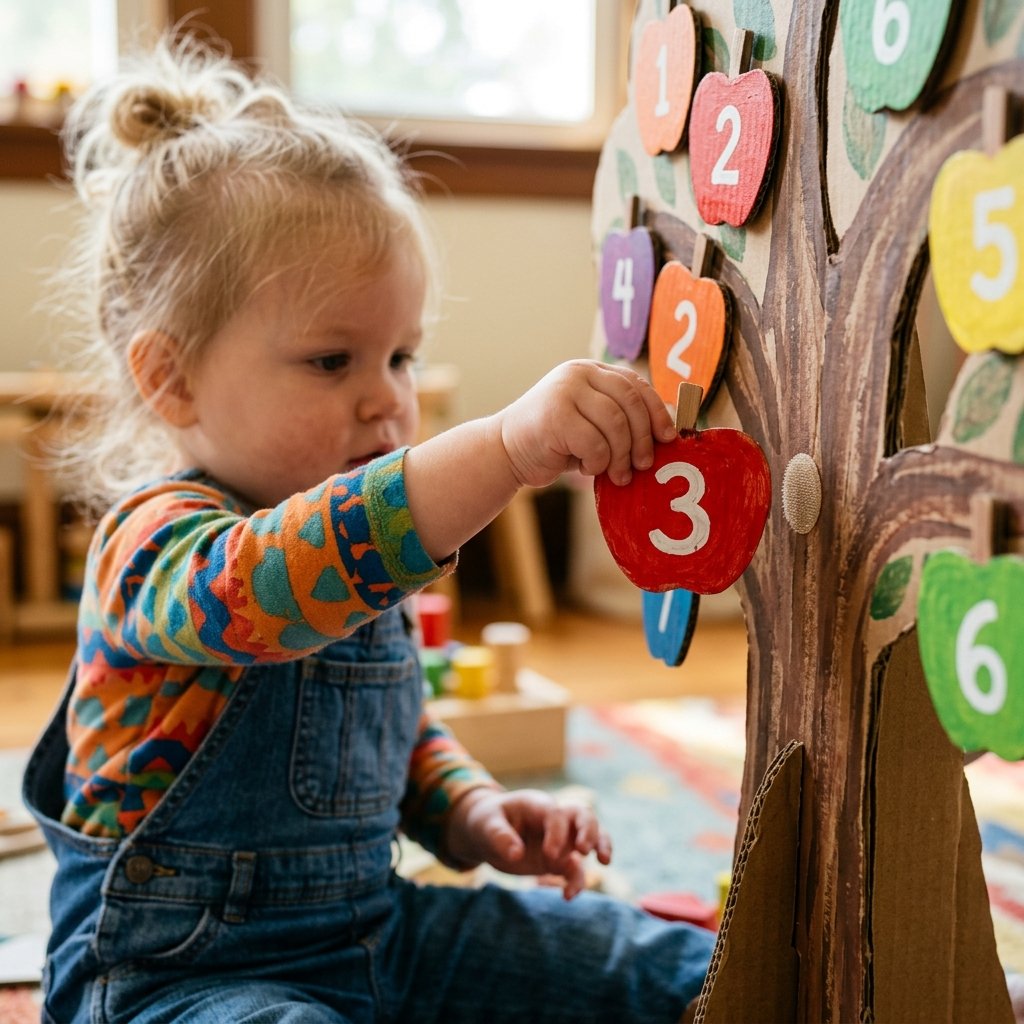
You have built a handsome, rugged piece of educational equipment. Now, how do we use it to build a genius? Toddler math is not about memorizing flashcards; it is about tactile experiences and understanding the physical weight of numbers. Here are practical, engaging ways to use your new DIY counting tree.
Game 1: One-to-One Correspondence
This is the foundational skill of all mathematics. Ask your toddler to ‘feed the tree’ by placing exactly one apple on each Velcro dot or slot. As they place the apple, count out loud together: ‘One, two, three…’ This teaches them that each number spoken corresponds to exactly one physical object.
Game 2: Numeral Recognition and Matching
Write the numbers 1 through 10 on the tree branches themselves. Hand your toddler the numbered apples and ask them to match the number on the apple to the number on the branch. This bridges the gap between counting physical objects and recognizing the abstract symbols (numerals) that represent those quantities.
Game 3: The Harvest (Simple Subtraction)
Load up the tree with 10 apples. Tell a story about a hungry bear or a farmer harvesting the crop. Say, ‘Let us pick three apples.’ Have your toddler remove three apples and place them in a small basket. Then ask, ‘How many apples are left on the tree?’ This introduces the concept of subtraction in a highly visual, low-pressure environment.
Game 4: Fine Motor Tweezers
For an added challenge, introduce a pair of kitchen tongs or large plastic toddler tweezers. Have your child use the tools to place and remove the apples. This heavily works the muscles in the hand and forearm, preparing them for holding a pencil and writing later in life.
Educator’s Insight: Keep the sessions short. 5 to 10 minutes of highly engaged, playful learning is vastly superior to 30 minutes of frustrated drilling. Follow your child’s lead; if they just want to pull the apples off and throw them in a bucket, they are still learning cause and effect and practicing motor skills!
Advanced Upgrades for the Crafty Parent: Weatherproofing and Seasonal Swaps
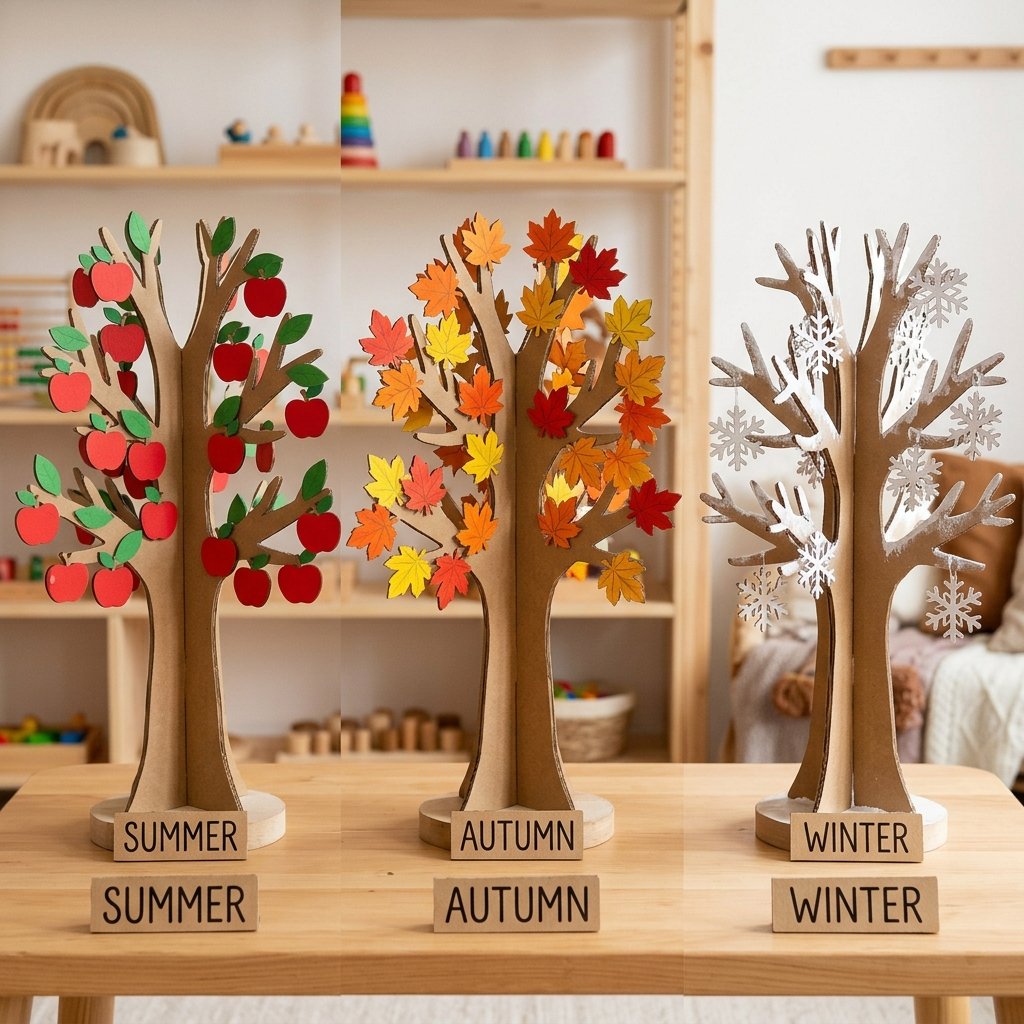
A true DIYer is never really finished. Once you have mastered the basic build, you can upgrade your cardboard tree to ensure it lasts through multiple kids and multiple seasons. Cardboard is surprisingly resilient if treated correctly.
The Mod Podge Armor
To protect your tree from sticky toddler fingers, spilled juice, and general wear and tear, give the entire structure two coats of matte Mod Podge or a mixture of 50% white school glue and 50% water. This seals the porous paper surface, creating a hard, wipeable shell that significantly extends the lifespan of your zero-dollar toy.
Seasonal Interactivity
Why stop at apples? Because you utilized a Velcro or slot system, the ‘fruit’ can be swapped out year-round to keep the toy fresh and engaging without spending another dime.
- Fall/Autumn: Cut out oak and maple leaf shapes. Paint them orange, yellow, and brown. Practice counting the falling leaves.
- Winter: Cut out white circular snowballs or intricate snowflakes. Count the snow accumulation on the bare branches.
- Spring: Craft small pink and white cherry blossoms or green buds.
- Summer: Swap the apples for bright yellow lemons or green pears.
By rotating the pieces, you are maintaining the novelty of the toy. In the toy industry, this is called ‘play value.’ You are extending the play value infinitely, utilizing nothing but the scrap cardboard from your latest online delivery and a few drops of paint. That is the definition of resourceful parenting.
Conclusion
You do not need a massive budget to give your child a massive head start. By looking at a discarded shipping box and seeing the potential for a dynamic, interactive learning tool, you are embodying the ultimate frugal, crafty spirit. This DIY Cardboard Counting Tree costs $0.00, takes less than an hour to construct, and provides months—if not years—of educational play.
More importantly, you are modeling resourcefulness for your child. You are showing them that with a little creativity, a sharp knife, and some elbow grease, we can build the things we need rather than just buying them. So, rescue that box from the recycling bin, fire up your imagination, and start building. Your toddler’s brain (and your wallet) will thank you.

Makenzie is the founder and lead writer at MoneyHackTips.com — a personal finance blog dedicated to delivering street-smart financial wisdom for real people on real budgets. With 300+ published articles covering everything from debt management to investing fundamentals, Makenzie’s mission is to make every dollar work harder. When not writing about money hacks, Makenzie is testing frugal living strategies, optimizing side hustles, and helping readers build financial freedom from scratch.