
Welcome to the ultimate handy parent’s guide to reclaiming playtime and keeping your wallet firmly in your pocket. If you have ever spent a small fortune on an artisan, eco-friendly, ergonomic baby toy only to watch your little one become infinitely more fascinated by the cardboard box it arrived in, this guide is for you. We are tapping into that universal truth: babies love cardboard, they love noise, and they love grabbing things. So, why not combine all three into a resourceful, clever, and budget-savvy project?
In just 5 minutes, you can engineer a highly engaging, custom-built baby grabbing rattle using materials you already have lying around the house. This isn’t just about saving money—though keeping $15 to $30 in your pocket is a massive win—it is about the rugged satisfaction of building something functional and safe with your own two hands. Upcycling everyday trash into a developmental treasure is the hallmark of a true crafty expert.
“The best toys aren’t bought; they are built. Resourcefulness is the greatest gift you can pass down to the next generation, starting with their very first rattle.”
Whether you are a frugal DIYer looking for a quick weekend project, a handy dad wanting to add a custom toy to the tactical diaper bag, or a creative gift-giver assembling a zero-budget baby shower basket, this guide will walk you through the precise steps to construct a safe, drool-resistant, and acoustically pleasing cardboard rattle. Roll up your sleeves, grab that empty paper towel roll, and let’s get to building!
The Magic of Cardboard: Why Upcycled Toys Win
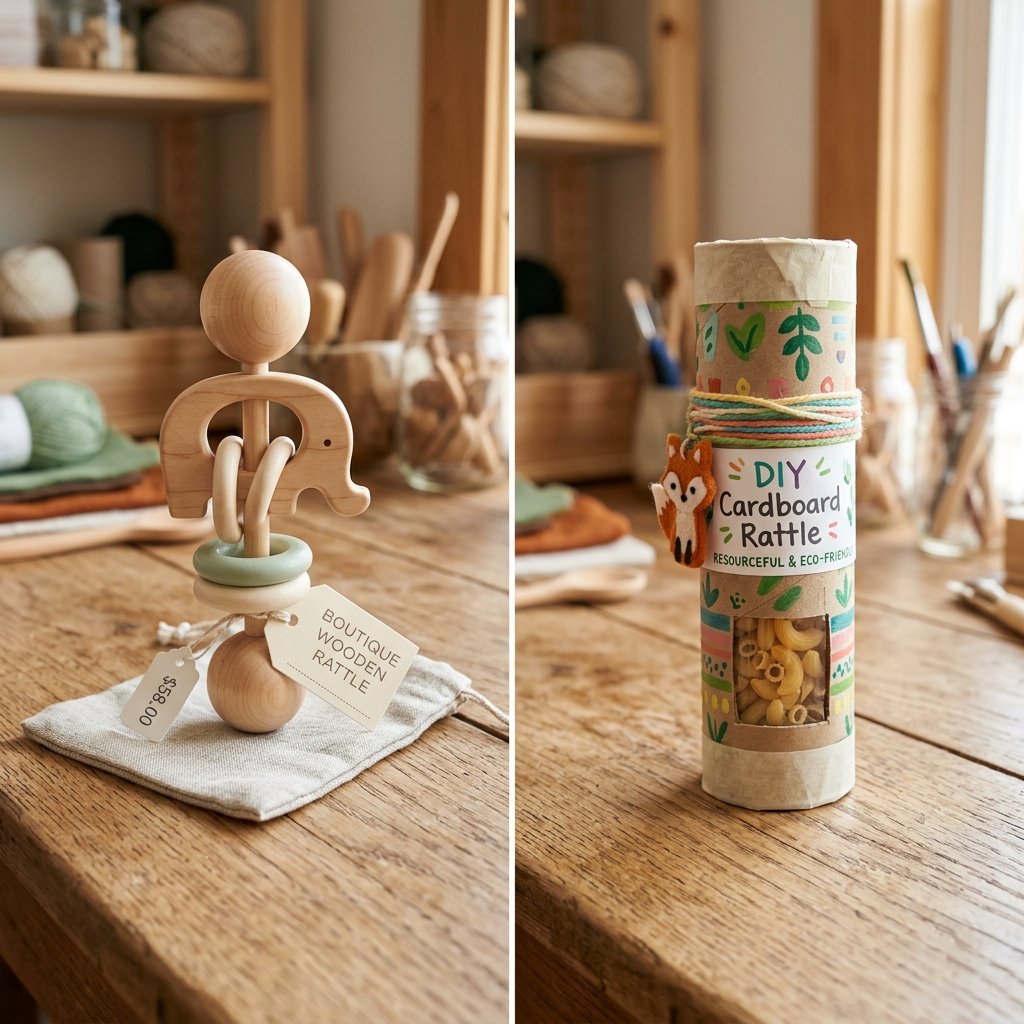
Before we dive into the construction protocol, it is important to understand why cardboard is the unsung hero of the DIY nursery. Cardboard is lightweight, naturally textured, and incredibly versatile. For a baby developing their fine motor skills, a cardboard tube offers the perfect diameter for tiny hands to practice the “palmar grasp.” Unlike heavy wooden toys that can result in a bruised forehead during an enthusiastic shaking session, cardboard is forgiving and soft.
Furthermore, building your own rattle allows you to be the master of your baby’s sensory environment. You control the volume, the weight, and the visual stimulation. Store-bought toys often feature overwhelming electronic noises and flashing lights. A DIY acoustic rattle provides a natural, organic sound that stimulates auditory tracking without overstimulating the nervous system.
Cost and Value Breakdown
Let’s look at the hard numbers. When you are outfitting a nursery, every dollar counts. Here is a breakdown of why the zero-budget DIY route is a no-brainer for the budget-savvy parent.
| Feature | Store-Bought Organic Rattle | Zero-Budget DIY Cardboard Rattle |
|---|---|---|
| Average Cost | $15.00 – $35.00 | $0.00 (100% Free) |
| Build Time | Shipping/Drive time | 5 Minutes |
| Weight/Safety | Heavy (Risk of bonking) | Ultra-lightweight & forgiving |
| Customization | None | Infinite (Sound, size, texture) |
| Environmental Impact | Plastic packaging/Carbon footprint | Zero waste/Upcycled materials |
By choosing to upcycle, you are not just saving money; you are keeping materials out of the landfill and creating a custom developmental tool tailored specifically to your child’s current grasping abilities.
Raid the Pantry and Recycling Bin: Gathering Your Materials
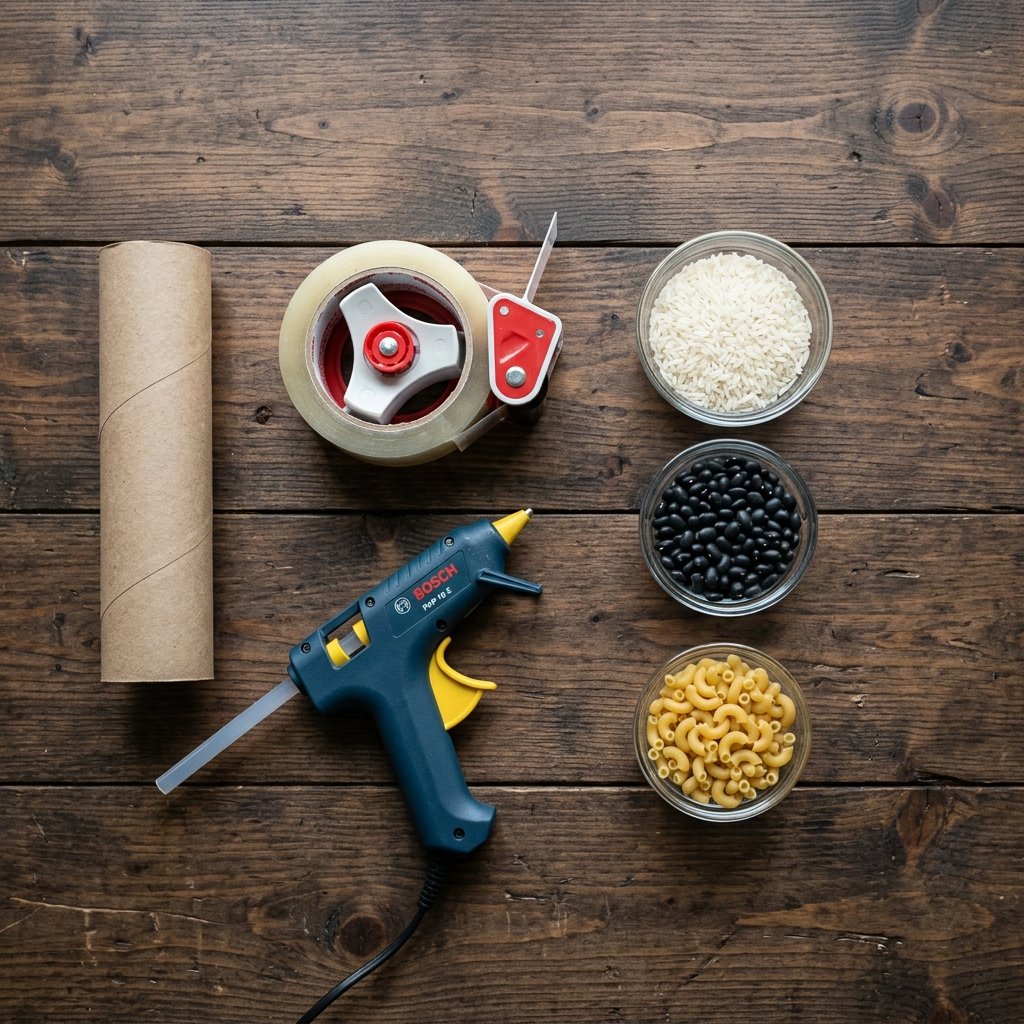
To build this masterpiece, you don’t need a trip to the craft store. You just need to raid your recycling bin and your kitchen pantry. The beauty of this project lies in its practical, rugged simplicity. Here is your official materials manifest.
The Structural Foundation
- One sturdy cardboard tube: A paper towel roll or a heavy-duty wrapping paper tube works best. Pro-Tip: Toilet paper rolls can be used, but for sanitary reasons, many parents prefer to cut down a paper towel roll.
- Heavy-duty clear packing tape: This is the secret weapon for both sealing the ends and “laminating” the cardboard to make it drool-resistant.
- Non-toxic craft glue or hot glue: For reinforcing the end caps.
The Acoustic Payload (Fillers)
The sound of your rattle depends entirely on what you put inside it. You only need about 1 to 2 tablespoons of filler.
- Dry rice or quinoa: Produces a soft, gentle “rain stick” shushing sound. Perfect for younger babies.
- Dry lentils or small beans: Creates a medium, satisfying clatter.
- Dry macaroni or penne pasta: Delivers a loud, robust, and hollow clanking sound for older, more active babies.
Safety Note: Whenever working with small dry goods like beans or beads, strict sealing protocols are mandatory. The rattle must be completely sealed with heavy-duty tape to prevent any choking hazards. Never leave a baby unattended with a handmade toy.
The 5-Minute Assembly Protocol: Step-by-Step
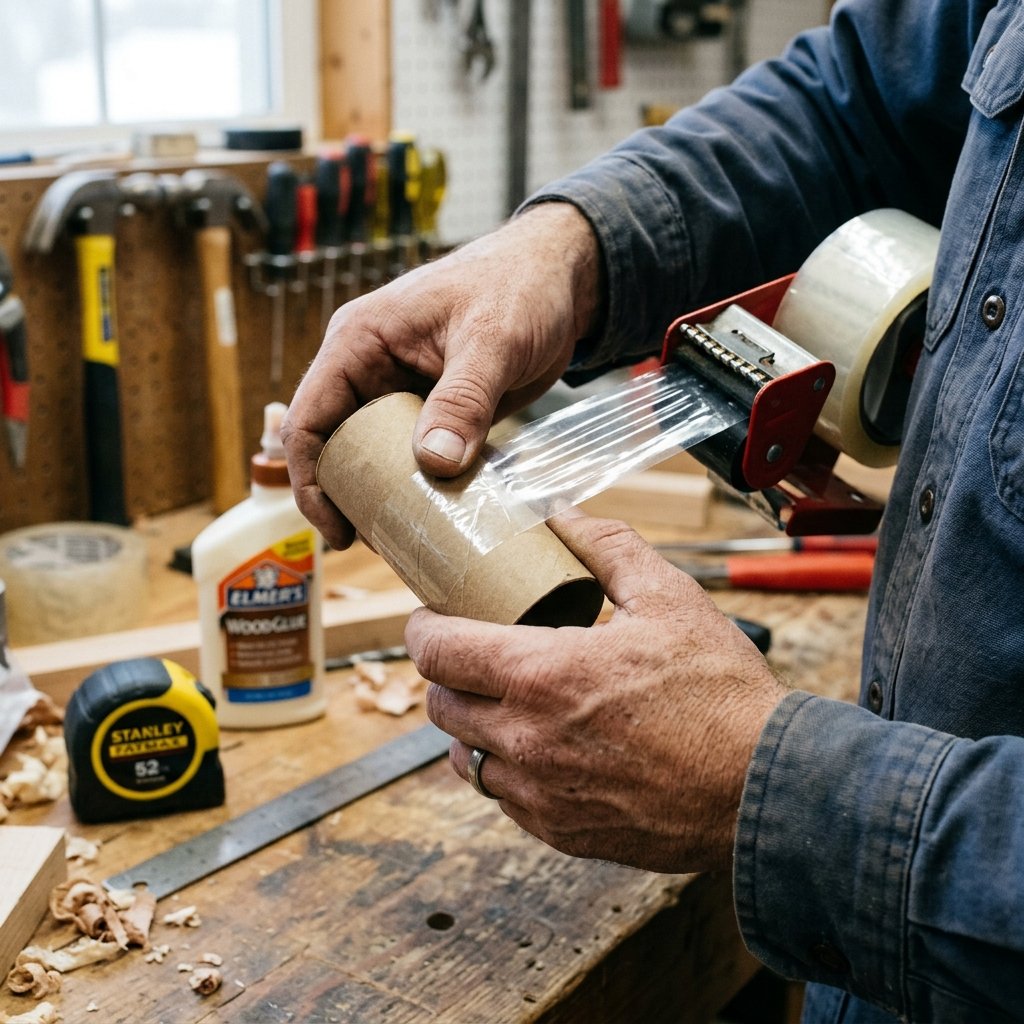
Now it is time to put on your engineer’s hat. This process is highly efficient and designed to be completed during a single baby nap. Follow these steps for a foolproof, indestructible build.
Step 1: Sizing the Grip
Take your cardboard tube and cut it down to an optimal size. For a baby aged 3 to 6 months, a length of 4 to 5 inches is perfect. It is long enough for them to grab with both hands but short enough to easily maneuver. Use sharp craft scissors or a utility knife to get a clean, straight edge.
Step 2: Engineering the Base Seal
To keep the acoustic payload inside, we need to cap the ends securely. Cut a small circle from leftover cardboard that is slightly larger than the tube’s opening. Apply a generous bead of non-toxic hot glue around the rim of the tube and press the circle firmly onto it. Once dry, trim the excess edges. For maximum security, take two strips of heavy-duty clear packing tape and form an “X” over the end cap, smoothing the tape securely down the sides of the tube.
Step 3: Loading the Acoustic Payload
Turn the tube upright. It is time to add your chosen filler. Do not overfill the tube! If you pack it too tight, the materials won’t have room to bounce off the cardboard walls, and you will lose the rattling effect. Add exactly 1.5 tablespoons of dry rice, beans, or pasta. Cover the open end with your hand and give it a test shake. Adjust the volume by adding or removing filler until you achieve the perfect rugged rhythm.
Step 4: The Final Lockdown
Repeat Step 2 on the open end of the tube. Glue the top cardboard circle in place, trim the edges, and apply the heavy-duty packing tape in an “X” formation. Press firmly to ensure there are absolutely no gaps where a rogue grain of rice could escape.
Step 5: The Drool-Proof Lamination
Babies explore the world with their mouths. Raw cardboard will quickly turn to mush when exposed to baby saliva. To prevent this, take your clear packing tape and wrap the entire exterior of the tube tightly, slightly overlapping each layer. This creates a slick, drool-resistant, and wipeable surface that significantly extends the lifespan of your DIY toy.
Acoustic Engineering: Customizing Your Rattle Sound
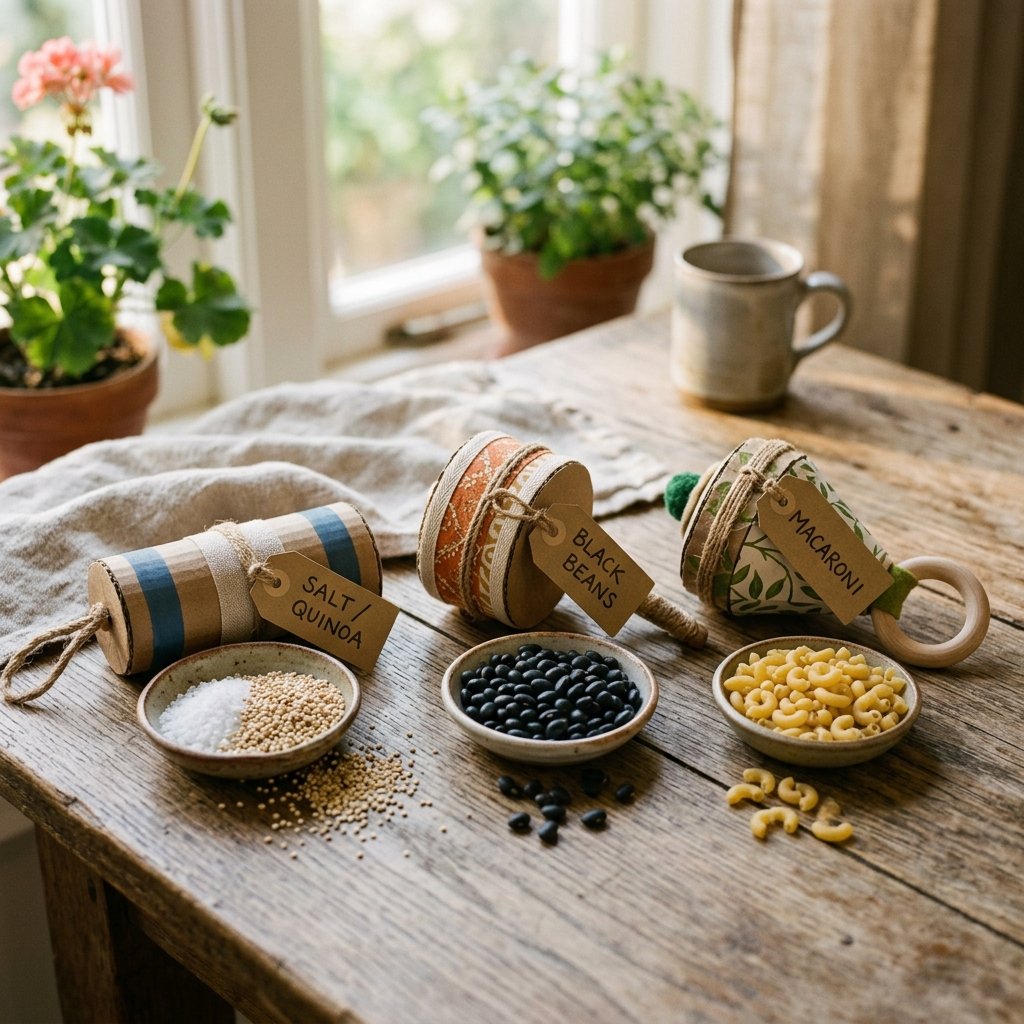
One of the most rewarding aspects of this project is playing sound engineer. Babies respond differently to various auditory stimuli depending on their age and sensory preferences. By adjusting the internal payload, you can create a suite of rattles tailored to different moods and developmental stages.
The Filler Sound Matrix
Use this handy reference table to formulate the perfect acoustic profile for your DIY baby grabbing rattle.
| Filler Material | Sound Profile | Volume Level | Best For… |
|---|---|---|---|
| Dry Quinoa/Salt | Soft, continuous “shhhh” | Low | Soothing, newborns, pre-nap play |
| Dry White Rice | Crisp, light rain-stick patter | Medium-Low | Gentle auditory tracking (3-4 months) |
| Dry Black Beans | Distinct, rhythmic clatter | Medium-High | Active play, cause-and-effect learning |
| Dry Macaroni/Penne | Hollow, loud wooden knocking | High | Older babies (6+ months), energetic shaking |
| Metal Washers/Pennies | Sharp, metallic clinking | Very High | Outdoor play, high sensory stimulation |
Crafty Expert Tip: If you are building a gift set for a baby shower, make a trio of rattles! Create one low-volume rice rattle, one medium-volume bean rattle, and one high-volume pasta rattle. Wrap them together with a rustic twine bow for a beautiful, thoughtful, and 100% free developmental gift.
Bulletproofing Your Build: Crucial Safety and Durability Checks
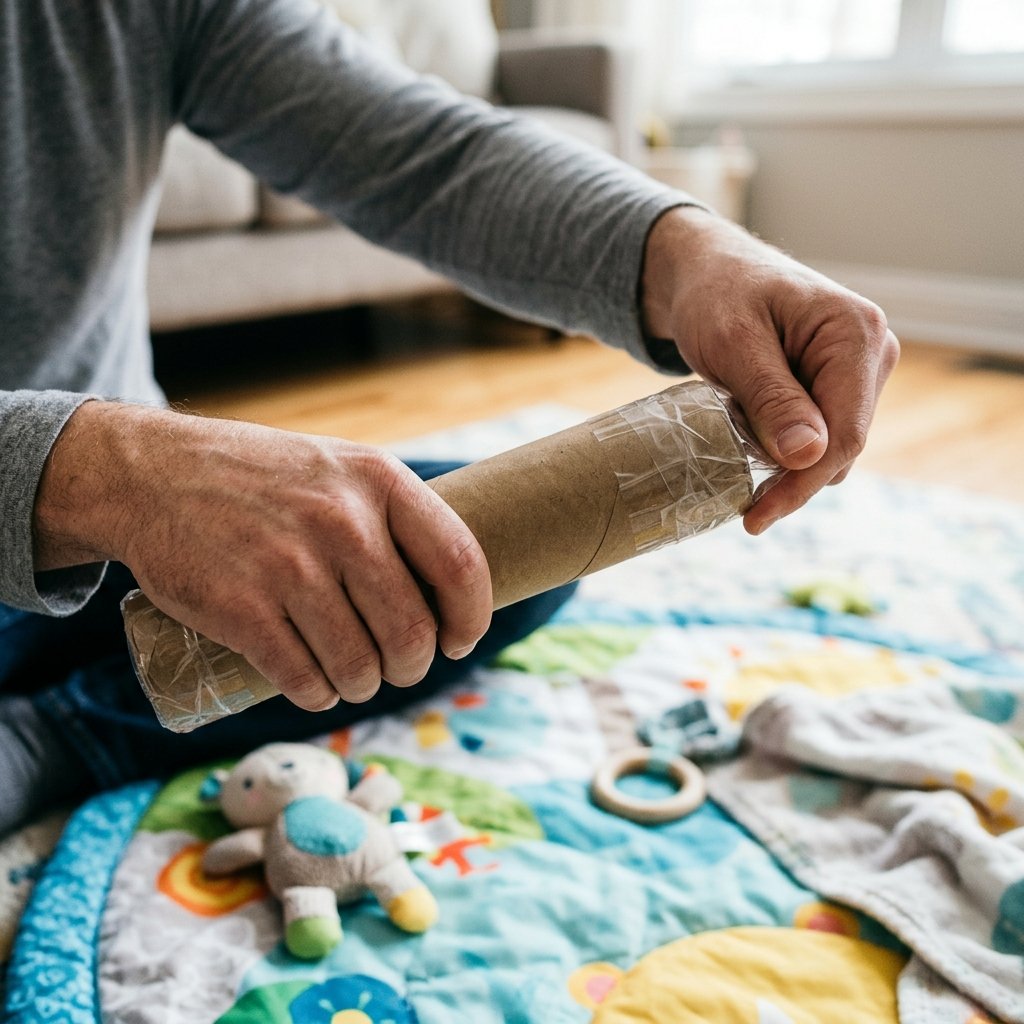
When crafting for infants, safety is not just a priority; it is the entire foundation of the project. A handy parent knows that a toy is only as good as its durability under extreme conditions—and a teething baby is the ultimate extreme condition.
The “Choke Tube” Rule
Before handing any DIY toy to a child, you must ensure it cannot be swallowed. The standard safety rule is that any toy or part of a toy must be larger than 1.25 inches in diameter and 2.25 inches in length. A standard paper towel tube easily passes this test, but always measure your final product. If you added any external decorations, ensure they cannot be chewed off.
Stress Testing the Seals
“A rugged build requires a rigorous test. Shake it, drop it, and try to pull it apart yourself. If it survives the parent test, it is ready for the baby test.”
Take your finished rattle and shake it violently. Drop it from a height of 3 to 4 feet onto a hard floor. Check the end caps. Is the tape peeling? Is the glue holding? If a single grain of rice escapes, you must re-seal the toy. The overlapping packing tape method outlined in Step 5 usually provides a near-indestructible barrier, but it is your duty to inspect the toy before every play session.
Maintenance and Cleaning
Because you have laminated the cardboard with clear tape, cleaning is a breeze. Simply wipe the rattle down with a damp cloth or a baby-safe sanitizing wipe. Do not submerge the rattle in water, as moisture can seep into the microscopic gaps in the tape, ruining the cardboard and causing the organic fillers (like beans or pasta) to mold.
Leveling Up: Aesthetic Tweaks for the Creative Gift-Giver
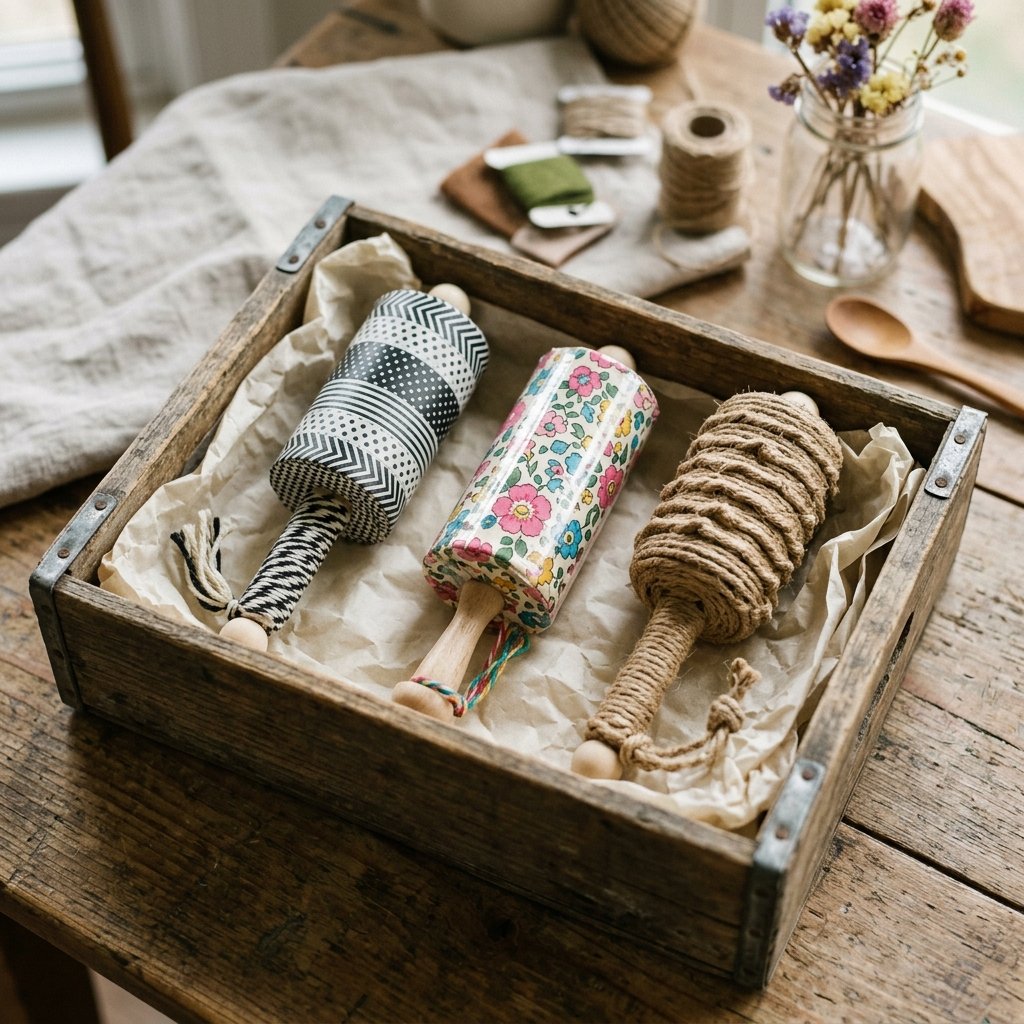
While the raw, clear-taped cardboard has a charming, rugged, industrial appeal, sometimes you want to dress it up—especially if you are gifting this creation to a fellow parent. Here are a few budget-savvy ways to elevate the look of your 5-minute rattle without compromising safety.
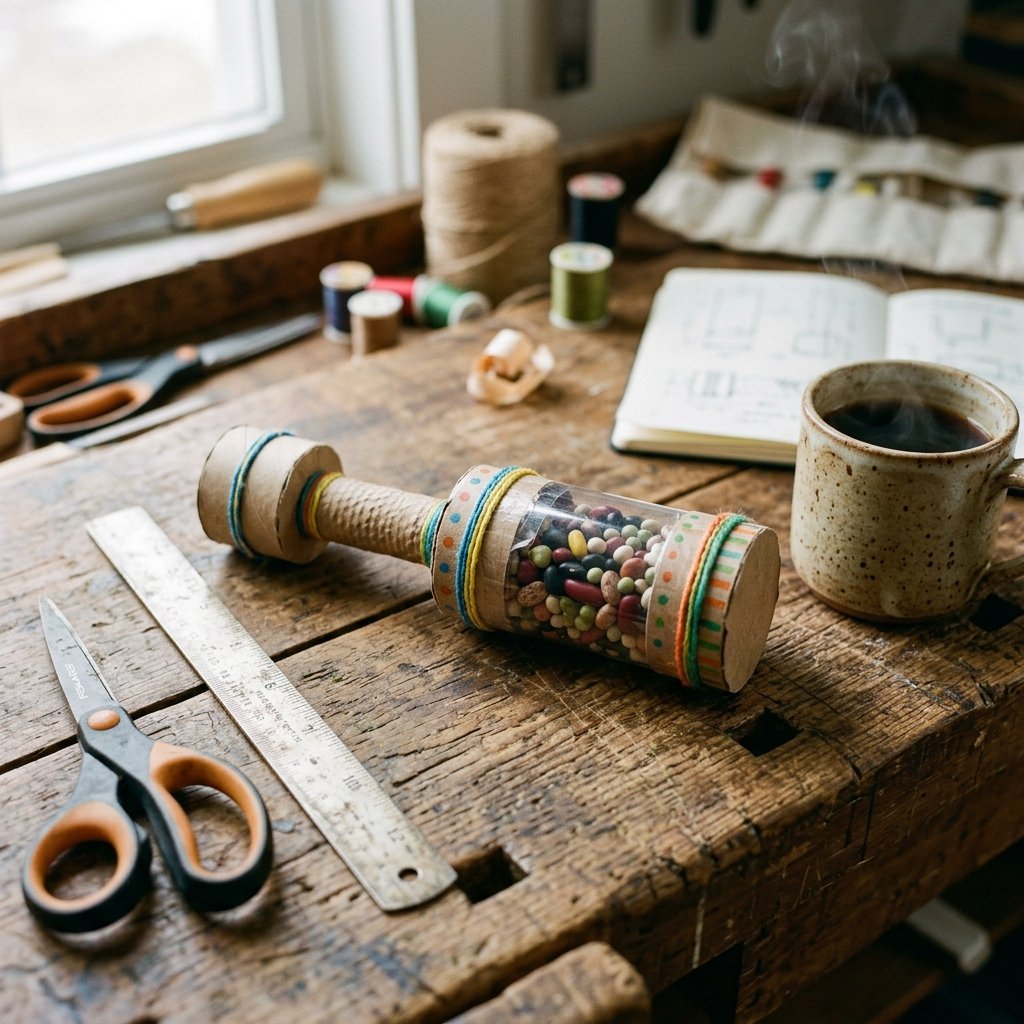
- Patterned Washi Tape: Instead of clear packing tape, wrap the entire tube in colorful, non-toxic washi tape or decorative duct tape. This adds vibrant visual stimulation for the baby and a chic, customized look.
- Fabric Wrapping: Before sealing the tube with clear tape, glue a scrap piece of bright cotton fabric (perhaps leftover from a hand-sewing or mending project) tightly around the cardboard. Then, laminate over the fabric with the clear tape. This gives the appearance of a high-end boutique toy.
- High-Contrast Sharpie Art: Newborns can only see high-contrast colors like black, white, and red. Before taping, take a black permanent marker and draw bold zig-zags, polka dots, or checkerboard patterns on the raw cardboard. Once the ink is completely dry, seal it with the clear tape.
- Sensory Grip Rings: For an added tactile experience, tie thick, natural cotton baker’s twine tightly around the center of the tube in three or four distinct rings. Secure the knots with a tiny dab of hot glue, then cover the entire thing in clear tape. This creates raised ridges that make it even easier for tiny fingers to grab and explore.
By applying these simple, zero-budget upgrades, you transform a piece of recycling bin trash into a personalized, high-end developmental tool that rivals anything found in a boutique baby catalog.
Conclusion
There you have it—a masterclass in resourceful, budget-savvy parenting. In just 5 minutes, you have successfully diverted waste from the landfill, saved yourself a trip to the toy store, and engineered a custom, acoustically tuned sensory toy that your baby will absolutely love. Making a safe and fun DIY cardboard baby grabbing rattle proves that you do not need to spend big money to provide high-quality developmental play.
This simple project is a gateway to the world of upcycling and frugal crafting. Once you realize how easy it is to turn a paper towel tube into a beloved toy, you will start looking at every empty box, tin can, and scrap of fabric as an opportunity for your next creation. So keep your tools sharp, your glue gun hot, and your recycling bin full. Happy building, and enjoy the beautiful, rhythmic sound of your baby shaking their brand new, zero-budget masterpiece!

Makenzie is the founder and lead writer at MoneyHackTips.com — a personal finance blog dedicated to delivering street-smart financial wisdom for real people on real budgets. With 300+ published articles covering everything from debt management to investing fundamentals, Makenzie’s mission is to make every dollar work harder. When not writing about money hacks, Makenzie is testing frugal living strategies, optimizing side hustles, and helping readers build financial freedom from scratch.