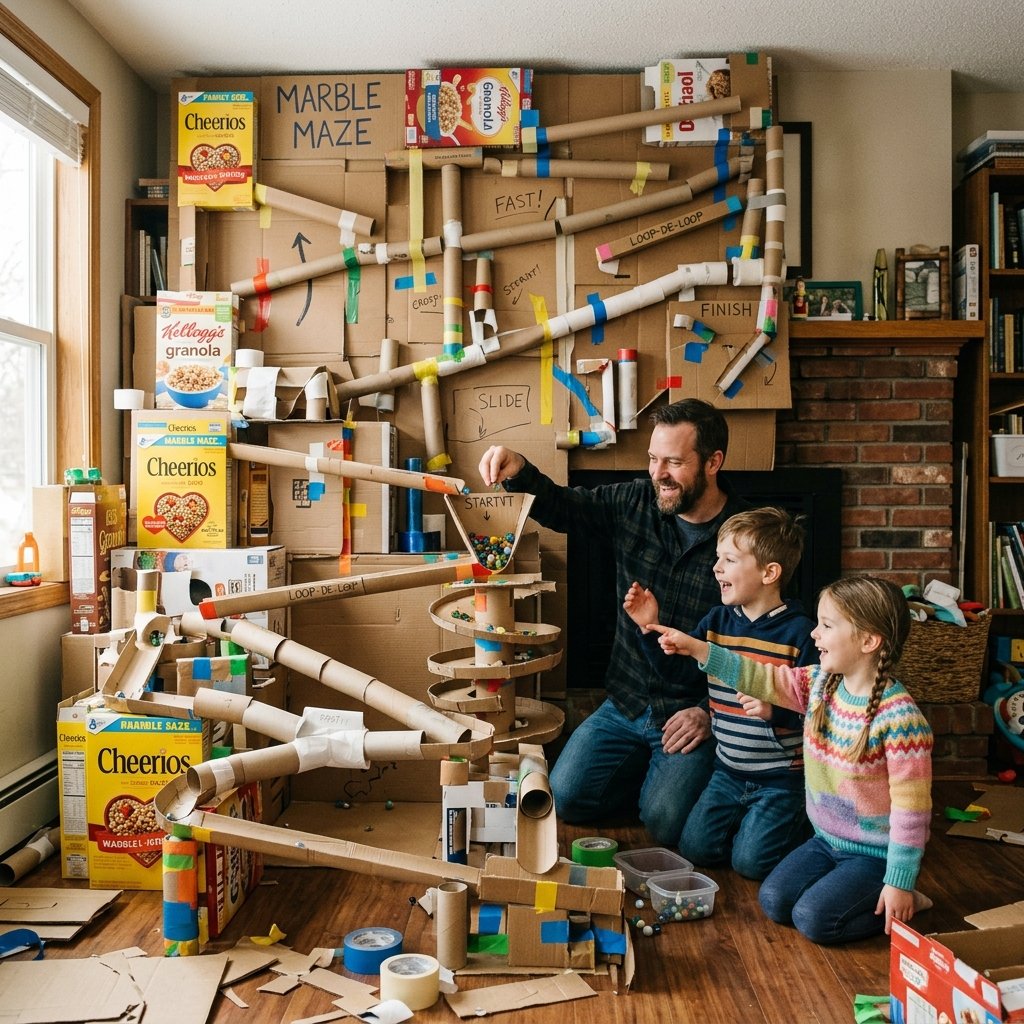

Welcome, fellow frugal DIYers, resourceful upcyclers, and handy parents! If you have ever stared down a rainy Saturday afternoon with restless kids and a recycling bin full of empty Amazon boxes, you are sitting on a goldmine of entertainment. Before you rush to the store to drop $50.00 on a flimsy plastic toy that will be forgotten by Tuesday, let’s tap into some rugged, trash-to-treasure engineering. We are going to build an epic, gravity-defying DIY cardboard marble run that will keep your kids busy for hours.
This isn’t just a craft; it is a masterclass in budget-savvy parenting and stealthy STEM education. By transforming everyday household waste into a complex architectural marvel, you are teaching your kids about physics, kinetic energy, and the invaluable skill of making something incredible out of absolutely nothing. Whether you are a crafty mom looking for a zero-budget activity or a handy dad wanting to build a towering, masculine-elegant structural masterpiece in the living room, this guide is your blueprint.
Grab your hot glue gun, roll up your sleeves, and prepare to look at your trash in a completely different way. We are about to engineer an obstacle course of ramps, tunnels, and drop zones that will have marbles racing and kids cheering, all for the grand total of $0.00.
The Scavenger Hunt: Gathering Your Zero-Budget Arsenal
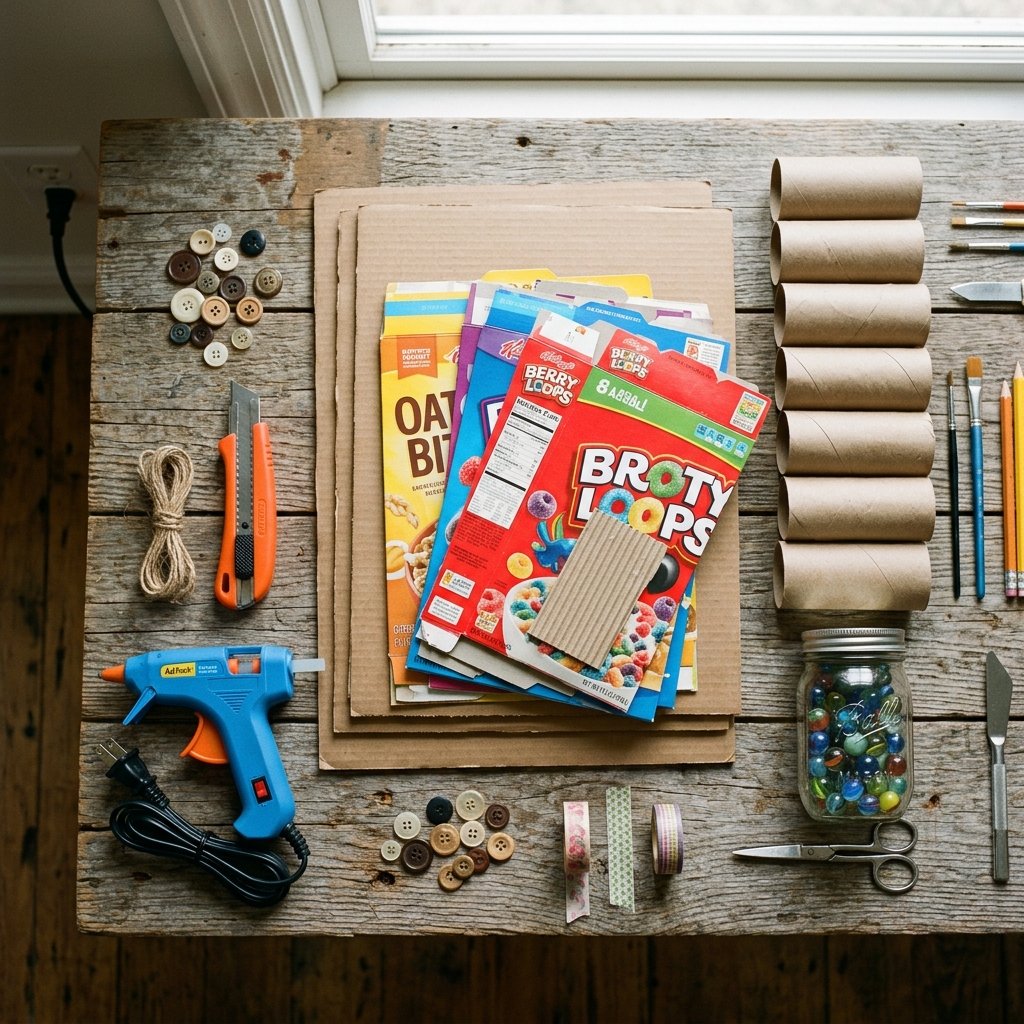
Every great architectural feat begins with sourcing the right materials. As frugal experts, our supply yard is the kitchen pantry and the recycling bin. You do not need expensive kits to create a masterpiece; you just need to know what to look for. Corrugated cardboard is the concrete of the upcycling world—strong, versatile, and entirely free.
Essential Materials for the Build
- Corrugated Cardboard Boxes: The thicker, the better. These will form your sturdy base and structural supports.
- Thin Cardboard (Cereal Boxes): Perfect for folding into flexible, smooth tracks and guardrails.
- Cardboard Tubes: Toilet paper rolls, paper towel tubes, and wrapping paper cores make excellent tunnels and structural pillars.
- Adhesives: A hot glue gun is your best friend for rigid, instant bonds. Masking tape or painter’s tape is ideal for temporary wall mounting.
- Tools: A sharp utility knife, scissors, a ruler, and a pencil.
- The Payload: Glass marbles, wooden beads, or even small metal ball bearings.
The Budget-Savvy Breakdown
Let’s take a look at exactly how much money you are saving by rolling up your sleeves and choosing the resourceful route.
| Project Component | Store-Bought Plastic Equivalent | Our Zero-Budget DIY Solution |
|---|---|---|
| Base Structure & Supports | $25.00 (Plastic Frames) | $0.00 (Recycled Delivery Boxes) |
| Tracks & Tunnels | $15.00 (Proprietary Chutes) | $0.00 (Cereal Boxes & Tubes) |
| Connectors & Joints | $10.00 (Snap-fit Plastic Joints) | $0.00 (Hot Glue & Tape) |
| Total Estimated Cost | $50.00+ | $0.00 |
Safety First: If you are using a hot glue gun or a sharp utility knife, ensure these steps are handled by the adult project manager. Kids can be the lead architects, but keep the heavy-duty cutting and high-heat gluing to the handy parents!
Designing the Blueprint: Wall-Mounted vs. Freestanding
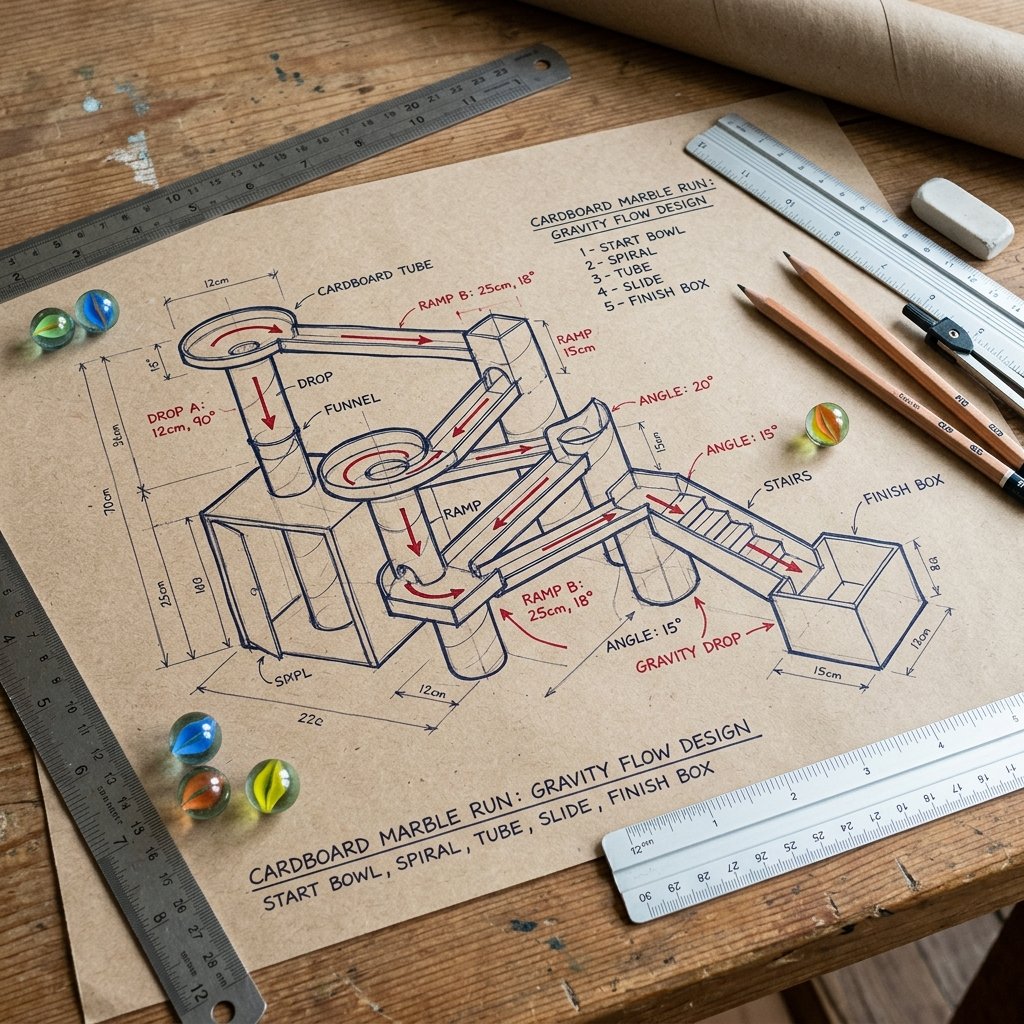
Before you make your first cut, you need a plan. The beauty of the DIY cardboard marble run is its infinite scalability. You can build a compact tabletop version that takes 30 minutes, or a sprawling, room-sized kinetic sculpture that takes a whole weekend. Let’s break down the two main architectural styles.
The Wall-Mounted Track
If you are tight on floor space but have an empty wall, the wall-mounted run is a spectacular choice. It utilizes gravity beautifully and allows for massive, sweeping drops.
- Prep the Canvas: Find a blank wall or a large glass sliding door. Ensure the surface is clean.
- Choose the Right Tape: Always use high-quality blue painter’s tape. It holds the lightweight cardboard securely but peels off without damaging your drywall or paint.
- Plot the Course: Start from the highest point kids can safely reach. Map out a zig-zag pattern downwards, ensuring each ramp has a slight downward pitch.
The Freestanding Tower
For a rugged, 3D engineering challenge, the freestanding tower is the ultimate project. It requires a solid foundation and an understanding of load-bearing supports.
- Build the Foundation: Take your largest, thickest corrugated box. Tape the bottom flaps securely so it sits perfectly flat. This is your anchor.
- Erect the Pillars: Use long wrapping paper tubes or tape multiple paper towel rolls together to create vertical support columns. Hot glue these straight up from the base.
- Create Levels: Cut large flat squares of cardboard and cut holes in them. Glue these horizontally across your pillars to create “floors” for the marbles to drop through.
Whichever blueprint you choose, remember that gravity is your engine. A pitch that is too steep will send marbles flying off the track; a pitch that is too shallow will cause them to stall. Aim for a gentle 15-degree to 20-degree slope for the perfect cruising speed.
Step-by-Step Track Fabrication & Folding Techniques
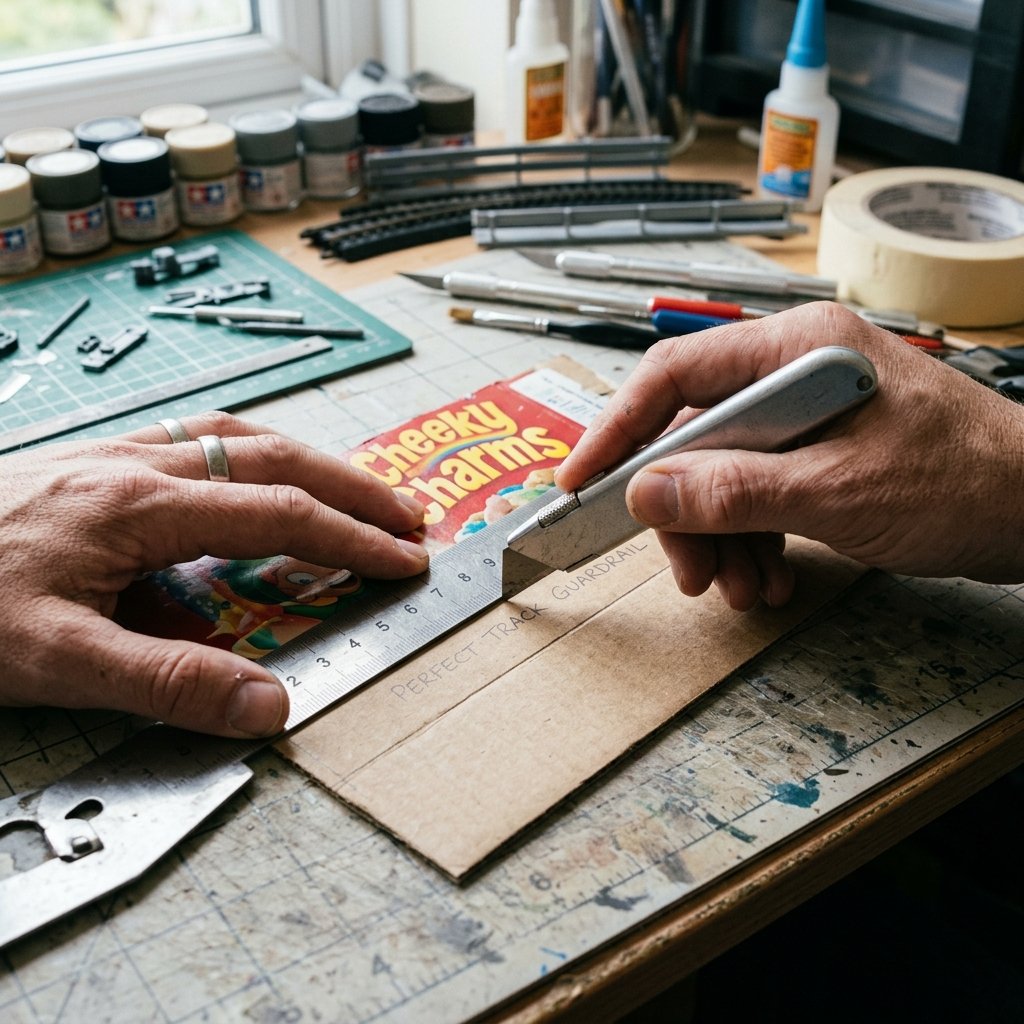
Now we enter the heart of the build: manufacturing the tracks. This is where your frugal craftsmanship truly shines. Instead of buying pre-molded plastic, we are going to use precision folding techniques to turn flat cereal boxes into high-performance racing chutes.
The Perfect V-Track
The simplest and most reliable track is the V-Track. It keeps the marble centered and prevents derailments.
- Cut the Strips: Cut your thin cardboard (like cereal boxes) into long strips that are exactly 3 inches wide.
- Score the Center: Use a ruler to find the exact middle (1.5 inches). Take the dull edge of a butter knife or a closed pair of scissors and firmly run it down the center line.
- Fold: Gently fold the cardboard along the scored line. It should yield a crisp, perfect V-shape.
The Crafter’s Golden Rule of Cardboard Bending: Never force a fold against the corrugation. Always use the dull edge a tool to score the cardboard first. This crushes the inner fluting just enough to give you a crisp, factory-perfect angle without tearing the top layer of paper. Patience in scoring equals perfection in rolling!
The U-Channel Guardrail Track
For high-speed sections where a V-Track might let a marble fly out, you need a U-Channel with high guardrails.
- Measure: Cut a strip of cardboard 4 inches wide.
- Score the Edges: Measure 1 inch inward from both the left and right edges. Score these two lines.
- Fold Upward: Fold the 1-inch sections up to a 90-degree angle. You now have a 2-inch wide flat track with 1-inch high guardrails on either side.
To connect two tracks, simply overlap the end of the higher track over the beginning of the lower track by about 1 inch. Secure the joint underneath with a dab of hot glue. This creates a seamless transition that won’t disrupt the marble’s momentum.
Building Epic Obstacles: Funnels, Drops, and Plinko Boards
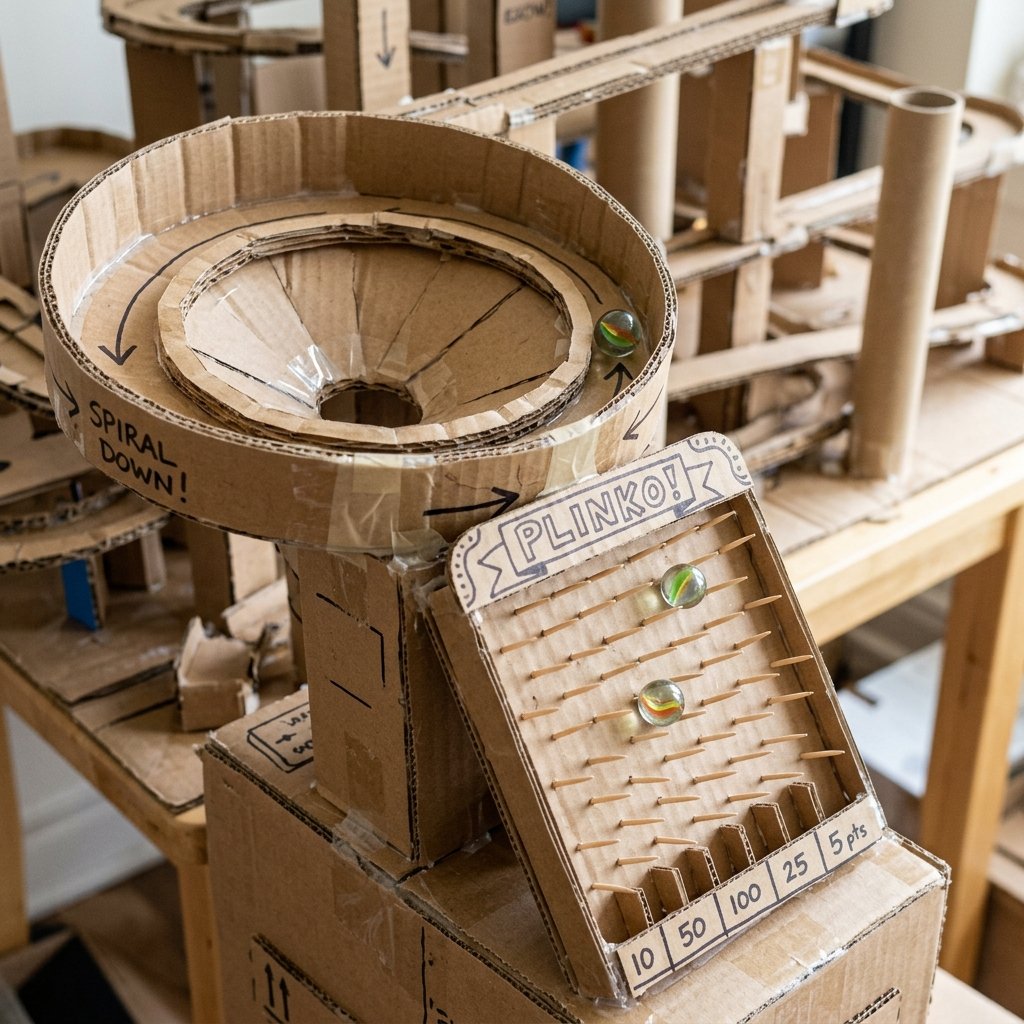
A straight track is fun, but to make this project truly epic and keep the kids busy for hours, we need to introduce chaos and complexity. Adding dynamic obstacles turns a simple ramp into a mesmerizing kinetic machine.
The Toilet Paper Roll Tunnel
Tunnels add an element of surprise. When the marble disappears and reappears, kids love it.
- Take a standard toilet paper roll.
- Cut a small slit at the top and bottom of the roll.
- Slide your V-Track directly into the slits and secure with hot glue.
- Pro Tip: Cut a “sunroof” into the top of the tube so kids can watch the marble zip through the dark tunnel!
The Cereal Bowl Funnel (The Black Hole)
This obstacle simulates a coin vortex. The marble spins round and round before dropping through the center.
- Take a large, thin piece of cardboard and cut out a circle that is 10 inches in diameter.
- Cut a straight line from the outer edge directly to the center point.
- Cut a small 1.5-inch hole right in the center (this is the drop hole).
- Pull the two edges of the straight cut together, overlapping them slightly to form a shallow cone. Hot glue the overlap in place.
- Mount the funnel so the track feeds the marble along the outer upper edge, allowing it to spiral down to the center hole.
The Toothpick Plinko Board
Inspired by the classic game show, this obstacle randomizes the marble’s path.
- Cut a flat rectangular piece of thick corrugated cardboard.
- Draw a grid of dots spaced 1 inch apart.
- Poke wooden toothpicks or bamboo skewers through the dots, leaving about 1 inch sticking out the front. Secure the backs with hot glue.
- Add guardrails to the sides. Angle the board slightly and let the marbles bounce their way down through the pegs!
Assembly, Testing, and The Art of Troubleshooting
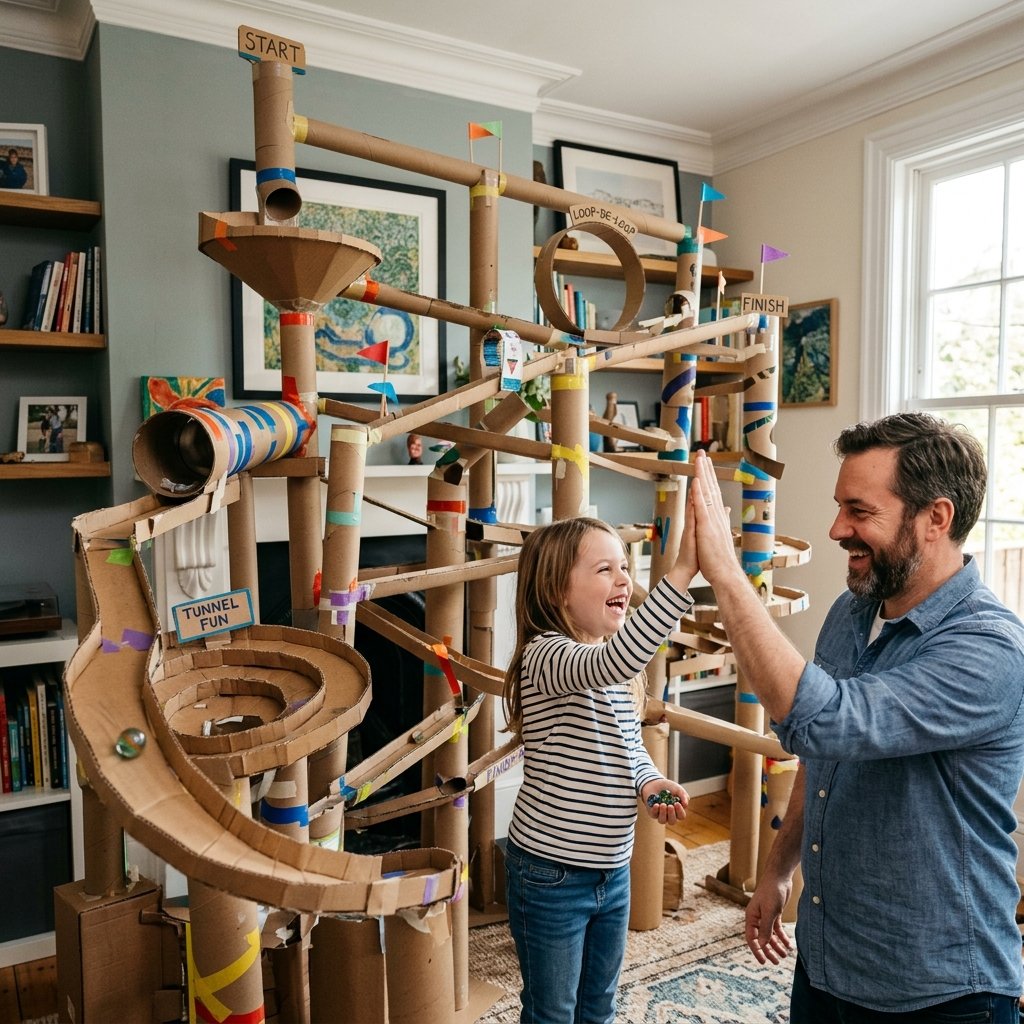
With your tracks fabricated and your obstacles built, it is time for the final assembly. This is where the practical, hands-on engineering truly comes into play. Do not expect it to work perfectly on the first drop; testing and refining is half the fun and a fantastic lesson in problem-solving for the kids.
The Testing Phase
Start from the top. Drop a single marble and watch its trajectory carefully. You are looking for three common points of failure:
- The Stall: The marble stops moving. This means the angle of your track is too flat, or there is a bump in the cardboard joint. The Fix: Detach the lower end of the track and re-glue it slightly lower to increase the pitch, or smooth out the joint with a piece of slick tape.
- The Fly-Off: The marble gains too much speed and launches off a corner. The Fix: You have too much kinetic energy! Either decrease the slope of the ramp to slow the marble down, or build a taller guardrail on the outside curve of the turn to catch it.
- The Structural Wobble: As marbles hit the obstacles, the whole tower shakes. The Fix: Reinforce your base. Add diagonal cross-braces made from scrap cardboard strips between your vertical pillars. In construction, triangles are the strongest shape!
Adding the Finishing Touches
Once the mechanics are flawless, let the kids take over the aesthetic design. Hand them markers, stickers, and crayons. They can color-code the tracks, draw racing stripes, or name the different drop zones. You have just provided them with a massive, interactive canvas.
By investing just 1 to 2 hours of your time and utilizing materials that were destined for the recycling bin, you have created a high-value, highly entertaining toy. You saved money, you taught your kids the value of upcycling, and you built something truly spectacular with your own two hands. That is the definition of budget-savvy, crafty excellence.
Conclusion
There you have it—a masterclass in transforming everyday recycling into an epic, gravity-powered adventure. By embracing the frugal DIYer mindset, you have bypassed the expensive toy aisle and opted for a project that delivers hands-on STEM learning, endless entertainment, and serious bragging rights. The next time you empty a cereal box or receive a package, you won’t see trash; you will see the next great addition to your cardboard mega-structure. So keep those utility knives sharp, keep that hot glue gun handy, and never underestimate the rugged, creative potential of a simple cardboard box. Happy building, and may your marbles always stay on track!

Makenzie is the founder and lead writer at MoneyHackTips.com — a personal finance blog dedicated to delivering street-smart financial wisdom for real people on real budgets. With 300+ published articles covering everything from debt management to investing fundamentals, Makenzie’s mission is to make every dollar work harder. When not writing about money hacks, Makenzie is testing frugal living strategies, optimizing side hustles, and helping readers build financial freedom from scratch.