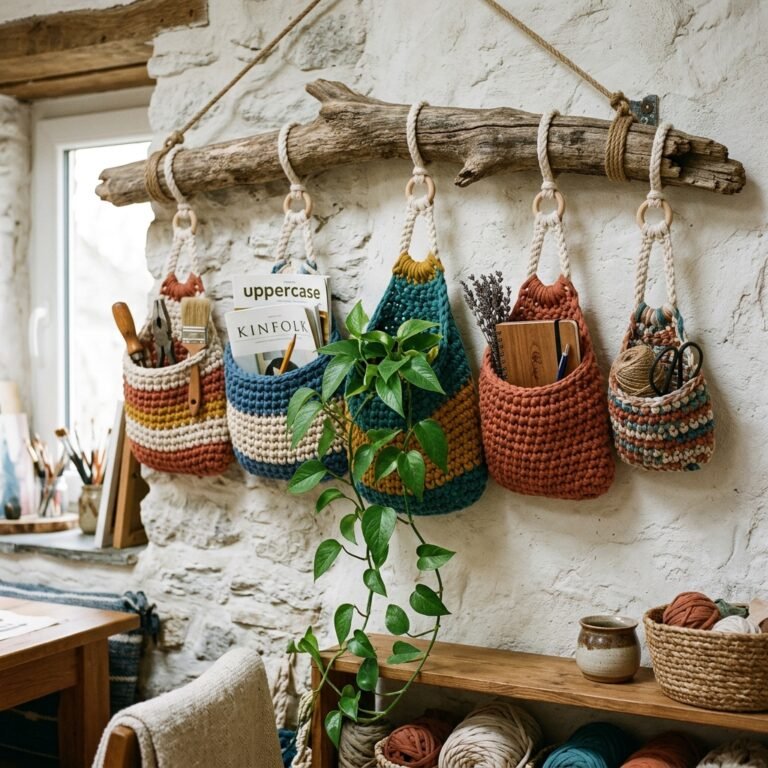
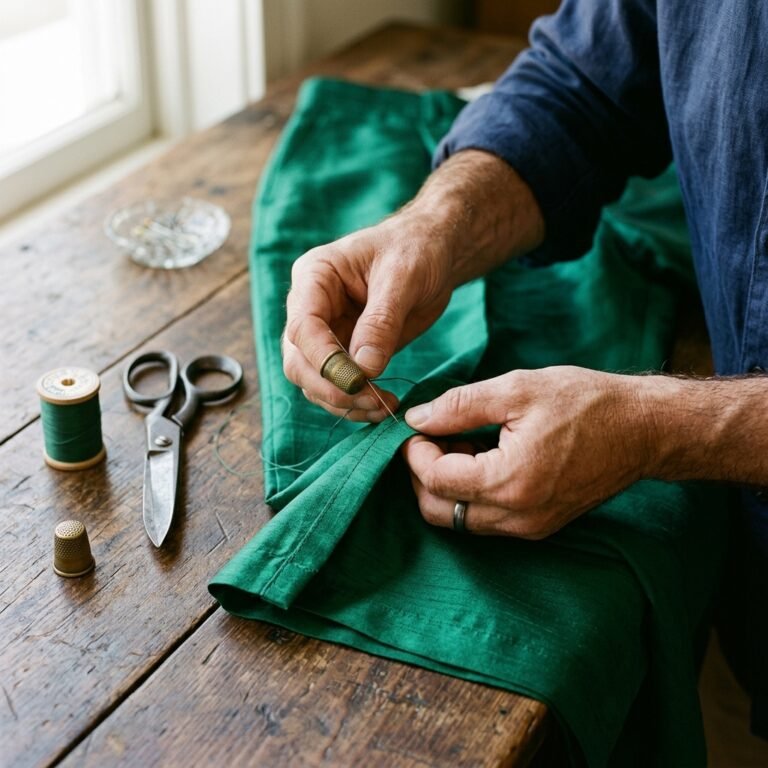
The Magic of Upcycling: Turning Trash into Treasure
Welcome, frugal DIYers, crafty upcyclers, and budget-savvy home decorators! If you have ever strolled through a high-end boutique like Anthropologie, Pottery Barn, or Restoration Hardware, you have likely paused to admire those massive, textural, architectural wall art pieces. You know the ones—they feature intricate paper folds, geometric woven patterns, or dramatic 3D bursts, and they always come with an eye-watering price tag of $200 to $500. But what if I told you that you could recreate that exact same masculine-elegant, sophisticated aesthetic for under $5 this weekend?
Before you toss out that water-damaged encyclopedia, that falling-apart romance novel from the thrift store bin, or that outdated textbook, stop right there. Old, damaged books are an absolute goldmine for the resourceful crafter. The natural patina of aging paper, the uniform typography, and the rugged texture of a well-worn page offer a unique, vintage charm that simply cannot be replicated by crisp, new craft paper. Today, we are putting on our crafty-expert hats and diving deep into the art of paper upcycling.
“True resourcefulness isn’t about buying the cheapest materials; it’s about seeing the hidden, high-end potential in what others consider trash.”
In this comprehensive, ultimate masterclass, we are going to explore three distinct, jaw-dropping techniques to transform old book pages into gallery-worthy wall art. Whether you are a handy parent looking for a zero-budget weekend project, a frugal bride crafting vintage decor, or someone who appreciates rugged, handsome interior design, these step-by-step tutorials will equip you with everything you need. Grab your scissors, heat up your glue gun, and let’s turn those forgotten pages into your home’s new focal point!
The Frugal Crafter’s Guide: Sourcing and Selecting Your Vintage Books
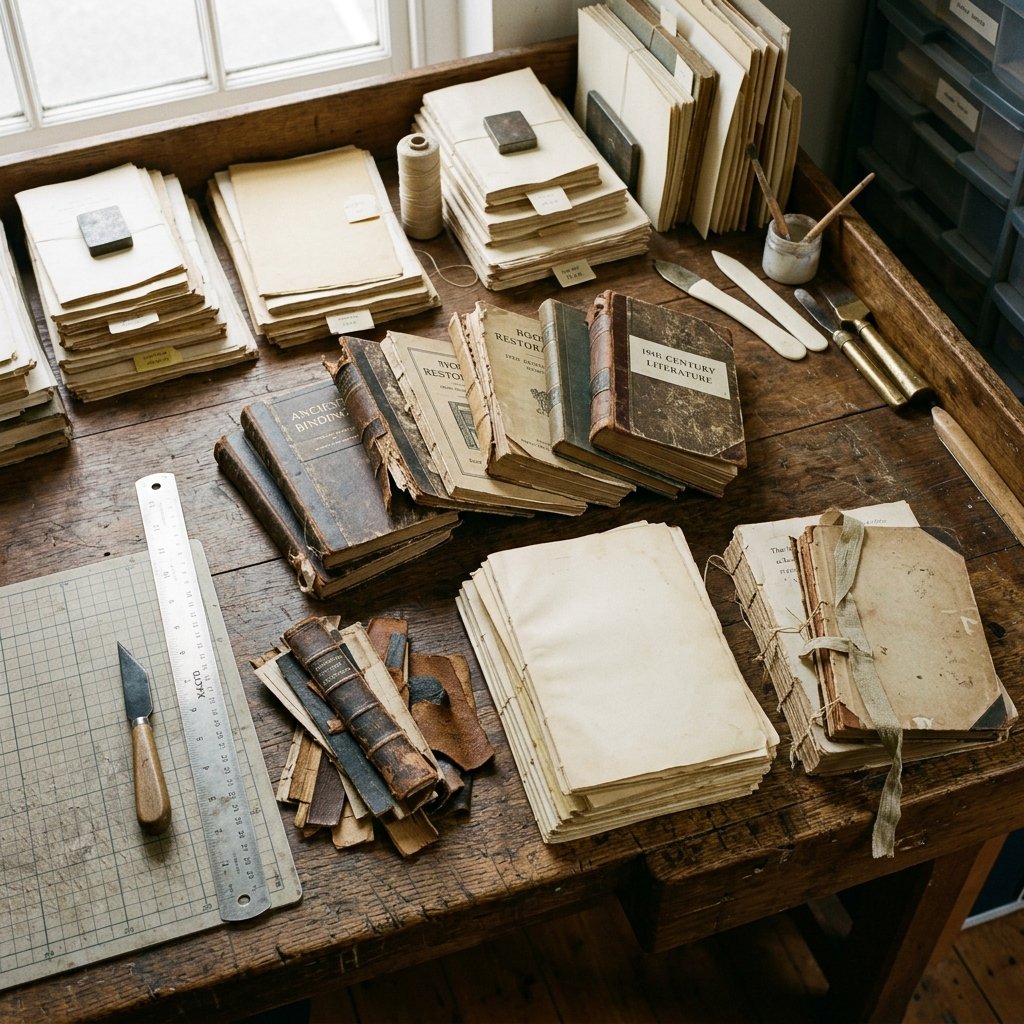
Before we dive into the folding and gluing, we must address the elephant in the room: the ethics of cutting up books. As a community of upcyclers, we respect literature. We are never advocating for destroying rare, antique, or perfectly readable books. Instead, our goal is a noble rescue mission. We are looking for books that have reached the end of their functional lifespan—those with broken spines, missing covers, severe water damage, or outdated information (like a 1992 encyclopedia).
So, where does a budget-savvy crafter find these materials for pennies? Your local library’s clearance sale is your best friend. Often, on the last day of a library book sale, they offer a “fill a bag for $1” deal. Thrift stores also have salvage bins, and garage sales are notorious for practically giving away boxes of damaged paperbacks. When selecting your books, look for a variety of paper tones. A mix of crisp white, creamy ivory, and deep, oxidized yellow will give your final art piece incredible depth and a rugged, masculine-elegant texture.
| Art Piece Component | Store-Bought / High-End Cost | Our Frugal DIY Cost |
|---|---|---|
| Large 3D Sunburst Mirror Art | $250.00 | $3.50 (Thrift book + Dollar Tree mirror) |
| Woven Typography Canvas | $120.00 | $2.00 (Old book + scrap cardboard) |
| Topographical Map Silhouette | $180.00 | $4.00 (Book + foam tape + thrift frame) |
When you bring your rescued books home, the first step is extraction. Do not tear the pages out haphazardly, as jagged edges can ruin the clean lines needed for high-end decor. Instead, open the book to the center of a signature (a bundle of folded pages), find the binding string, and carefully snip it with a craft knife. This allows you to pull out double-wide pages with perfectly clean edges. Sort your pages by color and text density. Pages with dense, margin-to-margin text are excellent for geometric folding, while pages with illustrations or chapter headings make fantastic focal points.
Prepping the Pages: Aging, Tearing, and Toning Techniques
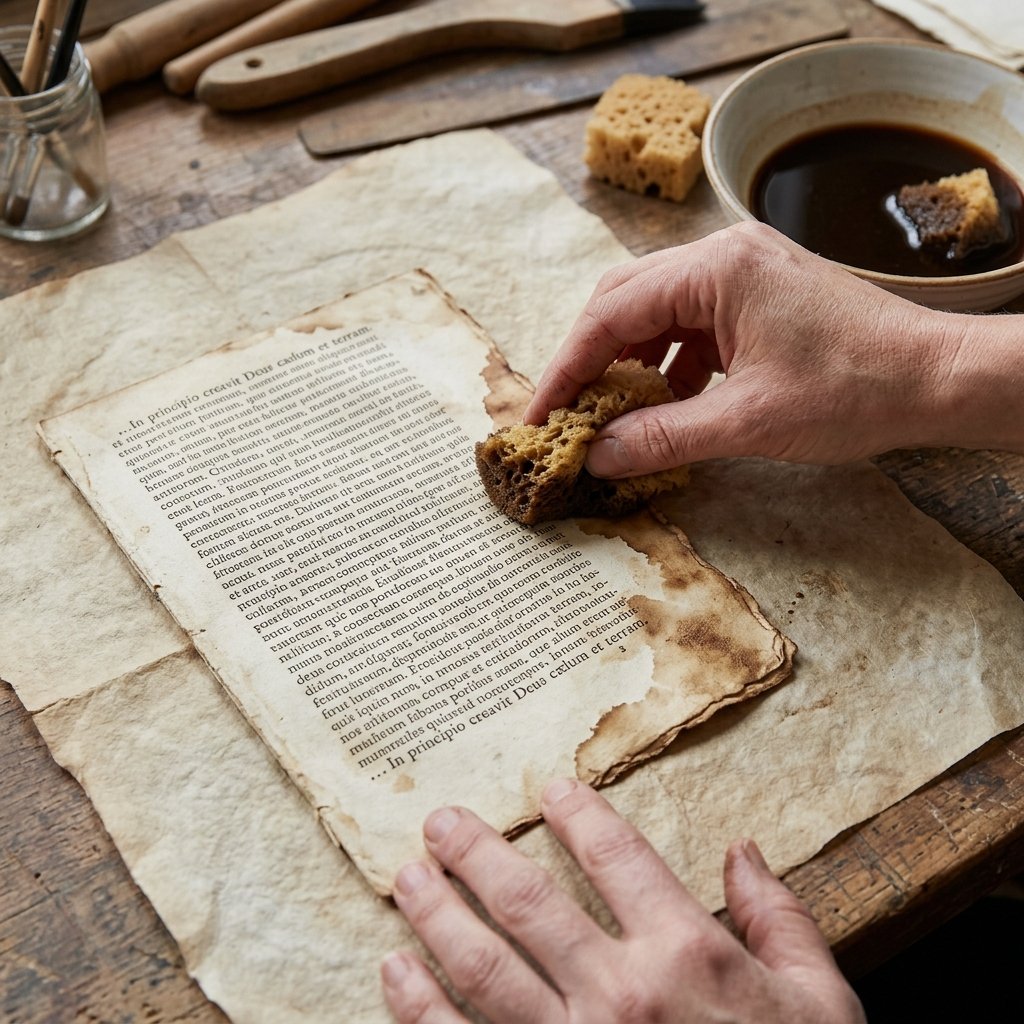
Sometimes, the books you rescue are a little too pristine. If you want that rugged, vintage, Restoration Hardware aesthetic, you might need to artificially age your pages. This is a classic crafty-expert secret that costs absolutely nothing, utilizing items you already have in your kitchen pantry.
“The perfect patina is brewed, not bought. A simple cup of black tea can add fifty years of character to a crisp white page in exactly five minutes.”
There are two primary methods for toning your book pages: the Tea Stain and the Coffee Roast. The Tea Stain provides a subtle, warm, yellowish-brown hue that looks incredibly authentic. Simply brew three bags of cheap black tea in a shallow baking dish with hot water. Once cooled, submerge your book pages one by one for about 30 seconds. Carefully lift them out, let the excess drip off, and lay them flat on paper towels to dry. For a darker, more dramatic, and rugged look, use the Coffee Roast method. Mix two tablespoons of instant coffee with a cup of warm water. Use a sponge to dab the mixture onto the edges of the paper, creating an uneven, organic vignette effect.
| Aging Technique | Best Used For | Drying Time |
|---|---|---|
| Black Tea Submersion | Uniform, subtle vintage yellowing | 2 hours (air dry) |
| Instant Coffee Sponging | Dark, rugged, uneven edge distressing | 1 hour (air dry) |
| Oven Baking (Low Heat) | Crispy texture, curling edges for 3D effect | 5 minutes at 200 degrees F |
If you want to speed up the drying process and add a slightly warped, crispy texture that is perfect for structural art, you can bake your damp pages. Place them on a cookie sheet in the oven at 200 degrees Fahrenheit for about 5 minutes. Keep a very close eye on them to prevent burning! This technique not only dries the paper instantly but gives it a stiff, parchment-like quality that holds folds beautifully.
Masterclass 1: The $5 Anthropologie-Style 3D Sunburst Medallion
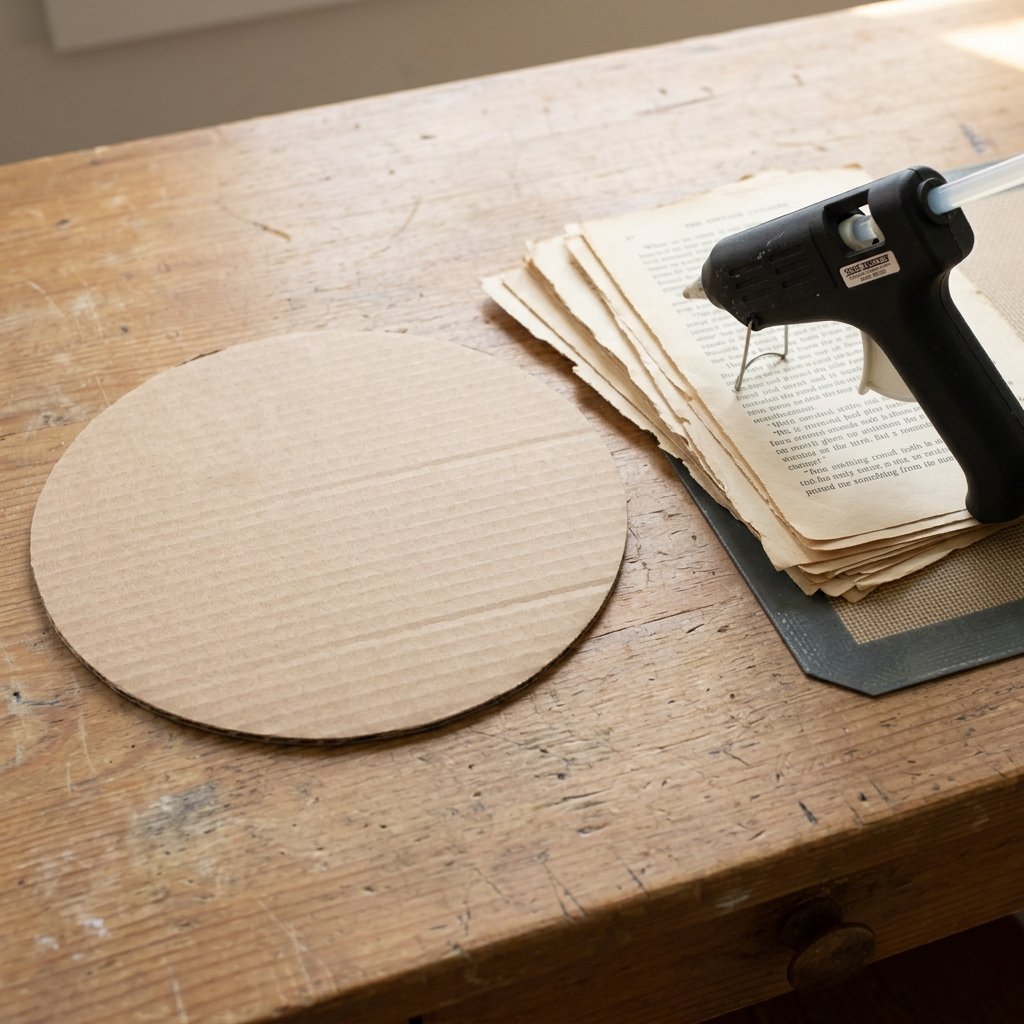
Our first project is the crown jewel of book page crafts: the massive 3D Sunburst Medallion. This piece is a showstopper. It looks like a complex, architectural wooden carving from afar, but it is made entirely of rolled paper cones. This is the perfect project to hang above a fireplace mantle or a master bed. It is large, dramatic, and surprisingly simple to construct once you master the basic roll.
For materials, you will need approximately 150 to 200 book pages, a hot glue gun with plenty of extra sticks, a piece of sturdy scrap cardboard (about 12 inches in diameter), and an optional small round mirror from the Dollar Tree for the center. The secret to making this look expensive rather than like a grade-school craft project is the tightness and uniformity of your paper cones.
“Safety First: When working with high-temp hot glue and thin paper, always keep a bowl of ice water nearby. A burnt fingertip will quickly ruin your crafting momentum! Consider using silicone finger protectors.”
Follow these precise steps to build your sunburst masterpiece:
- Cut the Base: Take your scrap cardboard and cut a perfect circle, measuring 12 inches across. This is your foundation. Draw concentric circles every 2 inches moving inward to act as your gluing guides.
- Roll the Cones: Take a single book page. Starting from the bottom right corner, roll the paper diagonally toward the top left corner, creating a cone shape. The tip should be sharp, and the top opening should be about 1.5 inches wide.
- Secure the Roll: Place a tiny dab of hot glue under the final flap of the paper and press it down to secure the cone. Repeat this process until you have about 150 cones.
- Attach the Outer Ring: Flatten the bottom 2 inches of your first cone. Apply hot glue to the flattened section and press it onto the outermost drawn circle on your cardboard base. The cone should extend outward.
- Complete the Layer: Continue gluing cones side-by-side around the entire perimeter of the cardboard base. Ensure they are tightly packed with no gaps.
- Build the Second Layer: Move to the next inner drawn circle. Glue the next layer of cones so that they nestle in the valleys between the cones of the first layer. This staggering creates the dense, 3D burst effect.
- Continue Inward: Repeat this process, moving inward layer by layer. As you get closer to the center, you may need to trim the bottom ends of the cones so they fit without bulking up too much.
- Finish the Center: Once you reach the absolute center, you have two choices. You can tightly roll a cluster of pages into a rosette to cover the messy glued ends, or you can glue a $1.25 Dollar Tree mirror directly over the center gap for a functional, elegant sunburst mirror.
To hang this massive piece, simply hot glue a loop of heavy-duty twine or a picture-hanging D-ring to the back of the sturdy cardboard base. The result is a breathtaking, textured piece of art that commands attention in any room.
Masterclass 2: The Rugged Woven Typography Canvas

If the sunburst is too flamboyant for your taste, and you prefer a more tailored, masculine-elegant, and structured aesthetic, the Woven Typography Canvas is your perfect match. This technique takes strips of text-heavy book pages and weaves them together like a basket. From a distance, the piece looks like an intricately textured linen or stamped leather canvas. It is brilliant, subtle, and incredibly chic.
You will need about 50 book pages, a paper trimmer or ruler and craft knife, a blank canvas (you can upcycle an ugly thrift store canvas for $2), Mod Podge or watered-down PVA glue, and a foam brush. The key here is precision. The strips must be cut perfectly straight for the weave to align properly.
Here is your step-by-step guide to mastering the paper weave:
- Cut the Strips: Using your paper trimmer, cut your book pages into perfectly uniform strips. A width of 1 inch is ideal for a bold look, while 0.5 inches creates a highly intricate, tight weave. You will need enough strips to cover the length and width of your canvas.
- Fold for Strength (Optional but Recommended): For a thicker, more leather-like feel, cut the strips twice as wide as you need, and fold them in half lengthwise. This hides the raw cut edge and creates a beautifully smooth, rounded edge for the weave.
- Anchor the Vertical Strips: Lay your thrifted canvas flat. Take your vertical strips and glue the top edge of each strip to the top back edge of the canvas. Let them hang down over the front of the canvas like a fringe. Ensure they are touching side-by-side with zero gaps.
- Begin the Weave: Take your first horizontal strip. Weave it over the first vertical strip, under the second, over the third, and so on, sliding it all the way up to the top edge of the canvas.
- Alternate the Pattern: Take your second horizontal strip. This time, weave it under the first vertical strip, over the second, under the third. Slide it up tightly against the first horizontal strip.
- Tighten and Adjust: After every three or four rows, use a ruler to push the woven strips tightly together. You want this to look like a dense, solid piece of fabric, not a loose net.
- Secure the Edges: Once the entire face of the canvas is woven, carefully pull the overhanging ends of the strips tightly around the sides of the canvas and hot glue them to the back wooden frame, just like stretching a real canvas.
- Seal the Art: To protect the paper and give it a slight, elegant sheen, brush a generous, even layer of matte Mod Podge over the entire woven surface. This locks the weave in place and makes it easy to dust later.
This woven piece looks incredibly sophisticated when placed in a floating frame. The geometric precision combined with the random chaos of the printed typography creates a stunning visual paradox that guests will not believe you made from trash.
Masterclass 3: The Gentleman’s Topographical Map Silhouette
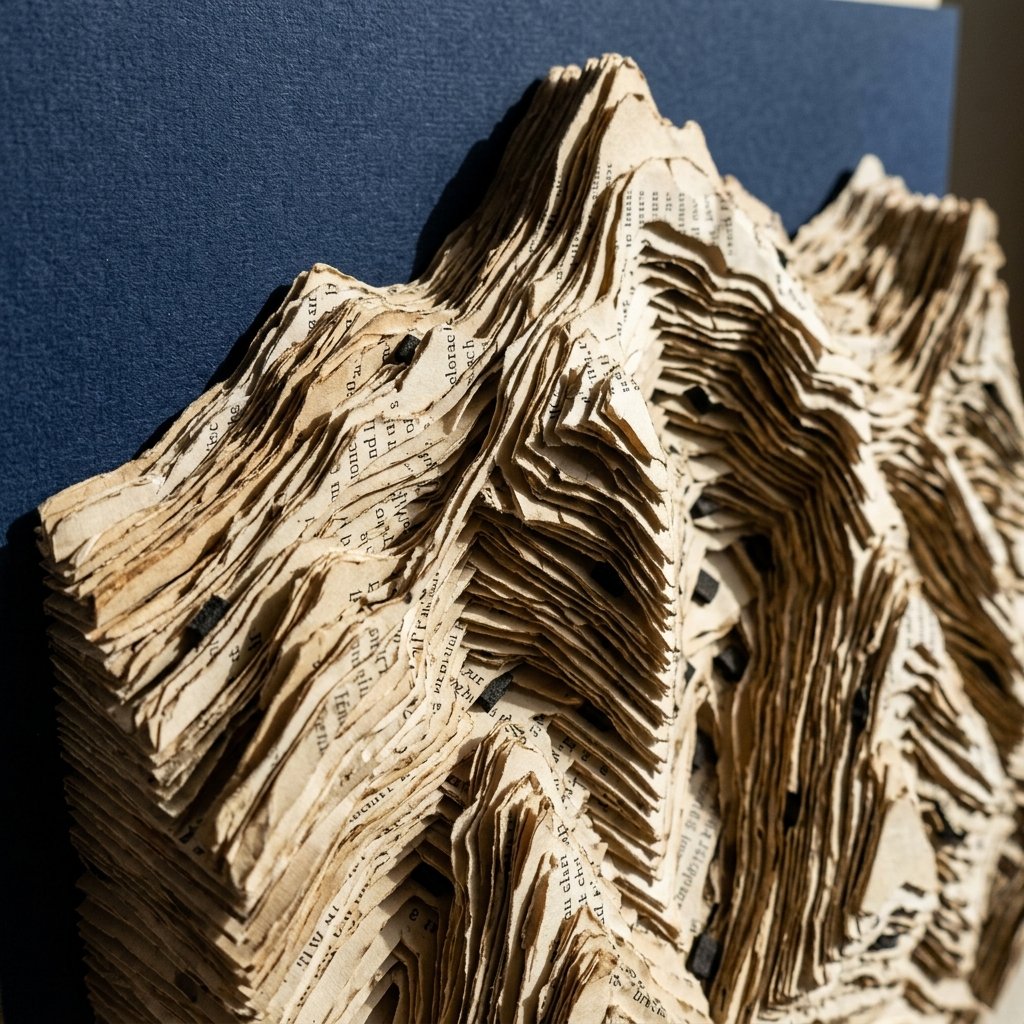
Our final project caters specifically to the handy dads, the rugged decorators, and those who love a moody, library-esque vibe. The Topographical Map Silhouette uses layered book pages to create a 3D, stepped effect that mimics the elevation lines of a map. You can use this technique to create the silhouette of your home state, a stag’s head, a geometric mountain range, or a simple, elegant monogram.
This project requires extreme patience and a sharp craft knife. You will need a stack of 10 to 15 book pages, double-sided foam mounting tape (this is the secret ingredient for the 3D effect), a printed stencil of your chosen shape, and a dark, contrasting backing board (like black poster board or navy blue cardstock).
Follow these steps to build your topographical masterpiece:
- Prepare the Stencil: Print your chosen silhouette (e.g., a mountain range) on a regular piece of paper. You will need to draw concentric outlines inside the shape, each getting progressively smaller, mimicking elevation lines on a map.
- Cut the Base Layer: Take your first book page. This will be the largest, bottommost layer. Trace the outermost line of your stencil onto the page and carefully cut it out using your craft knife.
- Cut the Successive Layers: Take your second book page. Trace the second largest line of your stencil onto this page and cut it out. Repeat this process for all 10 to 15 pages, cutting progressively smaller shapes.
- Organize Your Stack: Lay out all your cut shapes in order from largest to smallest. This is crucial so you don’t glue them out of sequence!
- Apply the Foam Tape: Take your largest cut page. Cut tiny squares of your double-sided foam mounting tape. Place these squares around the back of the page, ensuring they are close to the edges but hidden from view.
- Mount the Base: Peel the backing off the foam tape and press this largest layer firmly onto the center of your dark contrasting backing board.
- Stack and Elevate: Take your second largest page. Apply foam tape to the back of it. Carefully align it perfectly over the first layer and press down. The foam tape creates a 1/8-inch gap between the pages, casting a beautiful physical shadow.
- Complete the Topography: Continue adding foam tape and stacking each progressively smaller layer. By the time you place the final, smallest piece on top, you will have a stunning, deeply dimensional piece of art.
The shadows cast by the elevated layers give this artwork a dynamic, shifting appearance depending on the lighting in the room. It is a brilliant, masculine-elegant gift for Father’s Day or a fantastic addition to a home office.
Elevating the Presentation: Custom Framing on a Dollar Tree Budget
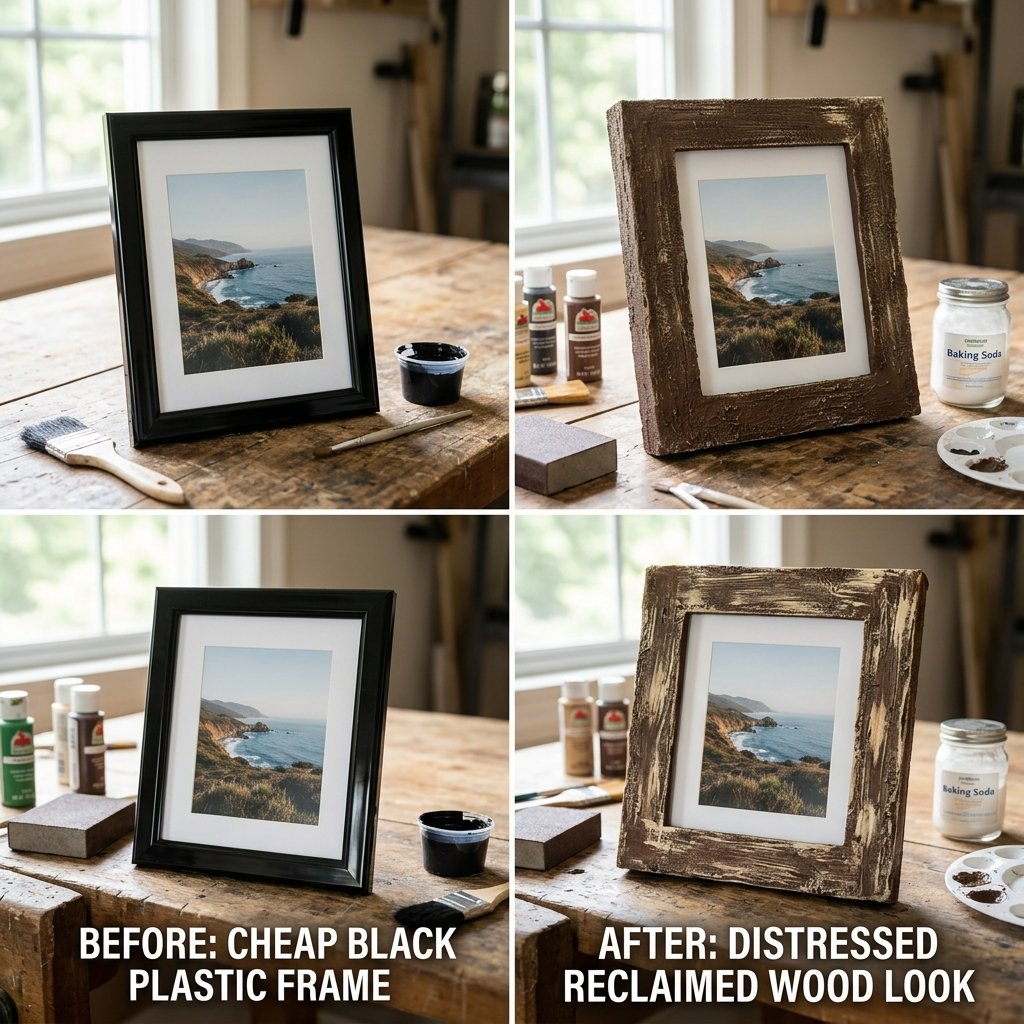
You have spent your weekend meticulously rolling, weaving, or cutting your vintage book pages into a masterpiece. Do not ruin the high-end illusion by slapping it onto the wall with thumbtacks or shoving it into a cheap, shiny plastic frame. The final, critical step in the frugal DIYer’s journey is mastering the art of the faux-finish frame. We are going to take a $1.25 plastic frame from the Dollar Tree and make it look like reclaimed, distressed oak or heavy, industrial cast iron.
The secret to high-end faux finishing lies in texture and layering. Shiny plastic immediately screams “cheap.” To eliminate the shine and add a rugged texture, we use the legendary Baking Soda Paint Trick. By mixing standard acrylic craft paint with ordinary baking soda, you create a thick, chalky, matte medium that adheres to plastic and mimics the look of raw wood or stone.
| Desired Frame Finish | Paint Recipe / Technique | Estimated Cost |
|---|---|---|
| Distressed Reclaimed Wood | Brown paint + 1 tbsp baking soda. Dry brush with cream paint. | $1.50 |
| Industrial Cast Iron | Black paint + 2 tbsp baking soda. Dab lightly with metallic silver. | $1.75 |
| Aged Brass / Gold | Matte black base coat. Rub-n-Buff gold wax applied with finger. | $3.00 |
To create the Distressed Reclaimed Wood look, start by lightly sanding your cheap plastic frame to give it some tooth. Mix one tablespoon of baking soda into two tablespoons of dark brown acrylic paint. Brush this thickly onto the frame, allowing the brush strokes to remain visible—these will mimic wood grain. Once completely dry (about 30 minutes), take a dry brush with just a whisper of cream or light tan paint on it, and lightly sweep it over the raised textures. Finally, for an ultra-rugged touch, take a dark brown shoe polish and rub it into the corners and edges with a rag. This adds depth and an aged, waxy patina that looks incredibly authentic.
Mount your woven canvas or your topographical silhouette inside this newly transformed frame. Because the frame now carries visual weight and texture, it grounds the delicate paper art, creating a balanced, gallery-quality presentation that will leave your houseguests begging to know which expensive boutique you bought it from.
Conclusion
Your Walls, Your Masterpiece, Your Budget
There you have it—the ultimate frugal crafter’s guide to rescuing forgotten books and transforming them into breathtaking, high-end wall art. We have covered the dramatic, architectural flair of the 3D Sunburst, the tailored, masculine-elegant sophistication of the Woven Typography Canvas, and the rugged, dimensional intrigue of the Topographical Map. By utilizing completely free materials, basic tools, and a healthy dose of resourceful creativity, you have bypassed the $300 retail price tags and created something truly unique.
The beauty of upcycling lies not just in the money saved, but in the story you create. Every time you walk past your new wall art, you won’t just see a decoration; you will see a weekend of crafty ingenuity, a rescued piece of literature given a second life, and a testament to your own budget-savvy skills. You have proven that a luxurious, high-end home aesthetic doesn’t require a trust fund—it just requires a little vision, some hot glue, and the willingness to see the treasure hidden within the trash.
So, clear off your workbench, dig out those old, battered books, and start folding. We cannot wait to see what incredible, zero-budget masterpieces you create this weekend. Happy crafting, and keep upcycling!

Makenzie is the founder and lead writer at MoneyHackTips.com — a personal finance blog dedicated to delivering street-smart financial wisdom for real people on real budgets. With 300+ published articles covering everything from debt management to investing fundamentals, Makenzie’s mission is to make every dollar work harder. When not writing about money hacks, Makenzie is testing frugal living strategies, optimizing side hustles, and helping readers build financial freedom from scratch.