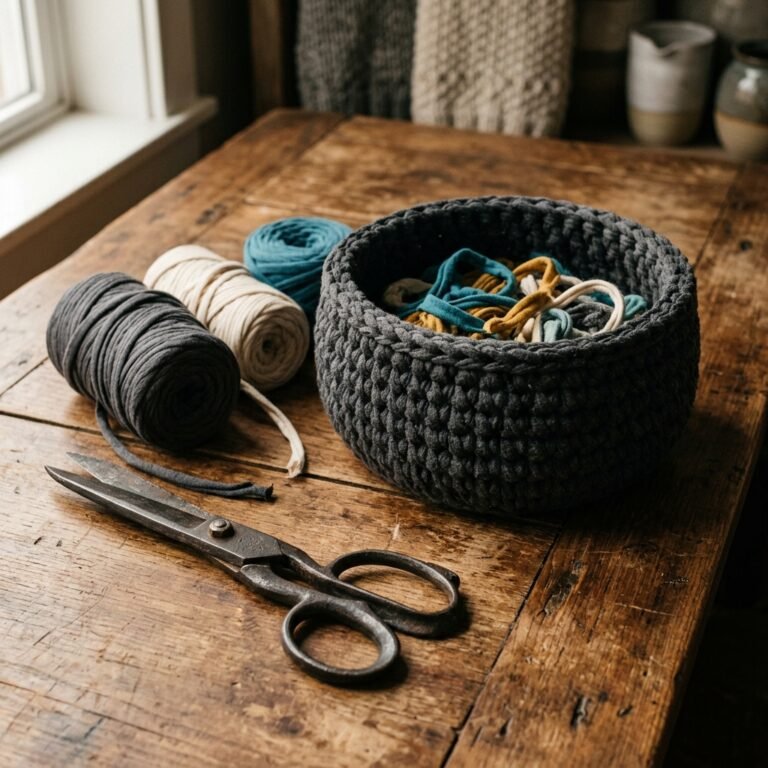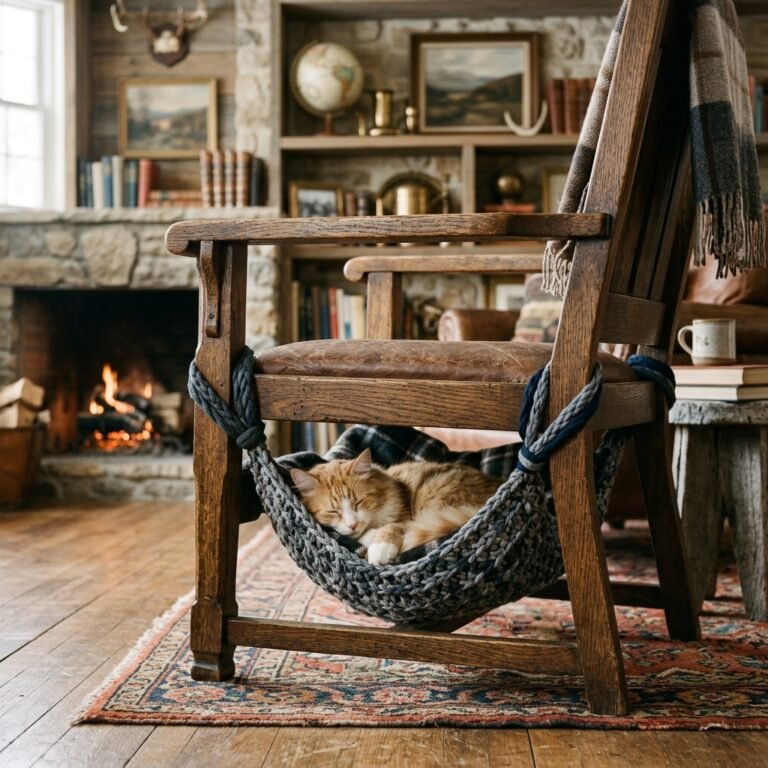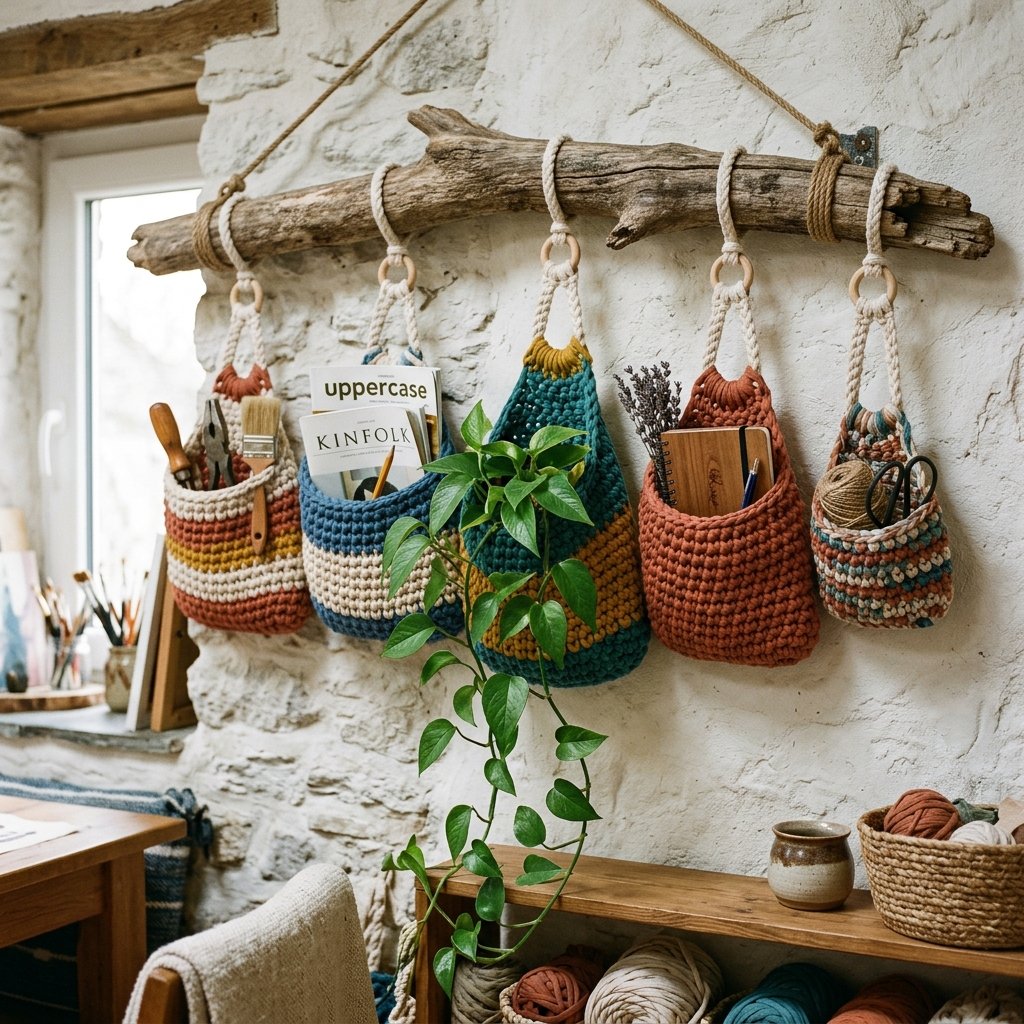

Let us face a universal truth: clutter is the silent thief of peace. Whether it is the rogue screwdrivers on your workbench, the endless mountain of mail on the entryway table, or the chaotic explosion of kids’ toys in the living room, clutter demands a solution. But before you rush to a big-box store to drop $40 on a flimsy, mass-produced canvas organizer, stop right there. As resourceful DIYers and frugal upcyclers, we know that the best solutions do not cost a dime; they are hiding right inside our donation bins.
Welcome to the ultimate trash-to-treasure masterclass. Today, we are turning those stained, stretched-out, or nostalgically-hoarded t-shirts into rugged, incredibly durable, and highly functional No-Sew DIY T-Shirt Yarn Hanging Pockets. This ingenious project merges the practicality of heavy-duty storage with the creative satisfaction of zero-budget crafting. By creating your own continuous t-shirt yarn (affectionately known in the crafting world as tarn), you are not just recycling; you are forging a custom organizational system tailored exactly to your needs.
The Upcycler’s Creed: Do not buy what you can build, and do not throw away what you can transform. A stained shirt is simply a storage pocket waiting to be woven.
This comprehensive guide will walk you through the entire process, from selecting the perfect shirts and cutting seamless yarn, to mastering the basic no-sew knots required to build sturdy, weight-bearing pockets. Whether you need a masculine, utilitarian tool caddy for the garage, a chic boho-style mail sorter, or a soft, safe toy hammock for a nursery, these t-shirt yarn hanging pockets are the genius, budget-savvy answer to your clutter woes.
The Anatomy of T-Shirt Yarn: Sourcing and Slicing Your Stash
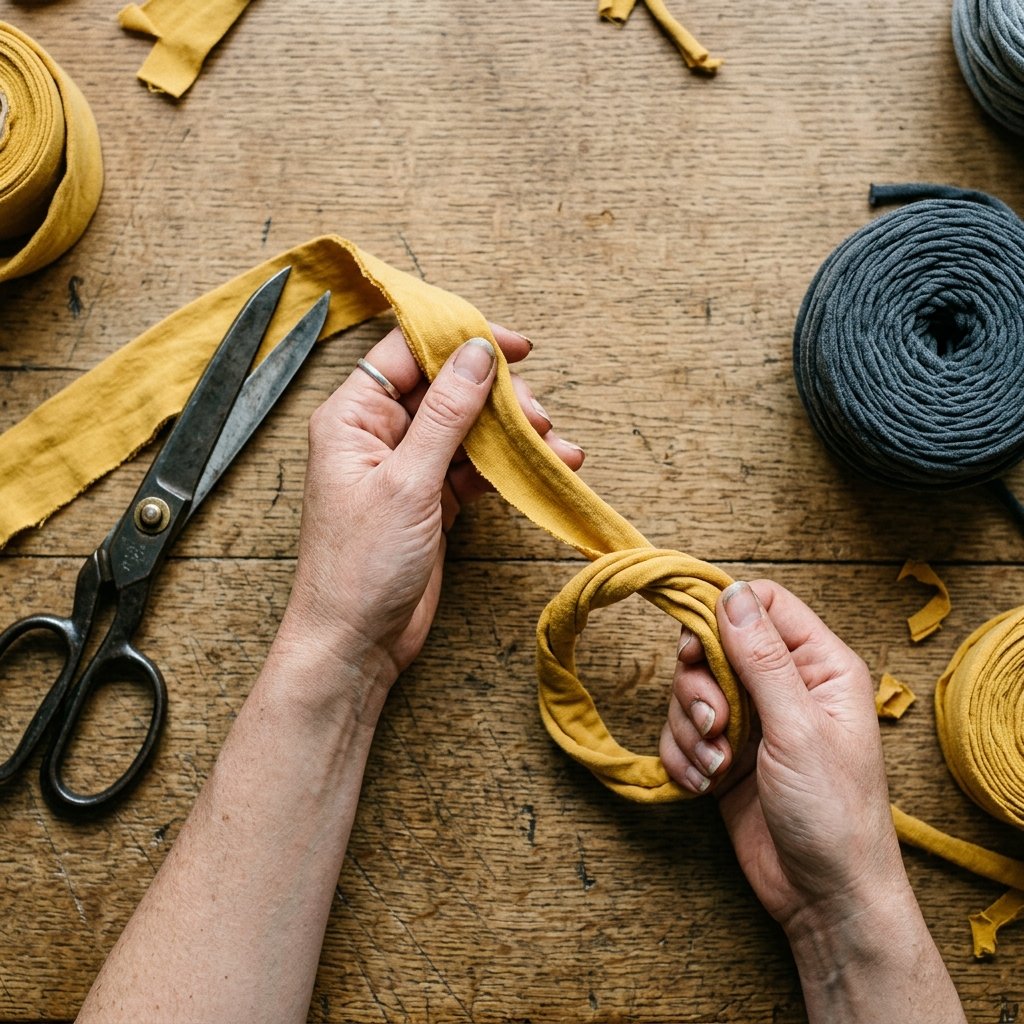
The foundation of any rugged, long-lasting upcycled project lies in the materials. T-shirt yarn is a powerhouse material: it is slightly elastic, incredibly strong, washable, and completely free. However, not all t-shirts are created equal when it comes to making high-quality yarn. Understanding fabric composition is your first step to crafty mastery.
Selecting the Perfect Shirts
For the best results, you want to hunt through your closet for 100% cotton or high-cotton-blend t-shirts. The magic of t-shirt yarn happens when the fabric is stretched; the raw edges roll inward upon themselves, creating a smooth, tubular, rope-like finish that hides any uneven scissor cuts. Shirts with side seams can be used, but seamless tubular knit shirts (often found in cheap promotional tees or classic undershirts) are the absolute holy grail for continuous, knot-free yarn.
- The Ideal Candidate: Large or Extra-Large men’s t-shirts. More surface area equals more yarn.
- What to Avoid: Shirts with heavy, thick rubberized screen prints (they will not stretch or roll) and highly synthetic performance wear (they tend to fray rather than curl).
The Continuous Cut Technique
Creating one long, continuous strand of yarn from a single shirt is a deeply satisfying process. You do not need a sewing machine to join pieces; you just need a clever cutting strategy. Here is the step-by-step method to maximize your yardage:
- Lay your chosen t-shirt flat on a cutting mat or large table. Smooth out all wrinkles.
- Cut off the bottom hem horizontally and discard it (or save it for a rugged plant tie in the garden).
- Cut off the top portion of the shirt just below the armpits. You are now left with a fabric tube.
- Fold one side of the tube toward the other, leaving about a 1-inch gap at the top edge. This gap is crucial; do not cut all the way through it.
- Starting from the folded bottom edge, cut strips about 1 to 1.5 inches wide, cutting upwards and stopping just before you hit that 1-inch uncut gap at the top.
- Once the entire tube is fringed, open up the uncut section. You will see a solid strip of fabric holding all the loops together.
- To make it continuous, cut diagonally from the first slit on the left to the top edge, then from the second slit to the first, continuing this diagonal pattern until the entire shirt is one massive, continuous strip.
Safety & Tool Note: Always use sharp fabric shears or a rotary cutter. Dull scissors will chew the fabric, leading to weak spots in your yarn. Keep your fingers clear of the cutting path!
Once cut, the final step is the most fun: the stretch. Take the strip in your hands and pull firmly section by section. You will watch the flat fabric magically curl into a thick, sturdy cord. Roll it into a ball, and your zero-budget building material is ready.
The Zero-Budget Breakdown: DIY vs. Store-Bought Storage

As a frugal DIYer, the true thrill of a project comes from the savings. Home organization is a multi-billion dollar industry built on convincing you that you need to buy expensive acrylic bins, woven baskets, and canvas wall hangings to achieve a tidy home. We reject that notion. Let us look at the hard numbers and see exactly why upcycling your own hanging pockets is the ultimate budget-savvy triumph.
Material Scavenging Guide
Beyond the t-shirts, you need a sturdy base to hang your pockets from. Instead of buying wooden dowels, tap into your resourceful nature:
- For a Rustic/Boho Look: Forage for a thick piece of fallen driftwood or a sturdy oak branch from your yard. Clean it, strip the bark, and let it dry.
- For a Masculine/Industrial Look: Use leftover copper plumbing pipes, PVC pipes painted matte black, or even an old, heavy-duty wooden tool handle.
- For Quick Closet Storage: A simple, heavy-duty wooden or metal coat hanger works perfectly as your base structure.
Here is a breakdown of what you save by choosing the crafty, resourceful route:
| Organizational Item | Store-Bought Cost (Est.) | DIY T-Shirt Yarn Pocket | Your DIY Cost |
|---|---|---|---|
| Woven Macramé Wall Pocket | $35.00 – $60.00 | Old T-Shirts & Foraged Branch | $0.00 |
| Canvas Tool Roll/Hanging Organizer | $25.00 – $45.00 | Upcycled Denim/Heavy Tees & Dowel | $0.00 |
| Nursery Stuffed Animal Hammock | $15.00 – $25.00 | Pastel T-Shirts & Wall Hooks | $0.00 |
| Entryway Mail & Key Sorter | $20.00 – $40.00 | Sturdy Yarn & Coat Hanger | $0.00 |
| Total Potential Savings | $95.00 – $170.00 | Total Frugal Investment | $0.00 (Just Time & Creativity!) |
By investing roughly 45 minutes of your time, you are retaining your hard-earned cash while simultaneously keeping textiles out of landfills. That is the definition of a resourceful victory.
Mastering the No-Sew Foundation: Essential Knots for Sturdy Pockets

You might be wondering: how do we create a durable, weight-bearing pocket without a needle and thread? The answer lies in the ancient, utilitarian art of knotting. Do not let the word ‘macramé’ intimidate you; we are not making delicate, intricate lace. We are using heavy-duty, structural knots that will hold everything from heavy winter scarves to metal hand tools.
The Three Essential Knots
To build your hanging pocket, you only need to master three fundamental knots. These are the building blocks of your no-sew masterpiece.
- The Lark’s Head Knot: This is your mounting knot. It attaches your t-shirt yarn securely to your dowel, branch, or hanger. Fold a long strand of yarn in half, place the loop over the dowel, wrap it behind, and pull the two loose tails through the loop. Pull tight. Repeat this across the width of your base.
- The Square Knot: The workhorse of your pocket structure. It requires four strands of yarn (two outer working cords and two inner filler cords). Take the left cord, cross it over the middle two, and under the right cord. Take the right cord, pass it behind the middle two, and up through the loop on the left. Pull tight. Then reverse: right cord over the middle, left cord behind and through. This creates a flat, incredibly strong lock.
- The Overhand Binding Knot: Used to seal the bottom of your pocket securely. Simply gather the trailing ends of your yarn, loop them around your fingers, and pull the ends through the loop, pulling as tightly as possible to create a solid bottom seam.
The Frugal Crafter’s Tip: T-shirt yarn is stretchy. When tying your Square Knots, maintain a consistent, firm tension. Do not pull so hard that the yarn snaps, but pull tight enough that the knot locks securely into place. This ensures your pocket will not sag under the weight of your clutter.
Splicing Yarn Without Sewing
What happens when you run out of yarn in the middle of a row? You use the ingenious Slit-and-Pull Splicing Method. Cut a small vertical slit (about 1/4 inch) near the end of your working yarn, and another slit at the beginning of your new ball of yarn. Thread the end of the new yarn through the slit of the old yarn. Then, thread the tail of the new yarn through its own slit and pull tight. The two pieces will lock together seamlessly without a single stitch or bulky knot!
Building the Pocket: A Step-By-Step Construction Guide
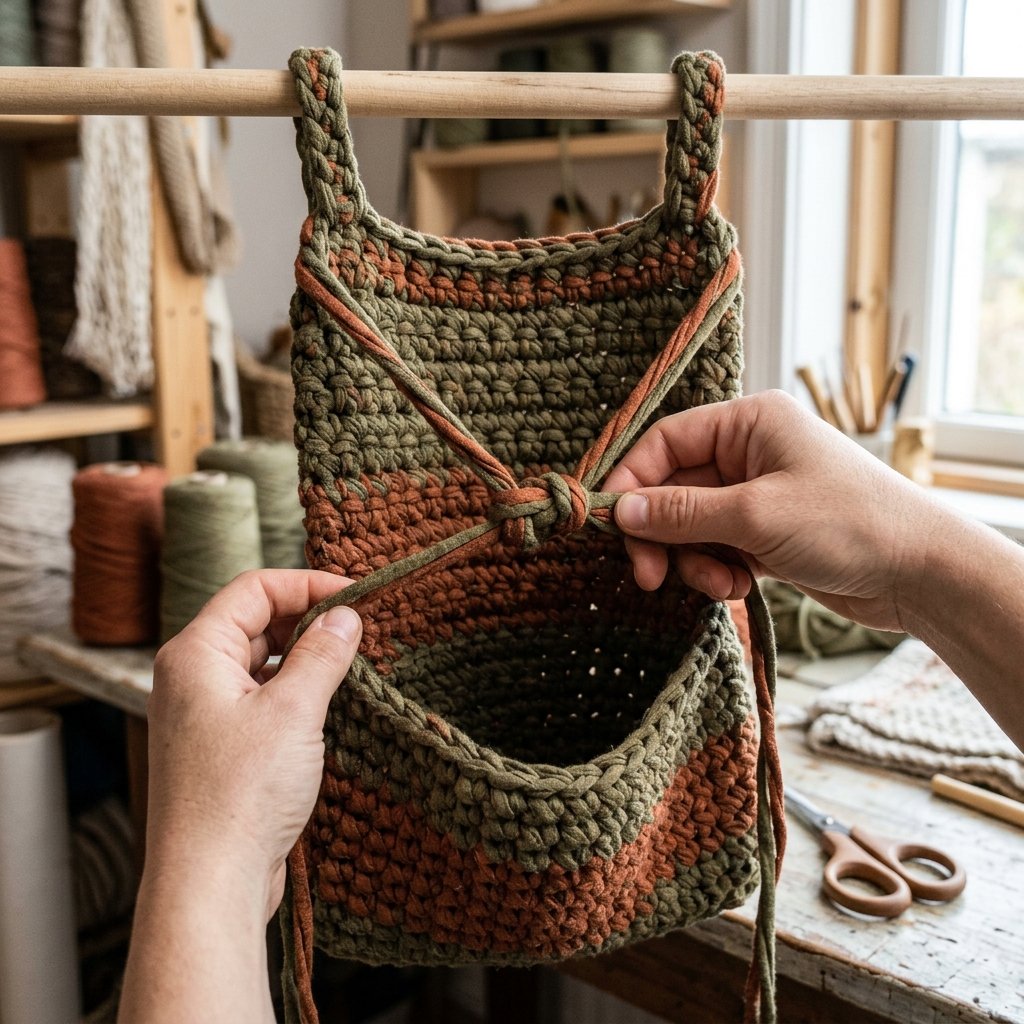
Now that your materials are prepped and your knotting skills are honed, it is time to build the actual organizer. This process is highly adaptable. You can make a wide, shallow pocket for incoming mail, or a deep, narrow pocket for storing umbrellas or rolled blueprints. We will focus on a versatile, medium-sized pocket perfect for everyday household clutter.
Step 1: Setting the Warp (The Base Cords)
- Cut 12 to 16 lengths of t-shirt yarn. Each length should be roughly 4 times the desired final length of your organizer. (e.g., If you want a 2-foot long organizer, cut 8-foot strands).
- Attach all strands to your dowel or hanger using the Lark’s Head Knot. Ensure they are pushed closely together. You now have 24 to 32 individual hanging cords.
Step 2: Knotting the Back Panel
- Starting from the left, take the first four cords. Tie a Square Knot about 1 inch down from the dowel.
- Continue tying Square Knots across the entire row, working in groups of four.
- For the second row, leave the first two cords on the left hanging loose. Take the next four cords (two from the first knot, two from the second knot of the previous row) and tie a Square Knot. This is called an Alternating Square Knot. Finish the row, leaving the last two cords on the right loose.
- Repeat this alternating pattern for roughly 10 to 15 rows, or until you have reached the desired height for the back panel of your organizer.
Step 3: Creating the Pocket Fold
Here is where the magic happens. To create the pocket without sewing, we fold the work upwards.
- Determine how deep you want the pocket to be. Fold the bottom section of your knotted panel UP toward the top.
- To secure the sides of the folded pocket, you will use the outermost cords. Take the outer cord from the folded front section and the corresponding outer cord from the back panel. Tie them tightly together using a series of sturdy double overhand knots along the side edge. Repeat on the opposite side.
- To reinforce the bottom of the pocket (so small items do not fall out), you can weave a horizontal piece of yarn through the bottom loops, pulling it tight and tying it off securely.
Step 4: The Fringe Finish
Once your pocket is secured, you will likely have excess yarn hanging from the bottom. You can trim this straight across for a clean, modern look, cut it into a V-shape for a bohemian vibe, or tie small wooden beads to the ends for extra weight and style.
Styling, Installation, and Utilitarian Uses for Your Upcycled Organizer
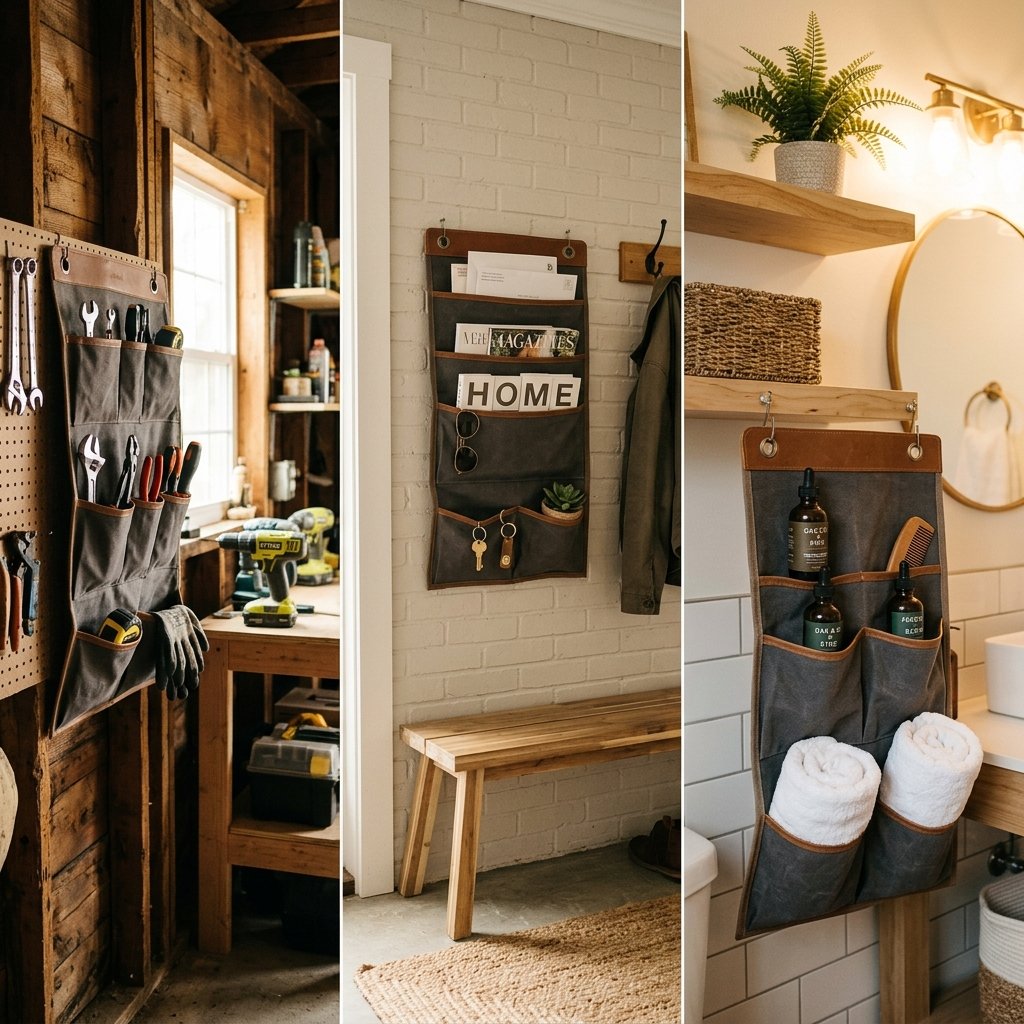
The beauty of the DIY T-Shirt Yarn Hanging Pocket is its chameleon-like ability to fit into any decor style or functional need. Because you chose the colors and the base material, this organizer can look like a high-end Anthropologie piece or a rugged, heavy-duty garage staple.
Installation & Weight Bearing Tips
T-shirt yarn is incredibly strong, but your hanging mechanism must be equally robust. If you plan to store heavy items like tools or large bottles of self-care products, do not rely on a simple thumbtack.
- Use Wall Anchors: Always use proper drywall anchors and heavy-duty screws when hanging your organizer.
- The S-Hook Method: For garage or workshop use, hang your dowel from a pegboard using heavy-duty metal S-hooks.
- Over-the-Door Hooks: If you built your pocket on a sturdy coat hanger, simply hang it over a closet door or bathroom door for instant, drill-free storage.
Room-by-Room Organization Ideas
Need inspiration on how to deploy your new zero-budget storage system? Here are some clever, practical applications:
- The Rugged Workshop Caddy: Use dark, heavy-weight t-shirts (like old work shirts) and a copper pipe base. The pockets are perfect for organizing wrenches, pliers, safety glasses, and rolls of electrical tape. The soft yarn prevents tools from scratching each other.
- The Entryway Command Center: Use neutral tones (whites, greys, blacks) on a sleek wooden dowel. Hang it by the front door to catch incoming mail, outgoing bills, sunglasses, and dog leashes.
- The Bathroom Self-Care Station: Small bathrooms lack counter space. Hang a multi-tier t-shirt yarn pocket next to the mirror to hold hairbrushes, curling irons (ensure they are cool!), beard oils, and rolled washcloths. The cotton yarn is naturally breathable, making it great for humid environments.
- The Camper/RV Space Saver: For the adventurous souls, wall space in a camper van is premium real estate. These soft pockets are ideal for RVs because they do not rattle while driving. Use them to store spices in the kitchenette or flashlights and maps near the door.
The Clever Stylist’s Secret: To make your upcycled pocket look intentionally designed rather than homemade, stick to a monochromatic color palette. Dye your old, stained white shirts with a cheap box of black or navy fabric dye before cutting them into yarn. A solid, deep color instantly elevates the piece from ‘craft project’ to ‘chic home decor’.
Conclusion
Conquering clutter does not require a massive budget, a trip to the container store, or even a sewing machine. It simply requires a shift in perspective. By looking at a pile of worn-out, destined-for-the-trash t-shirts and seeing the potential for strong, flexible, and stylish yarn, you have unlocked a superpower known only to the most resourceful makers and frugal DIYers.
These No-Sew T-Shirt Yarn Hanging Pockets are more than just a storage solution; they are a testament to the beauty of upcycling. You have taken something discarded and transformed it into a highly functional, custom-built piece of home decor that solves a daily frustration. Whether you are organizing a chaotic workbench, creating a serene entryway, or crafting a thoughtful, practical gift for a friend’s new apartment, you have done it with your own two hands and zero dollars.
So, raid that donation bin, grab your sharpest scissors, and start slicing. The clutter does not stand a chance against your newfound crafting ingenuity. Happy knotting, and stay clever!

Makenzie is the founder and lead writer at MoneyHackTips.com — a personal finance blog dedicated to delivering street-smart financial wisdom for real people on real budgets. With 300+ published articles covering everything from debt management to investing fundamentals, Makenzie’s mission is to make every dollar work harder. When not writing about money hacks, Makenzie is testing frugal living strategies, optimizing side hustles, and helping readers build financial freedom from scratch.