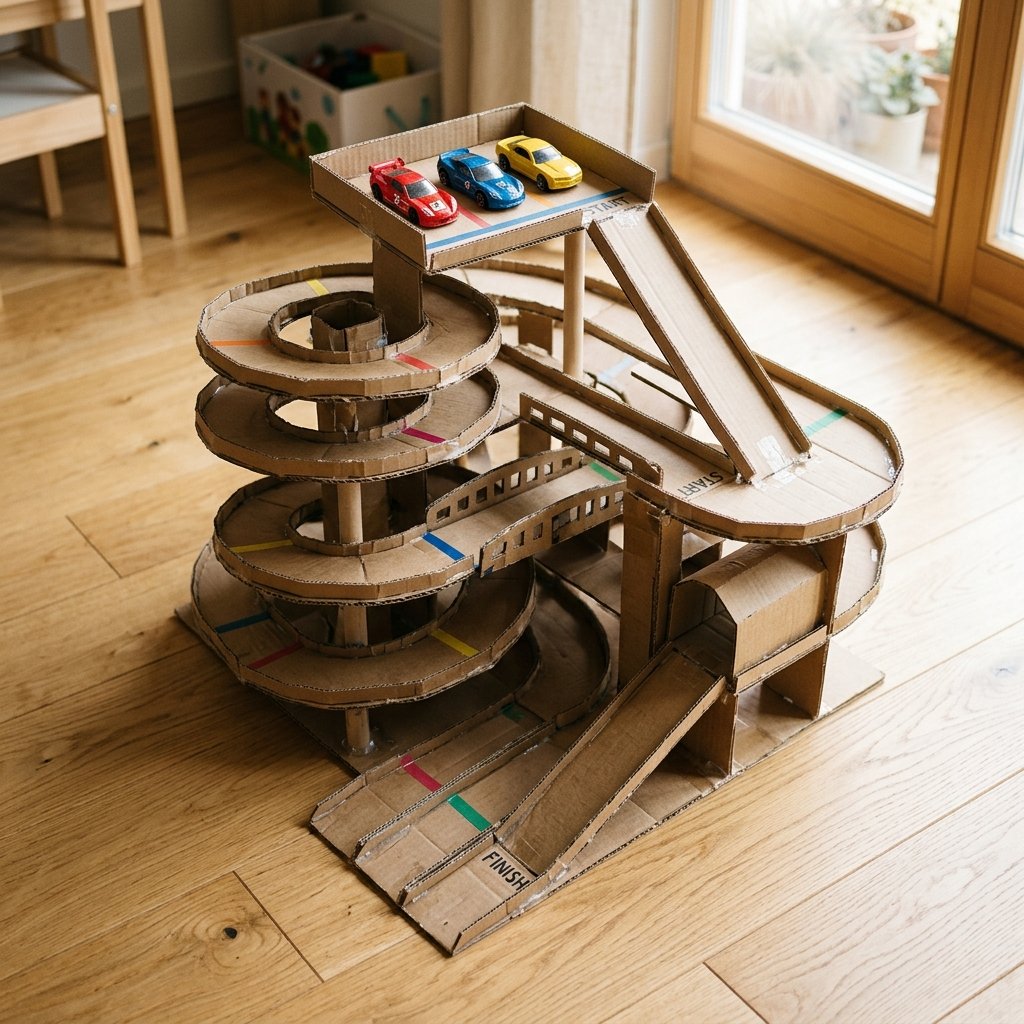

Let’s be honest: your toddler probably loves the box the toy came in more than the toy itself. It’s time to lean into that natural curiosity and embrace the $0 play revolution. As a frugal DIYer, you know that a shipping box isn’t trash—it’s a chassis, a skyscraper, or in this case, a high-octane racing circuit. This isn’t just about saving money; it’s about the rugged satisfaction of building something with your own hands that can withstand the chaotic energy of a three-year-old. We are going to transform ordinary corrugated cardboard into a multi-level car ramp that looks sleek, performs like a dream, and costs exactly zero dollars. Whether you are a handy dad looking for a weekend project or a budget-savvy mom tired of plastic clutter, this guide will show you how to engineer a masterpiece from the recycling bin.
The Blueprint: Sourcing Your Free Materials
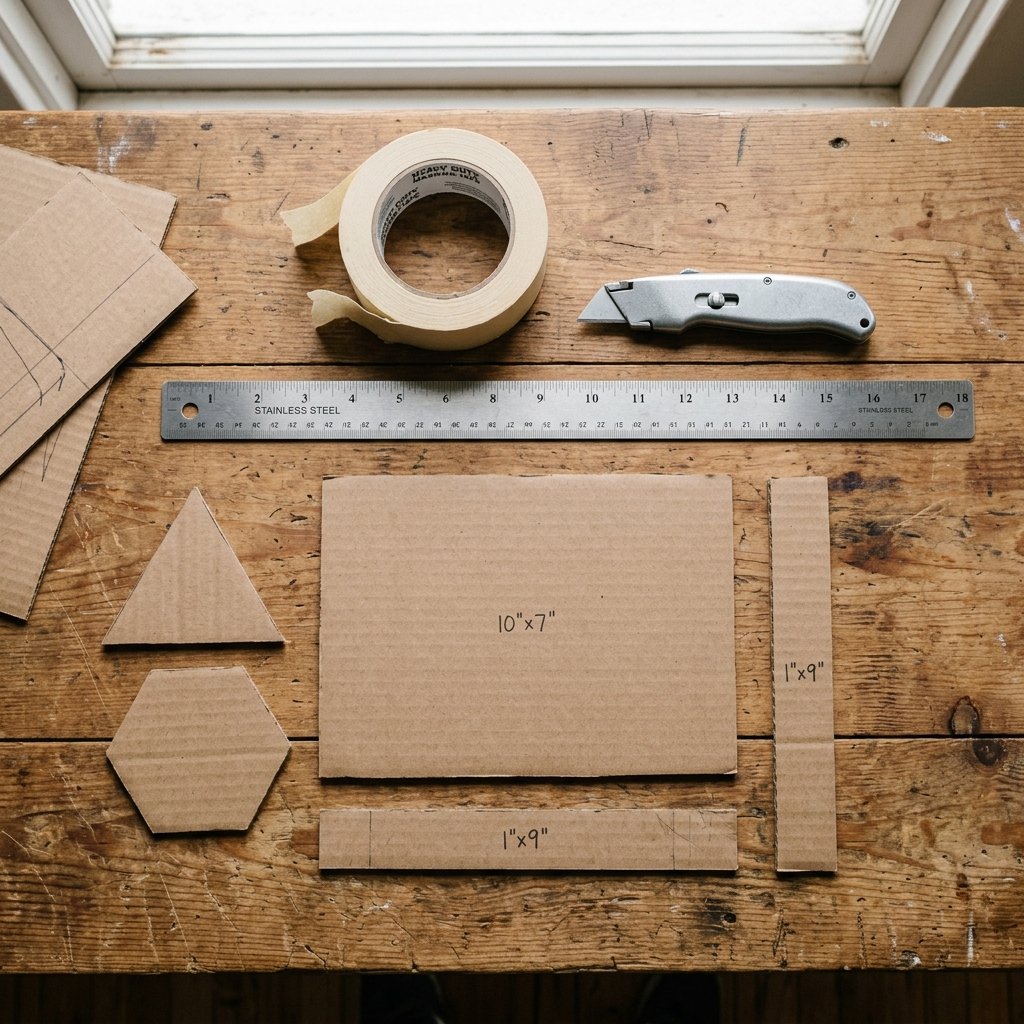
The secret to a high-end cardboard build is the quality of your ‘raw’ materials. You aren’t just looking for any box; you want double-walled corrugated cardboard for the structural supports and flexible single-wall pieces for the curved ramps. Visit your local appliance store or check behind the grocery store for the ‘good stuff.’ A thick refrigerator box is the gold mine of the upcycling world.
Essential Inventory
- Double-walled cardboard (for the vertical pillars).
- Standard shipping boxes (for the ramp surfaces).
- Heavy-duty masking tape or a hot glue gun (the structural backbone).
- Utility knife with a fresh blade (safety first!).
- Metal ruler for those crisp, professional-looking folds.
| Material | Source | Estimated Cost |
|---|---|---|
| Cardboard Sheets | Recycling Bin / Appliance Store | $0.00 |
| Adhesive (Glue/Tape) | Junk Drawer / Existing Supplies | $0.00 |
| Measuring Tools | Home Toolbox | $0.00 |
| TOTAL PROJECT COST | N/A | $0.00 |
“The goal is structural integrity. If you build it like a bridge, it will survive the weight of a toddler leaning on it. Think like an engineer, play like a kid.”
Phase One: Engineering the Vertical Support Columns
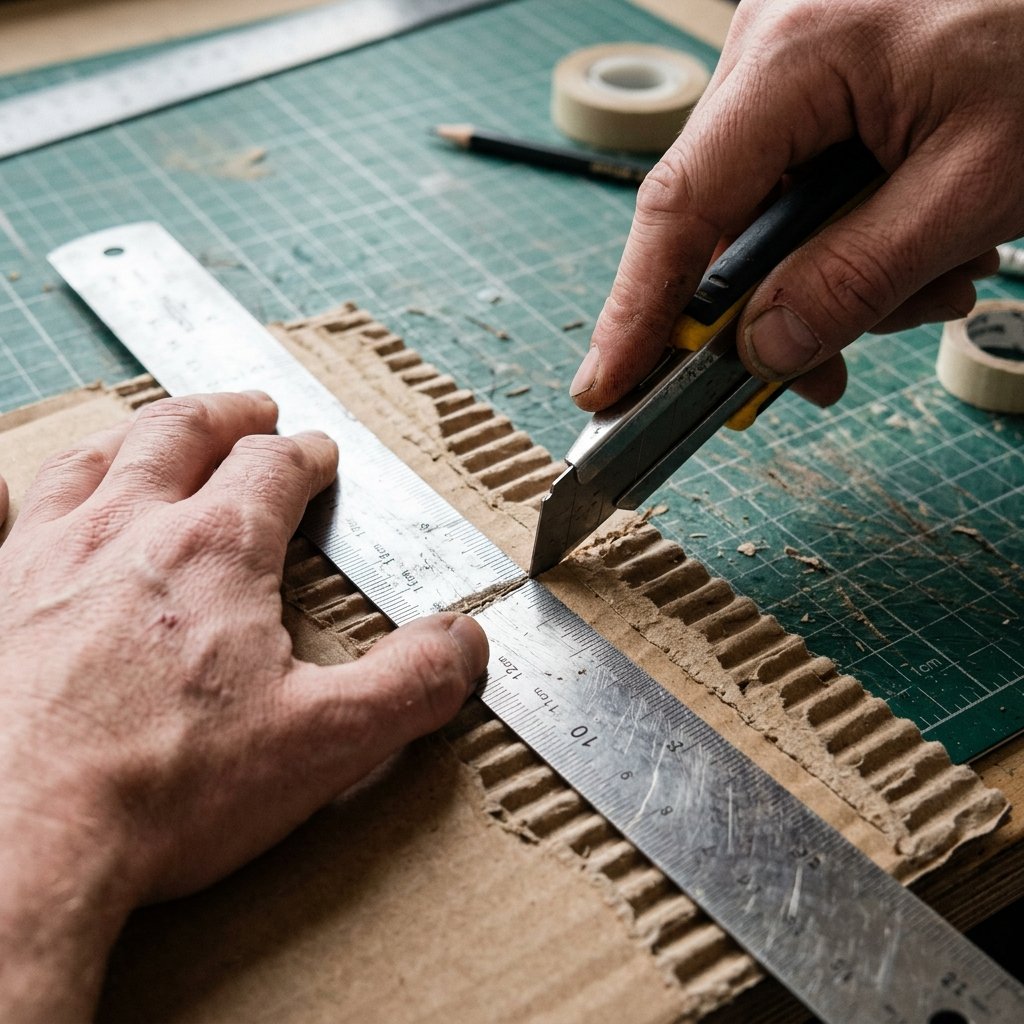
A great ramp needs height and stability. We start by creating three main pillars of varying heights: 24 inches, 16 inches, and 8 inches. This creates a natural gravity-fed descent for the cars. To make these pillars ‘toddler-proof,’ we will use a triangular prism design. Triangles are the strongest shape in geometry, and they provide a masculine, architectural look to the toy.
Step-by-Step Pillar Construction
- Measure and cut a long rectangle of double-walled cardboard. For a 24-inch pillar, your piece should be 24 inches tall and 15 inches wide.
- Score the cardboard vertically every 5 inches. Scoring means cutting through only the top layer of the cardboard, not all the way through.
- Fold the cardboard along the scores to create a triangle shape. Secure the seam with generous amounts of hot glue or tape.
- Repeat this process for the 16-inch and 8-inch supports.
“Precision is your best friend here. A straight cut with a sharp blade ensures your pillars stand perfectly vertical, preventing the ramp from wobbling during a high-speed race.”
Phase Two: Crafting the Gravity Ramps
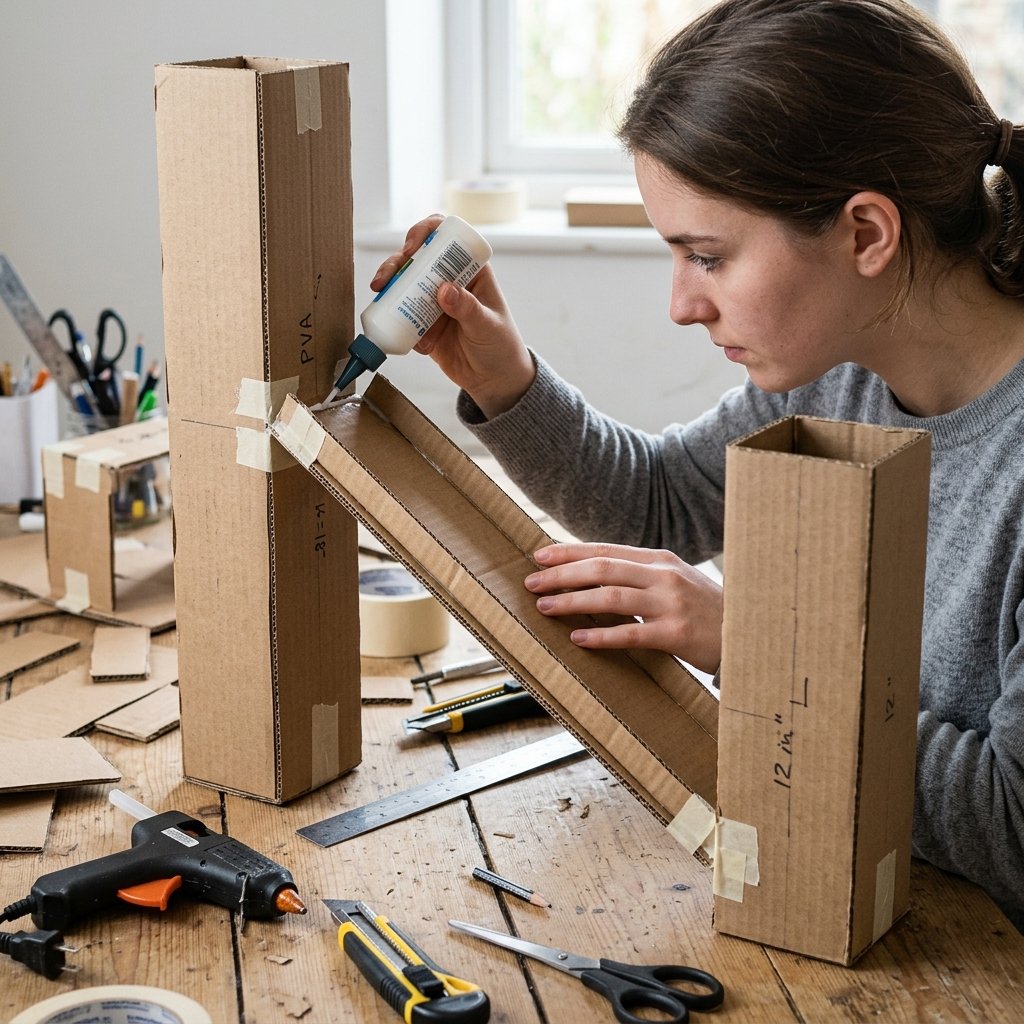
Now we connect the pillars. The ramps need to be wide enough to accommodate standard die-cast cars (usually about 2.5 to 3 inches wide). We will create ‘tracks’ with side rails to keep the cars from flying off the edge. This is where the clever engineering comes in.
The Track Formula
For each ramp section, cut a strip of cardboard 5 inches wide. This allows for a 3-inch driving surface and 1-inch guardrails on either side. To create the rails, score the cardboard 1 inch from each edge and fold them upward. This creates a ‘U’ channel that is incredibly rigid.
| Ramp Section | Length | Angle of Descent |
|---|---|---|
| Top Tier (High Speed) | 18 inches | 45 Degrees |
| Middle Tier (Transition) | 22 inches | 30 Degrees |
| Final Stretch (The Finish) | 24 inches | 15 Degrees |
Attach the first ramp from the top of the 24-inch pillar to the middle of the 16-inch pillar. Use a generous amount of adhesive. The steeper the angle, the faster the car!
Phase Three: Reinforcement and the ‘Grand Prix’ Finish
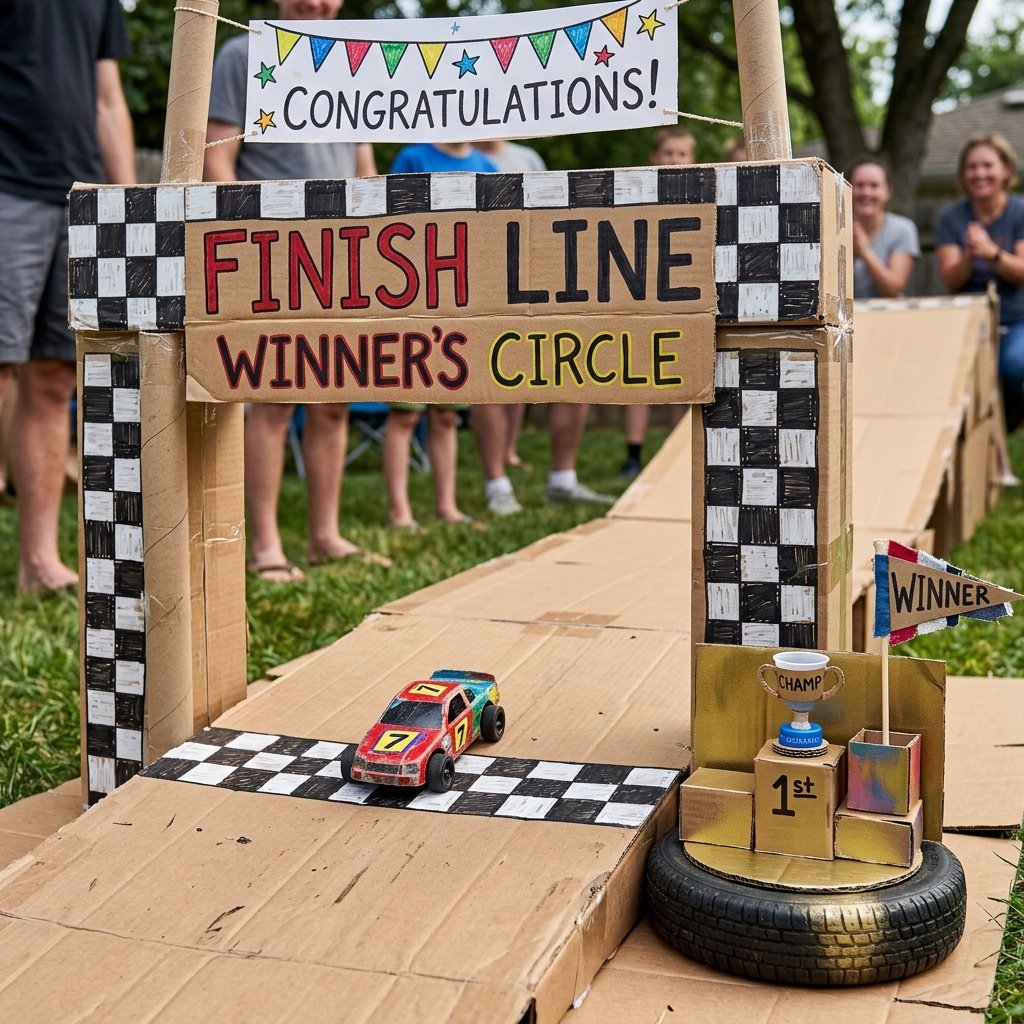
A zero-budget toy doesn’t have to look cheap. By using a few crafty techniques, we can turn this into a ‘masculine-elegant’ piece of playroom furniture. We’ll start by reinforcing the joints with ‘gussets’—small triangular scraps of cardboard glued into the corners where the ramps meet the pillars. This prevents the ramps from sagging over time.
The Aesthetic Upgrade
- The ‘Asphalt’ Look: Use a black permanent marker or leftover grey paint to color the track surface.
- Lane Markings: Use a white paint pen or even white correction fluid (Wite-Out) to draw dashed lines down the center.
- The Finish Line: Create a checkered flag pattern at the end of the longest ramp using scraps of white paper and a black pen.
“Safety Note: Always ensure there are no sharp edges or exposed staples from the original boxes. Run your finger along every edge and sand them down with a bit of scrap cardboard if they feel rough.”
DIY vs. Store-Bought: The Frugal Reality Check
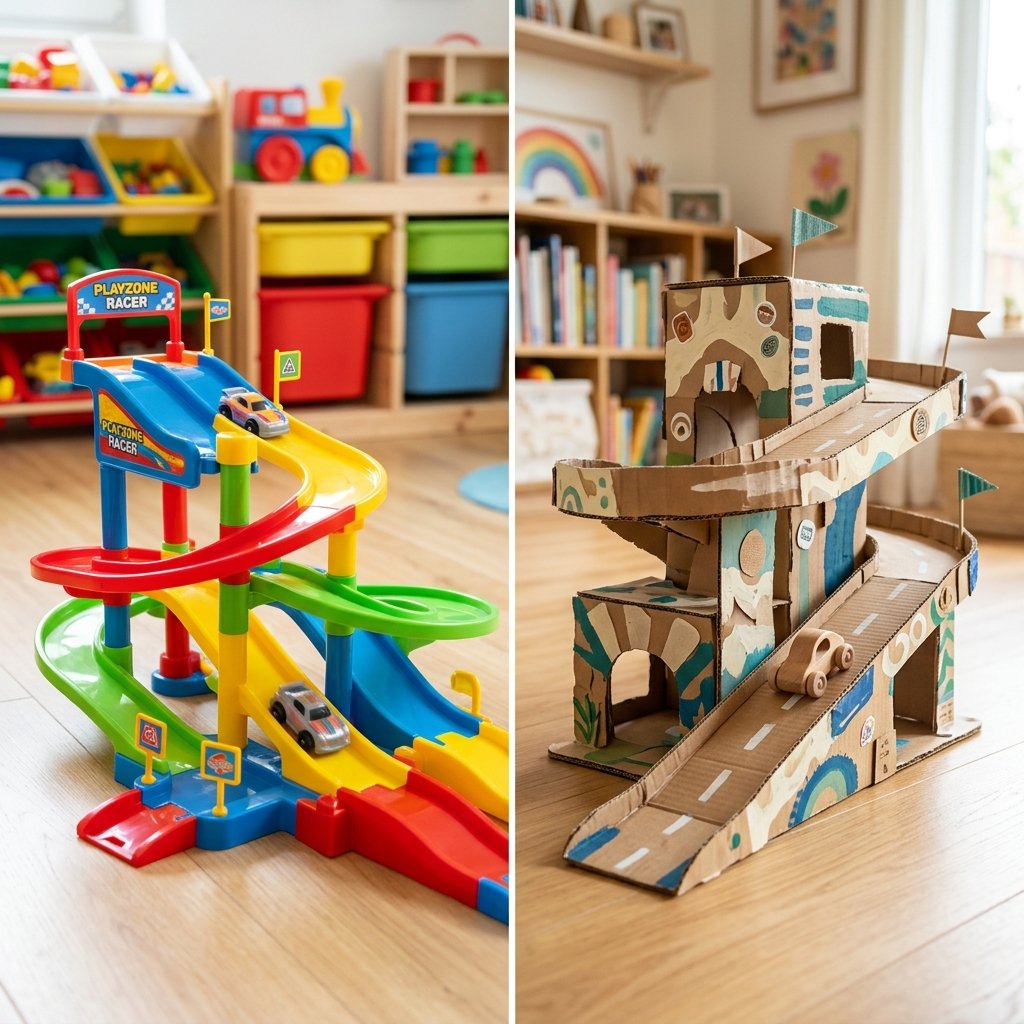
Why do we do this? Besides the bonding experience and the environmental benefits of upcycling, the cost savings are staggering. A high-quality wooden or plastic multi-car garage can retail for anywhere between $35 and $85. Our version? $0.00. That is money that can stay in your savings account or go toward your child’s college fund.
| Feature | Store-Bought Plastic Ramp | DIY Cardboard Ramp |
|---|---|---|
| Price | $45.00+ | $0.00 |
| Customizability | None | Infinite |
| Repairability | Impossible if cracked | Easy (More Tape!) |
| End of Life | Landfill | Recyclable |
| Build Time | 10 mins assembly | 1-2 hours of fun |
The DIY ramp is also uniquely quiet. Unlike plastic tracks that amplify the ‘clack-clack’ of wheels, cardboard absorbs sound, making it a favorite for parents who value a little peace and quiet during playtime.
Conclusion
Building this DIY cardboard car ramp is more than just a craft project; it’s a statement. It proves that with a little resourceful creativity and a few hours of effort, you can provide your child with a world-class toy without spending a single cent. You’ve taken ‘trash’ and engineered it into a source of joy, speed, and learning. When that first car zooms down the track and your toddler’s face lights up, you’ll know that the best things in life really are free—especially when they are made from a repurposed Amazon box. So, keep your blades sharp, your glue gun hot, and your budget at zero. Happy building!

Makenzie is the founder and lead writer at MoneyHackTips.com — a personal finance blog dedicated to delivering street-smart financial wisdom for real people on real budgets. With 300+ published articles covering everything from debt management to investing fundamentals, Makenzie’s mission is to make every dollar work harder. When not writing about money hacks, Makenzie is testing frugal living strategies, optimizing side hustles, and helping readers build financial freedom from scratch.