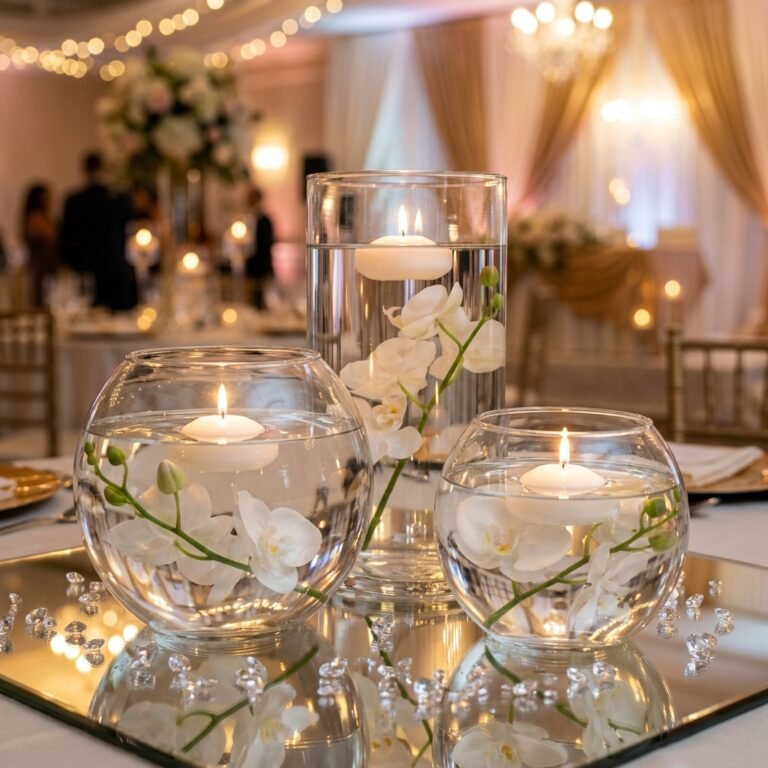
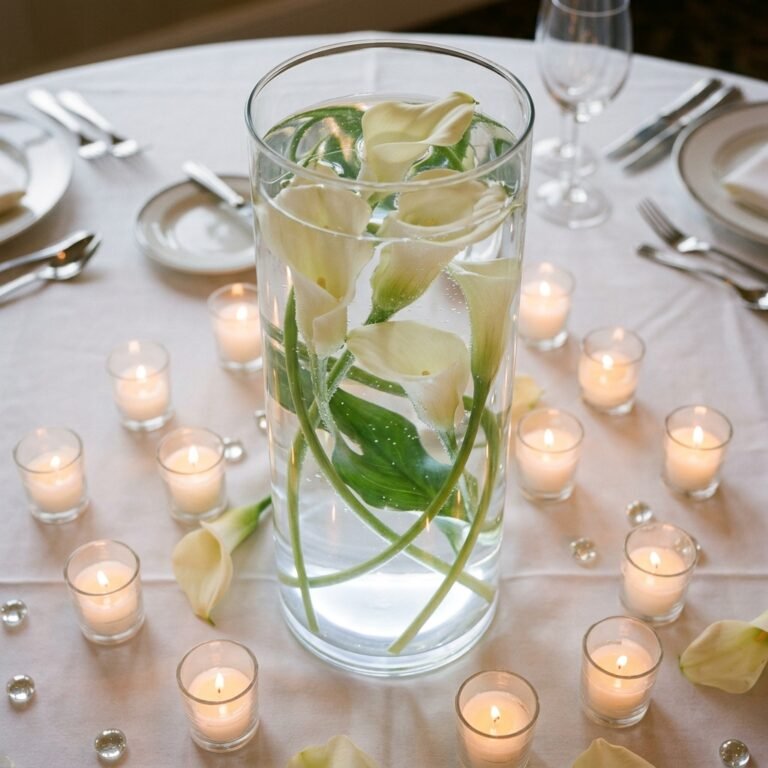
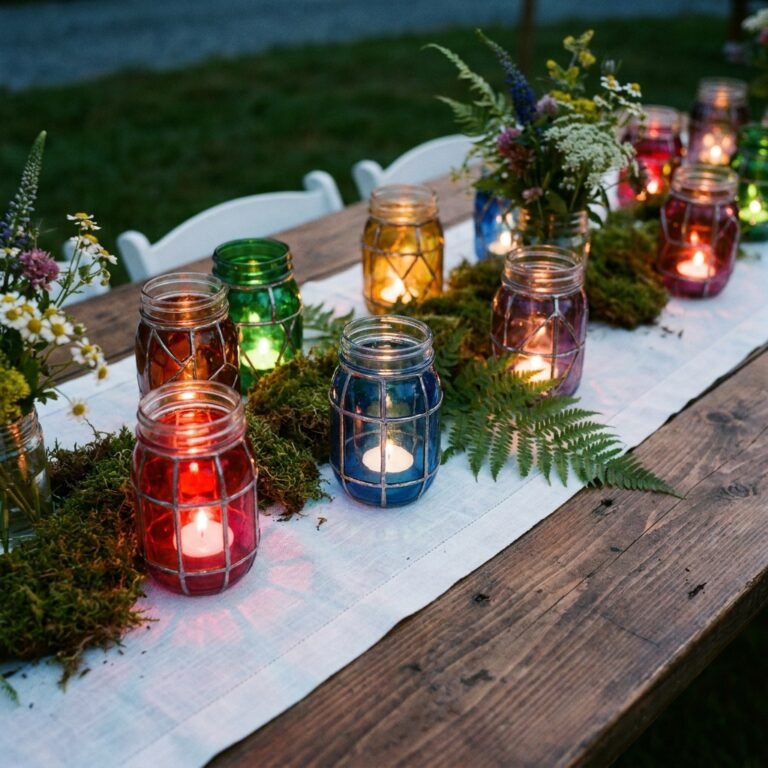
Let us face a harsh, unspoken truth about the wedding industry: the vast majority of wedding favors are destined for the trash can, or worse, left abandoned on the reception tables. You pour your heart, soul, and hard-earned cash into personalized koozies, monogrammed keychains, or Jordan almonds, only to find them scattered across the venue when the lights come on. It is a budget-savvy bride or groom’s worst nightmare. But what if I told you there is a resourceful, clever, and downright elegant solution that guests will practically fight over? Welcome to the ultimate guide to creating Cheap and Easy DIY Scented Soy Candle Wedding Favors.
Crafting your own soy candles is the pinnacle of frugal genius. It perfectly bridges the gap between rugged, hands-on DIY and high-end, boutique elegance. A custom-scented candle feels luxurious, intentional, and useful. It is a consumable gift that your guests will actually burn in their homes, remembering your special day with every flicker of the wick. Best of all? While retail boutique candles can easily run $15 to $30 a pop, you can manufacture these beauties in your own kitchen for under $2.00 each.
Whether you are a handy DIYer looking to tackle a weekend project, a frugal couple determined to slash the wedding budget, or a crafty maker wanting to add a signature scent to your big day, this masterclass is for you. We are going to roll up our sleeves, melt down some wax, and build a massive assembly line of wedding favors that look like they came straight out of an artisanal apothecary. Grab your pouring pitcher, and let us turn raw materials into wedding favor gold.
The Cold Hard Truth About Wedding Favors (And Why Candles Win)
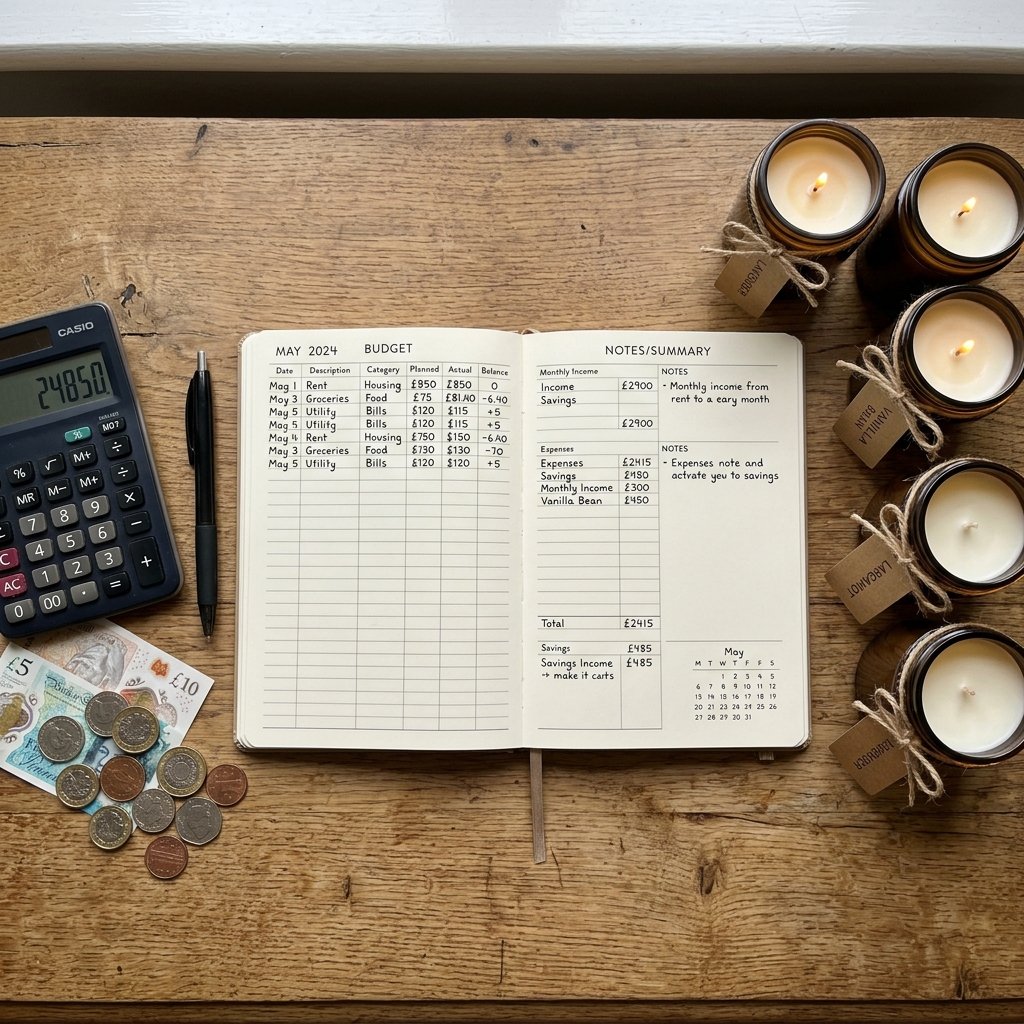
Before we dive into the melting and pouring, we need to understand the psychology of the wedding favor. Why do guests take certain items and leave others behind? The secret lies in utility and sensory appeal. People love items that they can use up, eat, or integrate seamlessly into their home decor. A miniature soy candle hits all these marks with flying colors. It is universally appealing—a rich, woodsy cedarwood and leather candle appeals just as much to the groomsmen as a delicate lavender and sage blend does to the bridesmaids.
The Economics of DIY Candle Making
When you start pricing out wedding favors, the numbers get terrifying quickly. If you have 150 guests, even a cheap $4.00 favor sets you back $600. That is a massive chunk of change for something that might get left behind. By taking the DIY route and buying your materials in bulk, you drastically reduce the cost per unit while simultaneously elevating the perceived value of the gift.
Let us look at a realistic breakdown of what you can expect to spend when you become your own candle manufacturer. The savings are not just a few dollars; they are astronomical.
| Favor Option (Per 150 Guests) | Cost Per Unit | Total Estimated Cost | Guest Retention Rate |
|---|---|---|---|
| Store-Bought Boutique Mini Candles | $8.00 – $12.00 | $1,200 – $1,800 | High |
| Personalized Trinkets (Keychains/Glasses) | $4.00 – $6.00 | $600 – $900 | Low to Medium |
| DIY Scented Soy Candles (Our Method) | $1.50 – $2.10 | $225 – $315 | Extremely High |
As you can see, the DIY route allows you to produce a premium product for a fraction of the cost. You are trading a weekend of your time for nearly a thousand dollars in savings. That is the kind of savvy resourcefulness that pays for a honeymoon flight!
Sourcing High-End Vessels on a Shoestring Budget
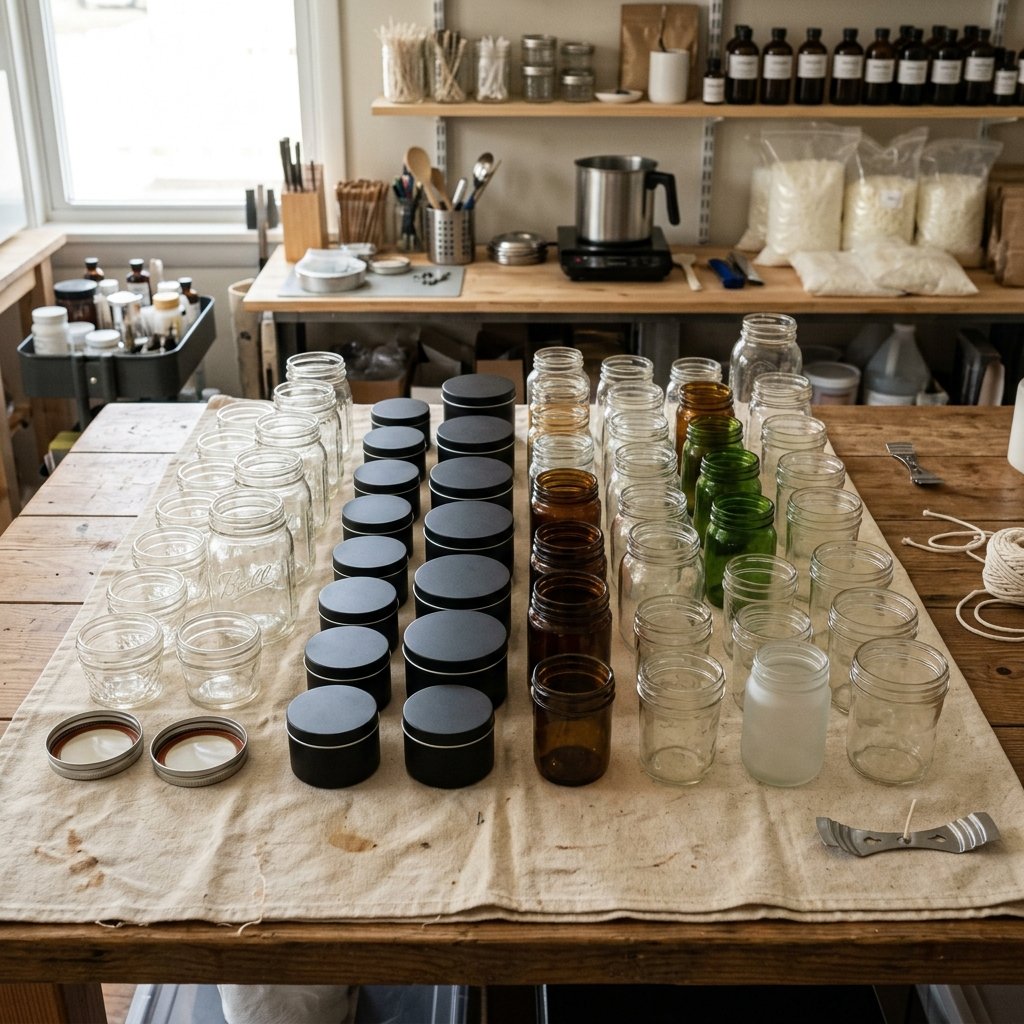
The vessel you choose for your candle dictates its entire vibe. You want something that looks intentional and stylish, not cheap or flimsy. Fortunately, the world of upcycling and bulk buying is vast and full of hidden gems. You do not need to buy expensive, custom-made glassware to achieve a masculine-elegant or rustic-chic aesthetic.
The Dollar Tree & Bulk Supplier Hacks
Your first stop should be bulk online suppliers or your local dollar store. Here are the most budget-savvy vessels that look like a million bucks when filled with wax and slapped with a custom label:
- 4oz Quilted Mason Jars: These are the holy grail of rustic weddings. You can often buy them in cases of 12 for around $10 to $12 at big-box hardware stores or grocery chains. They come with airtight lids, making them easy to transport to the venue.
- Seamless Gold or Matte Black Tins: If you want a more modern, rugged, or minimalist look, metal tins are incredibly cheap when bought in bulk (often under $0.80 each). They are lightweight, unbreakable, and look incredibly chic with a minimalist white label.
- Upcycled Baby Food Jars: For the ultimate zero-budget upcycler, collect baby food jars from friends and family. A quick soak in hot soapy water removes the labels. Spray paint the lids matte black or metallic gold, and you have a stunning, eco-friendly vessel for absolutely free.
- Dollar Tree Glass Votives: You can buy heavy-based glass votives in bulk cases online from dollar stores. At $1.25 each, they are slightly pricier than bulk tins, but they offer a classic, elegant transparency that shows off the creamy soy wax.
Resourceful Mantra: Never pay retail for glass. If it can hold water without leaking and withstand the heat of a dishwasher, it can hold a candle.
The Essential Candle-Making Arsenal: Tools & Materials
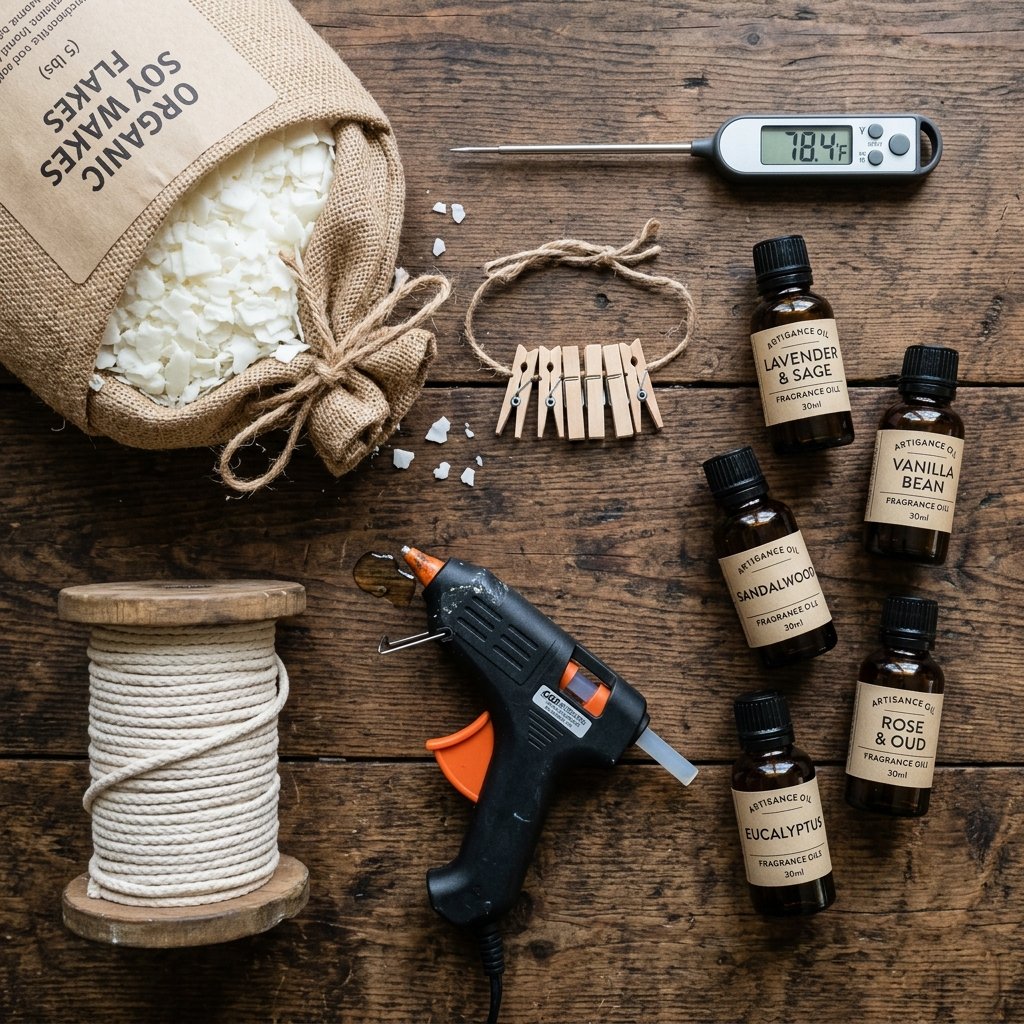
To pull off this massive DIY feat, you need to set up a proper workstation. Candle making is a science, and having the right tools will save you from wasted wax, ruined fragrance oils, and massive headaches. The good news? The equipment is cheap, and you likely already have half of it in your kitchen or garage.
Your Frugal Supply List
- 100% Natural Soy Wax Flakes: Buy this in a massive 10lb or 50lb bulk box. Soy wax burns cleaner, lasts longer, and holds fragrance beautifully. It is also completely biodegradable and eco-friendly.
- Pre-Tabbed Cotton Wicks: Do not try to make your own wicks to save a penny; it is not worth the hassle. Buy a bulk pack of pre-tabbed cotton wicks. Ensure you check the diameter of your vessel to buy the correct wick thickness.
- Wick Stickers or Hot Glue: You need a way to secure the metal tab of the wick to the bottom of the jar. A dab from a hot glue gun works perfectly and costs practically nothing.
- Fragrance Oils: This is where you can get creative. Buy large 8oz or 16oz bottles of high-quality fragrance oils. Avoid cheap essential oils from the grocery store, as they often burn off entirely when introduced to hot wax.
- Aluminum Pouring Pitcher: A dedicated metal pitcher with a spout is essential for clean, safe pouring.
- Digital Thermometer: Temperature is everything in candle making. A cheap infrared heat gun or a digital meat thermometer is mandatory.
- Wick Centering Devices: You can buy metal centering bars, or use the frugal hack: two wooden popsicle sticks or clothespins to hold the wick straight while the wax cools.
| Material | Recommended Bulk Size | Estimated Cost | Yield (4oz Candles) |
|---|---|---|---|
| Soy Wax Flakes | 10 lbs | $25 – $30 | Approx. 40 candles |
| Pre-Tabbed Wicks | Pack of 100 | $8 – $10 | 100 candles |
| Fragrance Oil | 16 oz Bottle | $20 – $35 | Approx. 60-80 candles |
| Metal Tins / Jars | Case of 40 | $30 – $40 | 40 candles |
Safety Disclaimer: Wax is highly flammable. Never melt wax directly over an open flame or a hot burner. Always use a double-boiler method (placing your pouring pitcher inside a larger pot of simmering water) to gently and safely melt your wax.
Scent-Scaping Your Wedding: Blending Custom Fragrances
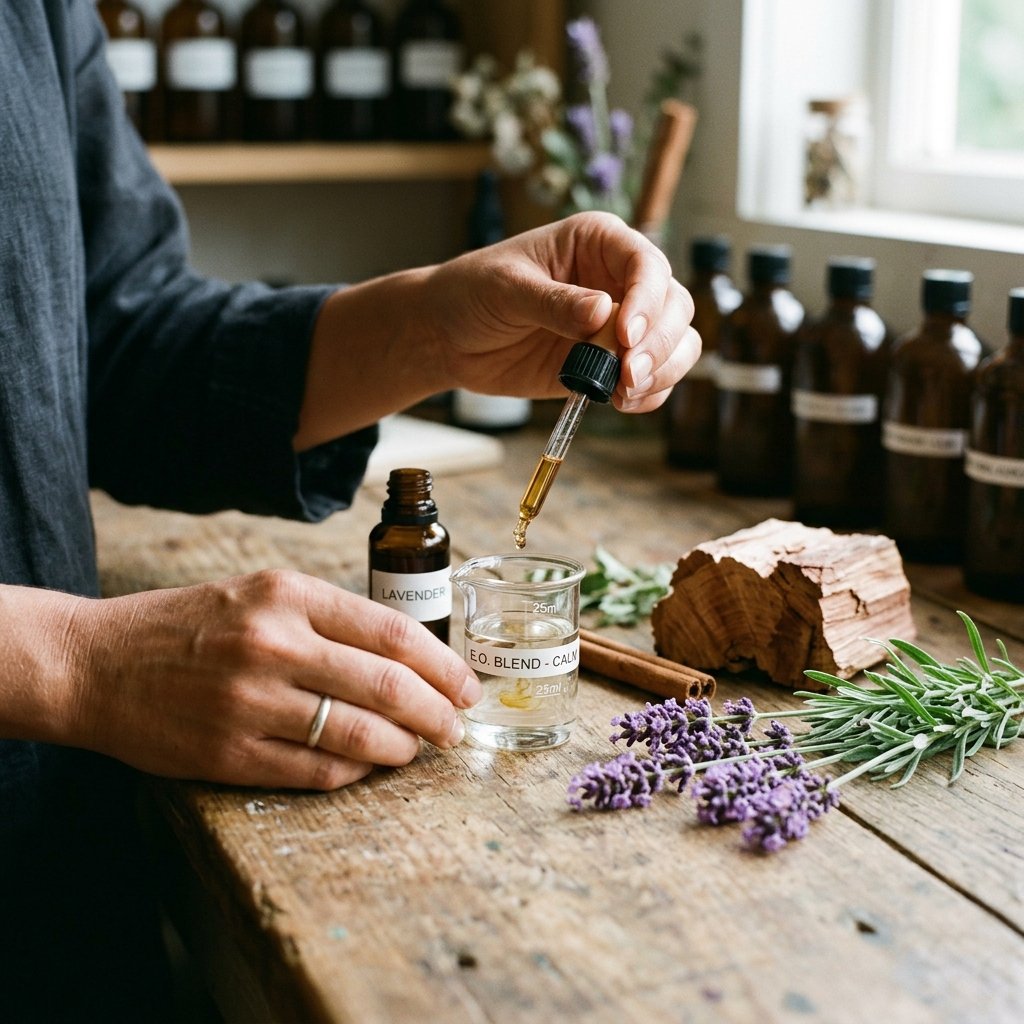
Scent is the strongest sense tied to memory. By creating a custom fragrance blend for your wedding favors, you are essentially bottling the memory of your special day. When guests light the candle months later, they will be instantly transported back to your reception. This is where you can inject that rugged, masculine-elegant tone alongside classic romantic notes.
The Golden Ratio of Fragrance
The biggest mistake novice candle makers make is either under-scenting their candles (resulting in a weak ‘throw’) or over-scenting them (which can cause the wax to curdle or become a fire hazard). Follow the golden rule of candle making:
The Frugal Formula: Use exactly 1 ounce (by weight) of fragrance oil for every 1 pound (16 ounces) of soy wax. This equates to roughly a 6% fragrance load, which is perfect for soy wax.
Custom Blend Ideas for Every Wedding Vibe
- The Rugged Gentleman (Perfect for Fall/Winter Weddings): Blend 60% Tobacco & Bay Leaf with 40% Leather and Cedarwood. It is dark, complex, and incredibly high-end.
- The Frugal Botanist (Spring/Garden Weddings): Blend 50% Lavender, 30% Sage, and 20% Lemon. It is clean, fresh, and universally loved.
- The Cozy Cabin (Rustic/Barn Weddings): Blend 70% Vanilla Bean with 30% Sandalwood and a dash of Cinnamon. It feels warm, inviting, and expensive.
Pro-Tip: Mix your fragrance oils in a small glass jar before adding them to the wax. This allows you to test the scent profile and adjust the ratios before committing your entire batch of wax.
Step-by-Step Masterclass: Pouring Flawless Soy Candles
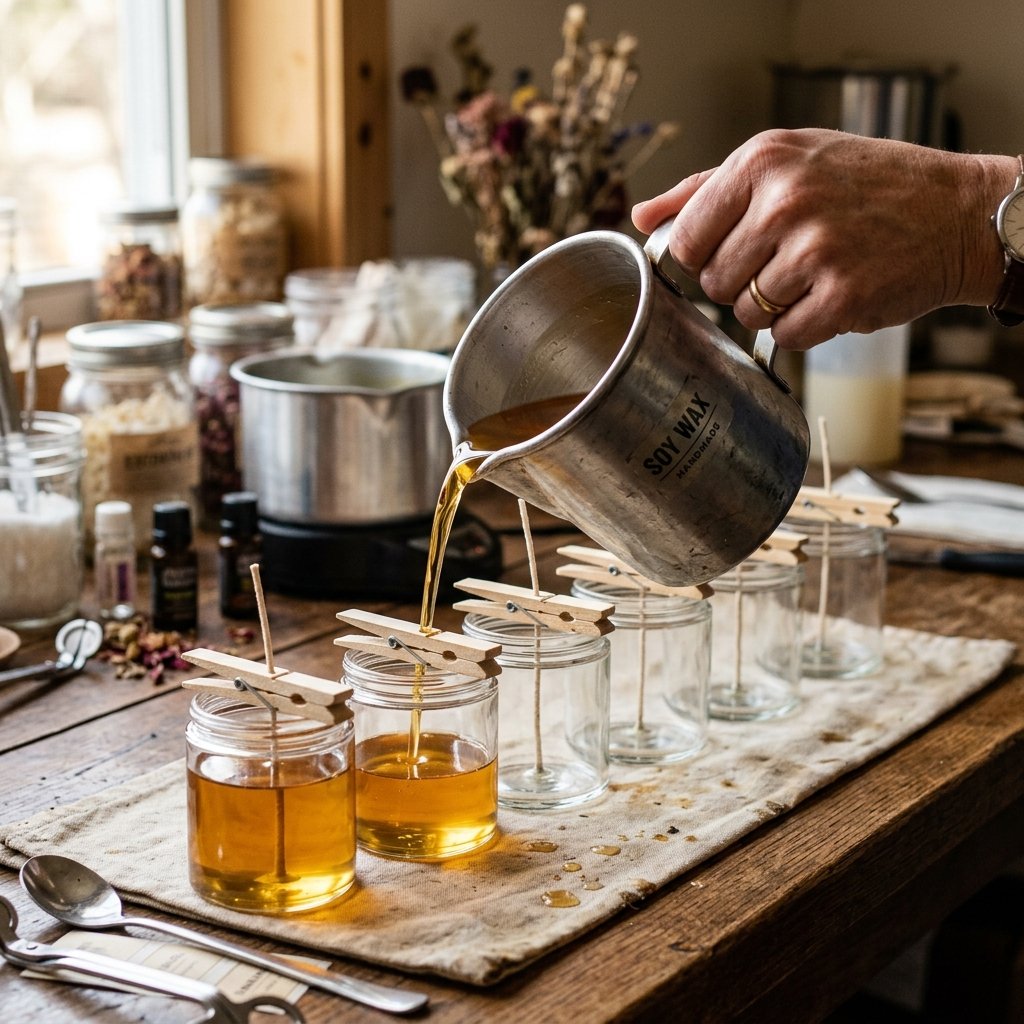
Now comes the fun part. Clear off your kitchen counters, lay down some old newspaper or a canvas drop cloth, and let us build an assembly line. Precision is key here. Follow these steps exactly, and you will produce smooth, professional-grade candles every single time.
- Prep Your Vessels: Ensure every jar or tin is clean and completely dry. Using your hot glue gun, place a small dab of glue on the bottom of the metal wick tab and press it firmly into the dead center of the jar. Use a pen or a wick setter to press it down.
- Secure the Wicks: Pull the cotton wick taut and secure it at the top of the jar using a clothespin or two popsicle sticks taped together. The wick must remain perfectly straight and centered during the pouring and cooling process.
- Melt the Wax: Weigh out your soy wax flakes using a kitchen scale. Place the wax into your aluminum pouring pitcher. Create a double boiler by placing the pitcher into a larger pot filled with 2 inches of simmering water. Heat the wax slowly until it reaches exactly 185°F.
- Add the Fragrance: Once the wax hits 185°F, remove the pitcher from the heat. This is the optimal temperature for the wax molecules to expand and bind with the fragrance oil. Pour in your pre-measured fragrance oil and stir gently but continuously for exactly 2 minutes. Do not whip it; you do not want to create air bubbles.
- The Waiting Game: Do not pour the wax yet! Let the scented wax cool in the pitcher until it drops to 135°F – 140°F. Pouring too hot is the number one cause of cracked tops and sinkholes.
- The Pour: Slowly and steadily pour the wax into your prepared vessels, leaving about half an inch of space at the top. Save a tiny bit of wax in your pitcher for touch-ups later.
- The Cure: Let the candles sit completely undisturbed at room temperature for at least 24 hours. Do not move them, do not touch the jars, and do not put them in the fridge to speed up the process. Once fully solidified, trim the wicks to exactly 1/4 inch.
The Devil is in the Details: Custom Labels and Packaging on a Dime
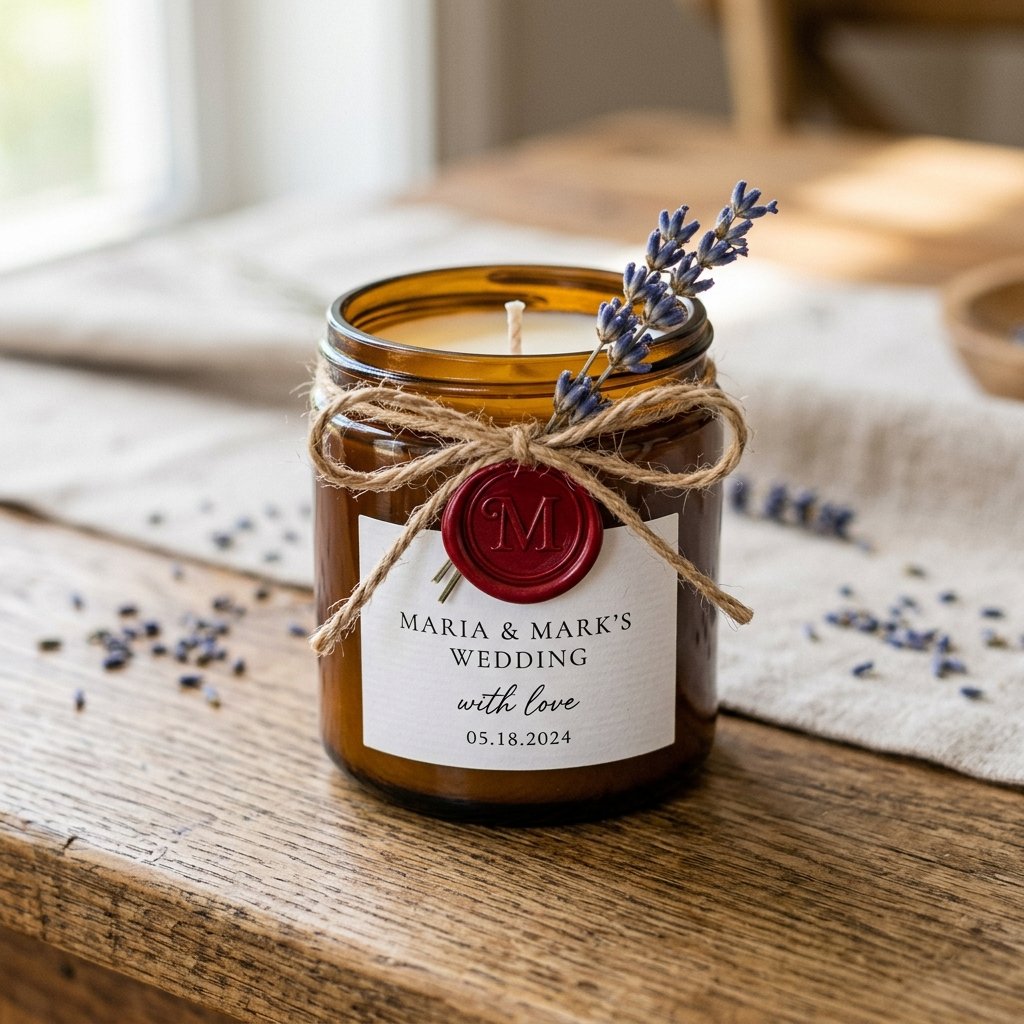
You have poured a beautiful, fragrant candle. Now it is time to dress it up. The difference between a favor that looks like a middle-school craft project and one that looks like it was purchased at an upscale boutique all comes down to the packaging. You do not need to hire a graphic designer to achieve a stunning, professional look.
Designing Labels for Free
Use free online design software like Canva to create a minimalist, elegant label. Keep the design clean: use a sophisticated serif font for your names or wedding date, and a clean sans-serif font for the scent description. For example:
M & J
Nov 14, 2024
CEDAR & SMOKE
100% Hand-Poured Soy Wax
Buy a pack of blank sticker paper (Kraft brown paper for rustic vibes, or matte white for a modern look) and print them at home. Cut them out using a paper trimmer for perfectly straight edges. Applying a label to the side of the jar or the top of the tin instantly elevates the product.
Budget-Savvy Embellishments
- Jute Twine: Wrap a piece of natural jute twine around the neck of the mason jar three times and tie it in a neat bow. A massive roll of twine costs about $3.00 and will cover hundreds of candles.
- Wax Seals: For a truly masculine-elegant and vintage touch, buy a cheap wax seal stamp with your new shared initial. Melt sealing wax over the twine knot for a bespoke, high-end finish.
- Dried Botanicals: Tuck a tiny sprig of dried lavender, baby’s breath, or a small pine needle under the twine. You can forage these from your own yard or buy a cheap dried bundle from a craft store.
Troubleshooting Common Candle Disasters (Sinkholes, Frosting, and Tunneling)
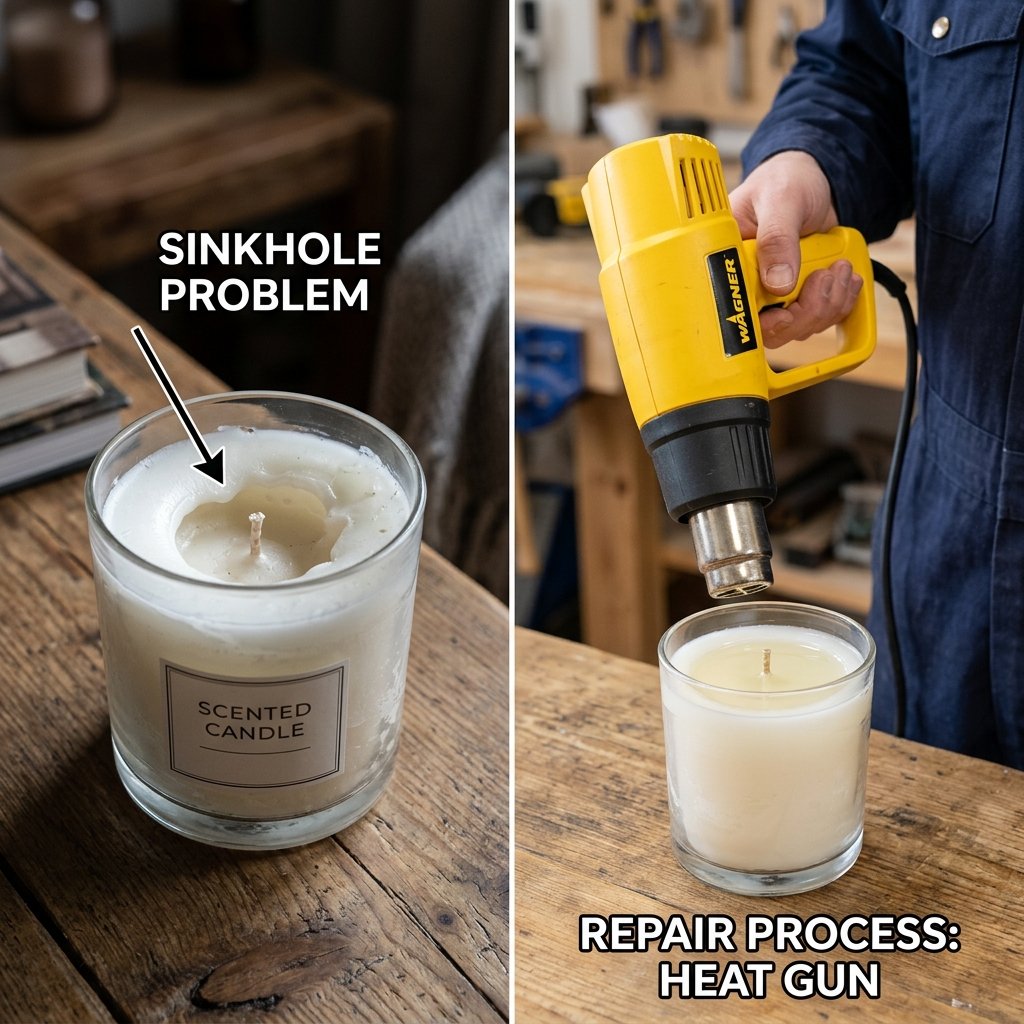
Even the most resourceful DIYers run into hiccups. When you are making 100+ candles, a few might act up. Do not panic, and definitely do not throw the wax away! Soy wax is incredibly forgiving. Here is how to fix the most common candle-making disasters without spending an extra dime.
1. The Dreaded Sinkhole
The Problem: As the wax cools and shrinks, a cavernous hole opens up right next to the wick. This happens when the wax cools too quickly or was poured too hot.
The Fix: This is why you saved a little extra wax in your pitcher! Simply remelt the leftover wax and do a “second pour”—a thin layer over the top of the cooled candle to fill in the hole. Alternatively, blast the top of the candle with a heat gun for 30 seconds to melt the top layer and let it naturally fill the void.
2. Frosting (White Crystalizing on the Glass)
The Problem: You notice white, chalky patches forming where the wax meets the glass. This is a natural characteristic of 100% pure soy wax responding to temperature fluctuations.
The Fix: Frosting does not affect the burn quality at all. To prevent it, ensure your jars are warm before pouring (you can hit them quickly with a heat gun) and let them cool in a draft-free room. If it still happens, embrace it! It is proof that you used pure, eco-friendly soy wax, or simply cover it with your beautiful custom label.
3. Tunneling (The Burn Test)
The Problem: When you test-burn a candle, the wax only melts in a small circle down the center, leaving a thick wall of hard wax on the sides.
The Fix: Your wick is too small for the diameter of your jar. If you discover this during your first test batch, you must size up your wick for the rest of the favors. Always do a test burn on one candle before pouring the remaining 149!
Conclusion
And there you have it—the ultimate frugal masterclass in crafting cheap, easy, and undeniably gorgeous scented soy candle wedding favors. By rolling up your sleeves and taking control of your wedding budget, you have successfully bypassed the overpriced wedding industry markup. You have transformed raw flakes of soy wax, a few drops of carefully chosen fragrance, and some budget-friendly jars into a high-end, bespoke gift that your guests will genuinely cherish.
Every time your friends and family strike a match and light these candles in their living rooms, they won’t just be enjoying a beautiful scent; they will be remembering the warmth, love, and clever resourcefulness that defined your special day. So fire up that double boiler, invite your bridal party over for an assembly-line pizza night, and start pouring. You are about to prove that true elegance does not require a massive budget—just a little bit of heat, a lot of heart, and the crafty know-how to pull it off.

Makenzie is the founder and lead writer at MoneyHackTips.com — a personal finance blog dedicated to delivering street-smart financial wisdom for real people on real budgets. With 300+ published articles covering everything from debt management to investing fundamentals, Makenzie’s mission is to make every dollar work harder. When not writing about money hacks, Makenzie is testing frugal living strategies, optimizing side hustles, and helping readers build financial freedom from scratch.