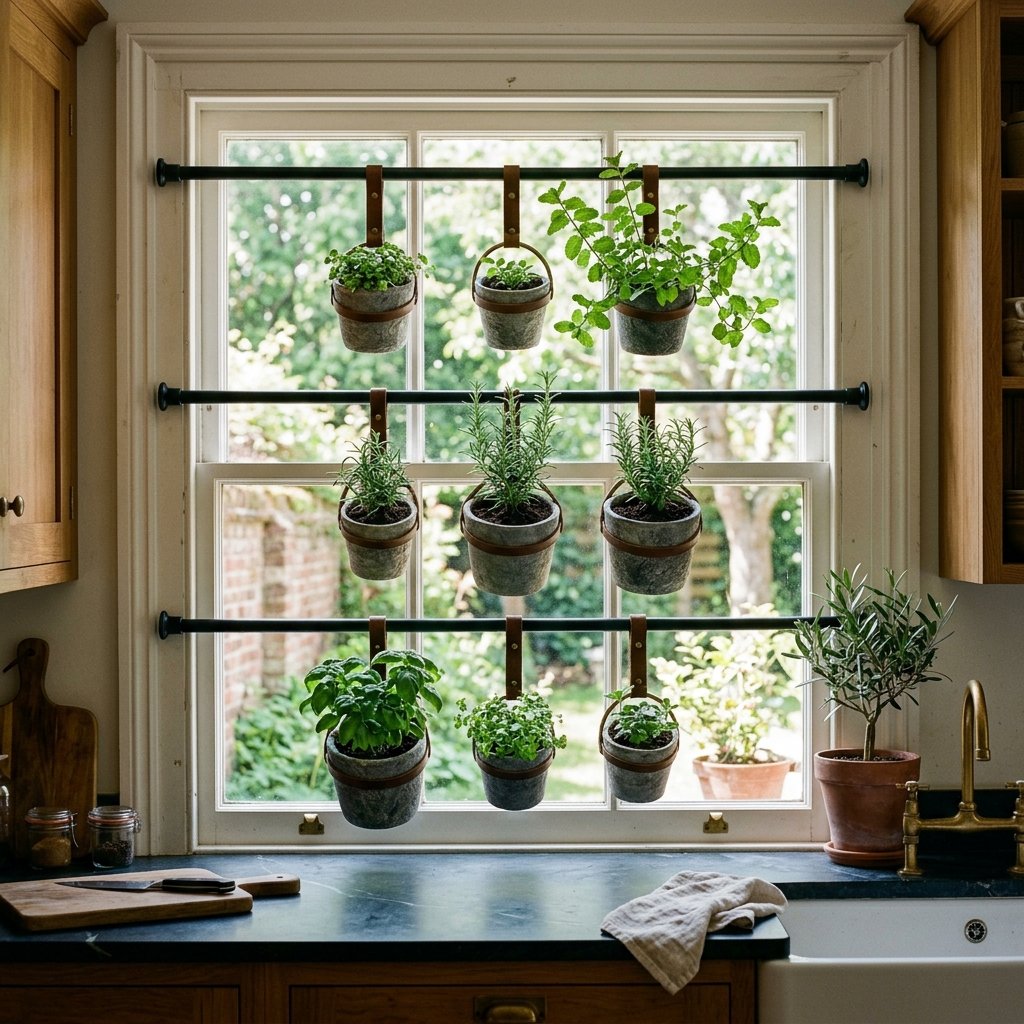

If you have ever scrolled through high-end home decor catalogs or wandered through the pristine aisles of Williams Sonoma, you have undoubtedly paused to admire those stunning, wrought-iron vertical window gardens. They are the epitome of culinary luxury, allowing you to snip fresh basil and rosemary right where you cook. But then you check the price tag, and that $150 reality check hits hard. As frugal DIYers, resourceful upcyclers, and folks who appreciate a hard-earned dollar, we refuse to pay a premium for something we can engineer ourselves for spare change.
Welcome to the ultimate trash-to-treasure masterclass. Today, we are taking the humblest of hardware items—the $1.25 Dollar Tree tension rod—and transforming it into a rugged, elegant, and highly functional vertical herb garden. This is not your average hot-glue craft; this is a clever, budget-savvy home upgrade that looks like custom ironwork. Whether you are a handy parent looking to teach your kids about growing food, a renter desperate for a garden without drilling holes, or a crafty gift-giver wanting to build something incredible for the chef in your life, this project is your golden ticket. Grab your work gloves, roll up your sleeves, and let us dive into the genius tension rod trick that will revolutionize your kitchen window.
The Blueprint: High-End Aesthetics on a Spare-Change Budget
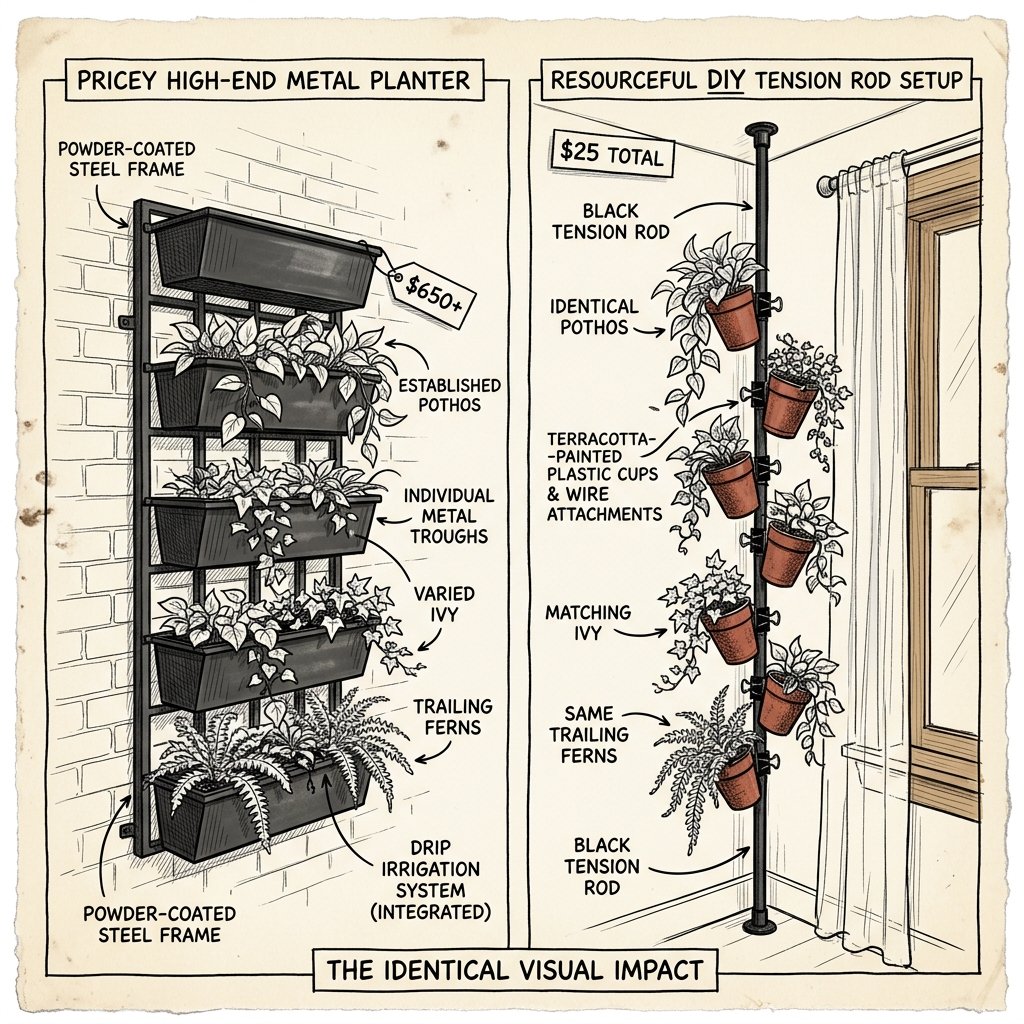
Before we dive into the sawdust, spray paint, and soil, we need to understand the anatomy of a world-class dupe. The goal here is not just to hang plants in a window; the goal is to create a structural piece that commands attention. High-end retail vertical gardens rely on heavy forged metals, custom-cast ceramic pots, and industrial-grade mounting brackets. Our resourceful approach mimics these exact textures and visual weights using lightweight, budget-friendly alternatives that are engineered to hold up beautifully under pressure.
By utilizing spring-loaded tension rods, we completely bypass the need for power drills, wall anchors, and permanent modifications. This makes the project 100% renter-friendly and incredibly versatile. If you move, your garden moves with you. Below is the stark reality of what you save when you choose to build rather than buy. Prepare to be amazed by the math.
| Material / Component | High-End Retailer Cost | Dollar Tree DIY Cost |
|---|---|---|
| Window Tension Rods (x3) | $45.00 | $3.75 |
| Hanging Planter Cups (x6) | $60.00 | $2.50 |
| Mounting Hardware / Rings | $15.00 | $1.25 |
| Custom Finish (Paint/Texture) | $20.00 | $4.00 |
| Total Estimated Budget | $140.00+ | $11.50 |
With a total savings of over $128, you are not just building a garden; you are keeping your hard-earned cash where it belongs—in your wallet. The secret lies entirely in the finishing techniques, which we will master in the upcoming steps.
Gathering Your Arsenal: The Dollar Tree Supply Run
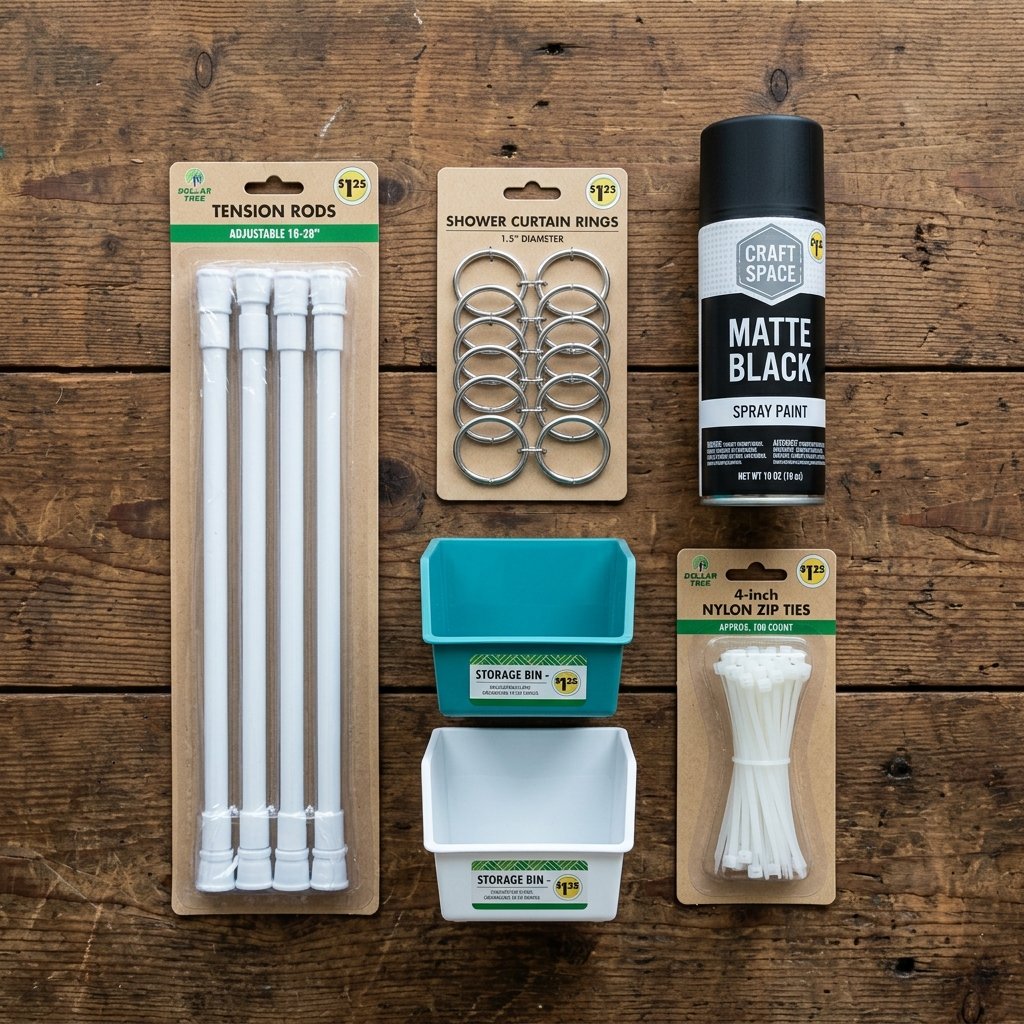
Every great craftsman knows that a project is only as good as its materials. Your local Dollar Tree is a goldmine if you know how to look past the cheap plastic exteriors and envision the structural potential beneath. Here is your definitive shopping list for this build. Do not substitute these core components unless you are raiding your own scrap bins.
- Spring-Loaded Tension Rods (2 to 3): Found in the hardware or window treatment aisle. Measure your kitchen window frame width before you go. You want rods that extend at least 2 inches past your window’s width to ensure maximum spring compression.
- Plastic Organizing Bins or Tumblers (6 to 9): Head to the kitchen or bathroom organization aisles. Look for sturdy, opaque plastic cups or small rectangular bins. Avoid brittle plastics; you want something that can handle a drainage hole being drilled into it.
- Metal Shower Curtain Rings (1 pack): The classic circular metal rings with a clasp are perfect. They will act as our heavy-duty hanging brackets.
- Zip Ties or Heavy Twine: Essential for securing the cups to the rings if you are skipping the drill.
- Matte Black Spray Paint or Acrylic Paint: You may need to visit a hardware store for this if your dollar store is out, but a single can goes a long way.
Safety First: When shopping for tension rods, test the spring in the store. Press the ends together firmly. If it feels weak or collapses easily, leave it on the shelf. You need a robust spring to hold the weight of wet soil and growing herbs without crashing down on your countertop.
The Baking Soda Paint Trick for Forged Iron Finishes
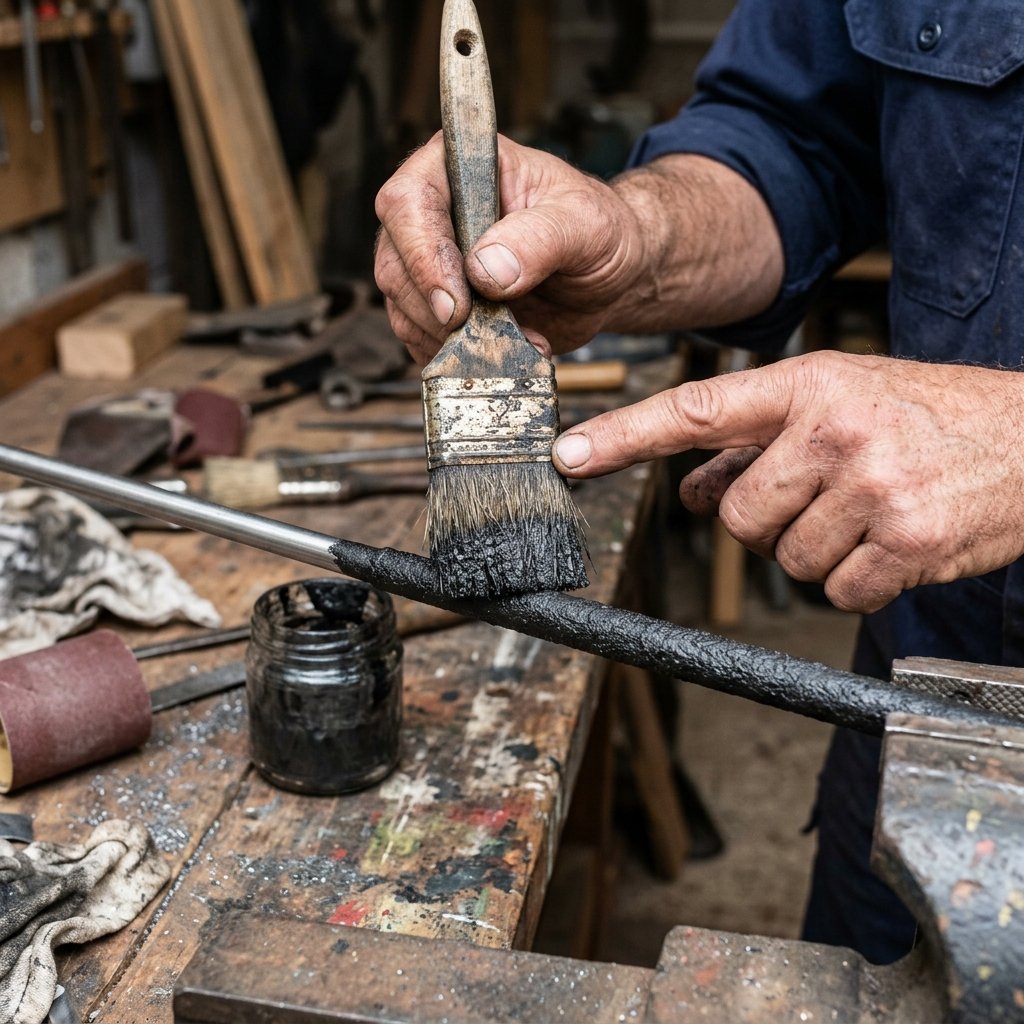
Here is where the magic happens. A flimsy white plastic tension rod looks like, well, a flimsy white plastic tension rod. But when you apply the legendary baking soda paint trick, it transforms into heavy, antique forged iron. This technique is a staple for budget interior designers and crafty upcyclers looking to add a rugged, masculine-elegant touch to cheap blanks.
The Faux-Iron Texture Recipe
The Formula: Mix 1 cup of flat matte black acrylic or latex paint with 1/4 cup of standard baking soda. Stir vigorously until it reaches a thick, pancake-batter consistency. If it is too chalky, add a splash of water; if too thin, add more baking soda.
Once your mixture is ready, it is time to apply. Do not use standard brush strokes, as this will leave streaks. Instead, use a stiff-bristled brush or a cheap sponge to stipple (dab) the paint onto the tension rods and the metal shower rings. The baking soda creates a gritty, uneven texture that perfectly mimics cast iron. Let it dry completely for at least 2 hours. The finish will cure into a rock-hard, ultra-matte surface that looks incredibly expensive.
Upgrading the Planters
You can use the same technique on your plastic cups, but let us add some contrast. Try a faux-stone or terracotta finish. Mix white and grey paint with baking soda for a concrete look, or use burnt orange and brown for aged clay. Stipple the outside of your plastic bins, ensuring you cover the rim. Suddenly, your $0.50 plastic cup looks like a heavy artisanal ceramic pot imported from Italy.
Step-by-Step Assembly: Engineering Your Vertical Oasis

With our materials cured and looking like a million bucks, it is time to assemble the structure. Precision is key here. A well-engineered tension rod setup is incredibly sturdy, but a sloppy one will result in a dirt avalanche. Follow these steps meticulously.
- Prep the Planters: If your herbs need direct drainage, use a drill or a hot nail (held with pliers) to melt three small holes in the bottom of each plastic cup. Pro-Tip: If you want to avoid dripping on your windowsill, skip the holes and add a 1-inch layer of small pebbles at the bottom of each cup for internal drainage.
- Attach the Hanging Mechanism: Drill a small hole near the top back rim of each cup. Thread your faux-iron shower curtain ring through this hole. If you don’t have a drill, tightly wrap heavy-duty twine or a rugged leather scrap around the cup, securing the ring to the binding.
- Install the Rods: Measure your window frame vertically and decide on your spacing. A good rule of thumb is 12 to 14 inches between rods to allow for upward plant growth. Extend the rod so it is about 1 inch wider than the window frame. Compress the spring firmly, position it in the frame, and release. Give it a firm tug downward to ensure it is locked in place.
- Hang and Balance: Clip your planter cups onto the tension rods. Distribute the weight evenly. If you have three cups on a rod, place one in the dead center and the other two equidistant from the edges. This prevents the rod from bowing in the middle.
Stand back and admire your handiwork. You have just engineered a floating, multi-tiered botanical display that defies gravity and budget constraints.
Plant Selection and The No-Drip Watering Strategy
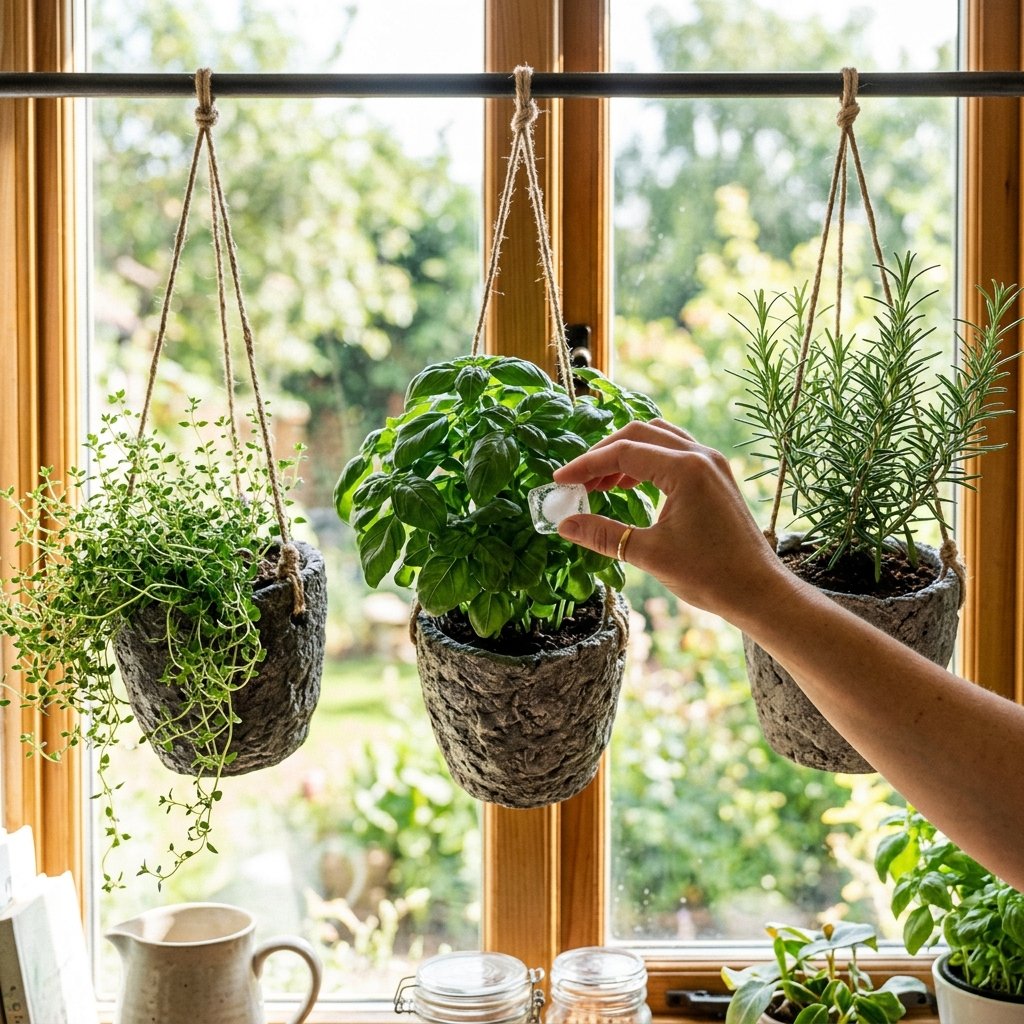
A beautiful structure is nothing without the right inhabitants. When dealing with an indoor vertical garden, you must select herbs that thrive in container environments and match your window’s light profile. Most kitchen windows provide excellent ambient light, but you need to be strategic.
Top Herb Choices for Vertical Growth
- Basil: Loves warmth and sunlight. Place it on the top tier where it can soak up the rays.
- Mint: Incredibly resilient and grows like a weed. Keep it in its own container, as it will overpower other plants if forced to share soil.
- Rosemary: Adds a rugged, woody aesthetic. Prefers slightly drier soil, making it perfect for our pebble-drainage cups.
- Thyme & Oregano: These trail beautifully over the edges of pots, softening the harsh lines of the metal rods and adding a lush, cascading waterfall effect to your window.
The Frugal Watering Protocol
Watering hanging plants indoors can quickly turn into a messy disaster. To protect your windowsill and keep your setup pristine, employ the Ice Cube Trick. Instead of pouring a heavy stream of water into the cups—which can disrupt the soil and cause overflow—place 2 to 3 standard ice cubes on top of the soil once or twice a week. As the ice slowly melts, it provides a steady, drip-feed of hydration that the roots can absorb without pooling or leaking. It is a brilliant, zero-cost hack that keeps your kitchen spotless and your herbs perfectly quenched.
Rugged Upgrades: Leather Straps and Copper Accents
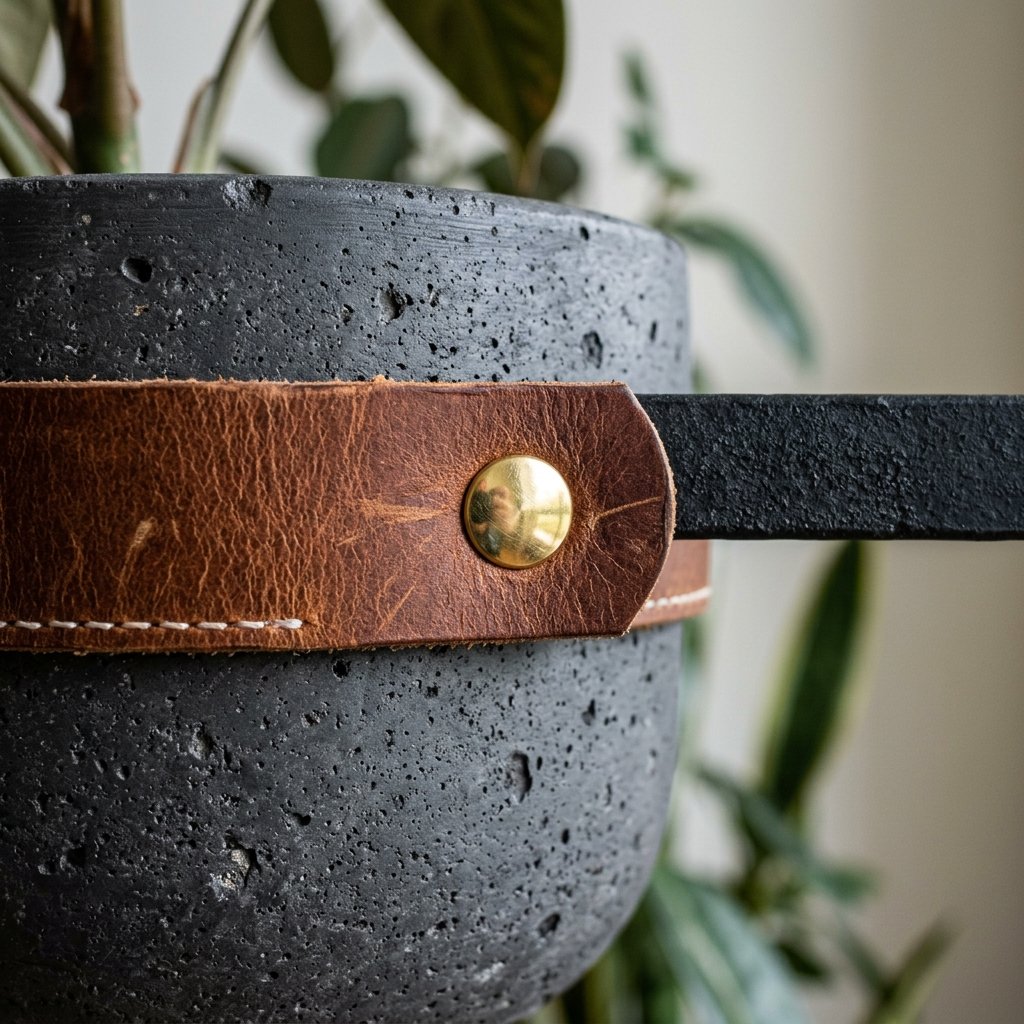
For the craftsman who wants to take this project from ‘clever dupe’ to ‘bespoke heirloom,’ we can introduce some rugged, masculine-elegant materials. These upgrades cost pennies if you use scrap materials, but they elevate the visual value exponentially.
- Scrap Leather Suspenders: Instead of using shower rings, cut 1-inch strips of scrap leather (from an old belt or thrifted jacket). Loop the leather around the tension rod and rivet it directly to the plastic cup using a cheap pop-rivet gun. The combination of matte black iron, faux stone, and rich brown leather screams high-end catalog.
- Copper Wire Wrapping: Take basic copper craft wire and tightly coil it around the ends of the tension rods, right where they meet the window frame. This adds a subtle, steampunk-inspired industrial flash that catches the sunlight beautifully.
- Custom Wood Name Tags: Grab a pack of wooden craft sticks or small wooden tags from the Dollar Tree. Use a wood-burning tool or a fine-tip permanent marker to write the names of the herbs in a clean, architectural font. Tie them to the base of the cups with rough jute twine.
By blending textures—the grit of faux iron, the warmth of natural leather, the shine of copper, and the organic green of the plants—you create a multi-dimensional piece of functional art. No one will ever guess its humble, dollar-store origins.
Maintenance, Troubleshooting & Long-Term Care
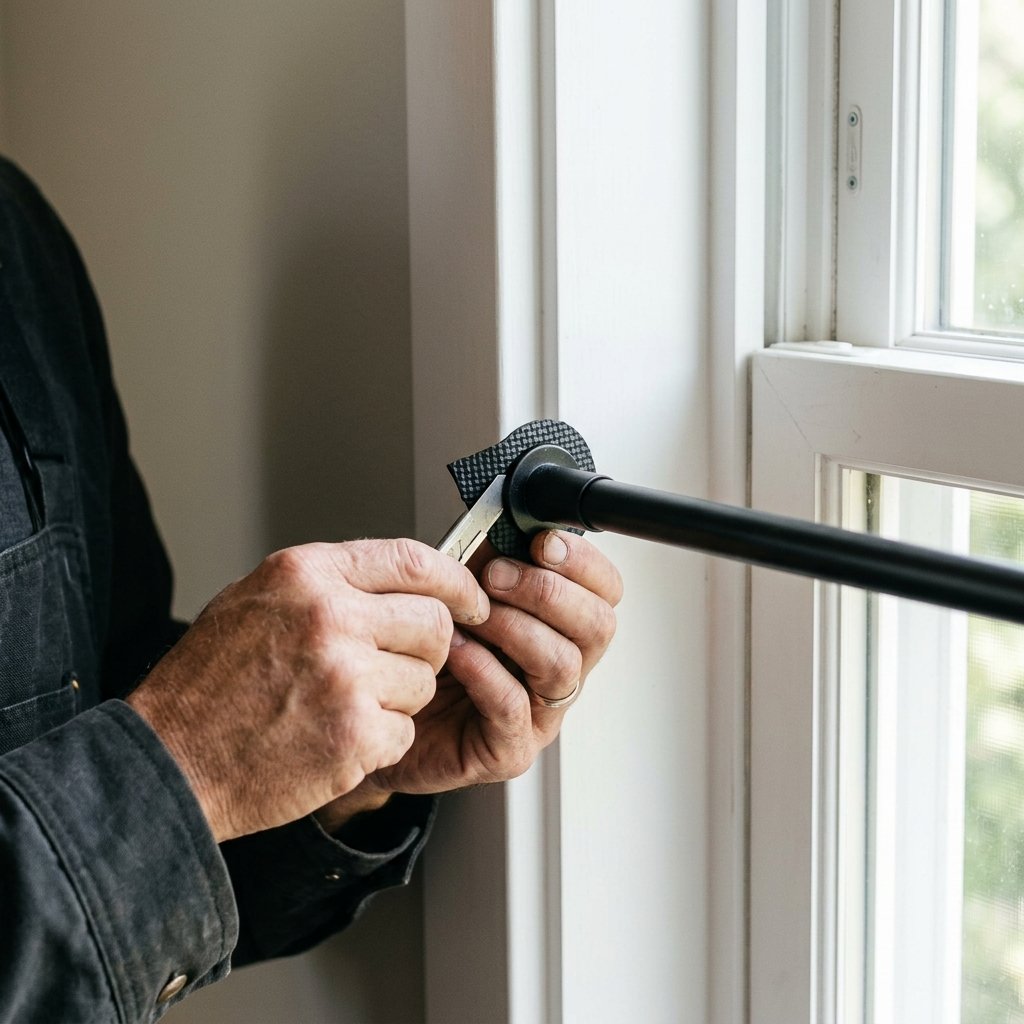
Even the most brilliant DIY projects require a bit of upkeep. Because we are relying on tension rather than screws, environmental factors like temperature changes can occasionally affect the grip of your vertical garden. Here is your handy troubleshooting guide to ensure your masterpiece stays securely on the wall.
The Dreaded Rod Slip
If you notice a rod starting to slide down the window frame, it is usually due to temperature fluctuations causing the metal frame or the rod to expand and contract. The Fix: Cut a small circle of rubber shelf liner (another Dollar Tree staple) or use a dab of hot glue on the rubber end-caps of the tension rod. Let the glue dry completely before wedging it back into the frame. This creates a high-friction, non-slip grip that will not budge, even when the window gets cold at night.
Soil Compaction
Over time, the soil in small cups can become hard and compacted, preventing water from reaching the roots. The Fix: Take a simple wooden chopstick and gently poke a few holes into the soil once a month. This aerates the dirt, allowing oxygen and water to penetrate deeply, keeping your herbs robust and flavorful.
Rotating for Even Growth
Plants naturally reach for the light. To prevent your herbs from growing lopsided and throwing off the visual balance of your display, rotate the cups 180 degrees every two weeks. Since they are simply clipped onto the tension rods, this takes exactly 10 seconds and ensures lush, symmetrical growth.
Conclusion
Your Window, Transformed
You have just engineered a structural masterpiece. What started as a handful of cheap plastic bins and flimsy white rods has been resourcefully elevated into a rugged, elegant, and highly functional indoor garden. You have saved over a hundred dollars, bypassed the need for power tools, and created a stunning focal point that brings fresh, culinary life right into your kitchen. This is the true essence of frugal DIY: using clever techniques, a bit of elbow grease, and a lot of imagination to build a home that looks expensive but costs next to nothing. Now, go snip some of that fresh basil, cook up a storm, and bask in the glory of your brilliant craftsmanship. You earned it.

Makenzie is the founder and lead writer at MoneyHackTips.com — a personal finance blog dedicated to delivering street-smart financial wisdom for real people on real budgets. With 300+ published articles covering everything from debt management to investing fundamentals, Makenzie’s mission is to make every dollar work harder. When not writing about money hacks, Makenzie is testing frugal living strategies, optimizing side hustles, and helping readers build financial freedom from scratch.