
The Neon Orange Nightmare: A Frugal Call to Arms
Every year, the shelves of our favorite budget retailers are flooded with those iconic, albeit slightly garish, neon orange plastic jack-o’-lantern buckets. For $1.25, they serve their purpose for trick-or-treating, but for the sophisticated DIYer, they represent a massive opportunity for a high-end home decor dupe. If you have ever walked through a boutique garden center and winced at the $60 to $120 price tags on heavy ceramic or stone planters, this guide is for you. We are going to strip away that cheap plastic sheen and replace it with rugged, masculine-elegant textures that look like they were unearthed from a Tuscan villa or a modern concrete studio. This isn’t just a craft; it is a structural transformation that will give your porch a designer edge without the designer invoice. Get ready to flex your resourcefulness and turn literal ‘trash’ into the treasure of the neighborhood.
The Budget Blueprint: Materials and Cost Comparison
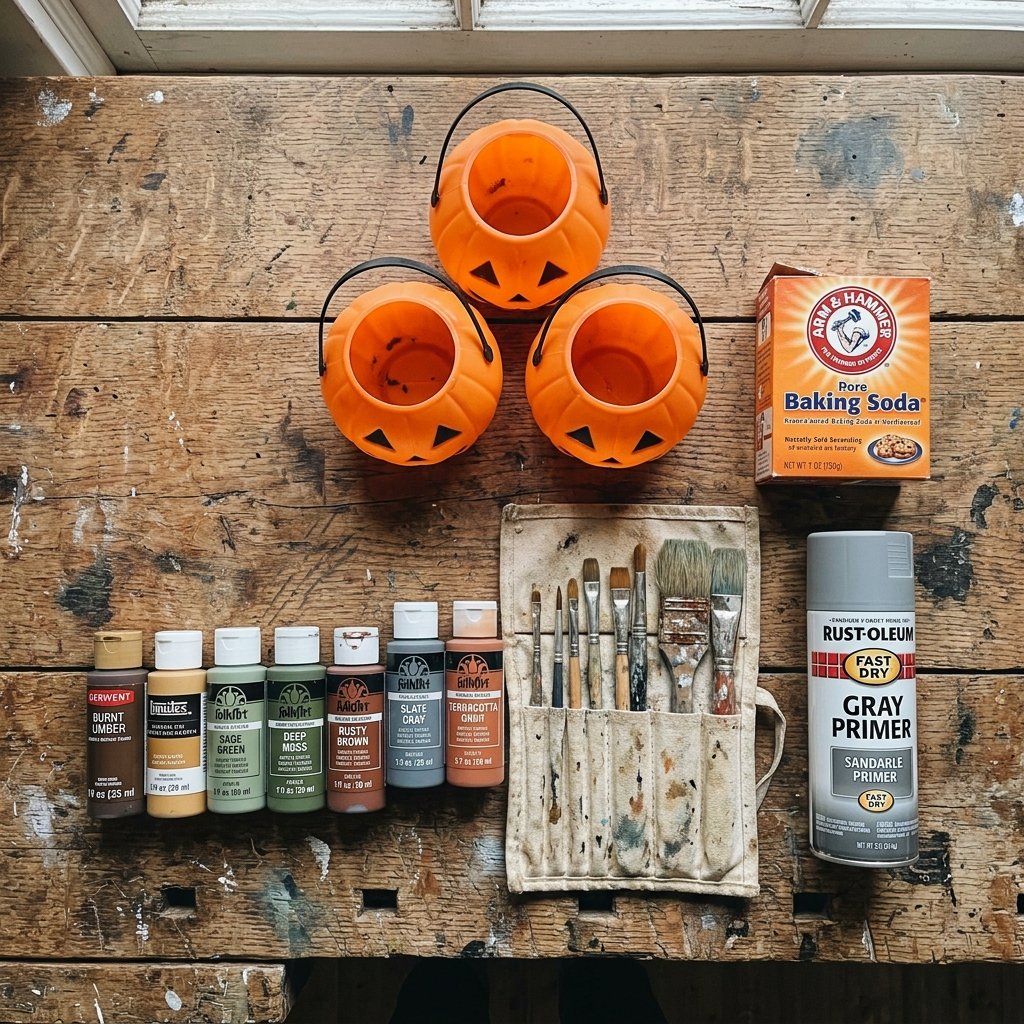
Before we pick up a brush, let’s look at the numbers. The goal of the budget-savvy crafter is to achieve a 90% savings compared to retail alternatives. By sourcing your ‘blanks’ from the dollar store and using common hardware store supplies, we can create a fleet of planters for less than the cost of a single latte. Below is the breakdown of what you will need and how the costs stack up against the big-box stores.
| Item/Material | Source | Estimated Cost |
|---|---|---|
| Plastic Pumpkin Buckets (Large) | Dollar Tree / Thrift Store | $1.25 each |
| Matte Spray Primer (Gray or Black) | Hardware Store | $6.00 (covers 10 pumpkins) |
| Acrylic Paint or Leftover Latex | Craft Store / Garage Stash | $2.00 or Free |
| Baking Soda (The Secret Texture) | Pantry | $0.50 |
| Assorted Paint Brushes | Existing Kit | Free |
| Total Per Planter | DIY Expert Level | ~$2.45 |
The Retail Reality Check
When you compare our $2.45 investment to a standard 12-inch resin or ceramic planter at a high-end retailer like Pottery Barn or West Elm, which typically retails for $45.00 to $85.00, the victory is clear. You are saving over 95% per unit. That is money that can be redirected into high-quality perennials or a really good bottle of bourbon for the porch-warming party.
Surgical Precision: Prepping the Plastic Canvas
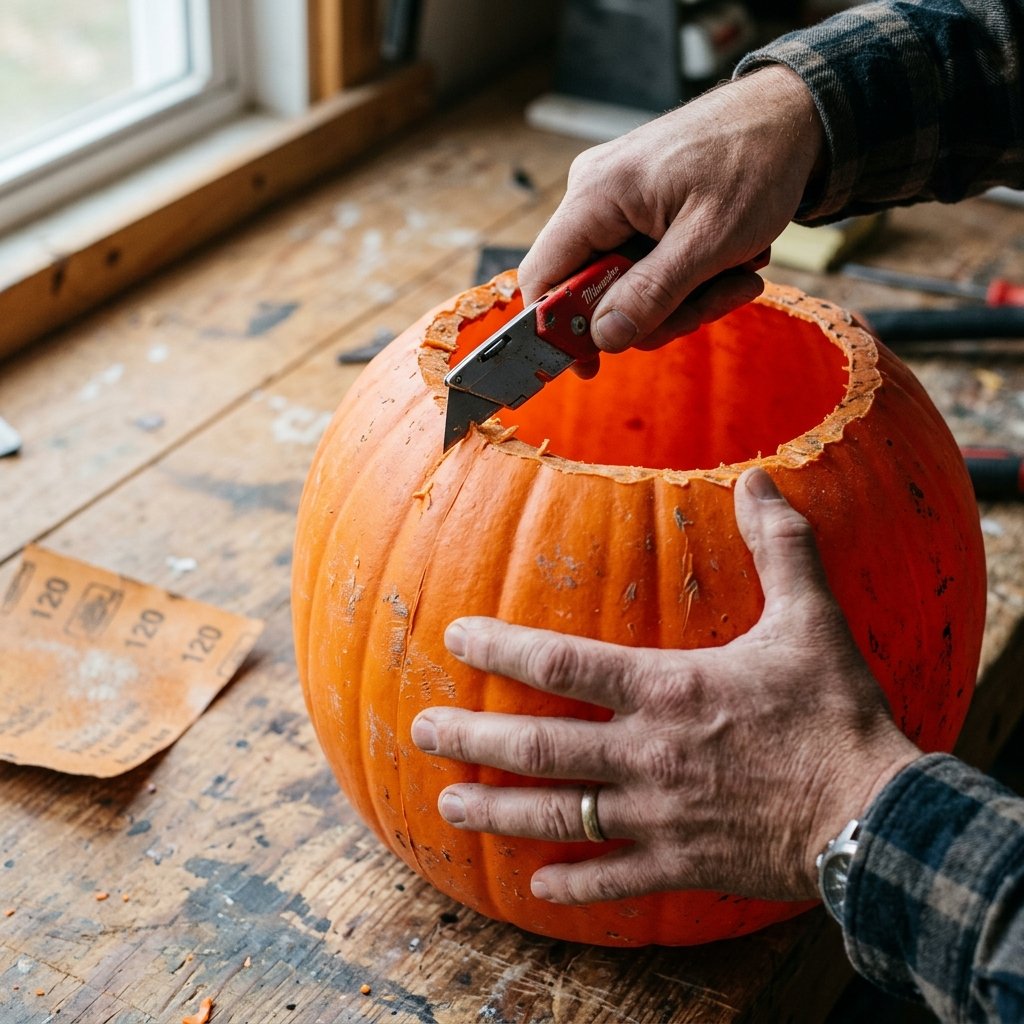
The first step in any professional-grade upcycle is preparation. You cannot simply slap paint on slick, non-porous plastic and expect it to survive a single autumn rainstorm. We need to treat these buckets like a construction project. First, we must remove the ‘cheap’ identifiers—specifically the plastic handle and the thin rim.
“Measure twice, cut once, and always pull the blade away from your body. A clean edge is the difference between a ‘craft’ and a ‘creation’.”
- Handle Removal: Use heavy-duty snips or a utility knife to remove the plastic handle. If your bucket has the metal wire handle, simply pop it out of the sockets.
- The Rim Modification: If you want a more modern, ‘poured concrete’ look, use a sharp utility knife to carefully cut off the top rolled lip of the bucket. This creates a sharp, clean edge that mimics high-end cast stone.
- Sanding for Adhesion: Take a medium-grit sandpaper (around 120 grit) and scuff the entire surface of the pumpkin. You are not trying to remove the orange color, but rather creating ‘tooth’ for the primer to grab onto.
- The Cleaning Phase: Wipe the bucket down with a 50/50 mix of water and rubbing alcohol to remove any oils from your hands or manufacturing residues.
The Texture Alchemy: The Baking Soda Paint Trick
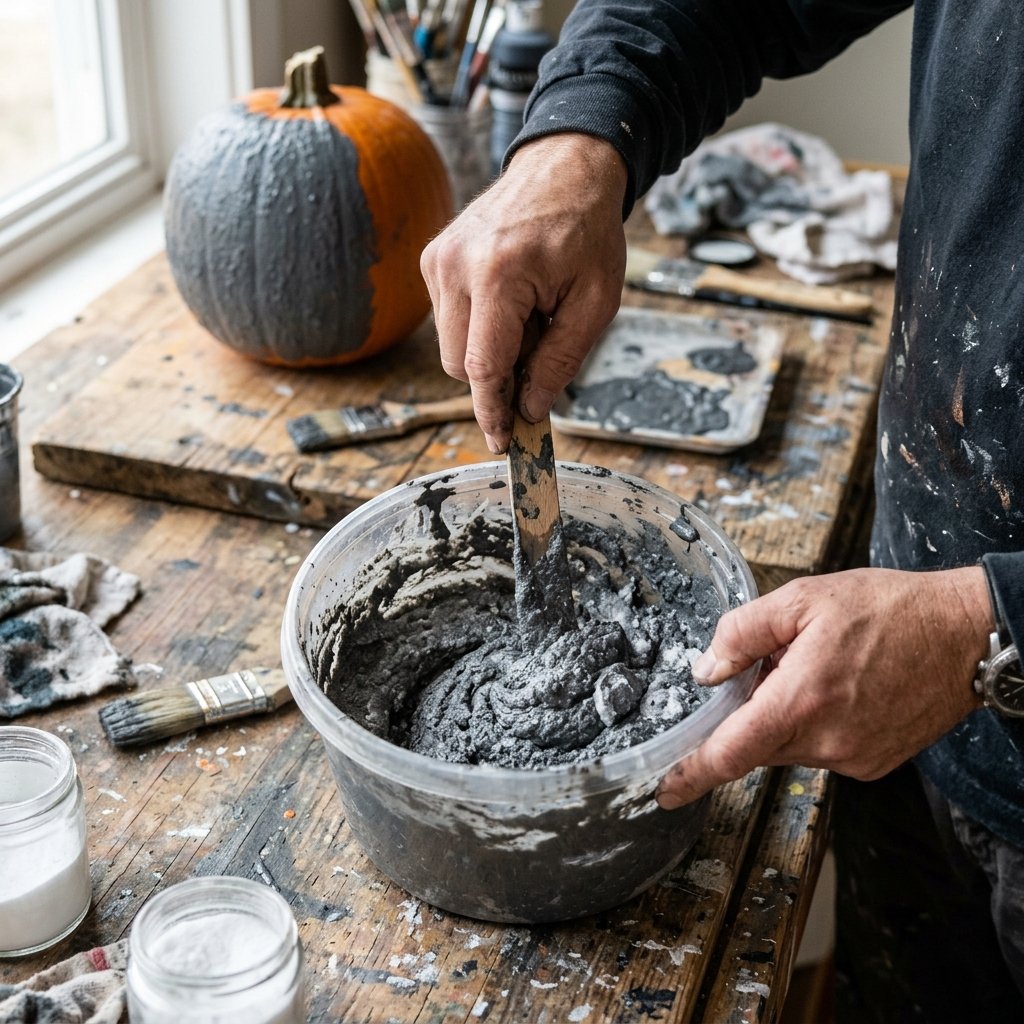
This is where the magic happens. To turn plastic into stone, we need to change the physical profile of the surface. We do this by creating a thick, gritty ‘slurry’ using paint and baking soda. This technique is a staple for the resourceful decorator because it mimics the porous nature of aged terracotta or the heavy grit of sandstone.
The Master Formula
| Ingredient | Ratio | Purpose |
|---|---|---|
| Matte Acrylic/Latex Paint | 1 Cup | The Base Color |
| Baking Soda | 1/4 to 1/2 Cup | The Stone Texture |
| Plaster of Paris (Optional) | 1 Tablespoon | Extra Hardness |
Mix your paint and baking soda in a small container until it reaches the consistency of thick frosting. Do not over-mix; you want those tiny air bubbles and clumps to remain, as they create the organic look of real stone. Apply the mixture using a dabbing motion rather than long strokes. This ‘stippling’ creates peaks and valleys on the surface that catch the light exactly like natural rock. For a rugged, aged look, apply a second coat once the first is dry, focusing on the areas where the pumpkin’s ‘ribs’ are most prominent.
The Finishing Touch: Weathering and Patina
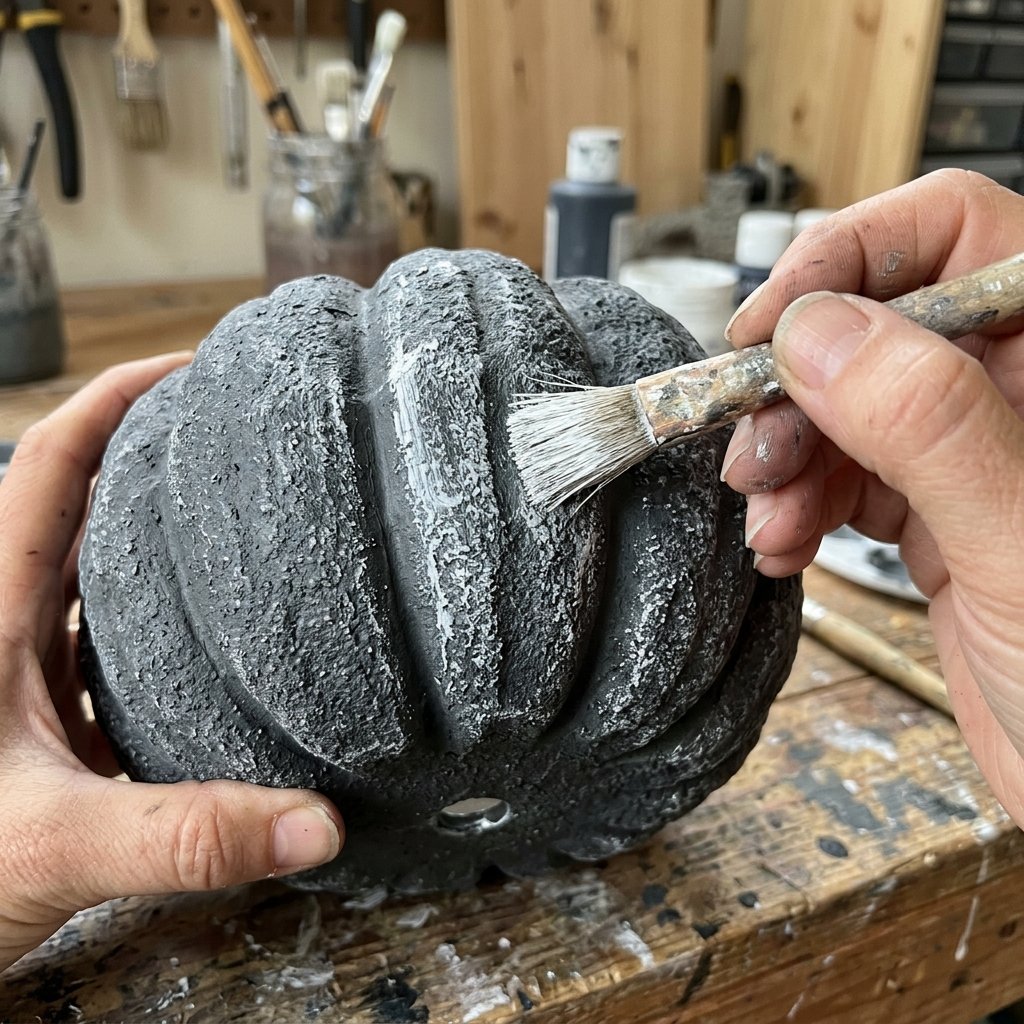
A single flat color looks ‘DIY’. To achieve the ‘Masculine-Elegant’ aesthetic, we need depth. Real stone and clay are never just one color; they are a collection of minerals and age. We will use a ‘dry brush’ technique to add highlights and shadows.
- For Faux Concrete: Start with a medium gray base. Once dry, take a lighter light-gray or off-white paint on a nearly dry brush and lightly skim the high points.
- For Aged Terracotta: Use a base of muted clay/orange. While still slightly tacky, dab on small amounts of white flour or plaster powder and rub it in to mimic the salt deposits (efflorescence) found on old Italian pots.
- For Dark Basalt: Use a charcoal base and a very light dabbing of metallic bronze or copper in small, hidden crevices for a subtle, high-end shimmer.
Once your masterpiece is dry, it is vital to protect it. Use a matte clear sealer spray. This ensures that when you water your plants, the paint doesn’t soften or peel. Wait 24 hours before moving to the planting phase.
Structural Integrity: Drainage and Planting
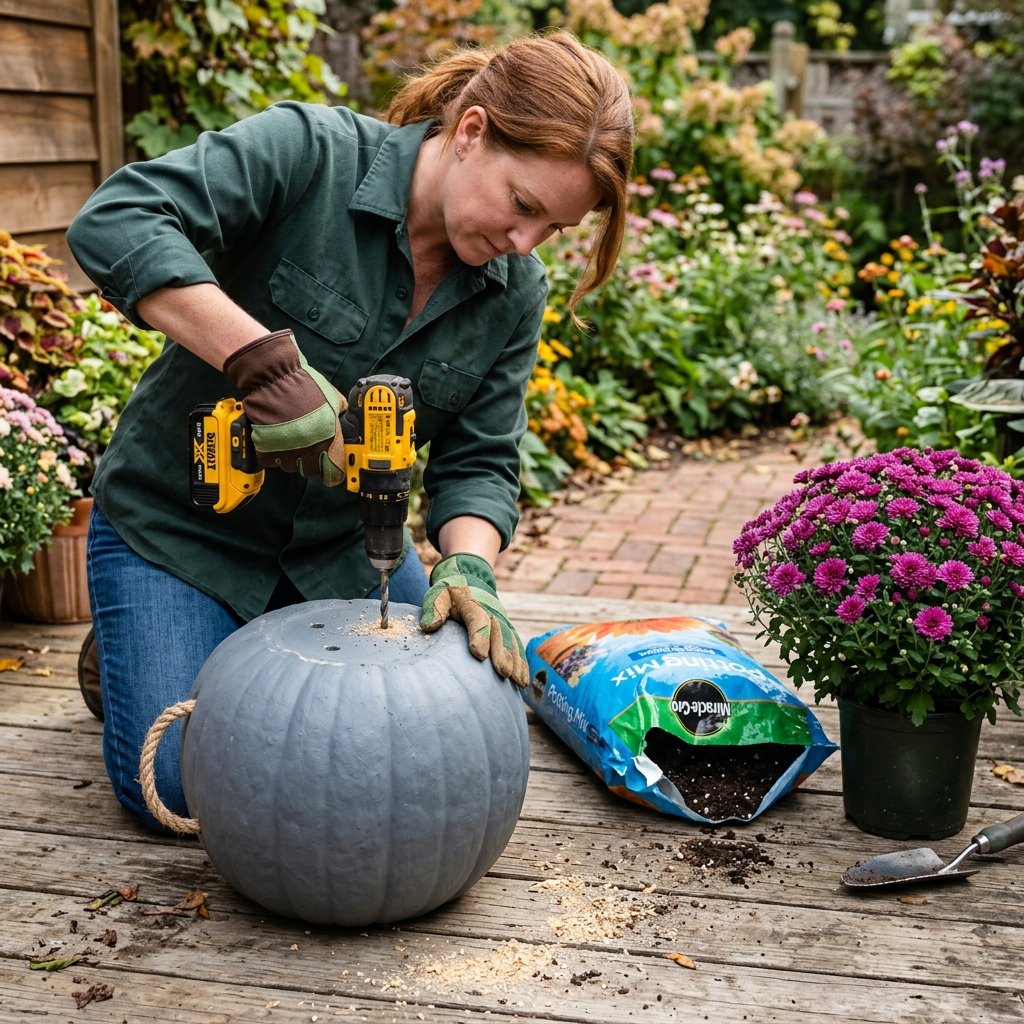
A planter is only as good as its drainage. Because these are plastic, they do not ‘breathe’ like real clay. If you don’t provide a way for water to escape, your fall mums will suffer from root rot in less than a week. We also want to ensure these lightweight buckets don’t blow away in a stiff autumn breeze.
The Professional Planting Sequence
- Drainage Holes: Flip the pumpkin over and use a drill with a 1/2 inch bit to create 3-5 holes in the bottom. If you don’t have a drill, a heated screwdriver will melt through the plastic easily.
- The Ballast Layer: To prevent the planter from tipping, add 2 inches of pea gravel or heavy stones to the bottom. This lowers the center of gravity.
- The Filler Hack: These pumpkins can be deep. To save on expensive potting soil, fill the middle section with crushed aluminum cans or plastic water bottles before adding the soil.
- The Greenery: For a classic look, use ‘Chrysanthemums’ (Mums) in deep purples or burnt oranges. For a more modern, rugged look, try Ornamental Kale or Blue Fescue grass.
The Finished Gallery: Styling Your Porch
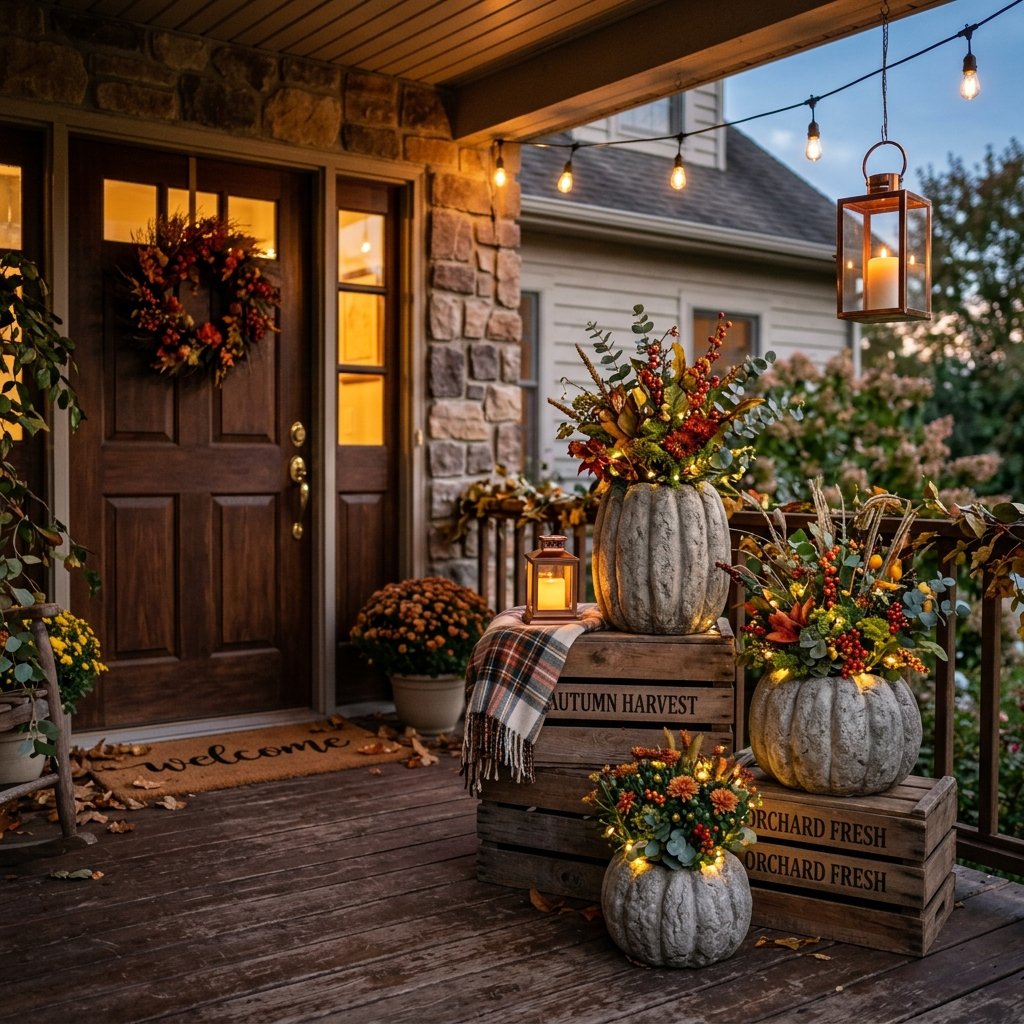
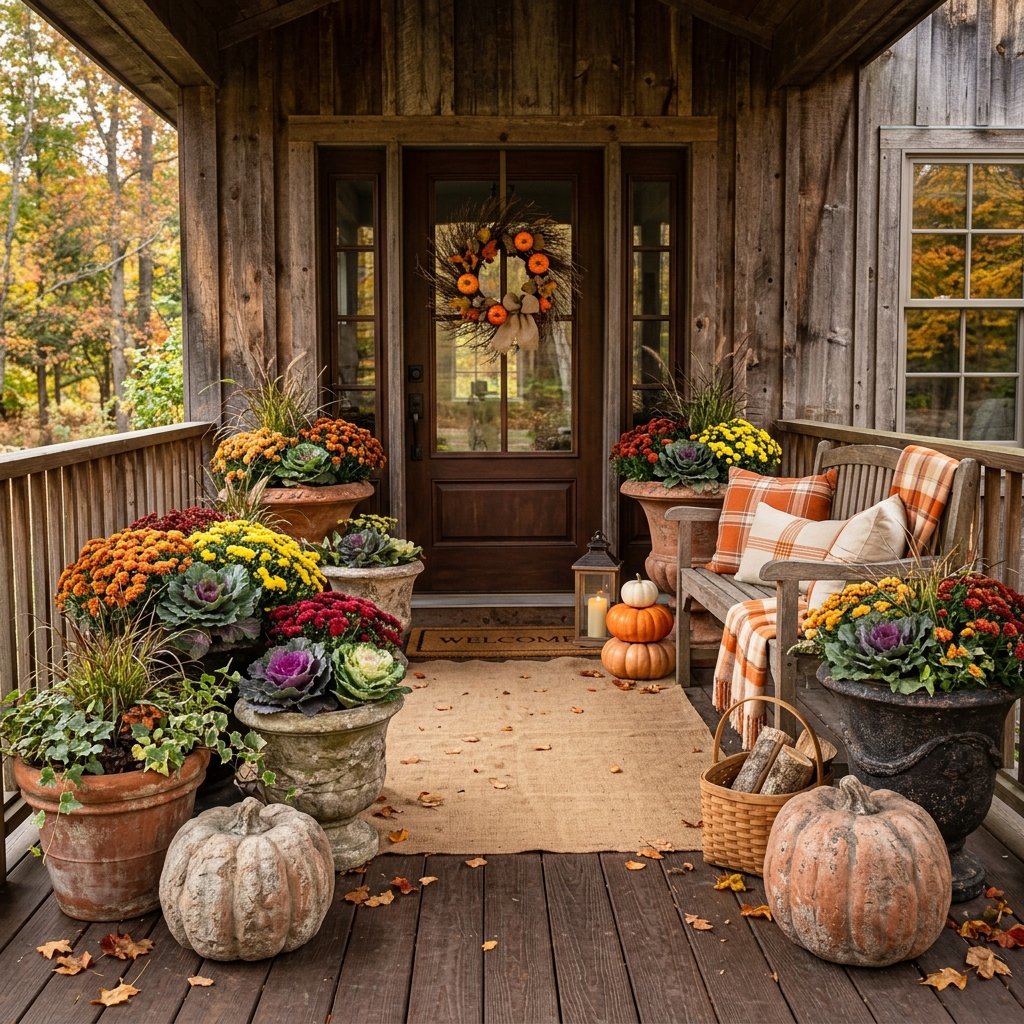
Now that you have your high-end planters, it’s time to style them like a pro. The secret to a designer porch is varying heights and odd numbers. Group your upcycled planters in clusters of three. Place one on a wooden crate, one on the ground, and one slightly behind the others. This creates a visual ‘triangle’ that is pleasing to the eye.
“Style is a reflection of your resourcefulness. A beautiful home isn’t bought; it’s built with intention and a bit of grit.”
Pair your stone-look planters with natural elements like dried corn stalks, white ‘ghost’ pumpkins, and a rugged coir doormat. The contrast between the ‘heavy’ look of your new planters and the organic textures of the plants will make your $1.25 investment look like a million bucks. You’ve officially mastered the ultimate fall porch hack.
Conclusion
The Frugal Victory
By taking a common, inexpensive item and applying a bit of ‘Texture Alchemy’ and ‘Surgical Precision,’ you have bypassed the inflated costs of seasonal decor. You didn’t just buy a planter; you engineered one. This project proves that with a resourceful mindset and a few dollars, anyone can achieve a high-end, masculine-elegant aesthetic that stands the test of time and weather. Now, step back, grab a hot cider, and admire your handiwork—your porch is officially the gold standard of the neighborhood, and your wallet is still full. Happy Upcycling!

Makenzie is the founder and lead writer at MoneyHackTips.com — a personal finance blog dedicated to delivering street-smart financial wisdom for real people on real budgets. With 300+ published articles covering everything from debt management to investing fundamentals, Makenzie’s mission is to make every dollar work harder. When not writing about money hacks, Makenzie is testing frugal living strategies, optimizing side hustles, and helping readers build financial freedom from scratch.