
The Secret to Designer Curb Appeal Without the Designer Price Tag
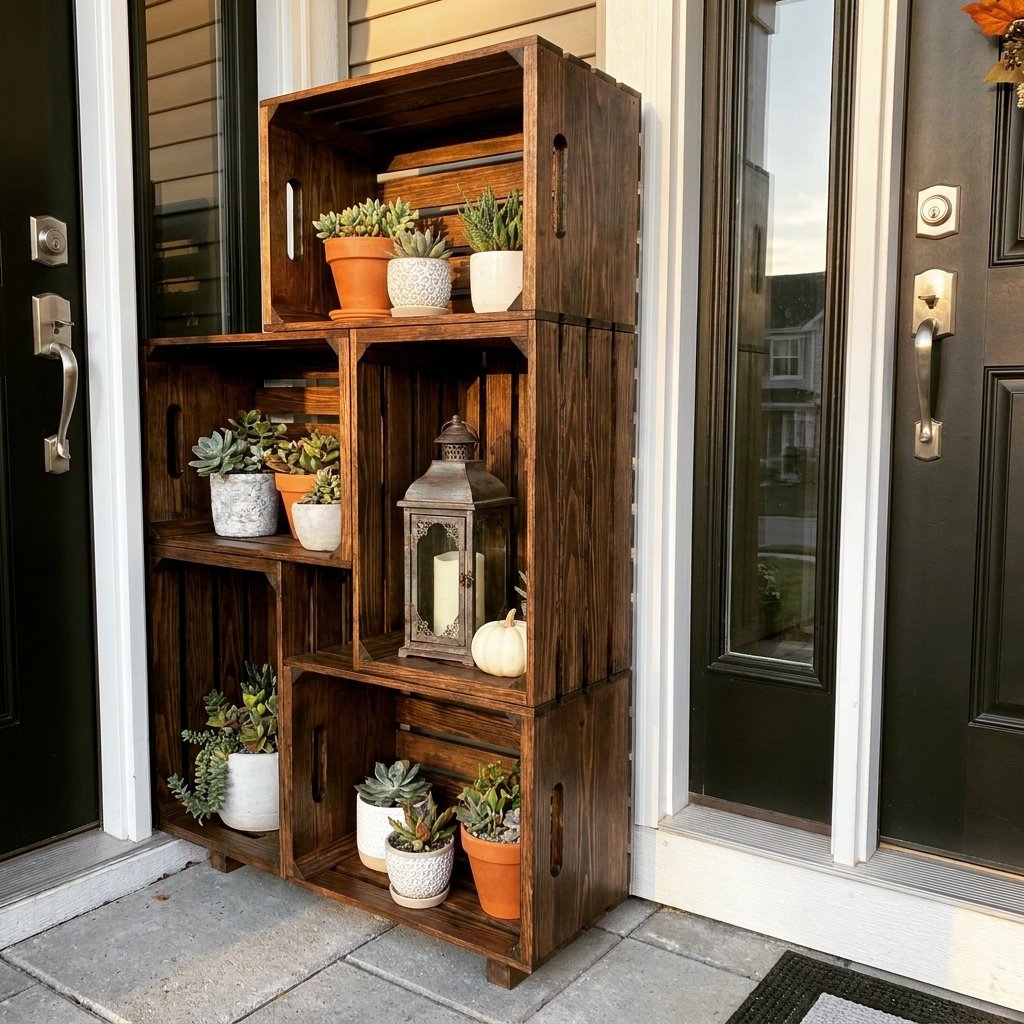
Let’s be honest: first impressions are everything. When someone pulls up to your home, your porch is the handshake that greets them. But high-end outdoor furniture and cedar shelving units can easily run you $150 to $300 at big-box retailers. If you’re a frugal DIYer with a keen eye for potential, you know there’s a better way. Enter the humble Dollar Store wooden crate. On its own, it looks like a flimsy craft supply. But with a bit of rugged ingenuity and some clever reinforcement, these $1.25 units can be transformed into a sophisticated, masculine-elegant shelving system that looks like it was plucked straight from a boutique catalog.
In this guide, we aren’t just stacking boxes. We are engineering a durable, weather-resistant piece of decor that adds vertical interest to your entryway. Whether you’re a handy parent looking for a weekend project or a budget-savvy decorator aiming for that ‘Pottery Barn’ look on a ‘Dollar Tree’ budget, this hack is your ticket to instant curb appeal. Get ready to roll up your sleeves and turn ‘trash’ into a functional treasure.
The Blueprint: Gathering Your Materials and Budgeting
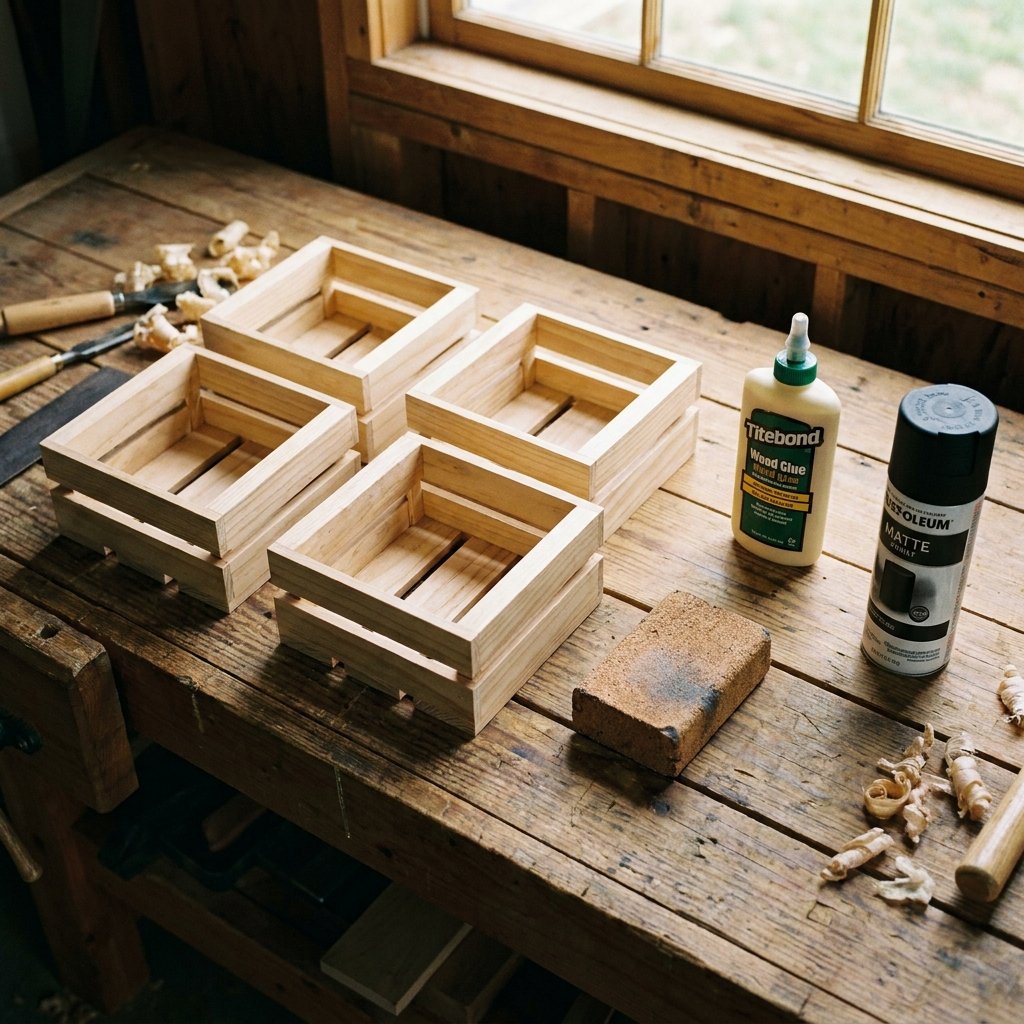
Smart Sourcing for Maximum Savings
The beauty of this project lies in its accessibility. Most of these items can be found at your local dollar store or recovered from your existing tool shed. To build a standard three-tier porch tower, you’ll need a specific set of supplies that prioritize durability. Remember, since this will be outdoors, we are focusing on materials that can withstand moisture and temperature shifts.
| Item | Source | Estimated Cost |
|---|---|---|
| Wooden Crates (6-8 units) | Dollar Tree | $7.50 – $10.00 |
| Wood Glue (Exterior Grade) | Hardware Store | $4.00 |
| Matte Black Spray Paint or Dark Stain | Hardware Store | $6.00 |
| Small Wood Screws (1/2 inch) | Toolbox/Workshop | $0.00 (or $2.00) |
| Sanding Block (Medium Grit) | Dollar Store | $1.25 |
| Total Project Cost | – | $18.75 – $23.25 |
Budget Guru Tip: Always inspect the crates at the store. Look for the straightest slats and avoid any with large cracks or excessive wood knots that might compromise the structural integrity.
Reinforcing the Foundation: Prep Like a Pro

Prepping for Longevity
Dollar store crates are notoriously lightweight. To make them look ‘high-end,’ we need to eliminate the ‘raw wood’ look and ensure they don’t warp. Start by using your sanding block to smooth out the rough edges and staples. This is a crucial step for achieving a professional finish—nothing screams ‘cheap DIY’ like visible splinters and jagged corners.
The Structural Reinforcement Trick
Because we are building a vertical unit, the joints need extra help. We recommend a ‘Double-Bond’ method: Wood Glue + Mechanical Fasteners. Apply a thin bead of exterior-grade wood glue along the edges where the crates will touch. Once positioned, use a small drill bit to pre-drill holes (to prevent splitting) and drive in 1/2-inch screws. This creates a rugged frame that can hold the weight of heavy ceramic pots without sagging.
- Step 1: Sand all surfaces until smooth to the touch.
- Step 2: Wipe away dust with a damp cloth; paint won’t adhere to sawdust.
- Step 3: Dry-fit your crates to decide on your configuration (Vertical Tower vs. Staggered Pyramid).
The High-End Finish: Achieving the ‘Faux-Cedar’ or ‘Industrial’ Look
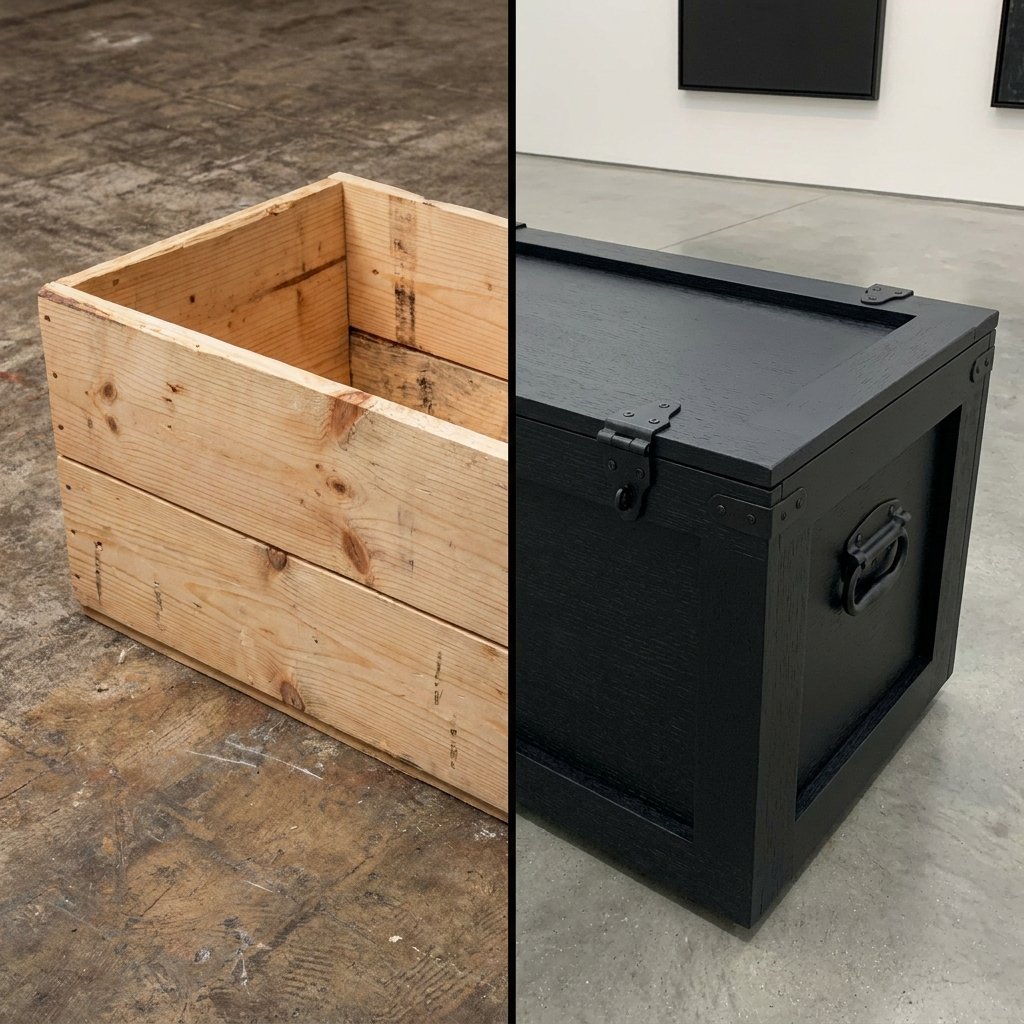
Elevating the Aesthetic
How do you make a $1.25 crate look like a $40 designer piece? It’s all in the finish. You have two primary paths: the Rugged Industrial (Matte Black) or the Rustic Elegant (Walnut Stain). For a porch, I highly recommend the Matte Black finish as it hides the imperfections of the cheap wood and mimics the look of powder-coated steel.
The Baking Soda Paint Hack
If you want a terracotta or stone texture, mix 1 cup of acrylic paint with 1/4 cup of baking soda. This creates a thick, gritty paste that, when applied to the wood, gives it an expensive, heavy ceramic appearance. It’s a clever way to add weight and ‘visual gravity’ to your shelving unit.
| Finish Style | Technique | Visual Impact |
|---|---|---|
| Modern Industrial | Matte Black Spray Paint | Sleek, hides staples, high contrast |
| French Country | White Wash (1:1 Water/Paint) | Soft, weathered, coastal vibe |
| Craftsman Rugged | Dark Walnut Wipe-on Stain | Highlights grain, looks like solid oak |
Pro Safety Note: Always apply spray paints and stains in a well-ventilated area, preferably outdoors, and use a drop cloth to protect your driveway or lawn.
Assembly and Configuration: Building the Tower
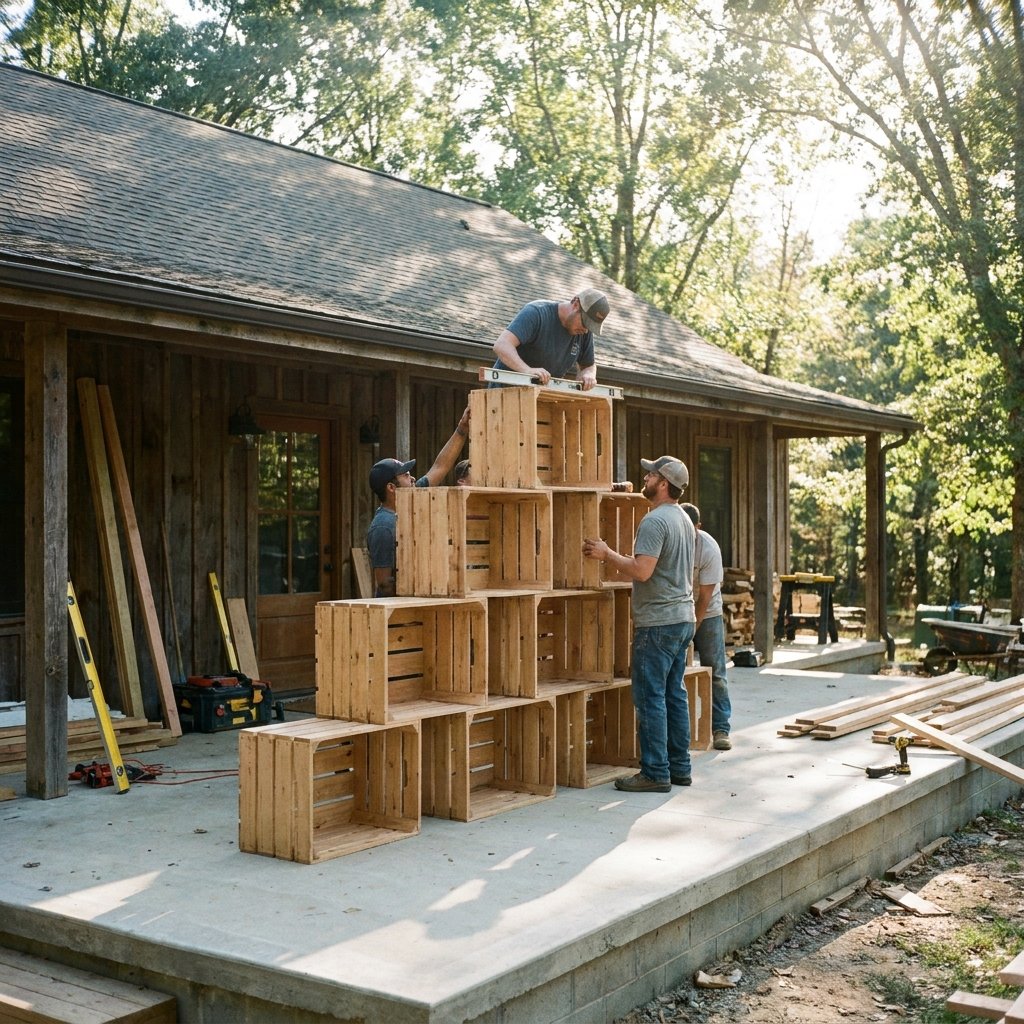
Stacking for Stability
Now that your crates are prepped and finished, it’s time for assembly. For the best curb appeal, I recommend a vertical offset stack. This creates ‘pockets’ for plants of different heights. Follow these steps for a secure build:
- Base Layer: Place two crates side-by-side horizontally. This provides a wide, stable footprint.
- Second Tier: Place one crate vertically in the center, or two crates staggered to the left and right.
- Top Tier: Finish with a single crate facing forward to act as a ‘crown’ for your tallest plant.
- Securing: Use zip ties (hidden at the back) or wood screws to lock the layers together. If your porch is windy, consider placing a heavy brick inside the bottom crates to act as an anchor.
This ‘rugged’ approach ensures that your shelving doesn’t just look good—it stays put. A 5-minute investment in securing your layers will save you from a collapsed mess during the next rainstorm.
Styling for the Seasons: The Final Flourish
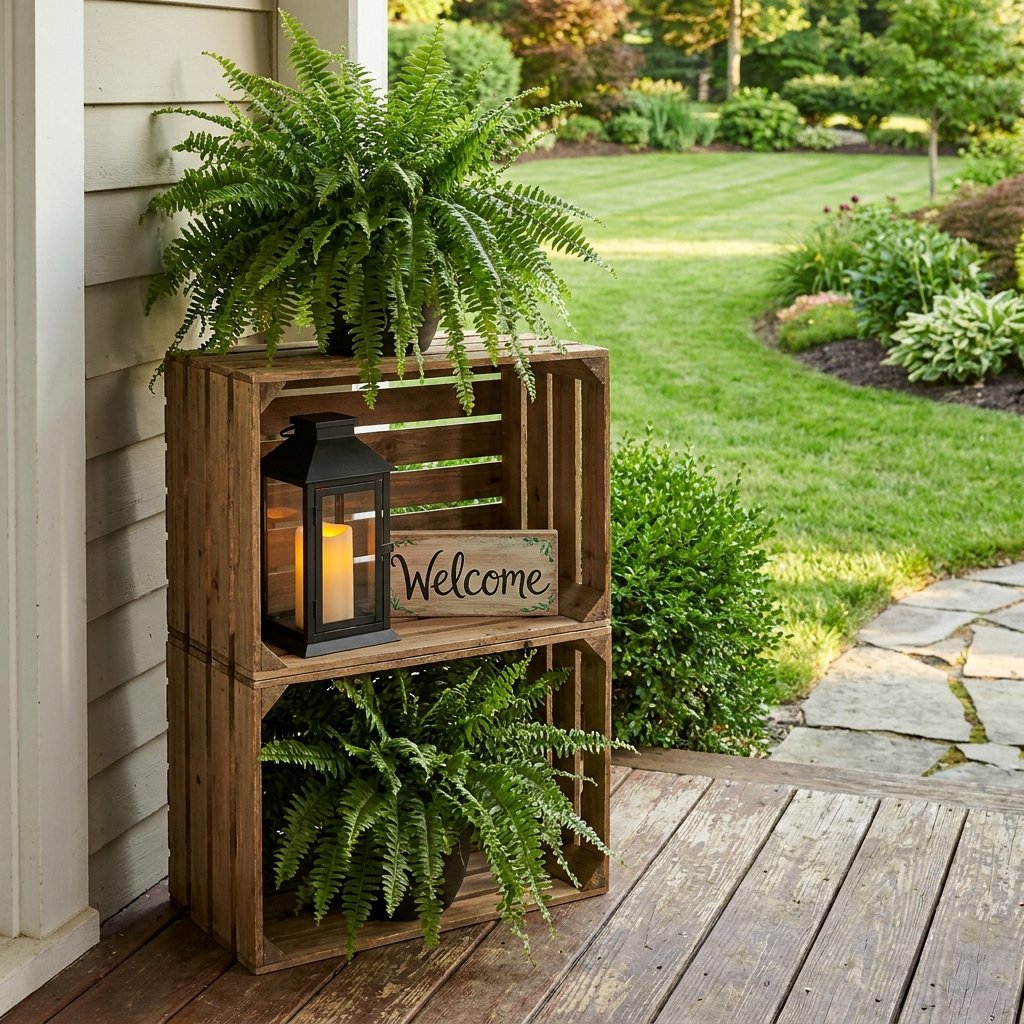
Curating Your Porch Display
The shelving is just the canvas; the styling is the art. To maximize your curb appeal, think in ‘threes.’ Use a variety of textures: something living (plants), something glowing (lanterns), and something functional (house numbers or a welcome sign).
The Budget Decorator’s Checklist
- Greenery: Use trailing ivy or ‘string of pearls’ to spill over the edges of the crates.
- Lighting: Place Dollar Store solar lights inside the top crates. They will charge during the day and provide a sophisticated glow at night.
- Hardware: Add a set of oversized, modern house numbers to the side of the top crate for a custom, high-end look.
By using these simple additions, you’ve taken $15 worth of crates and turned them into a focal point that adds significant perceived value to your home’s exterior. It’s not just a hack; it’s a smart investment in your home’s aesthetic.
Conclusion
The $20 Transformation
Building your own porch shelving doesn’t require a master carpenter’s workshop or a massive bank account. With this Dollar Store crate hack, you’ve mastered the art of the ‘high-low’ mix—taking the humblest of materials and elevating them through proper prep, rugged assembly, and clever styling. You’ve saved over $100 compared to retail alternatives and gained the satisfaction of a project well done. So, take a step back, admire your handiwork, and enjoy the instant boost to your home’s curb appeal. Remember: in the world of DIY, it’s not about how much you spend, but how resourcefully you create.

Makenzie is the founder and lead writer at MoneyHackTips.com — a personal finance blog dedicated to delivering street-smart financial wisdom for real people on real budgets. With 300+ published articles covering everything from debt management to investing fundamentals, Makenzie’s mission is to make every dollar work harder. When not writing about money hacks, Makenzie is testing frugal living strategies, optimizing side hustles, and helping readers build financial freedom from scratch.