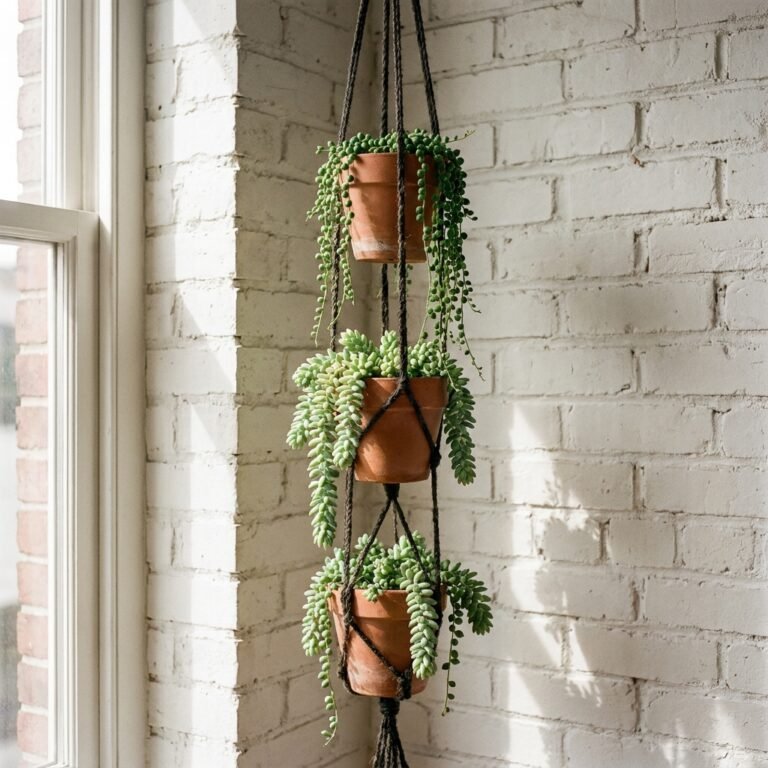
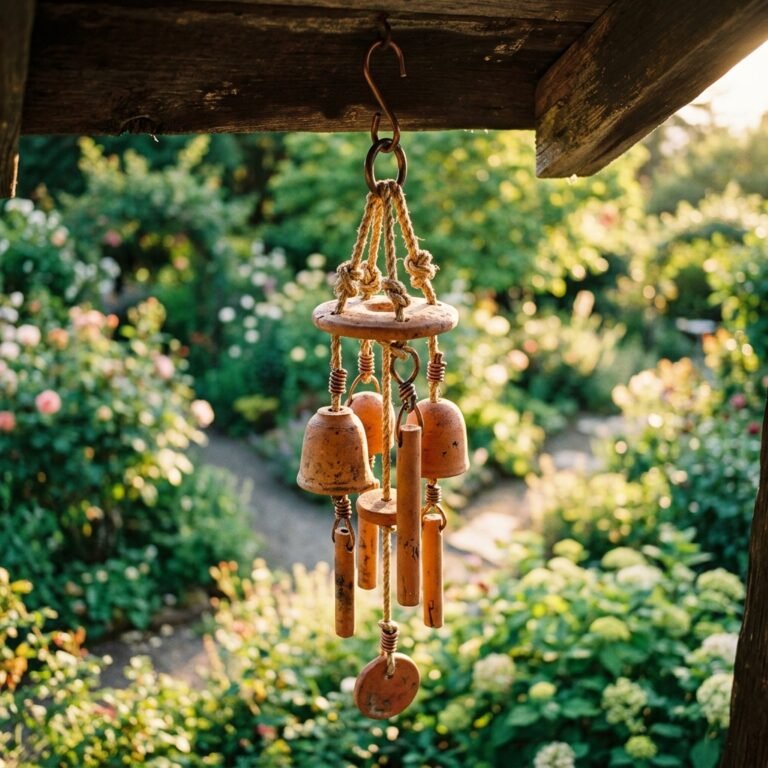
Welcome, frugal DIYers, crafty gift-givers, and budget-savvy home decorators! If you have ever strolled through the aisles of high-end home goods stores like Anthropologie, Pottery Barn, or West Elm, you have undoubtedly paused to admire those gorgeous, heavily textured woven rope baskets. They exude a perfect blend of cozy boho charm and rugged, practical elegance. They are perfect for holding cozy throw blankets, organizing kids’ toys, or housing your favorite indoor plants. But then, you flip the tag over and your jaw hits the floor. $60? $80? Sometimes even $120 for a simple basket? Not on our watch.
As resourceful upcyclers and crafty experts, we know a secret: you do not need to empty your wallet to achieve that magazine-worthy, masculine-elegant, or breezy boho aesthetic in your home. All you need is a little creative vision, a hot glue gun, and a humble trip to the dollar store. Today, we are going to embark on the ultimate trash-to-treasure journey. We are going to take a flimsy, brightly colored, $1.25 plastic trash can and instantly transform it into a heavy-duty, high-end rope basket that looks like it was hand-woven by an artisan.
This project is the epitome of clever, budget-savvy design. It requires zero specialized skills, no expensive power tools, and can be completed while you watch your favorite weekend movie. Whether you are a handy parent looking to organize a chaotic playroom on a dime, or a creative upcycler wanting to add a touch of rugged texture to your living room, this masterclass in frugal crafting will change the way you look at cheap plastic bins forever. Roll up your sleeves, plug in that glue gun, and let’s turn literal trash cans into absolute decorative treasure!
The Anatomy of a Perfect Dupe: Why This Upcycle Works
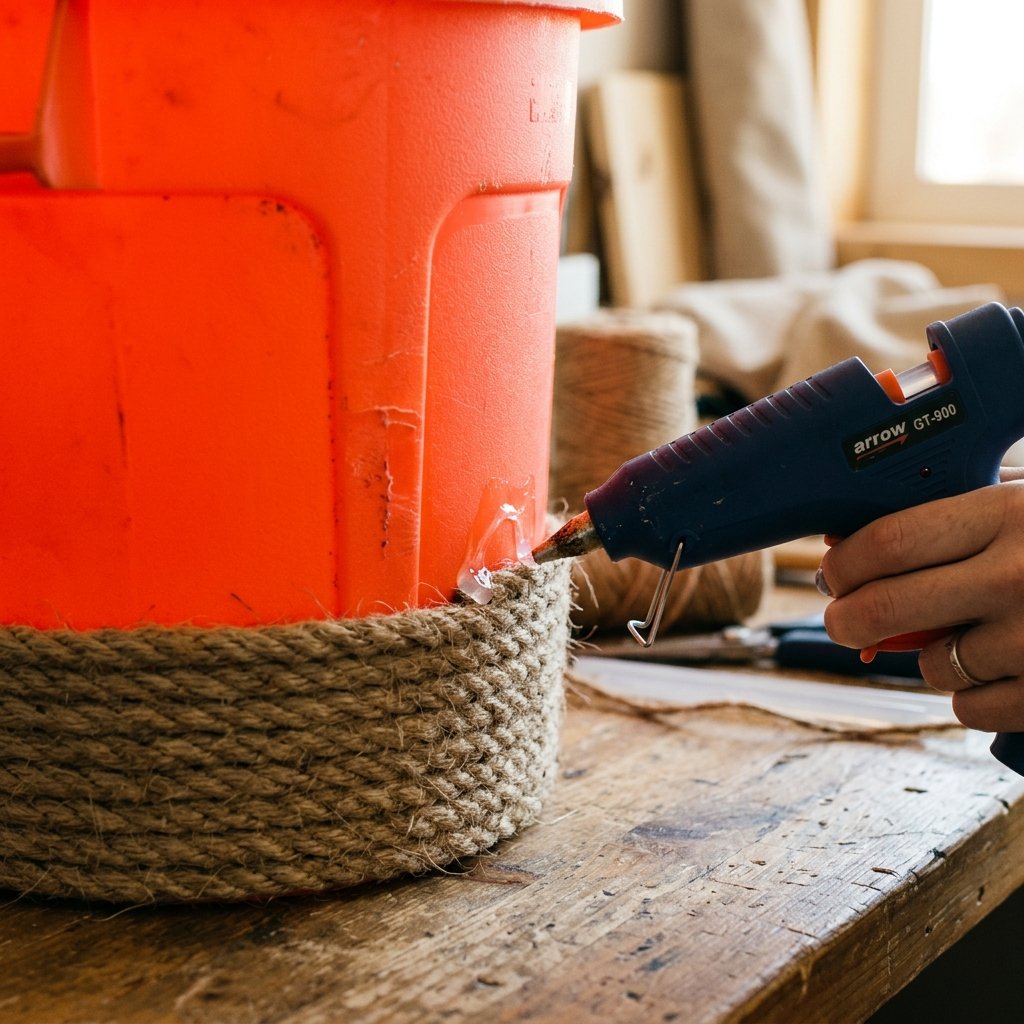
Before we dive into the hot glue and twine, it is crucial to understand exactly why this specific craft is such a legendary staple in the frugal DIY community. The magic of a successful ‘dupe’ (duplicate) lies in the structure and the texture.
The Structural Secret
High-end baskets hold their shape beautifully. When you try to sew or coil a rope basket entirely from scratch using only a sewing machine and cord, it can often end up floppy, slouchy, or misshapen over time. By using a $1.25 plastic trash can as our internal skeleton, we are guaranteeing a rigid, perfectly symmetrical shape that will never collapse, no matter how many heavy wooden toys or thick wool blankets you stuff inside it. The plastic acts as an invisible, heavy-duty framework.
The Textural Illusion
The second component is the exterior texture. Natural fibers like jute, sisal, or thick cotton macrame cord possess an inherent rugged elegance. They bring warmth, organic lines, and a tactile richness to a room. When you wrap these natural fibers tightly around a smooth, cheap plastic surface, you completely mask the synthetic nature of the base. The eye only registers the beautiful, continuous coil of the rustic rope. It is a masterful visual trick that bridges the gap between a college dorm room garbage bin and a luxury boutique storage solution.
The golden rule of frugal upcycling: Never judge an item by its surface; judge it by its silhouette. If the shape is right, the surface can always be reimagined.
Gathering Your Arsenal: Materials, Tools, and the Ultimate Budget Breakdown
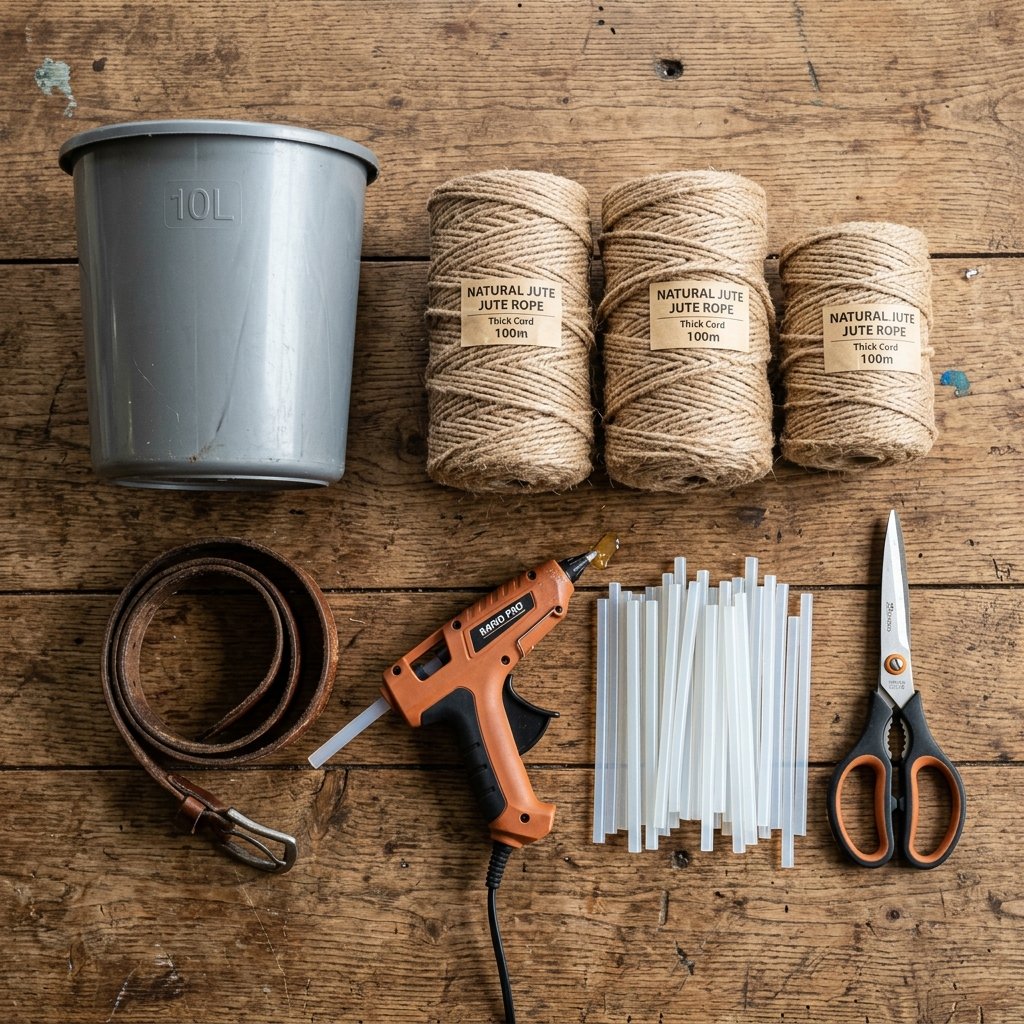
A true crafty expert never starts a project without a well-organized workspace and a clear understanding of the budget. One of the most satisfying parts of this DIY is watching the savings add up. Let’s break down exactly what you need to gather for this project, and compare our frugal costs to the outrageous retail prices.
The Frugal Crafter’s Material List
- The Base: One plastic trash can from the dollar store (look for ones with a slight taper or straight edges; avoid ones with extreme ridges if possible).
- The Rope: 2 to 3 rolls of natural jute twine, sisal rope, or thick cotton cord. (Thickness matters: 1/4 inch or 3/8 inch rope works best for quick coverage and a chunky, high-end look).
- The Adhesive: A heavy-duty hot glue gun and a generous handful of full-size glue sticks (expect to use 10 to 15 sticks depending on the size of your bin).
- The Prep Tools: A piece of medium-grit sandpaper and rubbing alcohol (for prepping the plastic surface).
- The Upgrades (Optional): Scraps of old leather belts for handles, brass Chicago screws or rivets, and black or white acrylic paint for color-blocking.
The Frugal vs. Retail Reality Check
Let’s look at the hard numbers. Here is why we choose to DIY rather than buy:
| Item / Factor | High-End Retail Basket | Our Frugal DIY Dupe |
|---|---|---|
| Base Structure | Woven seagrass or coiled cotton | $1.25 Plastic Bin |
| Exterior Material | Artisan sourced fibers | $3.00 – $5.00 Jute/Cotton Rope |
| Adhesive / Labor | Machine stitched (Factory) | $2.00 Hot Glue Sticks |
| Leather Accents | Genuine leather handles | $0.00 Upcycled Old Belt |
| Total Estimated Cost | $65.00 – $120.00 | $6.25 – $8.25 |
| Total Savings | $0.00 | Over $55.00 Saved! |
With a savings margin like that, you can afford to make an entire matching set for your living room, bathroom, and bedroom without breaking a $30 budget!
Prepping Your Plastic Canvas for Maximum Adhesion
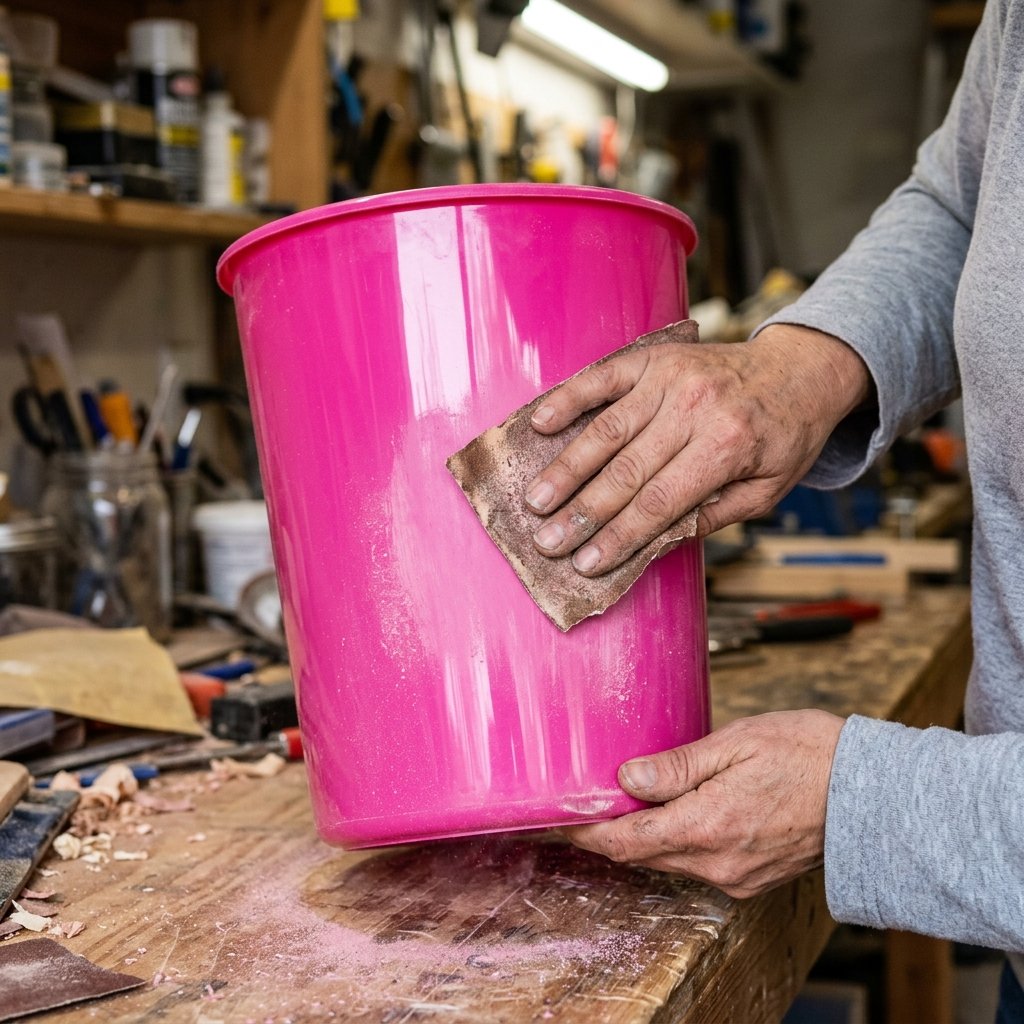
Here is where the handy moms, dads, and practical makers separate themselves from the amateur crafters. If you simply start gluing heavy rope to a slick, shiny plastic surface, you are going to encounter a frustrating problem: the glue will eventually peel off in large sheets, taking your beautiful rope coils with it. To ensure your high-end dupe lasts for years and can withstand the rugged daily use of a busy household, you must prep the surface.
Step 1: The Scuff-Up
Take a piece of medium-grit sandpaper (around 120-grit works perfectly) and vigorously sand the entire exterior of the plastic trash can. You do not need to sand away the color; you just need to destroy the shiny, glossy finish. Creating this micro-abrasion gives the hot glue a textured surface to physically grip onto, creating a permanent mechanical bond.
Step 2: The Degrease
Once you have scuffed up the plastic, you will notice a layer of plastic dust. Take a paper towel, dampen it with standard rubbing alcohol, and wipe down the entire bin. This removes the dust, as well as any oily fingerprints from the manufacturing process or from sitting on the store shelf. Let it air dry for exactly 2 minutes.
Safety Note: When using rubbing alcohol, ensure you are in a well-ventilated area and keep it far away from the heated tip of your hot glue gun to prevent fire hazards.
The Master Class: Step-by-Step Rope Wrapping Technique
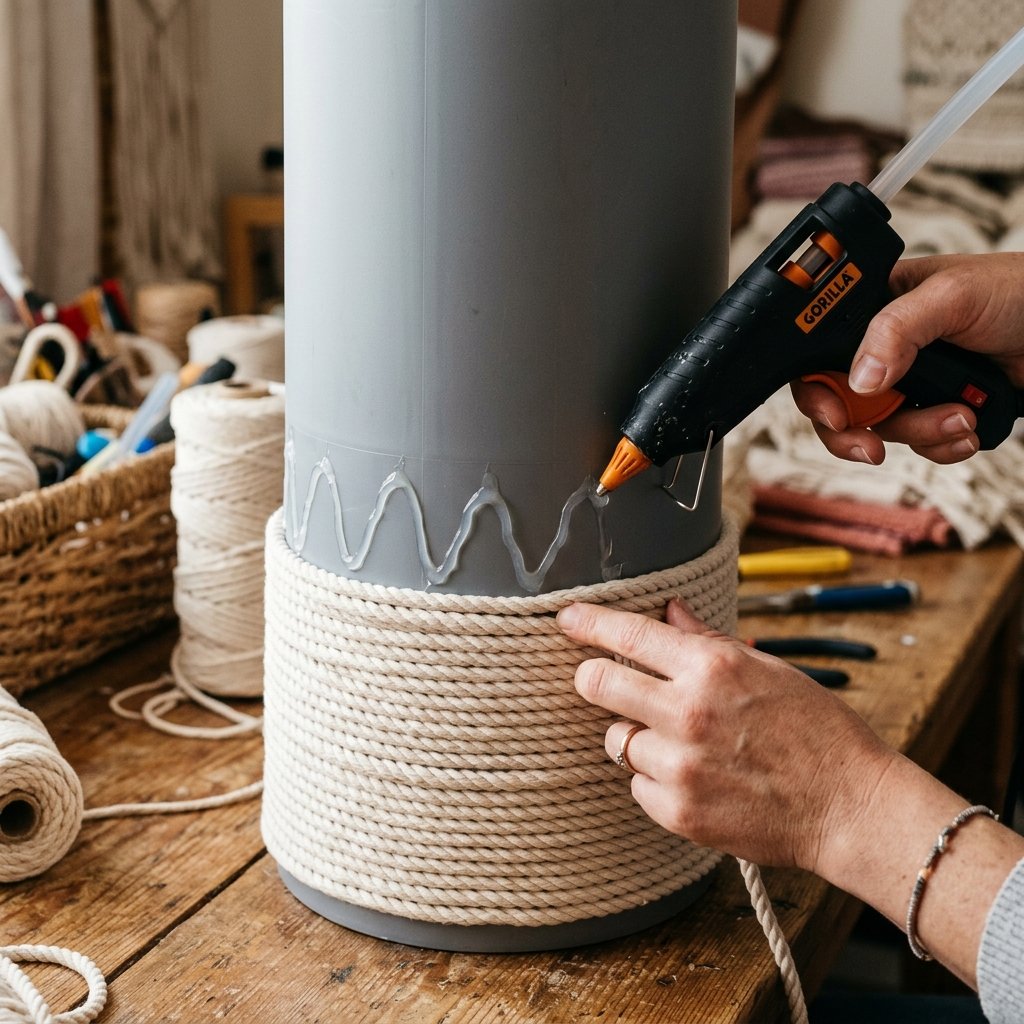
Now comes the meditative, crafty part of the project. Wrapping the rope requires a bit of patience, but the instant gratification of seeing the plastic disappear beneath the rustic texture is incredibly rewarding. Plug in your hot glue gun, set it to the high-heat setting for maximum bond strength, and let’s get wrapping.
The Continuous Coil Method
- The Anchor Point: Turn the trash can upside down so the bottom is facing the ceiling. Apply a thick, 2-inch line of hot glue right along the bottom outside edge of the bin. Immediately press the very end of your rope into the glue. Hold it firmly for 10 seconds. This first rotation is your foundation. If it is crooked, the whole basket will be crooked. Take your time!
- The S-Curve Glue Technique: Do not apply glue in a straight, continuous line around the whole bin—it will cool too fast. Instead, apply glue in 3-inch to 4-inch sections. Use an ‘S’ or zigzag motion with the glue gun. This ensures the glue grabs both the plastic base and the rope coil directly beneath it, locking the rows together.
- The Squeeze and Roll: As you lay the rope down into the hot glue, use your other hand to push the rope firmly down against the previous row. You want zero gaps. You should not be able to see a single sliver of the neon plastic peeking through.
- Managing the Spool: To prevent your rope from twisting and tangling, place your spool of rope in a bowl or a small box on the floor between your feet. This allows it to unravel smoothly as you rotate the trash can with your hands.
- The Rim Finish: When you finally reach the top rim of the trash can, you want a clean, elegant finish. Cut the rope at a sharp diagonal angle. Apply a generous bead of glue directly under the lip of the bin, press the angled cut flat against it, and hold it until completely cool. This prevents the raw end from fraying and gives a seamless, manufactured look.
Crafty-Expert Tip: Hot glue burns are no joke! Keep a bowl of ice water nearby, or wear silicone finger protectors. If you get hot glue on your skin, immediately dip it in the water to instantly harden the glue and stop the burn.
Elevating the Look: Leather Handles, Tassels, and Color-Blocking

You now have a beautifully textured, solid rope basket. It looks great, but we want it to look expensive. This is where we inject that rugged, masculine-elegant vibe or that breezy boho flair. Customizing your basket takes it from a simple craft to a bespoke piece of home decor.
Rugged Upcycled Leather Handles
Nothing screams high-end like the combination of natural woven fibers and rich, brown leather. Head to your closet (or a local thrift store) and find an old, worn-out leather belt.
- Cut two identical strips of leather, about 6 to 8 inches long.
- Decide where you want your handles on the basket.
- Using a generous amount of industrial-strength hot glue (or E6000 adhesive for a permanent hold), glue the ends of the leather strips to the inside rim of the basket, looping them over the top.
- The Masculine-Elegant Upgrade: For an incredibly professional finish, use a leather punch and insert brass Chicago screws or metal rivets through the leather and the plastic bin. This not only looks like a rugged, industrial detail, but it makes the handles functionally strong enough to carry heavy loads!
Chic Boho Color-Blocking
If you love the modern-boho aesthetic found in high-end boutiques, color-blocking is your best friend. Once your basket is fully wrapped and the glue is cured, wrap a line of painter’s tape around the middle of the basket. Take it outside and use a high-quality matte spray paint (crisp white or matte black look incredible against natural jute) to paint the bottom half of the basket. This crisp, painted line against the rustic texture creates a stunning, contemporary visual contrast.
Adding a Fabric Liner
To completely hide the plastic interior, use an old canvas drop cloth or a thrifted plaid flannel shirt to sew a simple drop-in liner. Fold the top edge of the fabric over the rim of your new rope basket. This softens the look, protects the items inside, and adds another layer of resourceful, clever upcycling to your project.
Crafty-Expert Troubleshooting: Fixing Gaps, Glue Strings, and Wonky Rims

Even the most seasoned DIYers run into minor hiccups. Part of being a resourceful crafter is knowing how to pivot and fix mistakes without throwing the whole project away. Here is your troubleshooting guide to ensuring your dollar store basket looks flawless.
Eradicating the “Spider Webs”
The biggest giveaway of a hot-glue craft is the presence of those annoying, wispy glue strings that look like spider webs all over your beautiful rope. The Fix: Once your basket is completely finished and dry, take a standard hair dryer or a heat gun on a low setting. Wave the hot air over the surface of the basket. The heat will instantly melt and shrink the tiny glue strings, making them vanish completely in a matter of 30 seconds!
Fixing Gaps in the Rope
If you stepped back and noticed a glaring sliver of neon green plastic peeking through your rope coils, do not panic. Do not try to rip the rope off. The Fix: Cut a small piece of matching rope or twine. Apply a tiny dot of glue over the gap, and use a toothpick or a flathead screwdriver to wedge the patch piece firmly into the crack. Because of the rustic, fibrous nature of rope, the patch will blend perfectly into the surrounding texture.
Dealing with a Flimsy Rim
Some dollar store trash cans have a lip that bends easily. If you want a more rigid top edge, glue a piece of thick, rigid wire (like a piece of a wire coat hanger) around the top rim before you do your final two wraps of rope. The rope will cover the wire completely, and your basket will suddenly have a reinforced, heavy-duty rim that feels incredibly sturdy.
Remember: Crafting is not about perfection; it is about resourcefulness. Every little ‘mistake’ is just an opportunity to add a unique, custom detail to your piece. Embrace the process!
Conclusion
And there you have it, fellow frugal upcyclers! With just a little bit of patience, a trusty hot glue gun, and a few dollars’ worth of materials, you have successfully defied retail inflation. You have taken a flimsy, $1.25 plastic trash can and elevated it into a stunning, high-end boho rope basket that rivals anything you would find in a luxury home decor catalog.
This project proves that creating a beautiful, rugged, and elegantly styled home does not require an unlimited budget. It simply requires a resourceful mindset and the willingness to see the hidden potential in everyday, inexpensive items. Whether you use your new bespoke basket to hold cozy winter blankets, organize your bathroom towels, or house a beautiful indoor fern, you will get a thrill every time you look at it, knowing you crafted it with your own two hands for pennies on the dollar.
So, the next time you find yourself wandering the aisles of the dollar store, look past the cheap plastic surfaces. Look at the shapes, the silhouettes, and the possibilities. Keep crafting, stay budget-savvy, and never stop turning trash into absolute treasure!

Makenzie is the founder and lead writer at MoneyHackTips.com — a personal finance blog dedicated to delivering street-smart financial wisdom for real people on real budgets. With 300+ published articles covering everything from debt management to investing fundamentals, Makenzie’s mission is to make every dollar work harder. When not writing about money hacks, Makenzie is testing frugal living strategies, optimizing side hustles, and helping readers build financial freedom from scratch.