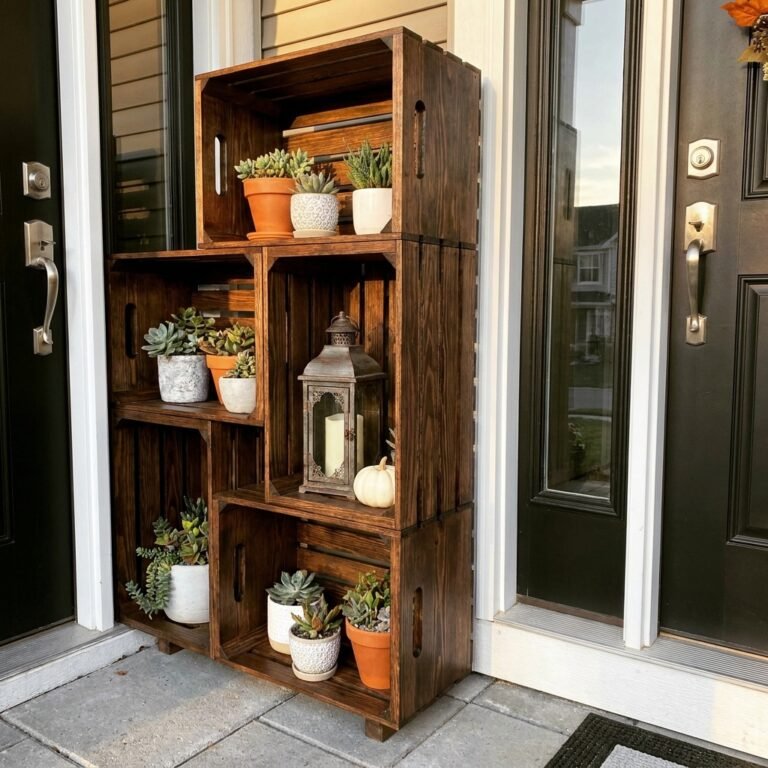

The Ultimate Trash-to-Treasure Porch Upgrade
Welcome, frugal DIYers, handy upcyclers, and budget-savvy home stylists! If you have ever walked through a high-end home decor store, picked up a gorgeous, textured outdoor pillow, and nearly dropped it because of the $45 to $70 price tag, you are not alone. Outdoor textiles come with an astronomical markup simply because they are labeled ‘weather-resistant.’ But as resourceful crafters and tactical decorators, we know a secret: weather-resistance doesn’t have to cost a premium. In fact, it can cost exactly $1.25.
Today, we are diving into one of the most clever, budget-savvy home decor hacks in the upcycling playbook: transforming standard, ultra-cheap woven placemats into luxurious, waterproof outdoor pillows. This is the ultimate intersection of practical engineering and Dollar Tree interior design. Placemats made of vinyl, polypropylene, or treated woven plastics are inherently designed to repel moisture, resist stains, and wipe clean—the exact same properties you want in a rugged outdoor pillow meant to withstand summer thunderstorms and muddy dog paws.
Whether you are a handy parent looking to spruce up the patio for weekend barbecues, a budget bride styling an outdoor lounge area, or a crafty expert looking for your next zero-waste project, this guide will walk you through every step. We will cover how to source the best materials, the secret to 100% free waterproof stuffing, and two foolproof assembly methods that guarantee your new decor will outlast the expensive store-bought alternatives.
The Frugal Upcycler’s Mantra: Never pay a premium for weatherproofing when the discount aisles are packed with inherently waterproof, rugged materials hiding in plain sight. A woven placemat is simply an un-stuffed pillow waiting for a purpose.
The Economics of Porch Decor: Why This Hack is a Game-Changer
Breaking Down the Budget
Before we break out the glue guns and heavy-duty thread, let us talk about the sheer economics of this project. Traditional outdoor pillows require UV-resistant and mildew-resistant fabrics like solution-dyed acrylic, which is notoriously expensive by the yard. Add in the cost of a waterproof poly-insert, and you are looking at a hefty investment for something that sits outside in the dirt. By utilizing discount store placemats, we bypass the fabric store entirely. These placemats are already cut to a standard rectangular lumbar size (usually 12×18 inches or 13×19 inches), meaning the edges are already finished and hemmed. You are essentially buying two pre-finished sides of a rugged pillow casing for pocket change.
The Cost Comparison
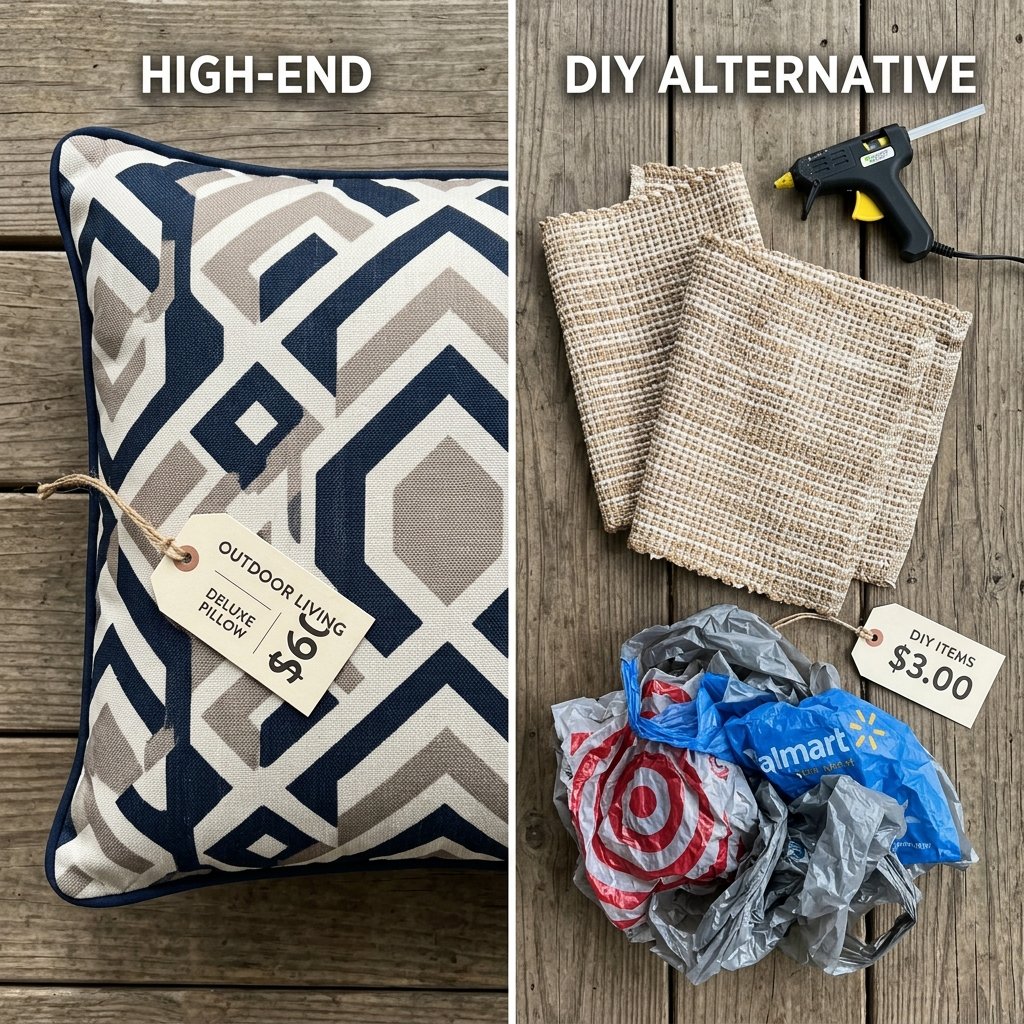
Let us look at the hard numbers. When you apply a clever, budget-savvy mindset to home styling, the savings are undeniable. Here is a breakdown of what you would spend at a big-box retailer versus our tactical DIY approach.
| Material / Component | High-End Retail Cost | Our DIY Frugal Cost |
|---|---|---|
| Outdoor Pillow Cover (Lumbar) | $35.00 – $60.00 | $2.50 (Two $1.25 placemats) |
| Waterproof Insert / Stuffing | $15.00 – $25.00 | $0.00 (Upcycled plastic grocery bags) |
| Adhesives or Heavy Thread | $5.00 – $10.00 | $0.50 (Hot glue or fishing line) |
| Total Investment (Per Pillow) | $55.00 – $95.00 | $3.00 |
By executing this simple craft, you are saving upwards of $90 per pillow. If you are styling a porch bench that needs three pillows, you just saved yourself enough money to buy a new power tool or fund an entire month of crafting supplies!
Sourcing Your $1.25 Woven Wonders
Scouting the Aisles Like a Pro
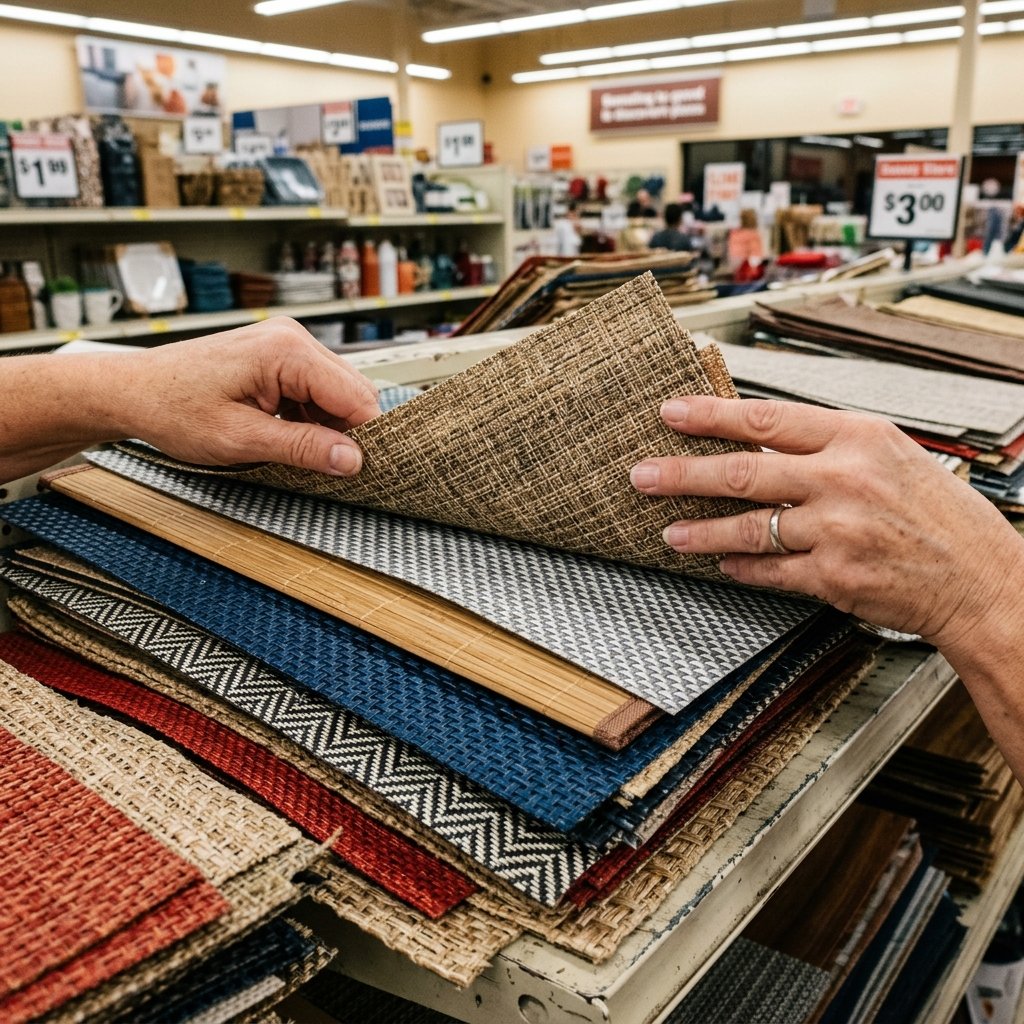
Not all placemats are created equal, and knowing what to look for is the hallmark of a true crafty-expert. When you walk into your local discount store, Dollar Tree, or clearance section, you need to evaluate the placemats with a tactical eye. You are looking for specific materials that offer both masculine-elegant texture and rugged durability.
The Best Materials for Outdoor Pillows
- Woven Vinyl / PVC: This is the holy grail for this project. They look like high-end woven grass or linen, but they are entirely synthetic. Water beads right off them, and they will not grow mildew.
- Faux Bamboo or Straw: Excellent for a tropical or bohemian porch aesthetic. Ensure the weave is tight enough that stuffing will not poke through.
- Polyester Blends: These offer a softer touch if the pillows will be under a covered porch. They are easy to sew and often come in trendy geometric or farmhouse patterns.
What to Avoid
Steer clear of single-layer thin cotton or linen placemats unless you plan to use these indoors. Cotton absorbs moisture, which defeats the purpose of our waterproof hack. Also, avoid placemats with heavily beaded or delicate embellishments that will fall off after a week of harsh sunlight and wind.
Pro Sourcing Tip: Always buy your placemats in pairs! You will need two identical placemats to create one pillow. If the store only has three of a specific pattern, buy them anyway—you can use the third as a matching table centerpiece or cut it down to make matching coasters. Nothing goes to waste in a frugal upcycler’s home!
The Zero-Budget Waterproof Stuffing Hack
Thinking Outside the Poly-fill Bag
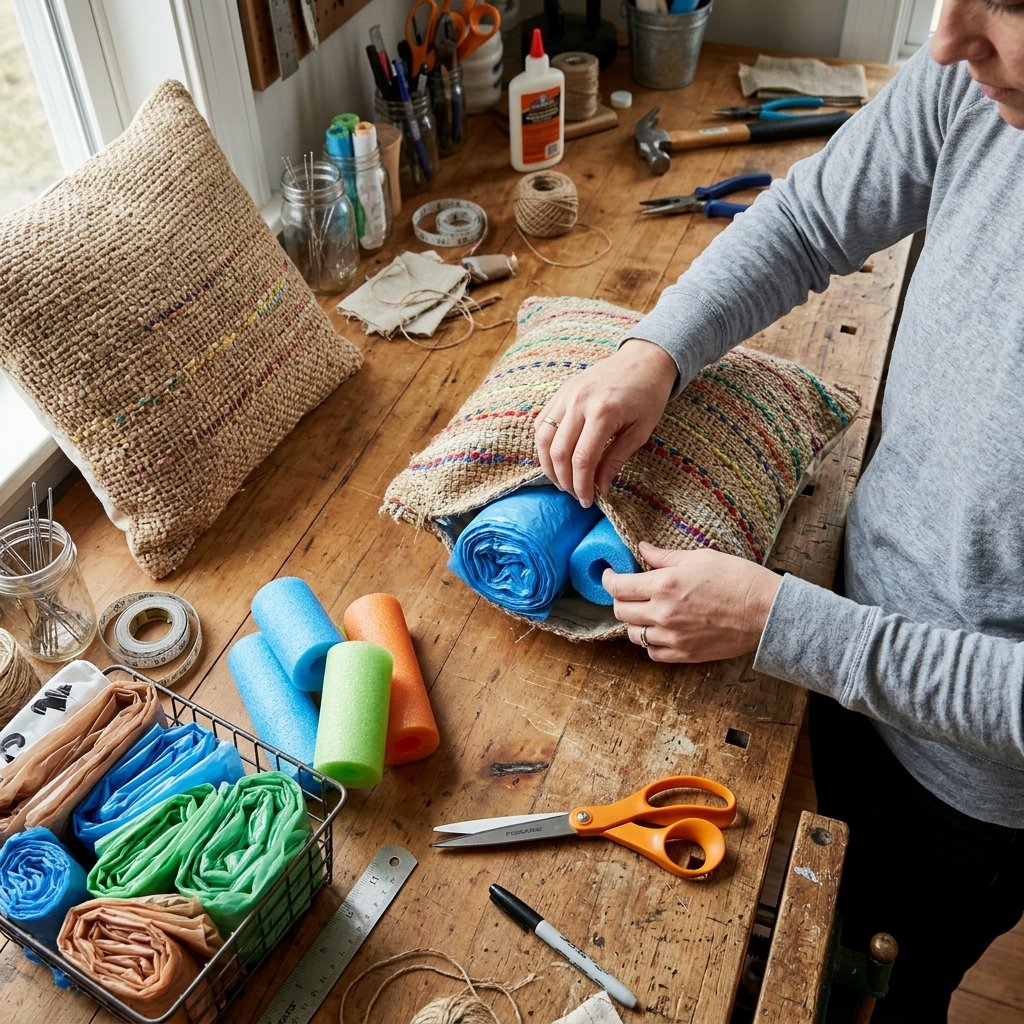
Here is where we separate the amateurs from the masterful upcyclers. You have just spent a mere $2.50 on the exterior of your pillow. It makes zero sense to go to a craft store and spend $15 on a bag of specialized outdoor poly-fill. Furthermore, regular indoor poly-fill acts like a sponge; if rain gets through a seam, your pillow will become a heavy, soggy, mildewed mess. We need a stuffing that is rugged, holds its shape, and is entirely impervious to water.
The Plastic Bag Upcycle
The absolute best material for stuffing outdoor pillows is sitting right under your kitchen sink: plastic grocery bags. This is a brilliant way to keep single-use plastics out of landfills while giving your pillows a firm, weather-proof core.
- Gather your bags: You will need about 30 to 40 standard plastic grocery bags per lumbar pillow.
- Prep the core: Flatten out the bags. To prevent the pillow from sounding ‘crinkly’ when you lean on it, tightly ball up the bags and stuff them inside one master bag.
- Shape the insert: Tie off the master bag, pressing the air out so it forms a dense, rectangular brick of plastic. This creates a firm, supportive lumbar rest that will never absorb a drop of water.
Alternative Frugal Stuffings
- Pool Noodles: Cut up old, damaged dollar-store pool noodles into small chunks. They are made of closed-cell foam, meaning they are 100% waterproof and provide excellent structural support.
- Old Shower Curtains: Shredded vinyl shower curtains mixed with plastic bags create a heavy, durable fill that withstands extreme weather.
Safety & Cleanliness Note: Ensure whatever recycled plastics you use for stuffing are completely clean and dry before sealing them inside your pillow. Trapped moisture or food residue on old bags can attract pests or cause odors over time.
The Assembly Masterclass: Two Rugged Methods
Choosing Your Construction Tactics
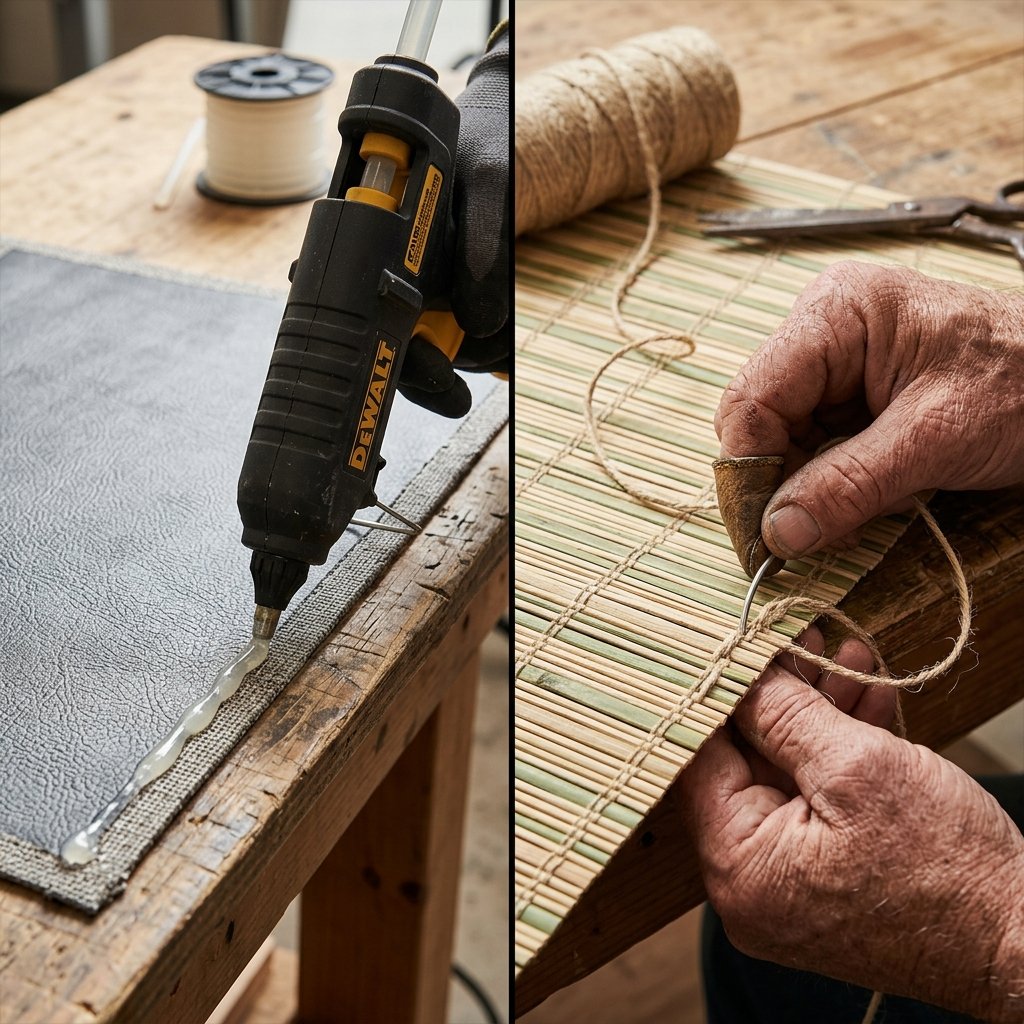
Now that your materials are prepped, it is time for assembly. Depending on your skill level and the tools you have on hand, you can approach this with an industrial no-sew method or a heavy-duty hand-stitch. Both are incredibly durable and take less than 15 minutes per pillow.
Method 1: The Industrial Hot Glue Hack (No-Sew)
If you are a handy mom or dad looking for a quick afternoon project, this is for you. The key to making hot glue work on outdoor items is using the right temperature and pressure.
- Align the Placemats: Place your two identical placemats together, right sides facing out. (Since most vinyl placemats are double-sided, you rarely have to worry about ‘right’ and ‘wrong’ sides).
- Glue the First Three Sides: Working in 3-inch sections, run a thick bead of high-heat hot glue or industrial outdoor adhesive (like E6000) along the very edge. Press firmly and hold for 10 seconds to ensure the glue permeates the weave.
- Leave an Opening: Leave one short end of the rectangle open. This is your stuffing pocket.
- Stuff and Seal: Insert your waterproof plastic bag core. Ensure the corners are pushed out nicely. Finally, run a bead of glue along the open edge, pinch it shut, and hold it using binder clips until the glue completely sets.
Method 2: The Rugged Hand-Stitch (Tailor’s Approach)
For those who appreciate a more masculine-elegant, crafted look, hand-sewing adds a beautiful artisanal detail. You do not need a sewing machine—just a heavy-duty curved upholstery needle and some weather-resistant thread.
- Select Your Thread: Do not use standard cotton thread; it will rot outdoors. Use heavy-duty nylon upholstery thread, or for a true frugal hack, use 10lb clear fishing line or twine.
- The Blanket Stitch: Align your placemats. Using a blanket stitch or a simple whip stitch, sew around the outside perimeter. The pre-finished edges of the placemats mean you do not have to worry about fraying.
- Incorporate the Stuffing: Stop when you have 4 inches left. Stuff your pillow firmly with your upcycled materials, then continue your stitch to close the gap. Tie off with a secure double knot and bury the tail inside the weave.
Weather-Testing and Porch Styling on a Dime
Elevating Your Outdoor Aesthetic
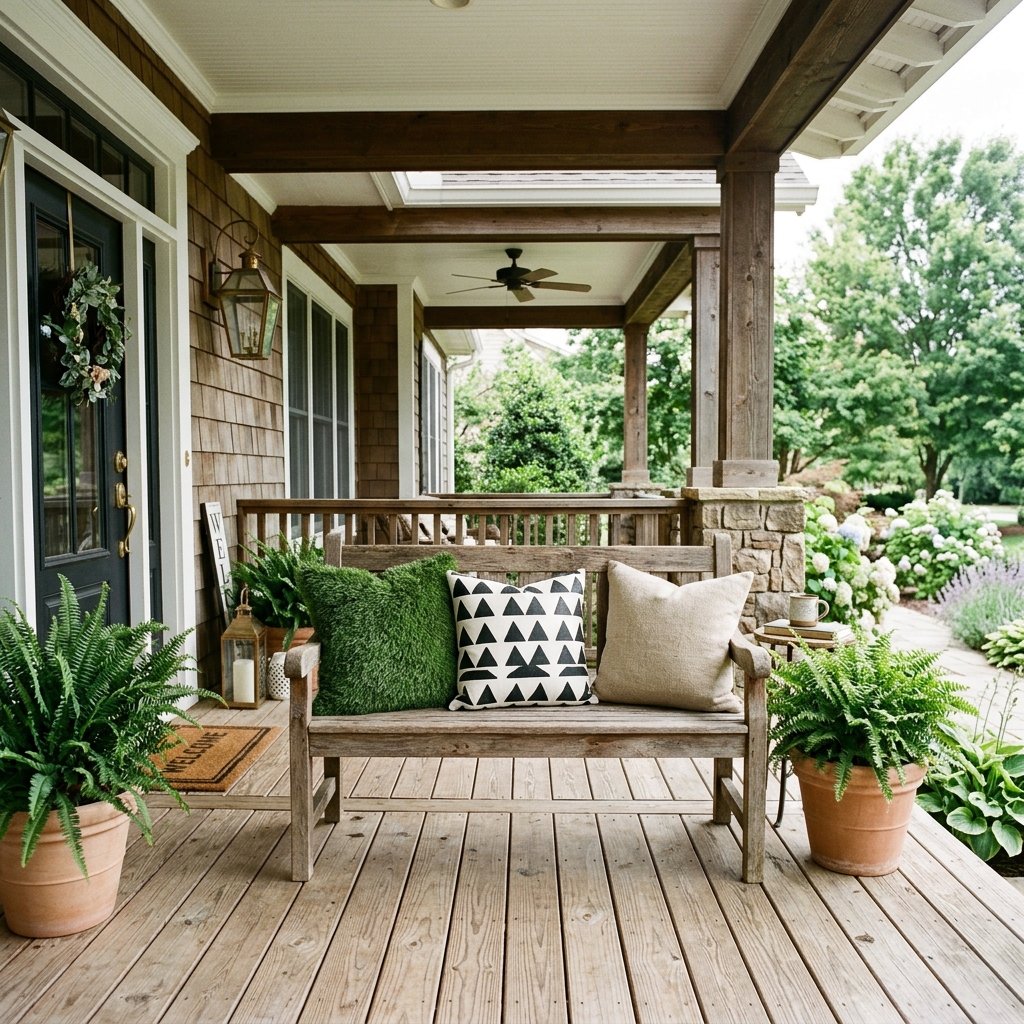
Congratulations! You have just manufactured a high-end piece of outdoor decor for less than the cost of a cup of coffee. But a true event stylist on a dime knows that the magic is all in the presentation. How you style these pillows will dictate whether they look like a dollar-store craft or a sophisticated Pottery Barn replica.
Styling Tips for Maximum Impact
- Layering Textures: Mix and match your DIY placemat pillows with different textures. Pair a geometric PVC placemat pillow with a solid, rugged canvas cushion. The contrast makes both pieces look more expensive.
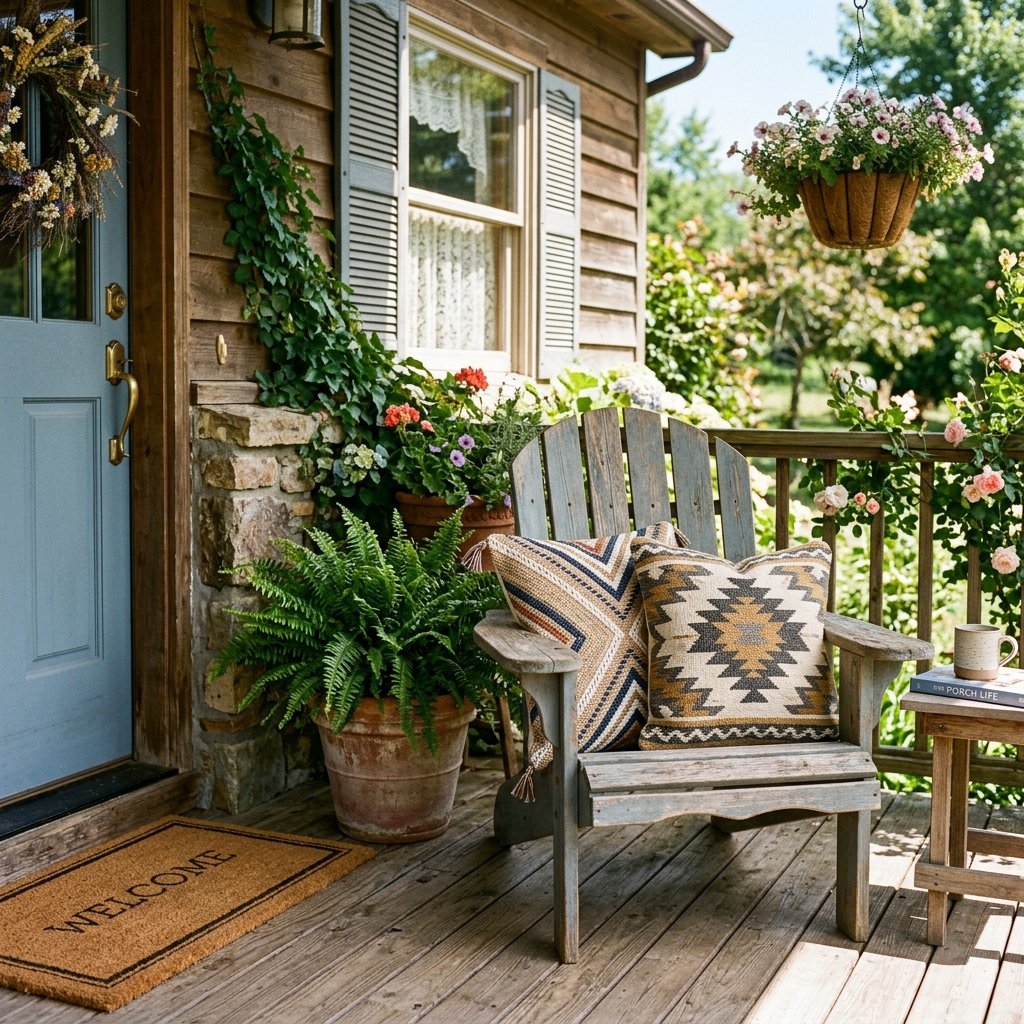
- The ‘Karate Chop’ Myth: Because these pillows are stuffed with dense, upcycled plastics or foam, they will not take the traditional designer ‘karate chop’ in the center. Instead, embrace their structured, modern lumbar shape. Lean them neatly against the armrests of Adirondack chairs or center them on a wooden porch swing.
- Seasonal Swaps: Because these cost only $3.00 to make, you can afford to create different sets for every season. Use bright, tropical weaves for summer, and switch to darker, rich faux-leather or woven plaid vinyl mats for the autumn months.
Maintenance and Care
The beauty of the $1.25 placemat hack is the absolute zero-maintenance required. When porch season brings pollen, dust, or muddy paw prints, you do not need to unzip covers or run them through a delicate wash cycle. Simply leave them right on the chair, grab your garden hose, and spray them down. For stubborn dirt, a quick scrub with a bristle brush and a drop of dish soap will make them look brand new in under 2 minutes.
Final Encouragement: Crafting a beautiful home does not require a massive budget; it requires vision, resourcefulness, and a willingness to look at everyday objects differently. By turning simple placemats into durable, stylish pillows, you are not just saving money—you are proving that the best design comes from creativity, not a credit card. Now get out there, hit the discount aisles, and start upgrading your porch!
Conclusion
Your Frugal Porch Transformation is Complete
Who knew that a quick trip to the dollar store and a handful of old grocery bags could yield such incredible results? By applying a bit of resourceful creativity and tactical upcycling, you have completely bypassed the ridiculous markups of the outdoor decor industry. These DIY waterproof outdoor pillows are the perfect example of how frugal living and high-end aesthetics can coexist beautifully.
You have learned how to source the perfect woven materials, how to engineer a zero-budget waterproof core, and how to assemble your masterpieces using rugged, long-lasting methods. Whether you chose the lightning-fast hot glue hack or the artisanal hand-stitch, your front porch is now ready to weather any storm in absolute style. So grab a cup of coffee, sit back on your newly styled patio furniture, and enjoy the profound satisfaction that comes from creating something beautiful, functional, and almost entirely free.

Makenzie is the founder and lead writer at MoneyHackTips.com — a personal finance blog dedicated to delivering street-smart financial wisdom for real people on real budgets. With 300+ published articles covering everything from debt management to investing fundamentals, Makenzie’s mission is to make every dollar work harder. When not writing about money hacks, Makenzie is testing frugal living strategies, optimizing side hustles, and helping readers build financial freedom from scratch.