
The Art of the Budget Sanctuary
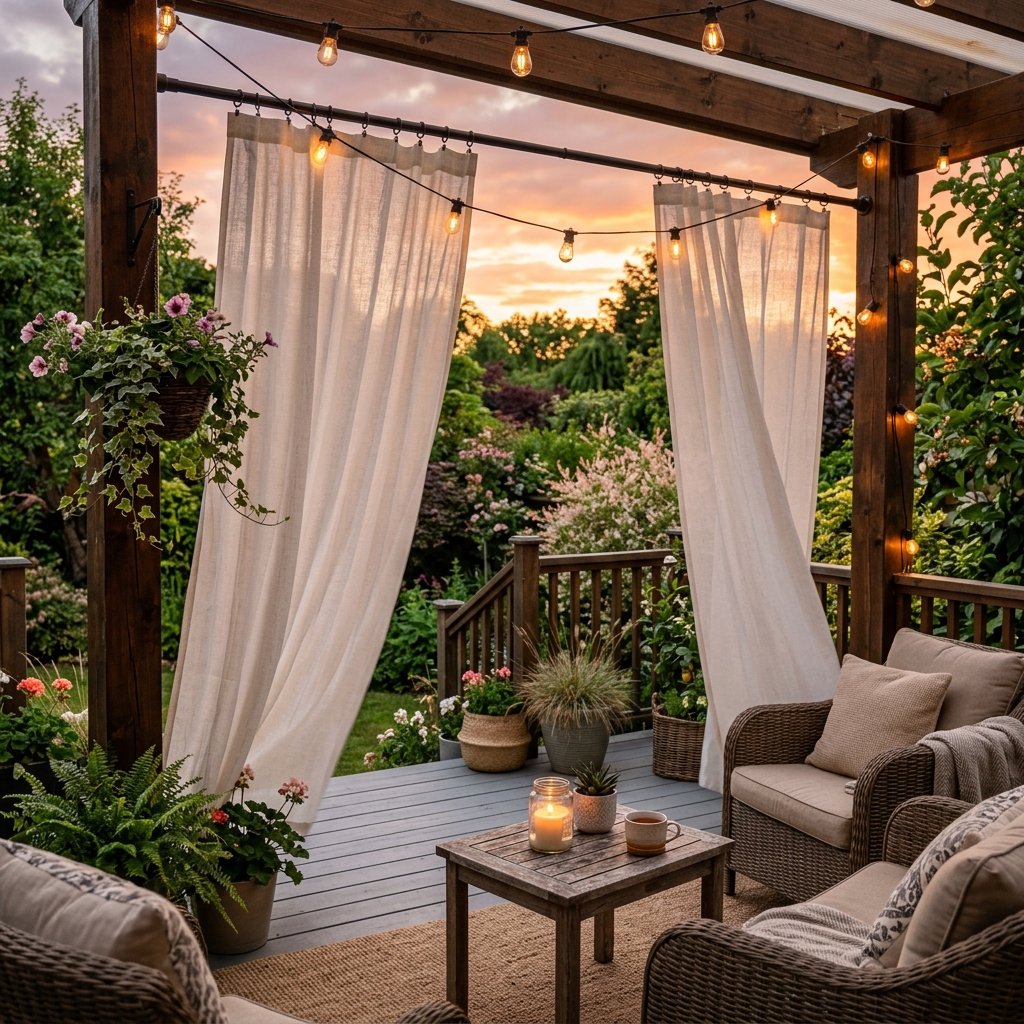
We all value our outdoor space, but let’s be honest: it’s hard to relax when you feel like you’re on display for the entire neighborhood. Whether you have a nosy neighbor or just a backyard that lacks that ‘secluded oasis’ vibe, the solution usually costs hundreds of dollars in custom awnings or heavy-duty outdoor drapery. But here’s the secret: you don’t need a $300 designer budget to claim your privacy. With a little resourcefulness and a trip to the local dollar store, you can deploy a tactical privacy screen that looks like it belongs in a luxury resort for less than the cost of a takeout lunch. This guide is for the frugal DIYer who values both a rugged, practical build and a masculine-elegant aesthetic. We aren’t just hanging plastic; we are engineering a private perimeter.
The Strategic Shopping List: Sourcing the $15 Sanctuary
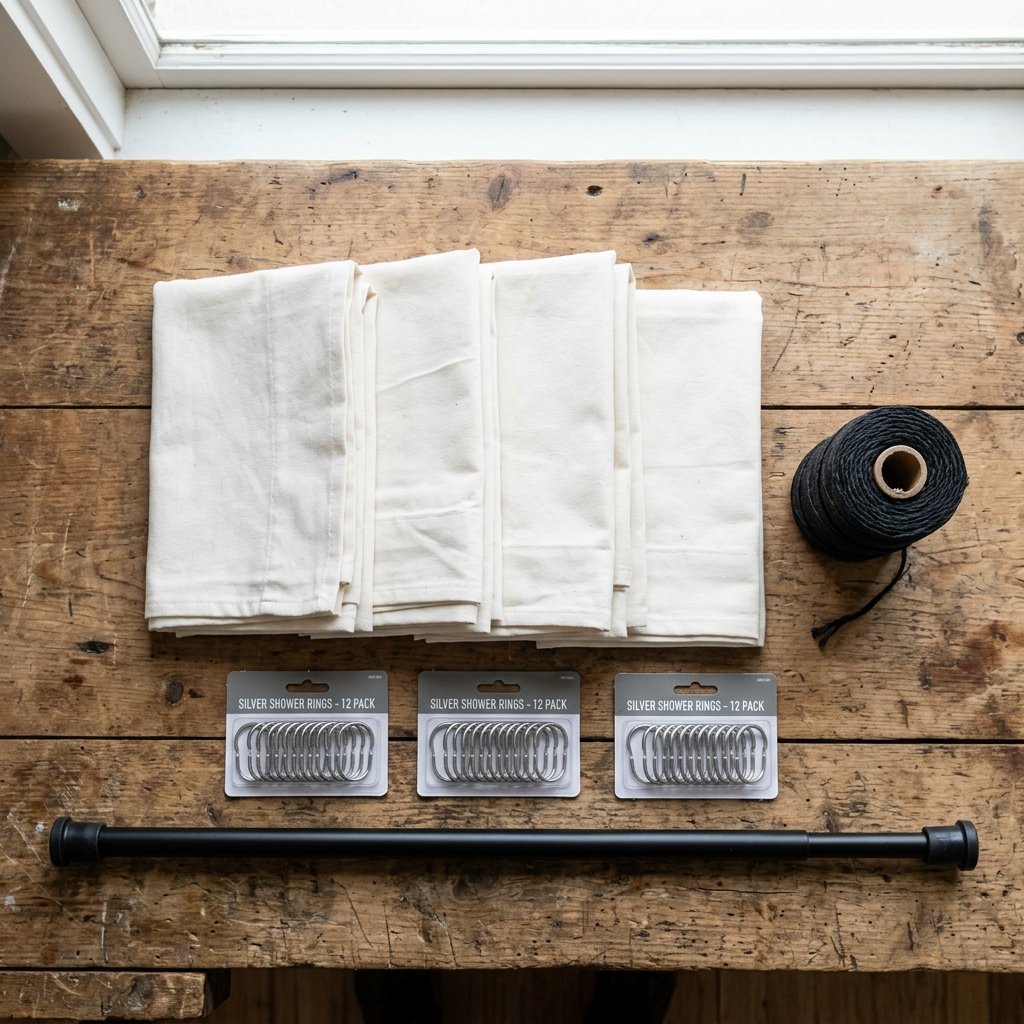
Success in any mission starts with the right gear. To keep this project under $15, we are looking for items that provide the most surface area and durability for the lowest price. The ‘Fabric’ shower curtain is the MVP of this project. Unlike the thin PEVA liners, the fabric versions offer a softer drape that mimics high-end linen from a distance. Here is your tactical breakdown of materials.
| Item | Quantity | Unit Price | Total Cost |
|---|---|---|---|
| Fabric Shower Curtains (White or Tan) | 4 | $1.25 | $5.00 |
| Heavy Duty Shower Curtain Rings | 4 Packs | $1.25 | $5.00 |
| Adjustable Tension Rod or PVC Pipe | 1-2 | $1.25 | $2.50 |
| Nylon Twine or Zip Ties | 1 Pack | $1.25 | $1.25 |
| Grand Total | – | – | $13.75 |
Pro-Tip for the Savvy Crafter
“Always look for the ‘extra-long’ shower curtains if available. If your porch ceiling is high, you can join two curtains vertically using a simple ladder stitch or even heavy-duty fabric tape for a seamless floor-to-ceiling look.”
Material Selection: Fabric vs. PEVA for Maximum Ruggedness

When you’re walking the aisles of the dollar store, you’ll see two main types of curtains: PEVA (plastic) and Fabric (polyester). For an outdoor curtain that doesn’t look like a crime scene, polyester fabric is your only choice. It handles UV rays better, it flows in the wind without making a crinkling sound, and it can be easily washed.
- Polyester: Provides a ‘linen’ look, allows some light to filter through (privacy without darkness), and is mold-resistant.
- PEVA: Too shiny and stiff. Use these only as a hidden waterproof backing if you live in an extremely rainy climate.
If you want to add a touch of ‘Masculine-Elegant’ style, look for curtains with a subtle waffle weave or a simple stripe. Avoid busy floral patterns which can look dated and cheap. Stick to neutral tones like white, cream, or slate grey to maintain a high-end look.
The ‘No-Drill’ Deployment: Tension Rods and Tactical Hanging
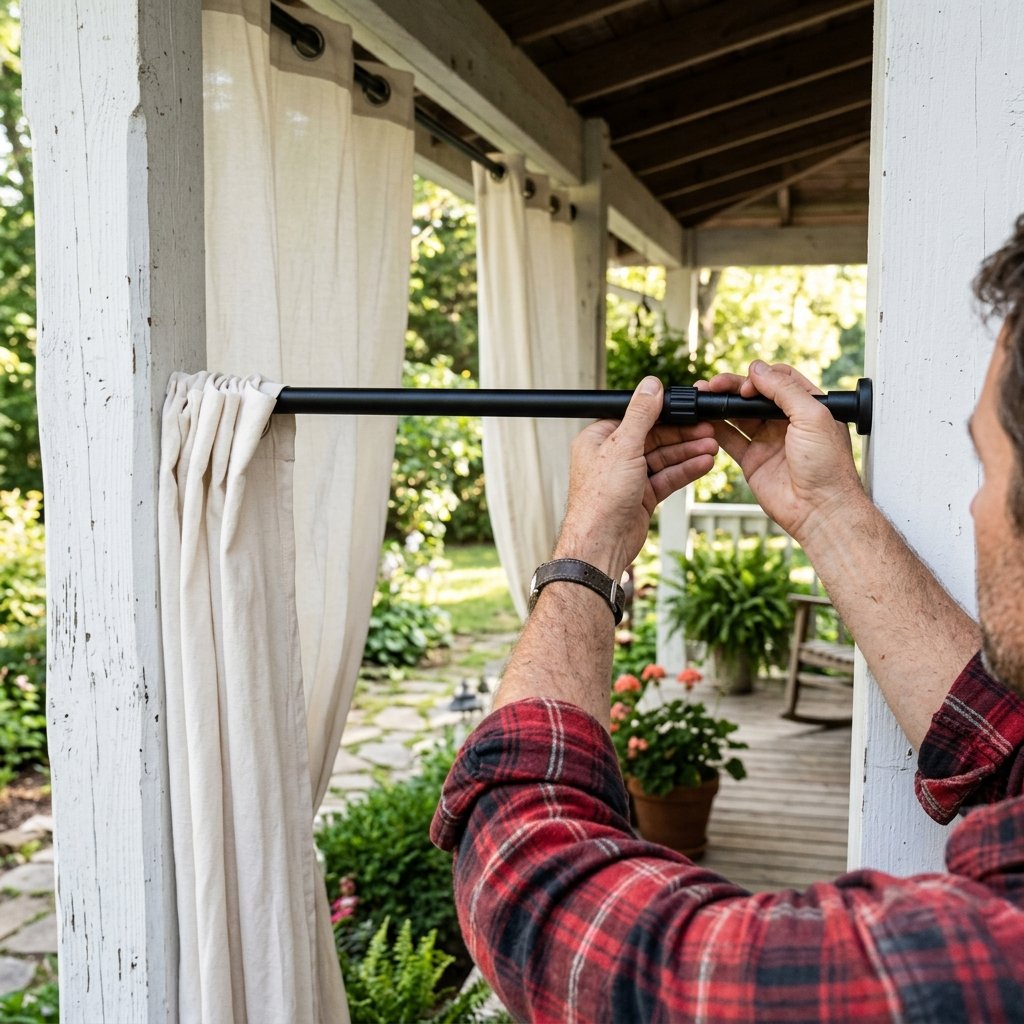
Most of us don’t want to drill permanent holes into our porch beams or siding, especially if we are renting or on a budget. This is where the tension rod or the wire-tension method comes into play. If your patio has a defined frame, tension rods are the fastest way to get your curtains up in under 5 minutes.
Step-by-Step Installation
- Measure the Span: Measure the distance between your porch pillars. If it’s longer than a standard tension rod, we will use the ‘Wire Method’ (see below).
- Prep the Curtains: Slide your shower curtain rings through the pre-cut grommets in the fabric. This is a 1-minute task.
- Set the Tension: Position the rod at the desired height. Twist to tighten until it is firmly wedged between the pillars. Safety Note: Ensure the surface is dry and clean to prevent the rubber ends from slipping.
- The Wire Method: For long spans, run a length of $1.25 nylon twine or coated wire between two screw-eyes. Tension it until it’s taut, then clip your curtains on.
“To prevent the rod from sagging in the middle, you can add a small, discreet command hook in the center of the beam to act as a support cradle.”
Wind-Proofing Your Perimeter: The Secret to Weighted Hems
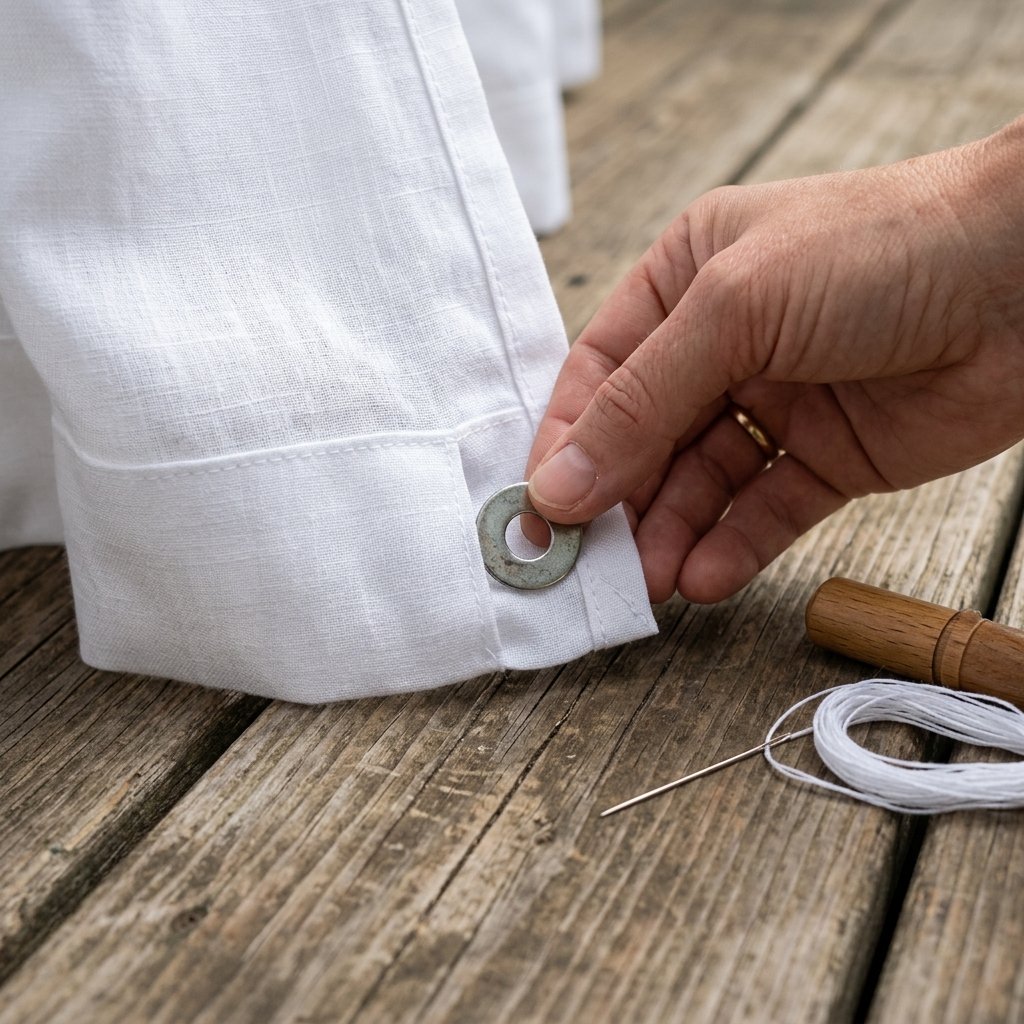
The biggest enemy of a DIY outdoor curtain is a light breeze. Without weights, your $15 investment will be flapping in your face or tangling in the grill. We need to add some ballast to the bottom hem to keep them hanging straight and proud.
Ballast Options for the Frugal Maker
Instead of buying expensive drapery weights, use what you have or find in the hardware aisle:
- Large Washers: Sew 3-4 heavy galvanized washers into the bottom hem of each curtain.
- River Stones: Collect smooth stones from the yard, wrap them in a small pouch of scrap curtain fabric, and stitch them to the corners.
- Fishing Sinkers: These are heavy, small, and easy to hide.
- The PVC Pipe Trick: Slide a thin piece of PVC pipe through the bottom hem for a perfectly straight, weighted edge.
| Weight Method | Cost | Wind Resistance | Aesthetic |
|---|---|---|---|
| Galvanized Washers | $2.00 | Medium | Invisible |
| River Stones | Free | High | Rustic/Natural |
| PVC Pipe | $3.00 | Extreme | Modern/Clean |
The Aesthetic Finish: Elevating ‘Cheap’ to ‘Chic’
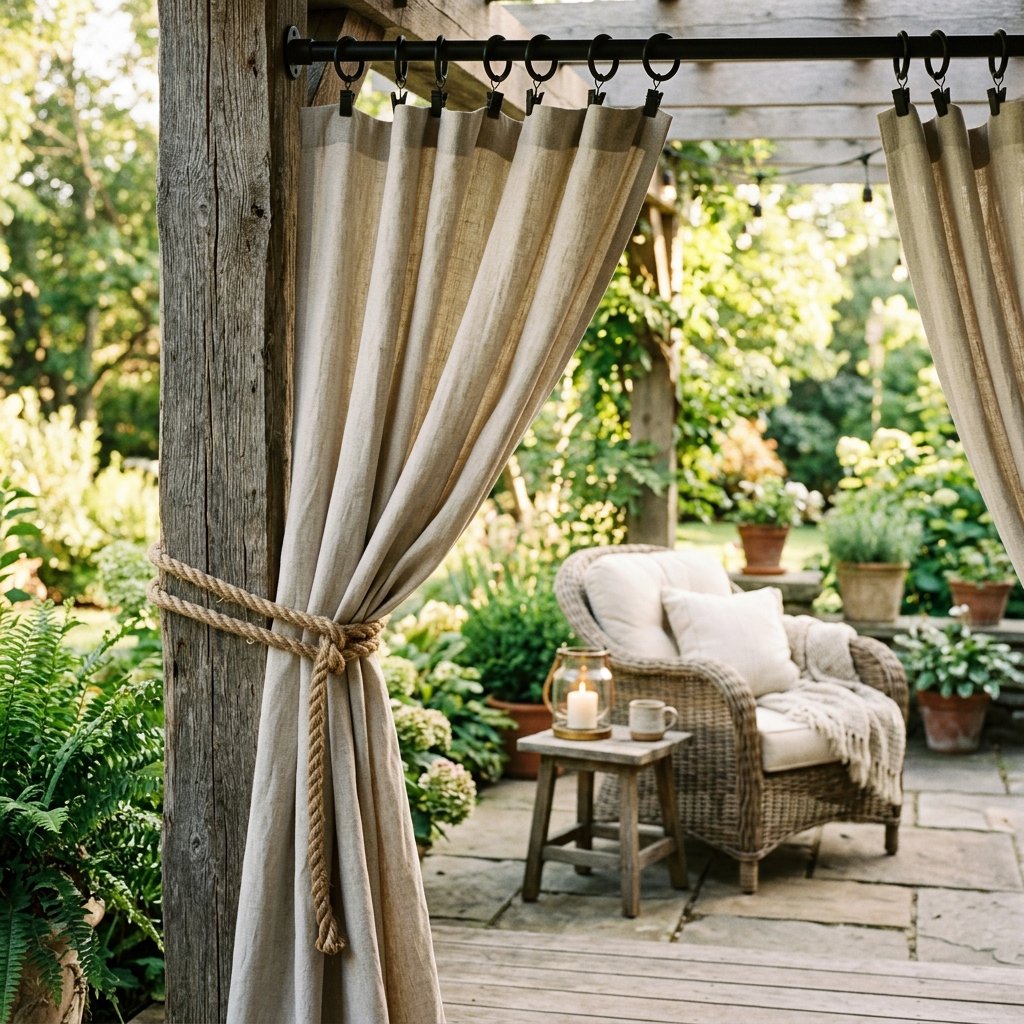
Now that the curtains are functional, it’s time for the ‘Designer Dupe’ magic. If you leave them as-is, they look like shower curtains. If you add these simple touches, they look like $100 West Elm outdoor drapes.
1. The Blackout Ring Hack
Standard plastic rings look cheap. Take a can of matte black spray paint (or even a permanent marker) and coat your rings. This creates a high-contrast, ‘iron’ look against the white fabric that screams masculine elegance.
2. Tactical Tie-Backs
Don’t just let the curtains hang limp when not in use. Use $1.25 thick jute rope or even old leather belts to create rugged tie-backs. Loop the rope around the pillar and the curtain, securing it with a simple knot.
3. The Baking Soda Paint Trick
If you are using plastic components, mix a little baking soda into acrylic paint. Brush it onto your rings or rod to give them a matte, stone-like texture that hides the plastic sheen.
“Consistency is the key to luxury. Ensure all your hardware—rings, rods, and tie-backs—are the same color (preferably matte black or oil-rubbed bronze) to unify the look.”
Conclusion
Enjoy Your Private Retreat
For a total investment of roughly $13.75 and about 30 minutes of your time, you have successfully transformed a public-facing porch into a private sanctuary. This project proves that you don’t need to overspend to achieve a high-end, practical result. By choosing the right materials—polyester over plastic—and adding rugged, thoughtful details like weighted hems and rope tie-backs, you’ve created a space that is as functional as it is stylish. Now, go grab a cold drink, sit back, and enjoy the peace and quiet of your neighbor-free zone. You earned it, and you did it for pennies on the dollar.

Makenzie is the founder and lead writer at MoneyHackTips.com — a personal finance blog dedicated to delivering street-smart financial wisdom for real people on real budgets. With 300+ published articles covering everything from debt management to investing fundamentals, Makenzie’s mission is to make every dollar work harder. When not writing about money hacks, Makenzie is testing frugal living strategies, optimizing side hustles, and helping readers build financial freedom from scratch.