The Hidden Potential in Your Recycling Bin
Stop! Before you toss that empty Cabernet or Chardonnay bottle into the blue bin, take a closer look at its silhouette. To the untrained eye, it is trash; to the resourceful DIYer, it is a high-end vessel waiting for a second life. In a world where luxury home decor stores charge $45 to $80 for illuminated glass accents, we are going to achieve that same ‘masculine-elegant’ aesthetic for less than the price of a cup of coffee. Whether you are a budget bride looking to slash thousands off your floral bill, or a crafty homeowner wanting to add a rugged yet sophisticated glow to your patio, mastering the art of the wine bottle centerpiece is a mandatory skill in your upcycling repertoire.
In this guide, we aren’t just stuffing lights into a bottle and calling it a day. We are diving into the crafty-expert secrets of label removal, glass frosting, and textural wrapping. We will explore how to choose the right light temperature and how to hide those pesky battery packs like a pro. Let’s turn that ‘trash’ into a conversation piece that looks like it belongs in a high-end boutique.
The Clean Slate: Professional Label Removal Tactics

The foundation of a stunning centerpiece is a pristine bottle. Nothing ruins the ’boutique’ look faster than sticky residue or a half-torn paper label. Depending on the brand of wine, you’ll face either water-based glue or industrial-strength adhesive. Here is how we tackle both without losing our patience.
The ‘Baking Soda Sludge’ Method
For those stubborn, plastic-coated labels, a simple soak won’t do. You need a clever, budget-friendly abrasive. Mix equal parts baking soda and any cooking oil (canola or olive works fine). Slather the mixture over the residue and let it sit for 30 minutes. The oil breaks down the adhesive, while the baking soda provides the grit to lift it away. Wipe clean with a paper towel, and you’ll have a glass surface so clear it sparkles.
| Method | Success Rate | Time Required | Best For |
|---|---|---|---|
| Hot Water & Dish Soap | 60% | 20 Minutes | Paper Labels |
| Baking Soda & Oil | 95% | 30 Minutes | Industrial Adhesive |
| Hairdryer (Heat) | 80% | 5 Minutes | Vinyl/Plastic Labels |
The Golden Rule of Scavenging: Always check the glass color before cleaning. Deep amber and forest green bottles provide the warmest, most ‘rugged-elegant’ glow when paired with 2700K warm white fairy lights.
Illumination Strategy: Choosing and Inserting Fairy Lights
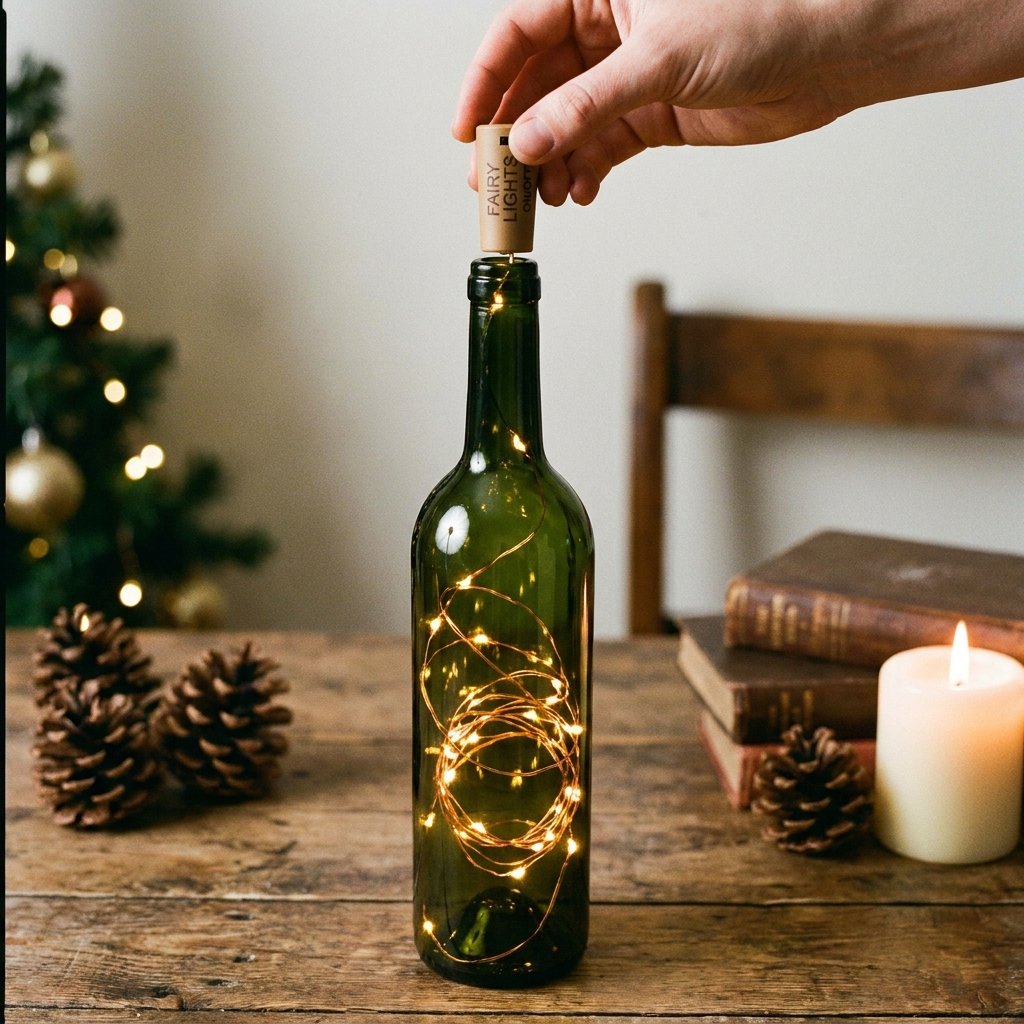
Not all fairy lights are created equal. For wine bottles, we specifically want ‘Wine Bottle Cork Lights’. These feature a plastic tapered ‘cork’ that houses the batteries and a small switch, while the copper wire string drops into the bottle. This eliminates the need for unsightly battery packs taped to the outside of the glass.
Step-by-Step Light Integration
- Untangle First: Carefully unwind the copper wire. If you drop a tangled mess into the bottle, the light distribution will be uneven.
- The Zig-Zag Fold: Instead of just dropping the wire in, slightly ‘crinkle’ or zig-zag the wire every 2 inches. This ensures the LEDs catch the interior curves of the glass rather than just pooling at the bottom.
- The ‘Cork’ Fit: If your bottle has an extra-wide mouth, wrap a small piece of natural twine around the plastic cork base to ensure a snug, professional fit.
For a more permanent, high-end look, some crafters choose to drill a hole near the base of the bottle using a diamond-tipped bit. This allows you to run a plug-in strand through the bottom, though it requires more safety gear and a steady hand.
Pro Tip: For a masculine, industrial vibe, use cool white lights in clear gin bottles and warm copper lights in dark wine bottles.
Texture and Tone: Frosting and Painting Techniques
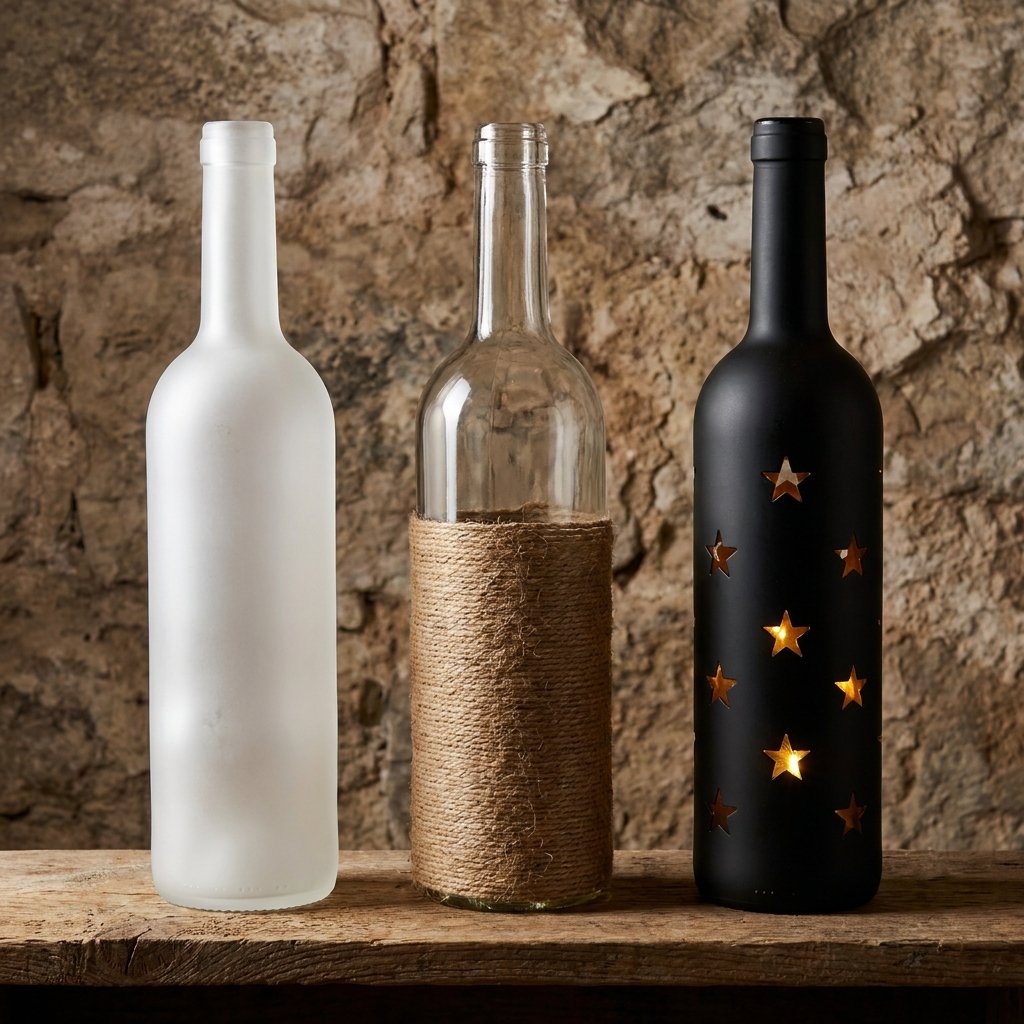
Sometimes, clear glass is too simple. To diffuse the light and create a ‘soft-focus’ glow, we can use a variety of budget-savvy surface treatments. Frosting is particularly effective for weddings as it hides the internal wire, leaving only the magical glow visible.
The Faux-Frosting Hack
You don’t need expensive etching creams. Grab a can of $5 matte frosted glass spray. Apply three very thin coats, waiting 10 minutes between each. If you want a ‘sea glass’ look, add a single drop of blue or green food coloring to a mix of Mod Podge and water, brush it on, and let it dry.
| Finish Style | Materials Needed | Vibe |
|---|---|---|
| Frosted | Frosting Spray | Elegant & Dreamy |
| Rustic Wrap | Jute Twine & Hot Glue | Rugged & Farmhouse |
| Industrial | Copper Wire & Black Matte Paint | Modern & Masculine |
Creating ‘Negative Space’ Designs
Before painting or frosting, place star-shaped stickers or wrap rubber bands around the bottle. Once the paint is dry, peel them away to reveal clear glass ‘windows’ where the light will shine through with extra intensity. This creates a stunning pattern on nearby walls when the lights are turned on in a dark room.
The Budget Breakdown: DIY vs. Retail
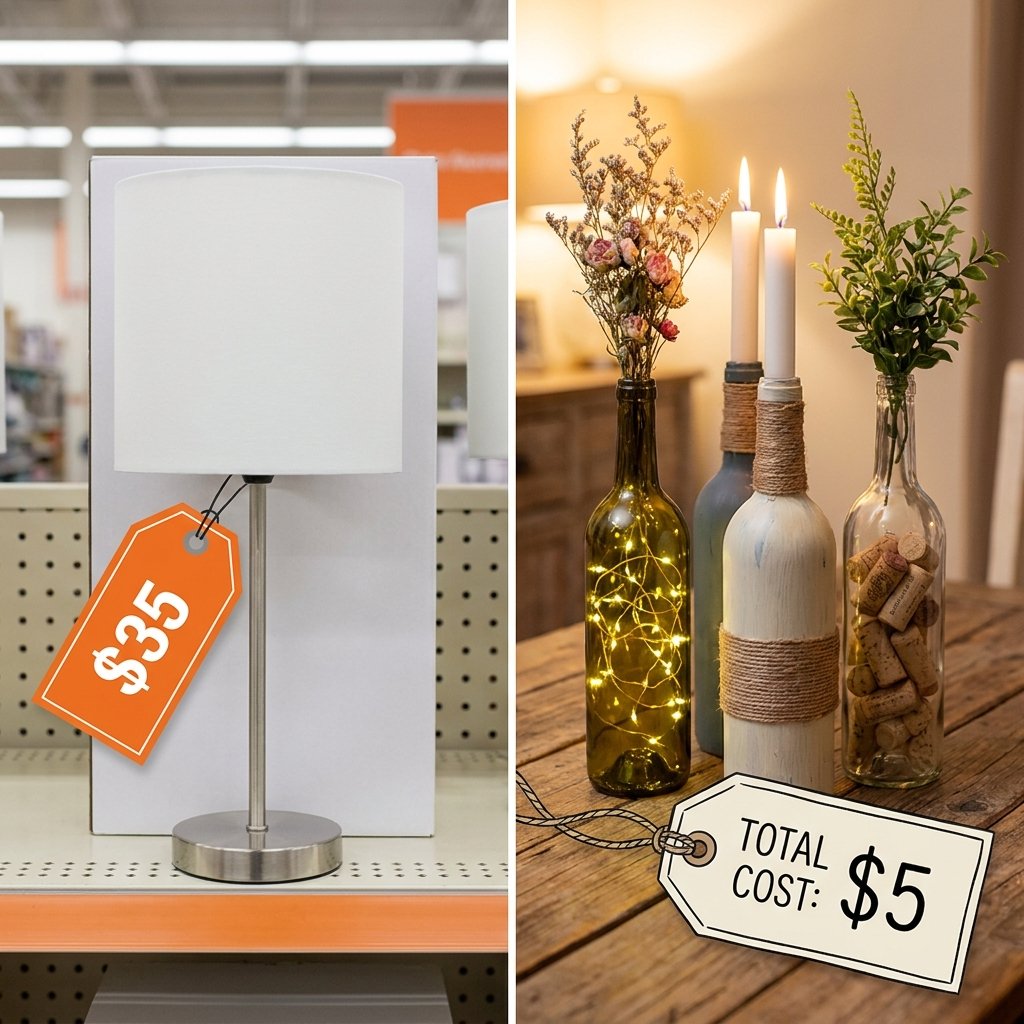
Let’s talk numbers. Why do we do this? Because the savings are massive. When you are decorating for an event like a wedding or a large dinner party, these savings can be the difference between staying on budget and overspending by hundreds of dollars.
| Item | Retail Store Price | DIY Upcycle Cost |
|---|---|---|
| Glass Vessel | $12.00 | $0.00 (Recycled) |
| LED Light Strand | $15.00 | $1.25 (Bulk Buy) |
| Decorative Accents | $8.00 | $0.50 (Twine/Scraps) |
| Total Per Unit | $35.00 | $1.75 |
By choosing to upcycle, you are saving approximately 95% per centerpiece. For a wedding with 20 tables, that is a total saving of $665. That is money that can be reallocated to the honeymoon, the food, or the photography. Plus, your guests will be impressed by your crafty-expert handiwork rather than a generic store-bought item.
Styling Your Masterpiece: From Mantels to Wedding Aisles
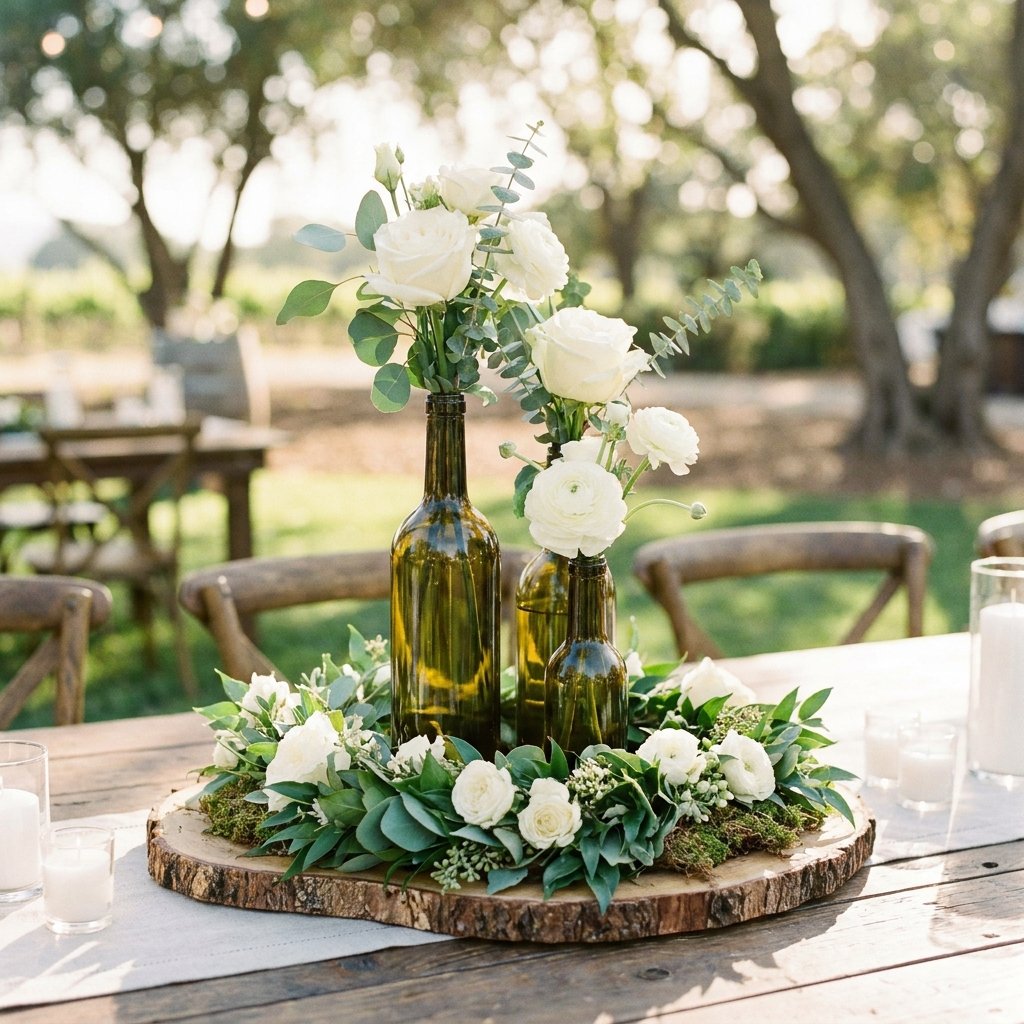
A single bottle is a statement; a cluster is a design choice. To make your DIY centerpieces look truly professional, you need to vary the heights and textures. Use a mix of Bordeaux, Burgundy, and even skinny dessert wine bottles to create visual interest.
The ‘Odd Number’ Rule
In the world of interior design, grouping items in 3s or 5s is more aesthetically pleasing to the eye. Place your bottles on a wood slice for a rugged, outdoorsy look, or atop a mirrored tray to double the light output and add a touch of masculine-elegant glamour.
- For Weddings: Surround the base with eucalyptus sprigs or baby’s breath.
- For the Patio: Use dark amber bottles to mimic the look of expensive ‘Edison’ bulbs.
- For Gifts: Tie a leather cord around the neck with a hand-stamped metal tag for a thoughtful, rugged gift.
Safety Note: While LED fairy lights stay cool to the touch, never leave battery-operated lights on indefinitely. Always use the ‘off’ switch when leaving the room to preserve battery life and ensure safety.
Conclusion
Toast to Your Creativity
You have successfully turned a piece of glass destined for the landfill into a stunning, illuminated work of art. This project is the epitome of being resourceful and budget-savvy without sacrificing style. By mastering these simple techniques—label removal, light selection, and surface finishing—you now have the power to decorate any event or room for mere pennies. So, the next time you finish a bottle of wine, don’t throw it away. See it for what it really is: a blank canvas for your next crafty-expert masterpiece. Grab your fairy lights, get creative, and let your home glow with the satisfaction of a job well done!

Makenzie is the founder and lead writer at MoneyHackTips.com — a personal finance blog dedicated to delivering street-smart financial wisdom for real people on real budgets. With 300+ published articles covering everything from debt management to investing fundamentals, Makenzie’s mission is to make every dollar work harder. When not writing about money hacks, Makenzie is testing frugal living strategies, optimizing side hustles, and helping readers build financial freedom from scratch.