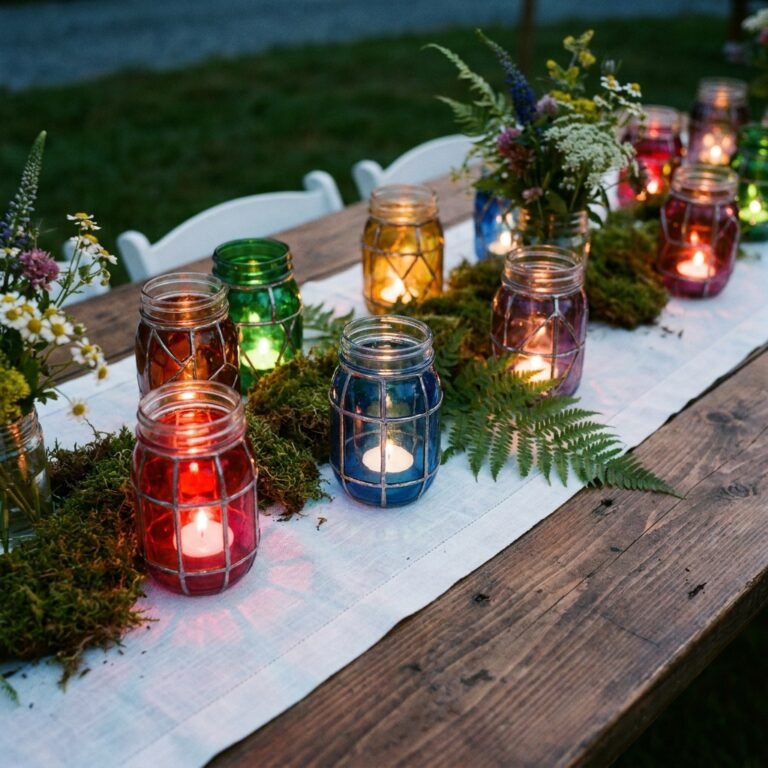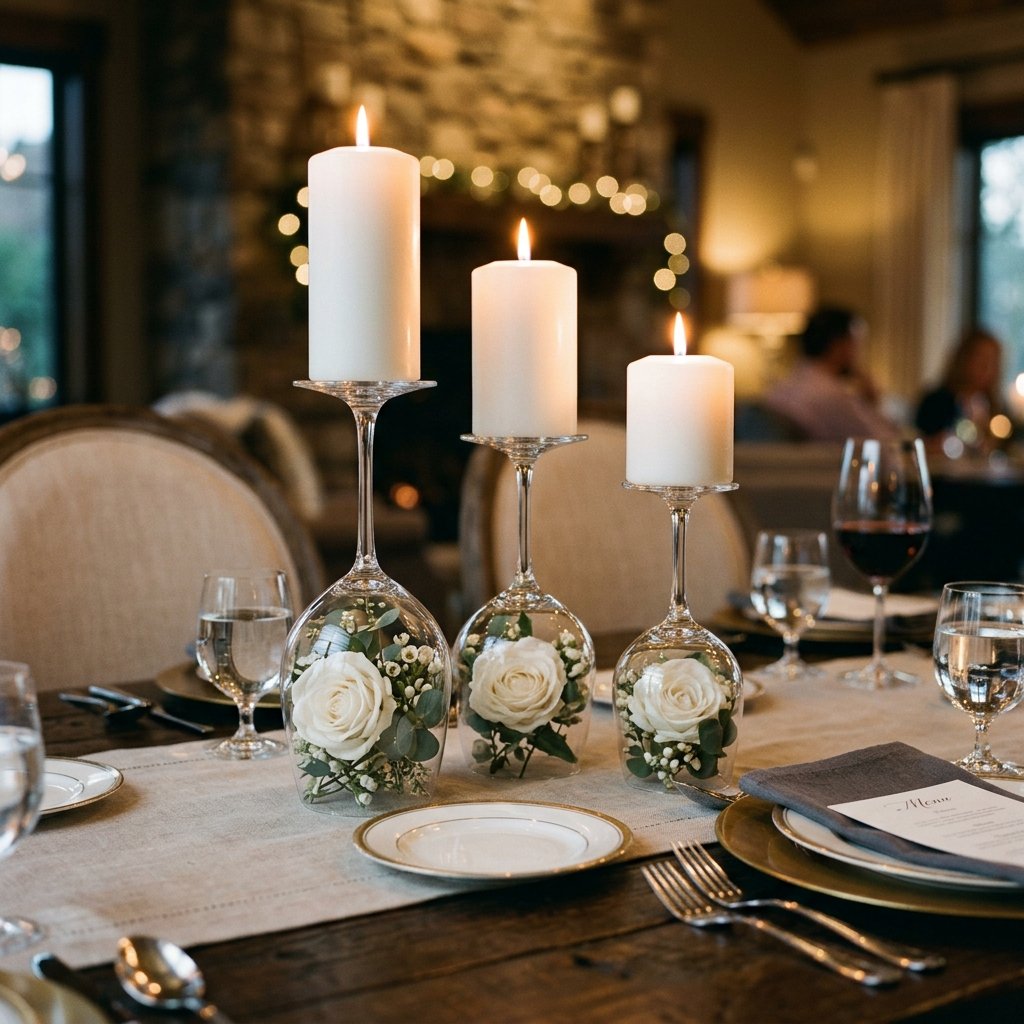

The Art of the High-End Illusion
Let’s be honest: we all want that $5,000-per-table wedding aesthetic or the ‘Pinterest-perfect’ holiday dinner spread, but few of us want to drain our savings to get it. As a seasoned crafter and budget-savvy stylist, I have spent years perfecting the art of the ‘luxury dupe.’ The secret to high-end decor isn’t the price tag; it is the intentionality of design and the clever use of everyday objects. Enter the Upside Down Wine Glass Centerpiece. This project is the ultimate ‘trash-to-treasure’ maneuver, taking a simple vessel—often found for $1.25 at a local dollar store—and flipping it on its head to create a multi-dimensional, tiered display that captures light and commands attention. Whether you are a bride-to-be on a strict budget, a parent hosting a graduation party, or just someone who loves a ruggedly elegant home, this guide will show you how to execute this project with professional precision.
Budget Mantra: It is not about what you spend, but how you style. A dollar’s worth of glass, when polished to a mirror shine and filled with curated greenery, can outshine a rented crystal vase any day of the week.
The Blueprint: Materials and Cost Comparison
The Budget Breakdown
Before we dive into the assembly, let’s look at the numbers. Most rental companies charge a premium for tiered candle holders, and florists often add a ‘labor fee’ for even the simplest arrangements. By sourcing your own glassware—perhaps from thrift stores or discount retailers—you can slash your costs by over 90%.
| Item | Store Bought/Rental | DIY Cost (Per Unit) |
|---|---|---|
| Glass Vessel/Stand | $15.00 – $25.00 | $1.25 |
| Floral Insert | $10.00 | $0.50 (Bulk/Faux) |
| Pillar Candle | $8.00 | $1.25 |
| Total Per Centerpiece | $33.00 – $43.00 | $3.00 |
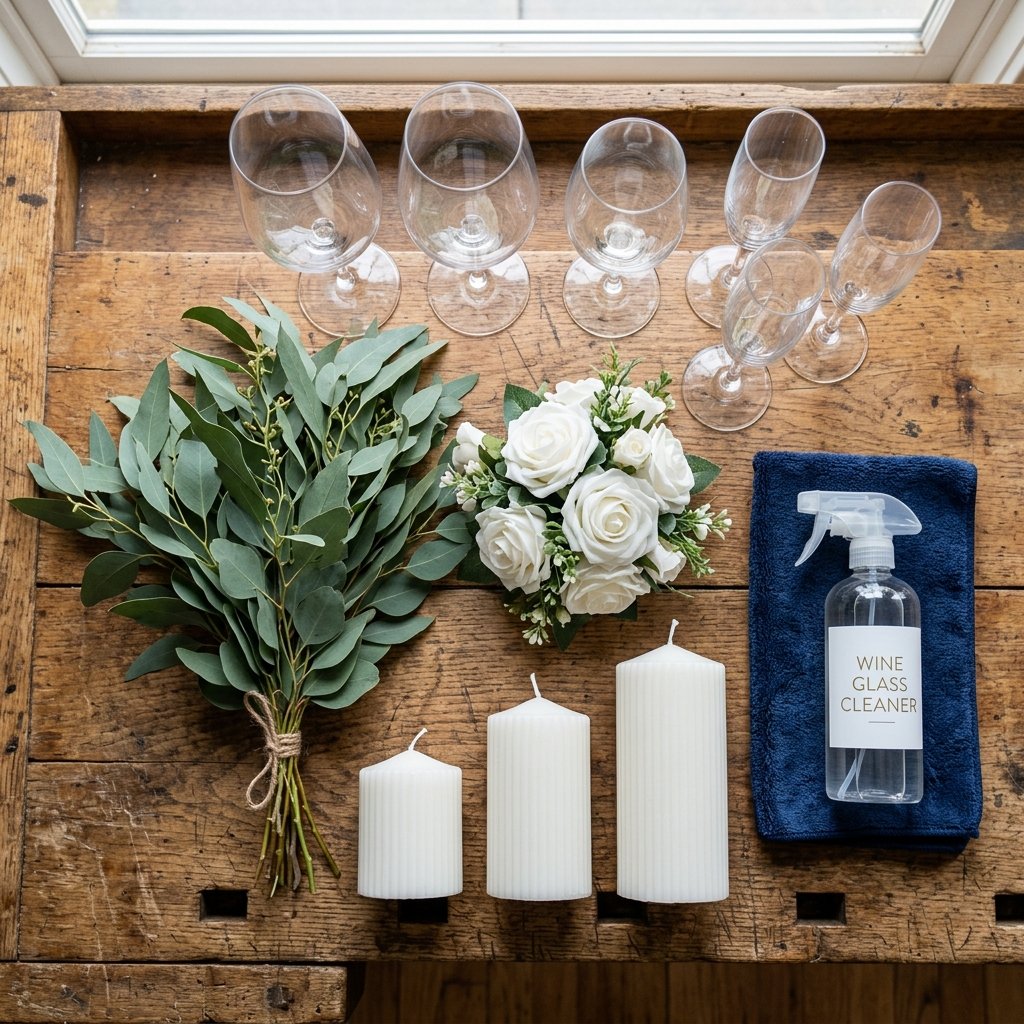
Essential Supplies
- Stemmed Wine Glasses: Use varying heights (Red, White, and Sparkling) to create a dynamic ‘staircase’ effect.
- Fillers: Think high-quality silk flowers, succulents, seasonal ornaments, or even natural elements like pinecones and moss.
- Candles: Pillar candles or LED flameless candles are best for stability.
- Glass Cleaner: Microfiber cloths and a vinegar-water solution are non-negotiable for that high-end sparkle.
Phase 1: Prepping for Crystal Clarity

The Secret to the ‘Expensive’ Look
The biggest giveaway of a ‘cheap’ DIY project is a lack of finish. If your glass has fingerprints, dust, or those stubborn adhesive circles from the price tags, the illusion is shattered. We want these to look like hand-blown crystal. To achieve this, we use a professional-grade cleaning method.
- Adhesive Removal: Use a small amount of rubbing alcohol or a citrus-based adhesive remover to completely clear the bottom of the glass (which will become the top).
- The Vinegar Bath: Soak your glasses in a 50/50 mix of warm water and white vinegar for 10 minutes. This removes hard water spots and adds a brilliant luster.
- The Lint-Free Polish: Dry the glasses immediately with a microfiber cloth. Avoid paper towels, as they leave behind tiny fibers that will be visible once the candle is lit.
Pro-Tip: When handling the glasses after cleaning, wear cotton gloves or use a clean cloth to prevent natural skin oils from smudging the surface.
Phase 2: Mastering the Interior ‘Terrarium’ Effect
Curating Your Contents
The ‘bowl’ of the wine glass acts as a display case. Because the glass is inverted, you need to choose items that look good from all angles. For a masculine-elegant or rugged-chic look, consider using dried herbs, small river stones, or even architectural elements like copper wire coils.
Step-by-Step Assembly
- Select Your Focal Point: Choose a flower head or object that is slightly smaller than the diameter of the glass opening. If it’s too large, it will look squashed; too small, and it will look lost.
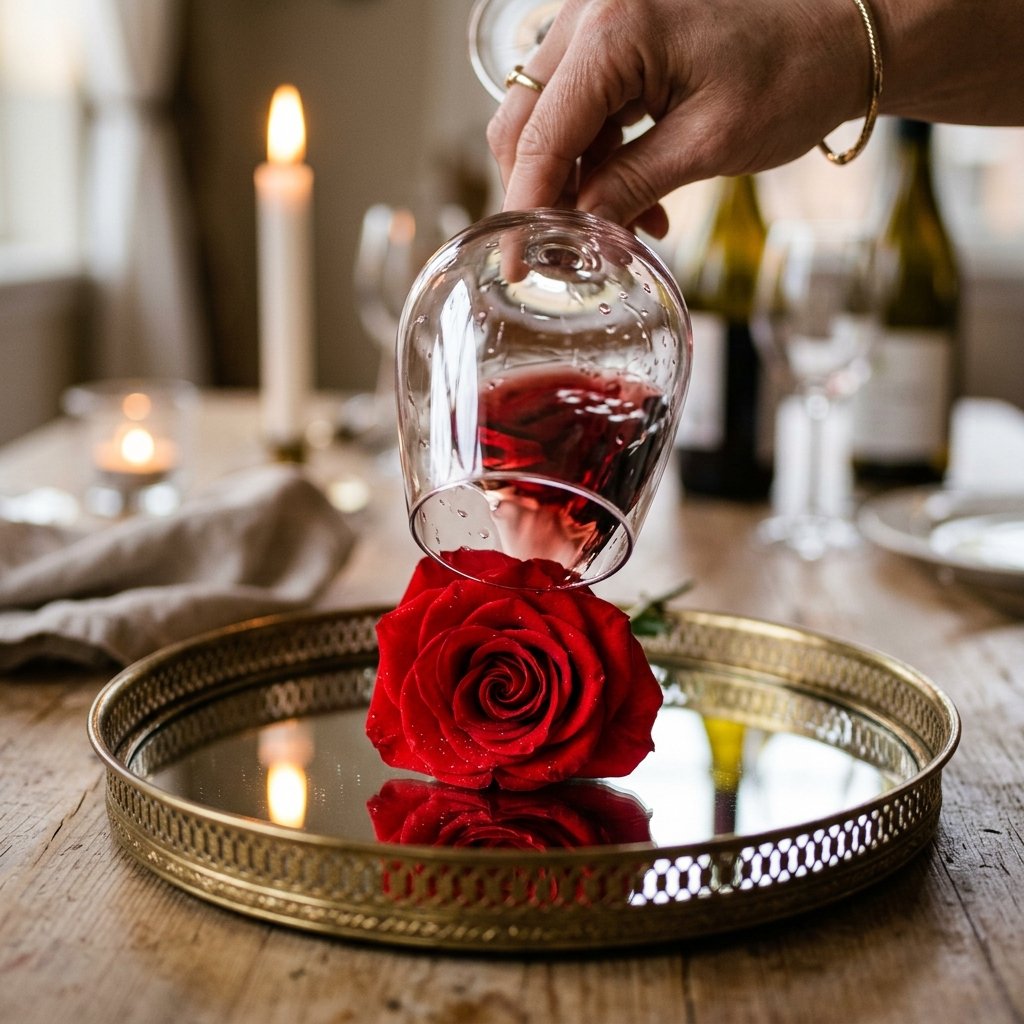
- The ‘Twist and Flip’ Technique: Place your floral element face-up on a flat surface (like a decorative mirror or a wood slice). Carefully lower the wine glass over the object.
- Securing the Contents: If you are using loose items like faux snow or beads, place them in the glass first, cover the opening with a piece of stiff cardstock, flip the glass, and then slide the cardstock out once the glass is resting on its final surface.
Design Variations
- The Minimalist: A single, perfect succulent nestled on a bed of white sand.
- The Romantic: A single open rose head with two small ivy leaves.
- The Industrial: A tangle of thin copper fairy lights (battery pack hidden outside or tucked under the rim).
Phase 3: The Art of the Topper (Candle Placement)
Stability and Safety First
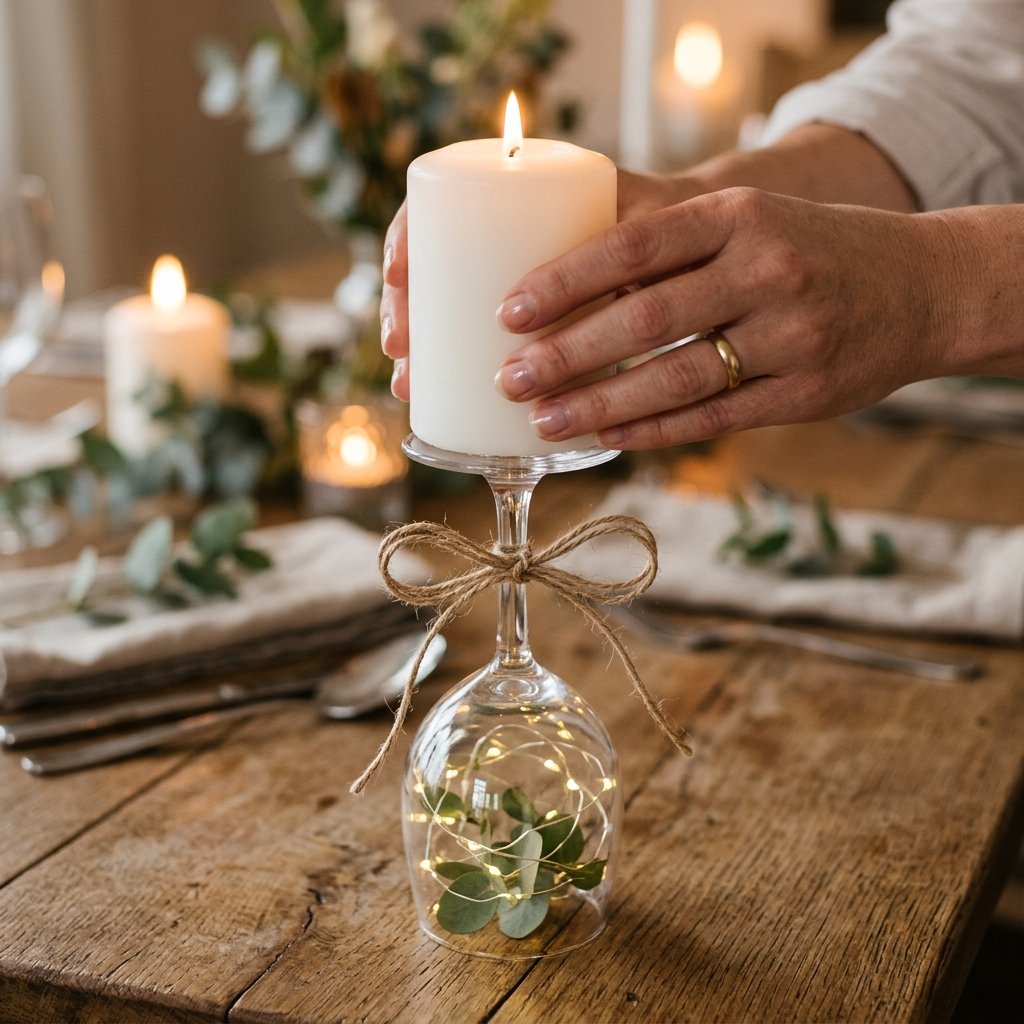
The base of the wine glass, now facing upward, serves as your candle pedestal. This is where the ‘centerpiece’ actually becomes a light source. However, because the surface area is relatively small, you must be strategic about your candle choice.
Candle Selection Guide
| Candle Type | Pros | Cons |
|---|---|---|
| Pillar Candle | Classic look, heavy stability. | Can drip wax if not leveled. |
| LED Flameless | 100% safe, no heat, reusable. | Sometimes looks ‘plastic’ if cheap. |
| Floating Candle | Elegant, low profile. | Requires a small amount of water/wax to ‘stick’. |
| Tea Light | Budget-friendly, lightweight. | Short burn time (3-4 hours). |
Safety Note: If using real flame pillar candles, ensure the glass is perfectly level. To prevent the candle from sliding, use a small ‘glue dot’ or a tiny bead of clear floral putty to secure the candle to the glass base.
The Finishing Touch
To truly elevate the look, don’t just stop at the candle. Wrap a small piece of twine or a thin velvet ribbon around the stem of the glass. This bridges the gap between the ‘base’ and the ‘top’ and adds a touch of texture that feels curated and professional.
Seasonal Themes and Styling Secrets
Adapting for Every Occasion
One of the reasons this is my favorite ‘Trash-to-Treasure’ project is its versatility. By simply changing the interior ‘filler,’ you can adapt this centerpiece for any holiday or event style.
- Winter Wonderland: Fill the glass with silver glitter and a small sprig of holly. Use a frosted white candle on top.
- Autumn Harvest: Use small acorns, dried orange slices, and a cinnamon stick inside the glass. Pair with a burnt-orange or cream candle.
- Coastal Retreat: Place a few small seashells and a pinch of coarse sea salt inside. Use a soft blue candle to mimic the ocean.
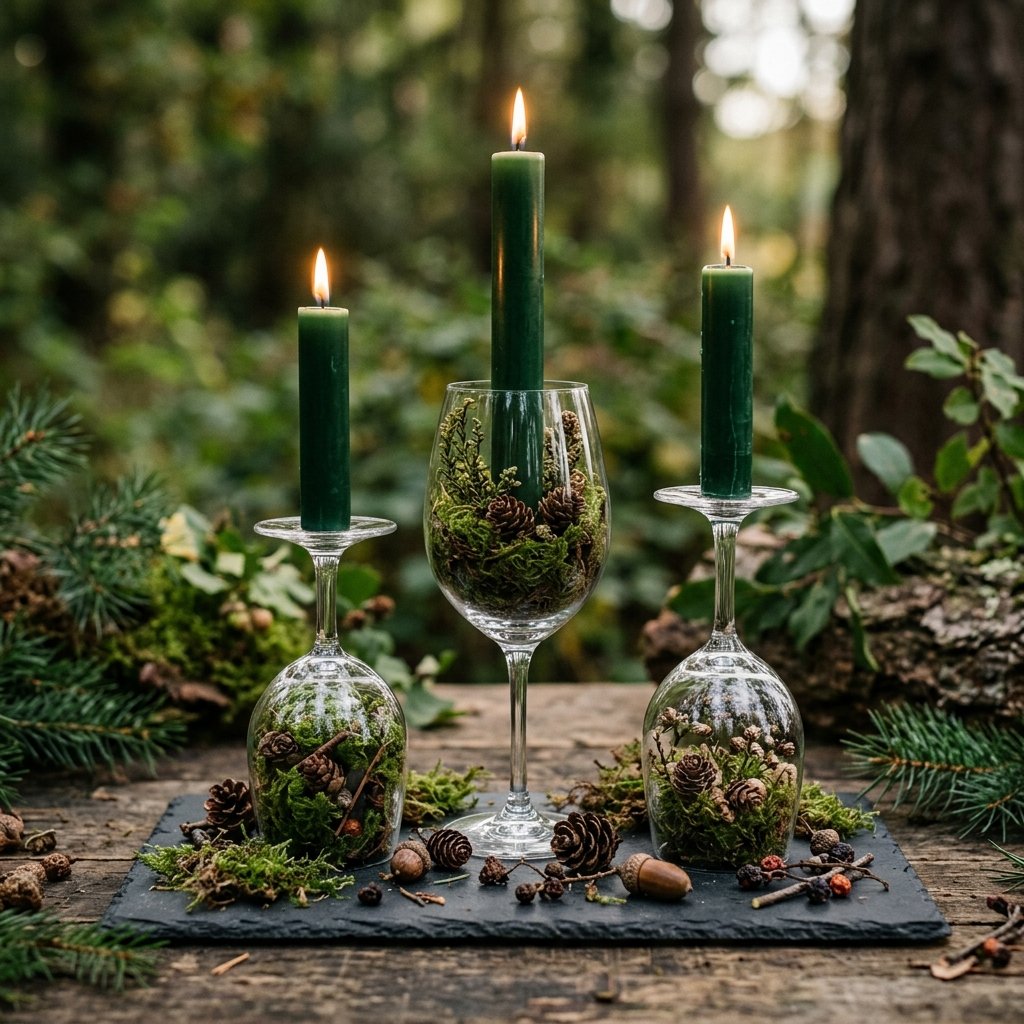
- The Rugged Groom: For a more masculine-elegant wedding, use dark greenery like eucalyptus or ferns, and pair with charcoal-grey pillar candles.
The Power of Three
Never display just one. The ‘Rule of Three’ is a staple in interior design. Group three glasses of different heights together on a wood slice or a mirrored tray. This creates a focal point that feels substantial and ‘expensive’ rather than scattered.
Transport and Setup: The Pro’s Logistics
Moving Your Masterpieces
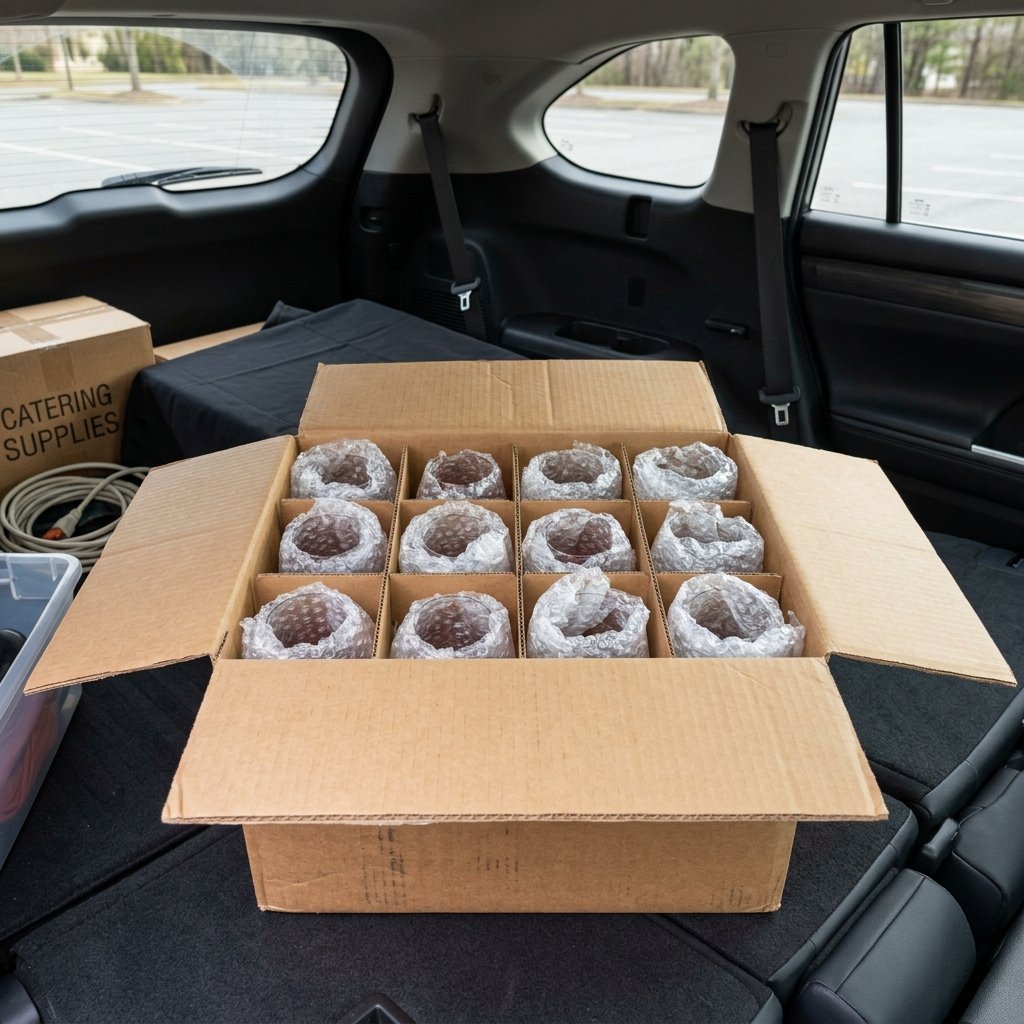
If you are creating these for a venue or a gift, you need a plan for transport. These are top-heavy and fragile. I recommend the ‘Box and Bubble’ method.
- Step 1: Use a sturdy cardboard box with dividers (liquor store boxes are free and perfect for this!).
- Step 2: Wrap the ‘bowl’ of the glass in bubble wrap, but leave the stem and base exposed to prevent the wrap from catching on your interior decor.
- Step 3: Transport the glasses upright (not inverted) and do the final ‘flip’ at the venue. This ensures your internal floral elements don’t shift or get crushed during the drive.
On-Site Troubleshooting
If you find the glasses are wobbling on an uneven tablecloth, use a small piece of folded cardstock or a shimming coin hidden under the tablecloth to level the surface. A stable centerpiece is a safe centerpiece.
Conclusion
Your Luxury Event Starts Here
The beauty of the Upside Down Wine Glass Centerpiece lies in its simplicity and its ability to be customized to any personality. We’ve taken a basic household item and, through the power of resourceful crafting and clever styling, turned it into a piece of decor that rivals high-end boutique rentals. You’ve learned how to polish, fill, flip, and secure your way to a stunning table landscape. Remember, the most memorable events aren’t the ones where the host spent the most money—they are the ones where the host used their creativity and hands to build something beautiful. So, grab a few glasses, find some greenery, and start flipping. Your guests won’t believe their eyes, and your wallet will thank you. Happy crafting!

Makenzie is the founder and lead writer at MoneyHackTips.com — a personal finance blog dedicated to delivering street-smart financial wisdom for real people on real budgets. With 300+ published articles covering everything from debt management to investing fundamentals, Makenzie’s mission is to make every dollar work harder. When not writing about money hacks, Makenzie is testing frugal living strategies, optimizing side hustles, and helping readers build financial freedom from scratch.